RS PRO WT280x User manual

File No.:VersionA1 1
Internal
High Speed 3D Printer
ENGLISH
rspro.com

File No.:VersionA1
2
Internal
Notes:
This manual includes the important information regarding the installation, operation,
maintenance and storage of the product. Please read carefully prior to using;
During printing, do not touch the power cable, USB cable or remove the USB flash drive, as
this will cause interruption to printing which will result in potential damage to the printer;
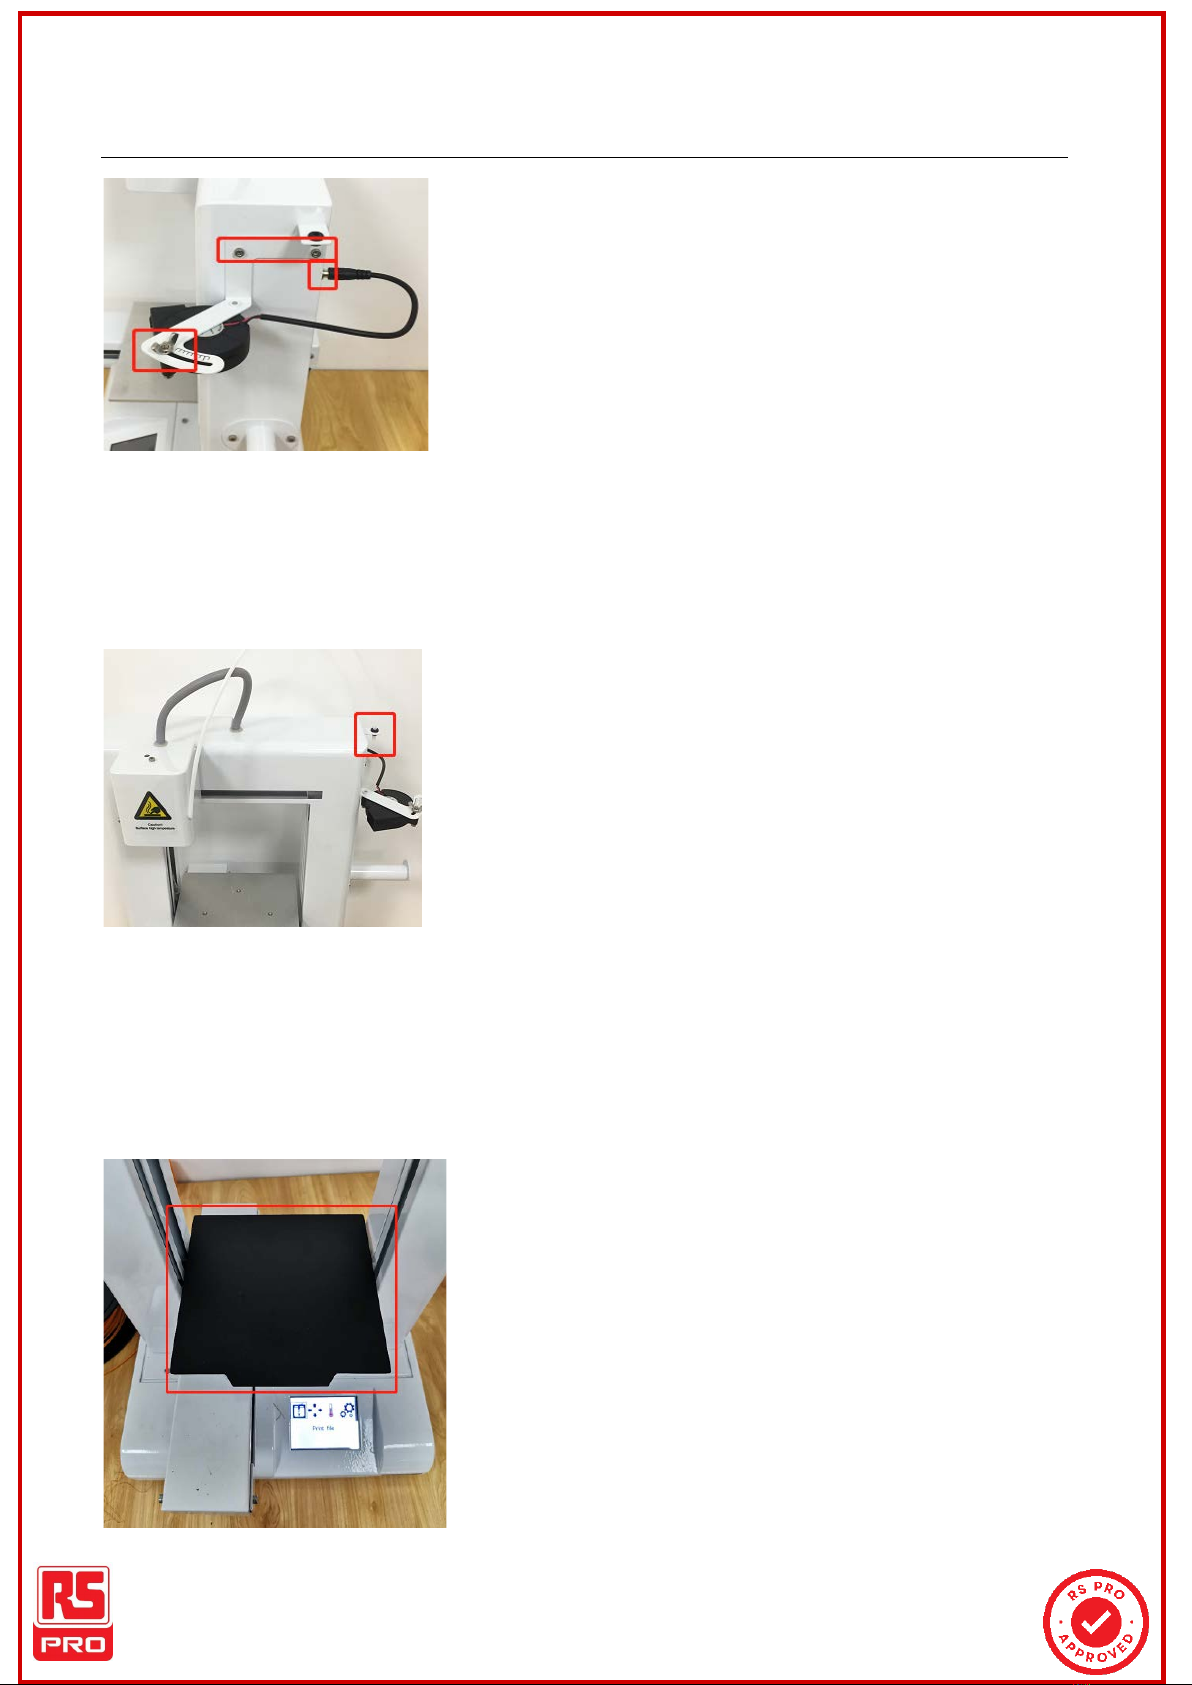
Please avoid heating the extruder for extended periods of time (e.g. more than 10 minutes)
this may cause damage to the extruder and nozzle;
Please don’t try to operate this machine by any method that is not described in this Manual to
avoid any accidental personal injury and property loss;
Please don’t place this machine near or in a flammable or explosive environment or near a
heat source, please place this machine in a well ventilated and clean environment;
Please don’t place this machine an environment that is subject to large vibrations or other
unstable elements, the vibration or movement of the machine will affect the print quality;
Please only use the supplied power cords and power supply with this machine. Use of any
other leads or power supply will result in damage to the machine;
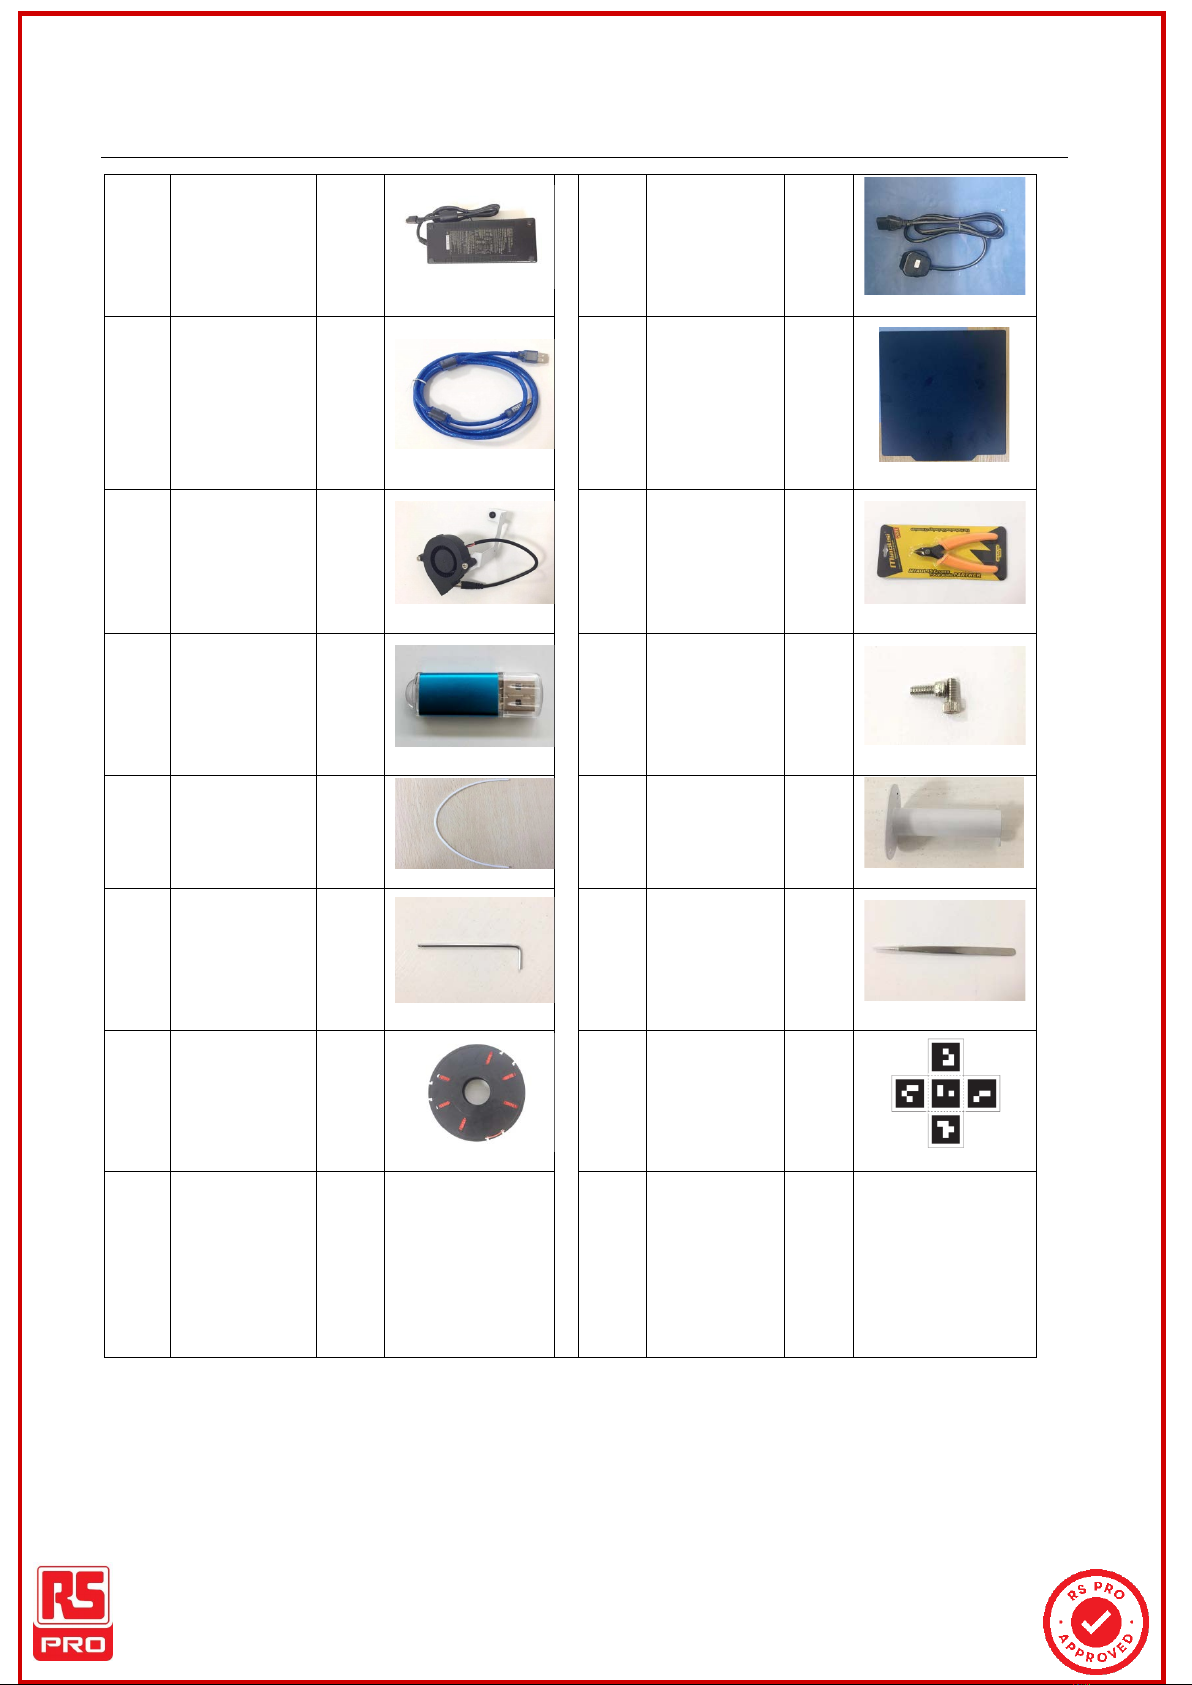
Please use the consumables recommended by the manufacturer to avoid the potential
blockage of extruder and damage of machine;
Please clean the consumables with tools by applying the remaining warmth in a timely
manner after completing the printing. Please don’t touch the spray nozzle directly with hands to
avoid the scalding;
Routine maintenance. Turn off the power and disconnect the power supply before cleaning/
dusting the surface of printer with dry cloth;
Please do not touch the Nozzle and hot bed when the printer is in operation as this will result
rrspsprro.co.comom

File No.:VersionA1
3
Internal
in you being burnt or injured;
Children must be supervised while using this machine, unsupervised use may result in injury;
This Manual is protected by copyright and this Company shall reserve the final interpretation
right. Without the authorization;
This Company has the rights to alter the content relating to this type of printer and in its
operation manual without the prior separate notification.
rrspsprro.co.comom

File No.:VersionA1
4
Internal
1. Diagram of Product
2. Basic Parameter
Printing Parameter: Software parameter:
Type High Speed 3D Printer Slicing software REALvision
Quantity of
Nozzle 1 Slicing file format STL
Diameter of
Nozzle 0.4mm Printing format .fcode
Printing page
thickness 0.1mm~0.4mm Computer
operation system Windows XP/Vista/7/8/10
rrspsprro.co.comom

File No.:VersionA1
5
Internal
Printing
precision ±0.1mm Language switch Support multi-language
Printing speed 20~450mm/s Operating conditions:
Printing material HS / PLA Temperature 5 °C - 35 °C
Printing method SD card/USB drive Humidity 30%-90%
Temperature of
nozzle 190~260℃Power adapter:
Temperature of
hot bed 30~80℃Input
voltage/current 100-240VAC,50/60Hz,4.0A
Advisory
temperature of
nozzle
220℃Operating
voltage/current 20V/11A
Advisory
platform
temperature
60~75℃Output power Max.220W
Diameter of
consumables 1.75mm
Molding
dimension 150 x 150 x 140 (mm) Product
dimension 355(L)×267(W)×410(H)mm
Molding
technology
FDM (Fused Deposition
Modeling)
Packing
dimension 496(L)×376(W)×356(H)mm
Power-off
continuous
printing
Support Net weight 8kg
Gross weight 13kg
3. Unpacking List
No. Name of Part
Quan
tity
Diagram No. Name of Part
Quan
tity
Diagram
rrspsprro.co.comom

File No.:VersionA1
6
Internal
1 Power
adapter 1 9 Power cable 1
2
USB2.0
printer USB
cable
1 10
Magnetic
printing
platform A
1
3 External fan 1 11 Cutting
nippers 1
4 USB flash
drive 1 12 Screws 2
5 Filament Tube 1 13 Spool
holder 1
6 Hex key 1 14 Tweezers 1
7 HS Filament 1 15
AR
identification
sticker
1
8
Five Quick
Guides
(German/Engl
ish/French/Ita
lian/Spanish)
5
rrspsprro.co.comom

File No.:VersionA1
7
Internal
4. Installation of Equipment
a) Power connection
1)Connect the mains cable to the power supply and then connect the power cable to the 3D printer.
2) Plug the mains plug into a mains socket.
3) Switch the printer on.
b) Install the Spool holder:
Unscrew the central two screws on the right side with the hex key provided, place the spool holder in the position
shown below and then replace the screws, tighten the screws until the holder is held securely.
c) Install the external fan:
1) Unscrew the upper two screws on the right side with the hex key provided, place the fan in position as
shown below, replace the screws and tighten until the fan is held securely.
2) Connect the fan to the printer using the lead as shown below.
3) Adjust the fan to the required position by loosening the adjusting nut (as shown) once the fan is in the
correct position retighten the nut.
rrspsprro.co.comom

File No.:VersionA1
8
Internal
d) Install the Filament Tube:
Take the filament tube insert one end in the black ring on right side as shown, leave the other end free.
e) Installing the print bed
Place the bed on the printer as shown below. Use the 4 provided bull clips to secure the bed to the printer, taking
care to ensure that the platform and bed are clear of obstacles.
rrspsprro.co.comom

File No.:VersionA1
9
Internal
f) Place the printing materials
Place the filament on spool holder as shown below, pass the filament through the filament tube until there is
approximately 5cm of filament exposed.
5. Introduction of Touch Screen Operation Function
Start-up interface
:Select this option to enter the printing interface, where it
is possible select the file that is to be printed and confirm.
:Select this option to enter the material-changing
interface, set the temperature to “220℃” and click “√”. Once
the temperature reached the required temperature, follow
the prompts given.
:Select this option to enter the XYZ axis and extruder
moving interface
:Select this option to enter the system set-up interface
rrspsprro.co.comom

File No.:VersionA1
1
Internal
1. Printing interface
:Current selection
:Scroll down
:Return to the main page
2. Material-changing interface
:Upward arrow is used to increase the temperature
:Downward arrow is used to reduce the temperature
:Left facing arrow is used to return to the previous menu
:After selecting the target temperature, click “√” to
confirm, the temperature will start to increase. Once the
temperature has reached the target, follow the prompts for
further operation.
3. Moving interface
:Home button. The ‘Home’button will move the print bed
and the extruder to the start (home) position. The right and left
arrows are used to move the extruder; the up and down arrows
are used to move the print bed front to back.
:This option is used to move the print bed up or down. The
up and down arrows are used to move the print bed.
:
This option is used to move the filament through the
extruder head once it has heated to the required temperature.
The down arrow is used to push the filament and the up arrow
is used to retract the filament. This option can be used to
change filament.
rrspsprro.co.comom

File No.:VersionA1
1
Internal
:This option is used to adjust the temperature on the
extruder head and the print bed.
3.1 Extrusion head and platform
temperature-rising interface
:Upward arrow is used to increase the temperature
:Downward arrow is used to reduce the temperature
:Left facing arrow is used to return to the previous menu
:After setting the target temperature, click “√” to confirm,
the temperature will start to increase. After
the required
temperature is reached, press the back arrow, then perform
the feeding and retreating operation to the extruder head as
listed above.
4. Set-up interface
:Select this option to enter the platform calibration
interface
:Select this option to enter the language set-up interface
:Select this option to enter the version information and
firmware upgrading interface
4.1 Platform calibration interface
:Select this option to e
nter the platform calibration
operation, this is used to adjust the level of the print bed
:Select this option to adjust the distance between nozzle
and platform
rrspsprro.co.comom

File No.:VersionA1
1
Internal
:Select this option to enter the printing testing operation,
this is used to test whether the temperatures
and printing
functions are performing within specification
:Left facing arrow is used to return to the previous menu
4.2 Language set-up interface
:Enter this option to switch to the required language,
using the down arrow until the correct language is selected
:Left facing arrow is used to return to the previous menu
4.3 Version information and firmware
upgrading interface :This screen gives the software and firmware
information
:This option is to be used when there is a software upgrade
available and the printer requires upgrading
:Left facing arrow is used to return to the previous menu
6. Calibration Platform
1) Enter the platform calibration interface, and click the leveling option as indicated below “ ”. This is the first
step of the calibration procedure, the XYZ axis of machine will return to home.
rrspsprro.co.comom

File No.:VersionA1
1
Internal
2)Follow the instructions on the screen, tighten all leveling nuts as instructed. After tightening, loosen the screw
one rotation, then press the next button “” to move onto the next step.
3)Use the up/down arrows ( / ) on the screen to adjust the gap between the print bed and the nozzle leaving
a 1mm gap. When finished, press the next button “ ”to move onto the next step.
4)The printer will automatically return to the start position. Move to the next step after completing.
rrspsprro.co.comom

File No.:VersionA1
1
Internal
5)The next step is to adjust the platform to ensure it is level.
①Using a leveling card or an A4 piece of paper, place the paper/card on the print bed under the nozzle,
moving the paper/card back and forth, while adjusting the nut corresponding to the nozzle under the print bed.
The nut adjustment will move the print bed up or down, keep adjusting until there is a slight friction when moving
the paper between the print bed and the nozzle. Once complete, click “ ”and move on to the next step.
②Adjust the points “2”and “3”by using the above method. The figure below shows the locations of the
three leveling points.
③After completing the above adjustments, it is advised that this procedure is repeated to ensure the bed
is level: Click the return arrow “ ” twice, the extruder will return to the first position ready to start again. Use
the A4 paper to check whether points 1 to 3 have the same resistance to the paper after the previous adjustments.
If there is any change then follow the above steps again to ensure that the bed is level. Once completed, click the
arrow “ ” and move to the next step.
6) At this point the bed levelling calibration has been completed, click “√” on the screen to complete.
rrspsprro.co.comom

File No.:VersionA1
1
Internal
7. Material-Changing
1) Click “ ” to enter the material-changing interface
2)Press “ ”until the target temperature reaches 215℃, then click “ ”to start the extruder heating. Once
the target temperature has been reached, the printer will carry out several steps automatically. The printer
will then request the removal of the filament, manually remove the filament from the nozzle hole and click
“ ”.
rrspsprro.co.comom

File No.:VersionA1
1
Internal
3) Return to the Heating interface, if necessary, click “ ”to move on to the next step. If the extruder
temperature is still at the set temperature, the printer will skip step 7 and automatically go to step 8.
4) Insert the filament into the feeding hole as shown in the first image below, click“” when the filament
comes out of the nozzle as shown in the second image below. This will complete the filament change
procedure.
8. Feeding
1) Click “ ” to enter the moving interface. Then click the temperature icon to enter the temperature-rising
interface.
rrspsprro.co.comom

File No.:VersionA1
1
Internal
2)Adjust the target temperature of print head from “100℃” to “215℃”, the target temperature of print bed
will show “ ” (as per image below). Click “ ” to start the heating process. Click “ ” to return to the
previous screen once the extruder has reached the required temperature.
3)Put the filament in the inlet of extruder head as shown in the steps above. On the printer navigate to the
movement interface, press the downward arrow “” below the nozzle symbol on the screen until the
filament starts to extrude from the nozzle.
Attention:
①If the filament that comes out from extruder head is not long enough, please keep pressing the feed
button, ensuring there is enough filament left to pull the filament out if required. Otherwise a situation may arise
that the retreated short length of filament cannot be returned.
rrspsprro.co.comom

File No.:VersionA1
1
Internal
②When feeding or retracting the filament, pay attention to the temperature of the extruder, if the
temperature drops below the melt point of the filament, the filament will get stuck in the extruder.
③After returning to the movement interface, feed the filament immediately as the temperature will start
to reduce if the printer is left to idle.
rrspsprro.co.comom

File No.:VersionA1
1
Internal
9. Install RV Software
1) Identify “REALvision_Setup”installation package in the delivered USB drive and double click the icon to open.
2)Select the required installation language in the new pop-up window, and then click “OK”to enter the next
step.
3)Select “Next”
rrspsprro.co.comom

File No.:VersionA1
2
Internal
4) Select “I Agree”to enter the next step.
5)Select “Next ”
rrspsprro.co.comom
This manual suits for next models
1
Table of contents