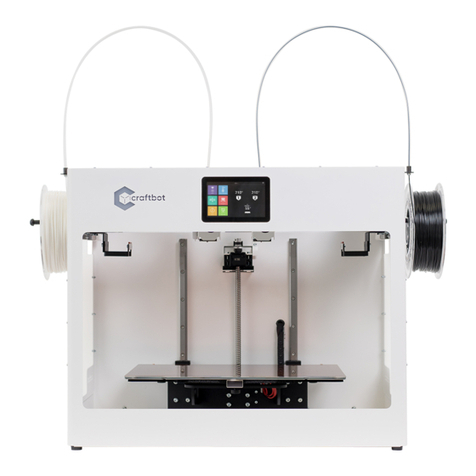
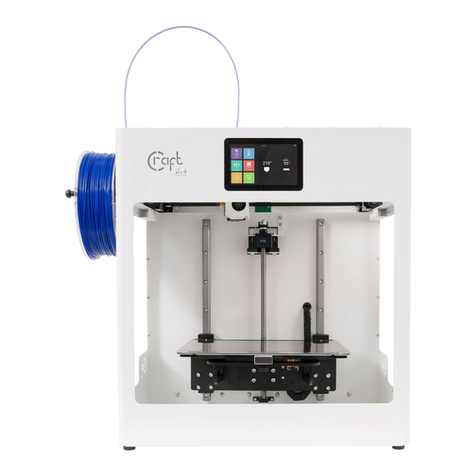
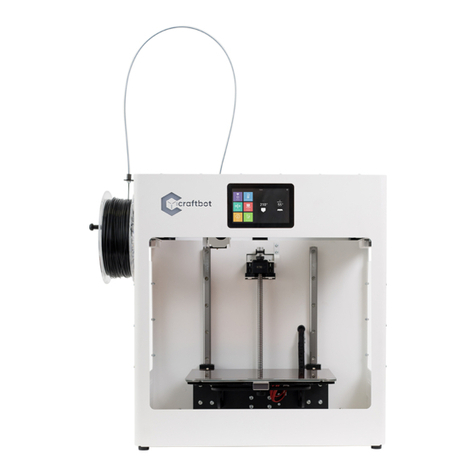
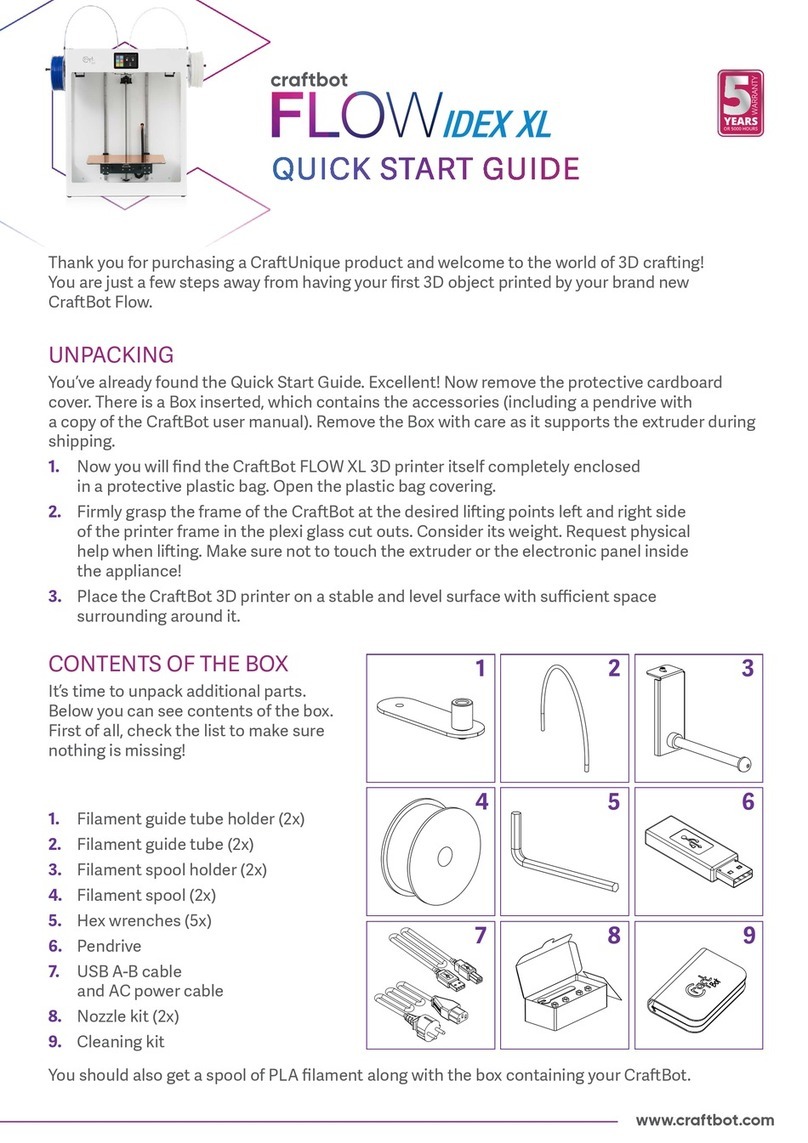
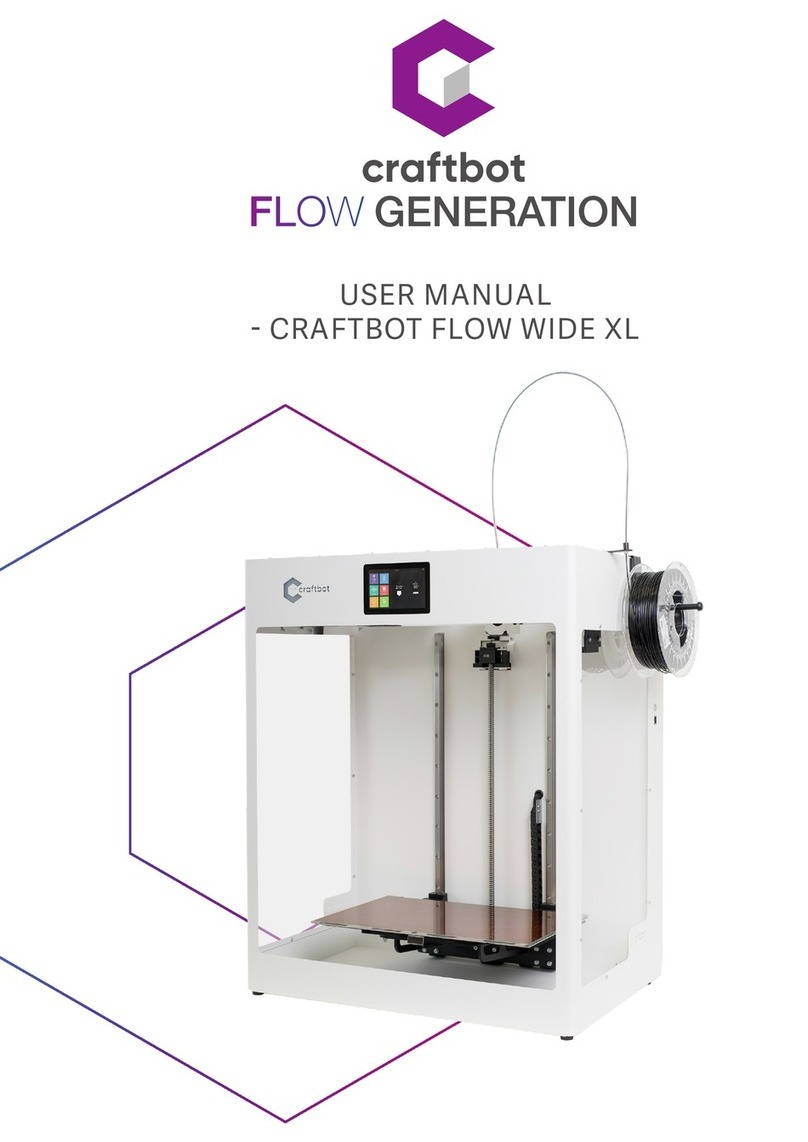
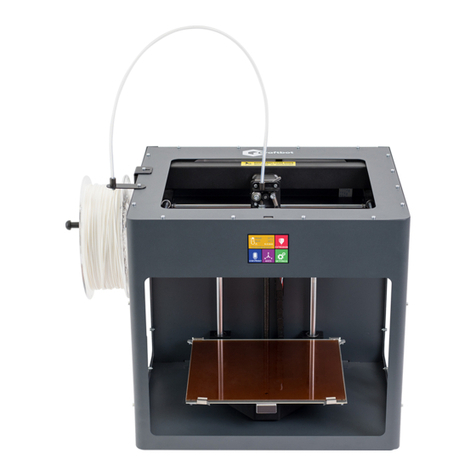
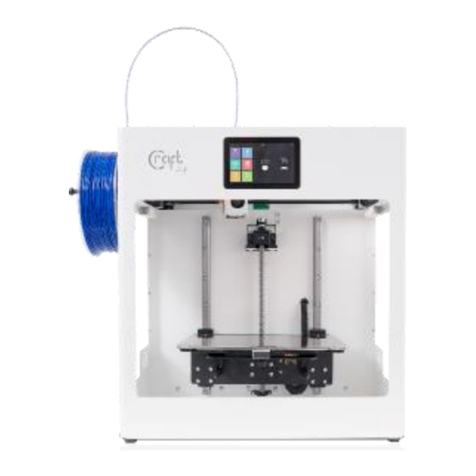
CraftBot PLUS PRO User manual

USER GUIDE

USER GUIDE
2
1. INTRODUCTION . . . . . . . . . . . . . . . . . . . . . . . . . . . . . . . . . . . . . . . . . . . . . . . . . . . . . . . . . . . . . .3
1.1. Important! . . . . . . . . . . . . . . . . . . . . . . . . . . . . . . . . . . . . . . . . . . . . . . . . . . . . . . . . . . . . . . . . . .4
1.2. Warnings . . . . . . . . . . . . . . . . . . . . . . . . . . . . . . . . . . . . . . . . . . . . . . . . . . . . . . . . . . . . . . . . . . .4
1.3. Caution! . . . . . . . . . . . . . . . . . . . . . . . . . . . . . . . . . . . . . . . . . . . . . . . . . . . . . . . . . . . . . . . . . . .4
1.4. Unpacking your CraBot printer . . . . . . . . . . . . . . . . . . . . . . . . . . . . . . . . . . . . . . . . . . . . . . . . . . .5
1.5. Contents of the box. . . . . . . . . . . . . . . . . . . . . . . . . . . . . . . . . . . . . . . . . . . . . . . . . . . . . . . . . . . .5
2. INTRODUCING THE CRAFTBOT 3D PRINTER . . . . . . . . . . . . . . . . . . . . . . . . . . . . . . . . . . . . . . . . . . .6
3. ASSEMBLING THE CRAFTBOT PRINTER . . . . . . . . . . . . . . . . . . . . . . . . . . . . . . . . . . . . . . . . . . . . . .7
4. USING THE CRAFTBOT PRINTER . . . . . . . . . . . . . . . . . . . . . . . . . . . . . . . . . . . . . . . . . . . . . . . . . . .8
4.1. Switching the appliance. . . . . . . . . . . . . . . . . . . . . . . . . . . . . . . . . . . . . . . . . . . . . . . . . . . . . . . . .8
4.2. Seing the language . . . . . . . . . . . . . . . . . . . . . . . . . . . . . . . . . . . . . . . . . . . . . . . . . . . . . . . . . . .8
4.3. Select the scale of temperature. . . . . . . . . . . . . . . . . . . . . . . . . . . . . . . . . . . . . . . . . . . . . . . . . . . .8
4.4. Seing the clock. . . . . . . . . . . . . . . . . . . . . . . . . . . . . . . . . . . . . . . . . . . . . . . . . . . . . . . . . . . . . .9
4.5. Connecting the CraBot printer to wireless network. . . . . . . . . . . . . . . . . . . . . . . . . . . . . . . . . . . . .10
5. PREPARING THE PRINTER . . . . . . . . . . . . . . . . . . . . . . . . . . . . . . . . . . . . . . . . . . . . . . . . . . . . . . 10
5.1. Heating up the printer . . . . . . . . . . . . . . . . . . . . . . . . . . . . . . . . . . . . . . . . . . . . . . . . . . . . . . . . . 10
5.2. Loading the filament . . . . . . . . . . . . . . . . . . . . . . . . . . . . . . . . . . . . . . . . . . . . . . . . . . . . . . . . . . 11
5.3. Extruding. . . . . . . . . . . . . . . . . . . . . . . . . . . . . . . . . . . . . . . . . . . . . . . . . . . . . . . . . . . . . . . . . .12
5.4. Removing the filament from the extruder . . . . . . . . . . . . . . . . . . . . . . . . . . . . . . . . . . . . . . . . . . . . 12
5.5. Leveling the build plate . . . . . . . . . . . . . . . . . . . . . . . . . . . . . . . . . . . . . . . . . . . . . . . . . . . . . . . . 13
6. OTHER MENU SETTINGS . . . . . . . . . . . . . . . . . . . . . . . . . . . . . . . . . . . . . . . . . . . . . . . . . . . . . . . 15
6.1. Adjusting the lighting . . . . . . . . . . . . . . . . . . . . . . . . . . . . . . . . . . . . . . . . . . . . . . . . . . . . . . . . . 15
6.2. Activating the fans . . . . . . . . . . . . . . . . . . . . . . . . . . . . . . . . . . . . . . . . . . . . . . . . . . . . . . . . . . . 15
6.3. Sound seings . . . . . . . . . . . . . . . . . . . . . . . . . . . . . . . . . . . . . . . . . . . . . . . . . . . . . . . . . . . . . . 16
6.4. Report function . . . . . . . . . . . . . . . . . . . . . . . . . . . . . . . . . . . . . . . . . . . . . . . . . . . . . . . . . . . . . 16
6.5. Dome menu . . . . . . . . . . . . . . . . . . . . . . . . . . . . . . . . . . . . . . . . . . . . . . . . . . . . . . . . . . . . . . . . 17
6.6. Reset seings . . . . . . . . . . . . . . . . . . . . . . . . . . . . . . . . . . . . . . . . . . . . . . . . . . . . . . . . . . . . . . 18
6.7. FMS system (optional feature). . . . . . . . . . . . . . . . . . . . . . . . . . . . . . . . . . . . . . . . . . . . . . . . . . . .18
7. NAVIGATE THE BUILD PLATE AND THE EXTRUDERS. . . . . . . . . . . . . . . . . . . . . . . . . . . . . . . . . . . . .20
8. USING THE PRINTER . . . . . . . . . . . . . . . . . . . . . . . . . . . . . . . . . . . . . . . . . . . . . . . . . . . . . . . . . . 21
8.1. Installing CraWare. . . . . . . . . . . . . . . . . . . . . . . . . . . . . . . . . . . . . . . . . . . . . . . . . . . . . . . . . . .21
8.2. Using CraWare . . . . . . . . . . . . . . . . . . . . . . . . . . . . . . . . . . . . . . . . . . . . . . . . . . . . . . . . . . . . . 21
9. PRINTING OBJECTS FROM USB FLASH DRIVE. . . . . . . . . . . . . . . . . . . . . . . . . . . . . . . . . . . . . . . . .23
9.1. Printing menu . . . . . . . . . . . . . . . . . . . . . . . . . . . . . . . . . . . . . . . . . . . . . . . . . . . . . . . . . . . . . . 23
9.2. Tweak menu. . . . . . . . . . . . . . . . . . . . . . . . . . . . . . . . . . . . . . . . . . . . . . . . . . . . . . . . . . . . . . . .24
9.3. Pause Next Layer menu . . . . . . . . . . . . . . . . . . . . . . . . . . . . . . . . . . . . . . . . . . . . . . . . . . . . . . . . 24
9.4. Pause menu . . . . . . . . . . . . . . . . . . . . . . . . . . . . . . . . . . . . . . . . . . . . . . . . . . . . . . . . . . . . . . . .24
10. CLEANING AND MAINTENANCE. . . . . . . . . . . . . . . . . . . . . . . . . . . . . . . . . . . . . . . . . . . . . . . . . .25
10.1. CLEANING. . . . . . . . . . . . . . . . . . . . . . . . . . . . . . . . . . . . . . . . . . . . . . . . . . . . . . . . . . . . . . . . .25
10.2. Lubricating . . . . . . . . . . . . . . . . . . . . . . . . . . . . . . . . . . . . . . . . . . . . . . . . . . . . . . . . . . . . . . . . 26
11. TROUBLESHOOTING. . . . . . . . . . . . . . . . . . . . . . . . . . . . . . . . . . . . . . . . . . . . . . . . . . . . . . . . . .27
11.1. Preventing/Fixing a clogged extruder . . . . . . . . . . . . . . . . . . . . . . . . . . . . . . . . . . . . . . . . . . . . . . . 27
11.2. Removing nozzle. . . . . . . . . . . . . . . . . . . . . . . . . . . . . . . . . . . . . . . . . . . . . . . . . . . . . . . . . . . . .27
12. FIRMWARE UPDATE . . . . . . . . . . . . . . . . . . . . . . . . . . . . . . . . . . . . . . . . . . . . . . . . . . . . . . . . . . 28
12.1. Firmware update with new soware . . . . . . . . . . . . . . . . . . . . . . . . . . . . . . . . . . . . . . . . . . . . . . . .28
12.2. Firmware update on older printers . . . . . . . . . . . . . . . . . . . . . . . . . . . . . . . . . . . . . . . . . . . . . . . . . 30
13. APPLYING A NEW LAYER OF PROTECTIVE KAPTON SHEET TO YOUR BUILD PLATE . . . . . . . . . . . . . . . . 31
14. GUARANTEE . . . . . . . . . . . . . . . . . . . . . . . . . . . . . . . . . . . . . . . . . . . . . . . . . . . . . . . . . . . . . . . 31
15. LIMITATION OF LIABILITY. . . . . . . . . . . . . . . . . . . . . . . . . . . . . . . . . . . . . . . . . . . . . . . . . . . . . . .31
APPENDIX TECHNICAL SPECIFICATIONS . . . . . . . . . . . . . . . . . . . . . . . . . . . . . . . . . . . . . . . . . . . .32
TABLE OF CONTENTS

USER GUIDE
3
1. INTRODUCTION
Congratulations on your purchase of the CraBot 3D printer and welcome to the word of 3D craing! At CraUnique
we believe that 3D printing opens a new window to enhance creativity. It offers outstanding craing experience even
without prior programming or 3D printing experience.
How does the printer work? The CraBot 3D printer makes solid, three-dimensional objects out of melted plastic
filament. First you will have to have your objects with the help of a 3D design program. Then you will need to use
the CraWare program (downloadable from www.craunique.com/craware) to transform your 3D design files into
printing instructions for the CraBot 3D printer. Transfer your files to Your CraBot 3D printer via USB drive or USB
cable. The CraBot 3D printer will melt plastic filaments and squeeze it out onto the building plate in thin lines to
print your object layer by layer.

USER GUIDE
4
1.1. Important!
Read this user manual carefully before you use the appliance, then save it for future reference. All information in
this user manual is subject to change at any time without notice and is provided for convenience purposes only.
CraUnique, reserves the right to modify or revise this user manual in its sole discretion and at any time. By using
the manual, you agree to be bound by any modification and/or revisions. For up-to-date information contact the
CraUnique Service Support team. (support.crabot.com).
1.2. Warnings
• Check if the voltage indicated on the boom of the appliance corresponds to the local mains voltage before you
connect the appliance.
• Do not immerse cord, plug or main body in water or any other liquid. This may cause electrical shock.
• Do not use the appliance if the plug, the mains cord or the appliance itself is damaged or not operating properly.
• If the mains cord is damaged, you must have it replaced in order to avoid hazard.
• Only connect the appliance to grounded wall sockets.
• Keep the mains cord away from hot surfaces.
• Do not let the mains cord hang over the edge of the table or worktop on which the appliance stands.
• Keep the appliance and its cord out of the reach of children.
• This appliance can be used by children aged from 8 years and above; and by persons with reduced physical,
sensory or mental capabilities or a lack of experience and knowledge. These persons should be under supervision
and given adequate instruction concerning the use of the appliance in a safe way, understanding the hazards
involved. Cleaning and user maintenance shall not be made by children.
• Children can receive great educational benefits from designing 3D objects, but the printing process should not
be done by small children.
• Do not touch moving parts or heated elements, it can cause injuries.
• Never reach inside the machine when turned on. Different parts of the machine (mainly the extruder and heated
build plate) operate at very high temperatures and can cause severe burns.
• Never leave the CraBot 3D printer unaended while it is plugged in, and is in operation.
• Make sure that the power supply is off and that the power cord is disconnected before servicing. Allow at least 5
minutes for the device to cool down aer unplugging it before reaching inside to service.
• Always turn off the printer and disconnect from the computer when it is not being used.
1.3. Caution!
• Make sure to level the build plate properly before use.
• Make sure not to force anything, whether it be during unpacking, setup, operation or service.
• Service and oil the suggested parts as oen as recommended. Only use only substances recommended by
CraUnique.
• The CraBot 3D printer melts plastic during printing. Plastic odors/gases are emied during this operation. Make
sure to set up the CraBot 3D printer in a well-ventilated area.

USER GUIDE
5
1.4. Unpacking your CraBot printer
1. Place the CraBot box on the ground on a level surface. Make sure that there is a lot of open space around you.
2. Open the box with care, not to damage the contents if using a blade.
3. Remove the protective foam insert. You will find the Quick Starter Guide located within the top protective foam
insert.
4. There is a Box inserted, which contains the accessories (including a pendrive with a copy of the CraBot user
manual). Remove the Box with care as it supports the extruder during shipping.
5. Now you will find the CraBot 3D printer itself completely enclosed in a protective plastic bag. Open the plastic
covering.
6. Firmly grasp the frame of the CraBot. Consider its weight. Request physical help if needed. Make sure not to
touch the extruder or the electronic panel inside the appliance! Liing points on the CraBot are under the Front
LCD Panel and the hand dole in the back panel.
7. Place the CraBot 3D printer on a stable and level surface with sufficient space surrounding around it.
1.5. Contents of the box
It’s time to unpack additional parts. Below you can see con- tents of the box. First of all, check the list to make sure
nothing is missing!
1. Filament guide tube holder
2. Filament guide tube
3. Filament spool holder
4. Filament spool
5. Hex wrenches (5x)
6. USB Flash storage
7. Nozzle kit which includes assortment
of Nozzles, spacer card and nozzle
spanner/wrench
8. USB A-B cable and AC power cable
9. Filament monitoring system (FMS)
1
4
7
2
5
8 9
3
6

USER GUIDE
6
1. Touchschreen LCD display
2. Filament guide tube
3. Nozzle
4. Removable glass build plate
5. Leveling knobs
6. Z axis rod
7. Filament spool holder
8. Filament spool
9. Filament guide tube holder
10. Extruder
11. USB-A for flash drive
12. USB-B socket
13. AC power socket and ON/OFF switch
2. INTRODUCING THE CRAFTBOT 3D PRINTER
3
12
4
6
5
7
8
9
13
12
10
11

USER GUIDE
7
3. ASSEMBLING THE CRAFTBOT PRINTER
Installing the FMS (Optional)
• Select the desired position for the FMS along the top of the printer. Keep
in mind that the spool holder must be installed directly next to it.
• Locate the FMS.
• Using a hex wrench, install FMS system onto the top of the CraBot.
• Keep in mind that the spool holder must be installed directly next to it.
• Connect the FMS to the machine.
Installing the filament guide tube
• Locate the filament guide tube.
• Insert one end of the filament guide tube into the FMS on top of
the CraBot appliance.
• Push the other end into the hole on the top of the extruder.
Installing the filament spool holder
• Locate the filament spool holder.
• Using a hex wrench, install the filament spool holder next to the filament
guide tube holder.
• Keep in mind leave some space for FMS connector.
Mounting the filament spool
• Fit the filament spool onto the filament spool holder so that the lead end
keeps its course when the filament is fed into the FMS system.
Aaching the powercord
• Ensure that the power switch on the CraBot is set to the OFF position.
• Find and then insert the AC power cord into the power input on the back
of the CraBot.

USER GUIDE
8
4. USING THE CRAFTBOT PRINTER
4.1. Switching the appliance
• Switch on CraBot by the ON/OFF buon located on the back part of the
appliance.
• The LCD panel on the front will light up.
4.2. Seing the language
• Select the Seings menu on the LCD screen and go to the page 2
with right arrow icon.
• Select the language icon .
• Select the desired language.
• Confirm selection.
• Use the le arrow to get back to the main menu.
4.3. Select the scale of temperature
•
•
Temperature can be displayed in Celsius or Fahrenheit
• Select the Seings menu on the LCD screen and go to the page 2
with right arrow icon.
• Select the temperature icon .
• The unit can be changed by pressing the right or le arrows.
• • Use the le arrow to get back to the main menu.

USER GUIDE
9
4.4. Seing the clock
You can set the time and reset the operating hour counter. This function helps to track printing time between
maintenance sessions.
• Select the Seings menu on the LCD screen and go to the page 3 with right arrow icon.
• Select the clock icon .
• Set the time by using the up and down arrows. Switch between minute and hour by pushing the right arrow
increases the selected value by one
decreases the selected value by one
le navigation
right navigation
Counter can be reset by reset buon, which helps tracking the elapsed time between the maintenance sessions.

USER GUIDE
10
4.5. Connecting the CraBot printer to wireless network
• Select the Seings menu on the LCD screen and go to the page 4 with right arrow icon.
• Select the Wi-Fi icon .
• Select „search Wi-Fi network” icon –in the boom row..
• Use up-down arrows and select desired network with the tick mark .
• Enter password.
• Confirm password with the tick mark in right boom corner.
• The selected Wi-Fi network is displayed indicating host name and LAN IP.
• By pressing the “eye” icon you can toggle the wifi’s visibility.
• SSID: You can modify the printer’s unique identifier name.
• Key icon: The printer’s password can be set if the printer is the host.
5. PREPARING THE PRINTER
5.1. Heating up the printer
For printing or loading/unloading the filament, you will need to heat up the printer according to the type of the
filament you are using.
• On the main menu press the thermometer buon or press the same icon inside the Extruder menu.
• To Scroll through the pre-installed heat seing for other Filaments like PLA, ABS, and PET. Just press the
Filament spool icon.

USER GUIDE
11
• You can then select the Extruder icon, and the Bed icon (line with 3 wavy lines above) to start the
heating process.
• Once the extruder reaches the target temperature of your filament you can start printing.
If you want to print with material with other temperature properties, select USER1 or USER2, then click the icon
to adjust the temperature using the arrows.
5.2. Loading the filament
• Heat up the printer.
• Take the end of the filament out of the securing hole on the Filament spool.
• Cut and the end of the filament so the filament is straight and has no damages
bends kinks or melted parts.
• Remove the filament guide tube from the insert hole on the top of the extruder.
• Insert the end of the filament from the spool through the FMS into the filament
guide tube. Until it comes out of the guide tube at the extruder.
• Set the switch on the top of the extruder to the le to the “open” position. Then
push the filament into the top of extruder hole.
• When you see the nozzle printhead begin to eject the molten filament, reset
the extruder switch to the right “closed” position.
• Now reinsert the end of the filament guide tube into the hole at the top of the
extruder.
OPEN CLOSE

USER GUIDE
12
5.3. Extruding
• Enter into the extruder menu.
• You can also use the “extrude” menu to extrude the filament. This will only rotate the gear wheel every time
you press the icon and will give you more control over the filament movement.
• Push the filament into the extruder hole, against the drive gear and press the extrude or load filament buon
on the screen. The load buon will extrude 15 cm of filament automatically, this can be interrupted by pressing
the back buon.
5.4. Removing the filament from the extruder
Never remove the filament from the extruder if the extruder is cold! Always preheat the extruder before removing
or changing filaments. Removing the filament from a cold extruder might damage it! You don’t have to remove the
filament between prints.
• Heat the extruder as described above
• When the extruder reaches the temperature required for the filament (note that different filaments, such as PLA,
ABS, and PET filaments have different temperature characteristics), press the reverse buon , and hold
down or press the filament reverse buon , which automatically performs the operations.
• When the gears start to retract the filament, you can safely pull out the rest of the filament from the guide tube
and connect the end of the filament to the spool for safe keeping. Now you are ready to load a new filament.

USER GUIDE
13
5.5. Leveling the build plate
CraBot has a leveling procedure which ensures that the extruder and the heated build plate are at optimal distance
(0.3mm) and they must be leveled evenly. Smaller gap or uneven levelling may lead to the damaging of the Kapton
cover of the build plate or the extruder and can give bad printing problems.
• Heat up the extruder and remove the filament. This is to stop any leaking filament from destroying the spacer
card and giving you a bad bed leveling height.
• Select the Seings menu on the LCD screen and on the page. Select the Leveling icon (three crossed circles
which represent the three knobs and screw) .
Follow the step-by-step instructions on the LCD screen:
• Turn all three black knobs holding the build plate all the way to the right until the springs in between have been
compressed fully and the knobs begin to feel tight this will mean the build plate is at its lowest point. (There
is one knob at the front in the middle and two in the back le and right corners of the build plate). Do not over
tighten them.
• Have the 0.3mm spacer card ready from the box of accessory’s provided with this printer. This card will ensure the
optimal distance between the build plate and the extruder. Please keep this card for future use.
• If the extruder has not been warmed up before the calibration, starting the calibration will automatically start
warming up the extruder for you
• The pre-programmed leveling process will first set the front center point. Place the spacer card above the front
center black knob on the build plate, then press the right arrow on the screen. To move the extruder to this point.
Adjust the front center knob if needed based on the instruction on the screen.

USER GUIDE
14
• Repeat the process with the two back knobs. First the right back, then the le back knob these will need to be
adjusted.
• Before switching from knob to knob, please remove and replace the leveling card as necessary.
• Process is repeated twice to make sure that all 3 knobs are in the correct position.
• As a result, the building plate should be evenly calibrated.
• You can return to the main menu by pressing the right arrow.
• It is not necessary to calibrate before each print because it is preserves and set in the seings.

USER GUIDE
15
6. OTHER MENU SETTINGS
6.1. Adjusting the lighting
• Select the Seings menu on the LCD screen and on page 1. Select the Lighting seings icon.
• You will see a variance pop up on the screen: two different touchscreen sliders.
• Adjusting the lighting: Move the line from the le to the right to vary the brightness of either the interior LED
lighting of the CraBot or the LCD display backlighting.
6.2. Activating the fans
• Select the Seings menu on the LCD screen and on page 1. Select the Fan control icon.
• Switch between 3 fans (object, extruder, case ) by pressing arrows. The name of the fan to be controlled is displayed
at the top of the screen.
The fan Control: Activate and deactivate the fans before or during printing to match your preferences. Extruder and
case fan seings automatically reset to default aer 60 seconds.

USER GUIDE
16
6.3. Sound seings
• Select the Seings menu on the LCD screen and go to the page 2.
• Select the Bell icon
• Use the arrows in the top right corner you can choose between 3 options:
- Sound On
- Sound Off
- Warnings Only
6.4. Report function
Registered users on the Crabot.com website can register their printer using its serial number on the website.
Aer registration, and assuming both the function is switched on and that the printer is connected to Wi-Fi then
the printer every day at midnight or at the very first power on of that day will automatically send the actual hours of
operation, plus the filament usage of the printer to the users account.
On the website with help of time filtering users can check their printer’s usage (how many hours they printed in a day)
and how much filament used.
• Activate the Wi-Fi on your printer.
• Select the Setup menu on the LCD screen and use the arrow to move to page 4.
• Select the Report buon .
• Before seing up this feature, connect to the Wi-Fi network as described above.
• Select the second buon in the boom.
• To activate, you will need the serial number of the printer, which is located on a sticker behind the display (or at
the back of the printer). Enter this 8-digit line in the new interface and accept it with the check mark in the right
corner.

USER GUIDE
17
• You can check if the code is correct with the cloud icon. If you have entered an incorrect number, you will
receive a warning message, a correctly entered number will receive a confirmation message.
• Turn on the report function with the buon. Aer the confirmation message, the function will be live.
• Use the le arrow to return to the main menu.
6.5. Dome menu
The plexi dome is optional, not included in the basic set.
• Connect the cover’s cable to the printer.
• Select the Seings menu on the LCD screen and go to page 4.
• Select the dome icon.
• If the dome is mounted you can turn on the dome’s fan here. If the dome is turned on then the dome fan will work
during printing.
• For Some older printers you may have to connect the dome and the case fan connector together. Working
together on the case fan seing.
• Use the le arrow to return to the main menu.

USER GUIDE
18
6.6. Reset seings
You can reset all seings.
• Select the Seings menu on the LCD screen and go to the page 6. Select the Reset circle arrow icon .
• Select the circle arrow again, and press OK.
6.7. FMS system (optional feature)
The filament monitoring system observes the filament flow during printing. If the printer detects a jam during the
printing process, it will try to resolve it on its own. If it is unable to resolve the jam, then an error message will appear
on the LCD display and the printer will also send an email message. For this please make sure the Wi-Fi and e-mail
address in the seings are setup correctly.
• Connect the FMS to the machine on the back side.
• Select the Seings menu on the LCD screen and go to the page 4. Select the FMS seings icon .
• Here you can view the status and see whether the function is turned on or off. You can change this with the
buon.

USER GUIDE
19
• You can provide your email address with the icon, where the printer will send a message if it was unable to
resolve a jam. Please check or set your e-mail address with the @ icon.
• Calibration can be initiated by touching the icon . You can set the head temperature here. You can calibrate
the appropriate FMS with the help of the first two icons.
• A test message can be sent aer calibration so the user can check whether the e-mail function is working
correctly. In addition to the e-mail, a message will also appear in the application and on the FMS reporting.
Automatic error correction process:
• The printer enters paused status, the head goes to the pause position
• It then retracts and extrude the filament
• Point two will be aempted three times
• It will aempt to extrude 6cm of filament to determine whether extrusion will cause clogging again
• If not, then printing will resume automatically. If it is clogged, an error message will be sent (if the sensor is aktiv)
• If the user has resolved the error, you can press resume printing to continue printing immediately.

USER GUIDE
20
7. NAVIGATE THE BUILD PLATE AND THE EXTRUDERS
Select the AXES on the menu.
• The le arrow buon will return you to the main menu.
• The small house icon indicates the “home” position of the extruder which is location in the front le corner
of the build plate. You can reset the extruder and the build plate to the “home” or “zero” position.
• You can either set each axis one at a time ( , or ), or do all three of them at once by touching
the appropriate buon . If the individual house icons are white, then this means that the motors of each
highlighted icon are engaged (working).
• To disengage the motors, click on the icon in the far-right boom corner , and you will see all of the house
icons turn grey. The motors have now been disengaged (not working) and you can freely move the extruder by
hand if you wish to do so.
• The directional buon to the right of the “home” buon can be used to move along the X, Y or Z axis using the
motors. Aer clicking on this buon, you will be redirected to another display in which you will see six different
arrow buons.
- the head moves le on the x-axis
- the head moves right on the x-axis
- the head backwards on the y-axis
- the head forwards on the y-axis
- the bed moves up the z-axis
- the bed moves down the z-axis
Note that this option can only be used if all of the motors are already activated and the house icons are all white. If
the house icons are grey, then nothing will happen. In this case, aer clicking on the direction buon, you will see all
of the arrows in the color grey. To activate the motors, return to the “home” icon and home in; the house icons will
now turn white and you can go on to the direction display and move the extruder and bed as you see fit.
This manual suits for next models
1
Table of contents
Other CraftBot 3D Printer manuals

CraftBot
CraftBot FLOW IDEX XL User manual

CraftBot
CraftBot CB4 FLOW Series User manual

CraftBot
CraftBot FLOW WIDE XL User manual

CraftBot
CraftBot Plus User manual

CraftBot
CraftBot FLOW IDEX DOME User manual

CraftBot
CraftBot FLOW GENERATION IDEX User manual

CraftBot
CraftBot CB4 FLOW Series User manual

CraftBot
CraftBot Flow User manual

CraftBot
CraftBot PLUS PRO User manual

CraftBot
CraftBot FLOWGENERATION FLOW User manual