manuals.online logo
Brands
  1. Home
  2. •
  3. Brands
  4. •
  5. Ultimaker
  6. •
  7. 3D Printer
  8. •
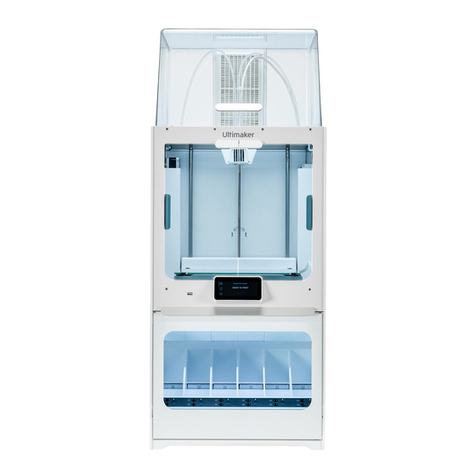
  9. Ultimaker S5 Material Station User manual

Ultimaker S5 Material Station User manual

Other manuals for S5 Material Station

6

This manual suits for next models

1

Other Ultimaker 3D Printer manuals

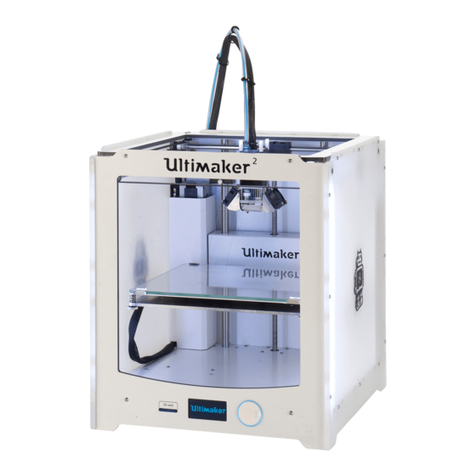
Ultimaker Original User manual

Ultimaker

Ultimaker Original User manual

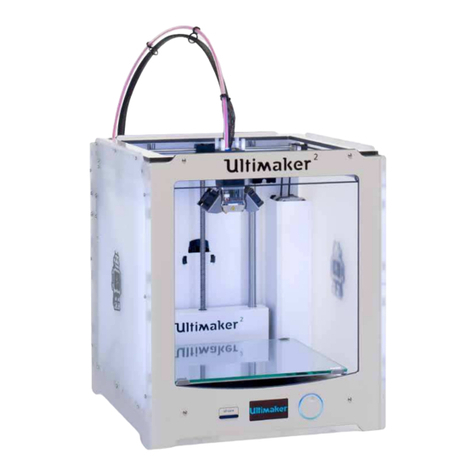
Ultimaker UM2 User manual

Ultimaker

Ultimaker UM2 User manual

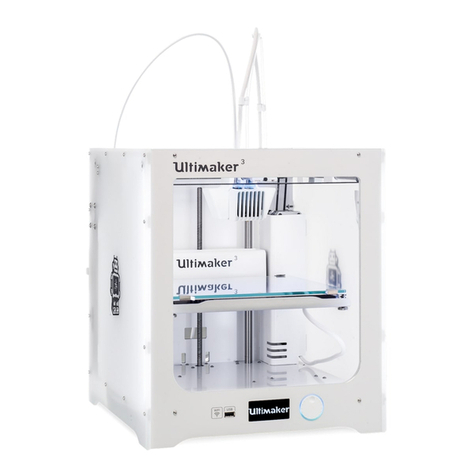
Ultimaker 3 Extended User manual

Ultimaker

Ultimaker 3 Extended User manual

Ultimaker 2 Go User manual

Ultimaker

Ultimaker 2 Go User manual

Ultimaker Heated Bed Upgrade Kit User manual

Ultimaker

Ultimaker Heated Bed Upgrade Kit User manual

Ultimaker Original User manual

Ultimaker

Ultimaker Original User manual

Ultimaker Ultimaker S5 Pro Bundle User manual

Ultimaker

Ultimaker Ultimaker S5 Pro Bundle User manual

Ultimaker S3 User manual

Ultimaker

Ultimaker S3 User manual

Ultimaker S3 User manual

Ultimaker

Ultimaker S3 User manual

Ultimaker 2 Extended User manual

Ultimaker

Ultimaker 2 Extended User manual
Ultimaker S5 Material Station User manual

Ultimaker

Ultimaker S5 Material Station User manual

Ultimaker 2 Extended User manual

Ultimaker

Ultimaker 2 Extended User manual
Ultimaker S5 Material Station User manual

Ultimaker

Ultimaker S5 Material Station User manual

Ultimaker 2 Extended User manual

Ultimaker

Ultimaker 2 Extended User manual
Ultimaker 3 Extended Guide

Ultimaker

Ultimaker 3 Extended Guide

Ultimaker 2+ Connect Use and care manual

Ultimaker

Ultimaker 2+ Connect Use and care manual

Ultimaker 2 Extended User manual

Ultimaker

Ultimaker 2 Extended User manual

Ultimaker 3 Extended User manual

Ultimaker

Ultimaker 3 Extended User manual

Ultimaker 2 Extended User manual

Ultimaker

Ultimaker 2 Extended User manual
Ultimaker S5 Material Station User manual

Ultimaker

Ultimaker S5 Material Station User manual

Ultimaker 2 Extended User manual

Ultimaker

Ultimaker 2 Extended User manual

Ultimaker METHOD XL User manual

Ultimaker

Ultimaker METHOD XL User manual

Ultimaker S5 Material Station User manual

Ultimaker

Ultimaker S5 Material Station User manual

Ultimaker EXTRUSION UPGRADE User manual

Ultimaker

Ultimaker EXTRUSION UPGRADE User manual

Popular 3D Printer manuals by other brands

bq Hephestos 2 Faq

bq

bq Hephestos 2 Faq

EcubMaker TOYDIY quick start guide

EcubMaker

EcubMaker TOYDIY quick start guide

AnyCubic Kossel Plus Modification

AnyCubic

AnyCubic Kossel Plus Modification

ReDeTec ProtoCycler Operation manual

ReDeTec

ReDeTec ProtoCycler Operation manual

Kywoo3D Tycoon IDEX user manual

Kywoo3D

Kywoo3D Tycoon IDEX user manual

CraftBot PLUS PRO user guide

CraftBot

CraftBot PLUS PRO user guide

3DGence INDUSTRY F340 user manual

3DGence

3DGence INDUSTRY F340 user manual

HP Jet Fusion 4200 Product Documentation Site Preparation Guide

HP

HP Jet Fusion 4200 Product Documentation Site Preparation Guide

Rokit AEP Series user manual

Rokit

Rokit AEP Series user manual

Ackuretta FreeShape 120 user manual

Ackuretta

Ackuretta FreeShape 120 user manual

DIYElectronics PRUSA I3 ELECTRONICS AND SOFTWARE GUIDE

DIYElectronics

DIYElectronics PRUSA I3 ELECTRONICS AND SOFTWARE GUIDE

Stratasys FDM Vantage Series user guide

Stratasys

Stratasys FDM Vantage Series user guide

ZYYX Pro II user manual

ZYYX

ZYYX Pro II user manual

German RepRap X400 Pro V3 user guide

German RepRap

German RepRap X400 Pro V3 user guide

3DGence ONE user manual

3DGence

3DGence ONE user manual

Create 3400 Handbook

Create

Create 3400 Handbook

Snapmaker Dual Extrusion 3D Printing Module quick start guide

Snapmaker

Snapmaker Dual Extrusion 3D Printing Module quick start guide

Variquest Trifecta 800 Troubleshooting tips

Variquest

Variquest Trifecta 800 Troubleshooting tips

manuals.online logo
manuals.online logoBrands
  • About & Mission
  • Contact us
  • Privacy Policy
  • Terms and Conditions

Copyright 2025 Manuals.Online. All Rights Reserved.

Ultimaker S5
Fine knurl feeder kit
Notes
Caution: Make sure the laments are removed, the Ultimaker
S5 is turned o, and the power cable is disconnected from the
printer before you start the replacement.
Introduction
This document describes how to replace both of the feeders of the Ultimaker S5. A new feeder with a ner knurled wheel was developed
to improve printing with PVA on the Ultimaker S5 Pro Bundle. The ne pattern of the knurled wheel reduces stress on the PVA material
and prevents it from breaking inside the Material Station. These new feeders are strongly recommended for the Ultimaker S5 Pro Bundle if
PVA is used regularly.
EN 02/2021 v2.1 Original instructions
Requirements
For this repair, you need a new set of feeders (provided
in the Fine knurl feeder kit) and a 2 mm hex screwdriver.
Optionally, you can use grease to perform maintenance
on the feeder gear while performing this replacement.
The screwdriver and grease were included in the
Ultimaker S5 accessory box.
• Fine knurl feeder left (1)
• Fine knurl feeder right (2)
• 2.0 mm hex screwdriver
• Magnalube grease (optional)
Note: Both of the feeders must be replaced. The two versions
cannot be mixed on the same printer. Keep the ne knurl feeders
in the kit until the old feeders have been removed. Ensure to
keep them separate.
The new feeders have been marked with a black dot on the back.
2Ultimaker S5 Fine knurl feeder kit
3. Remove the clamp clips from the
bottom of the feeders
2. Remove the communication cable from the UMB
ports on the Ultimaker S5 and Material Station
Tip: Place the clamp clips somewhere safe, so they do not get lost
Disassembly - Material Station
4. Press the bottom tube coupling collets against
the feeders and pull out the Bowden tubes
Note: Do this for both of the feeders
Tip: Only pull the Bowden tubes out of the feeders, but leave them in
the Material Station’s decouplers
Note: Do this for both of the feeders
1. Remove the power extension cable between the
Ultimaker S5 and the Material Station
Note: The Ultimaker S5 Pro Bundle does not need to be dismantled
for this repair. Only follow the steps described here
The following steps describe which actions are required if a Material Station was already installed. If you are a new Material Station user, go direcly
to the next page and follow the steps before installing your new Material Station.
5. Pull the tube coupling collets out of the bottom
of the feeders and set them apart
Note: These collets will be placed in the new feeders when
reconnecting the Material Station
Caution: Do not proceed with the next steps if the power cable
and communication cable are still connected. This
could damage your printer
3Ultimaker S5 Fine knurl feeder kit
3. Press down on the tube coupling collet and pull
the Bowden tube out of the feeder
2. Remove the clamp clip from the top
of each of the feeders
Tip: Place the clamp clips somewhere safe, so they do not get lost
Disassembly
4. Loosen and remove the two bolts that secure
each feeder to the back panel
Note: Do this for both of the Bowden tubes
Tip: Place the four bolts somewhere safe, so they do not get lost
Tools: 2.0 mm hex screwdriver
Tip: While the feeder is removed, clean the
feeder gear and apply some new grease
to the gear. This ensures a smooth
operation of the feeder
5. Move the feeder away from the back panel and
carefully disconnect the lament detection cable
from the ow sensor
1. Turn o the printer and disconnect the power
cable before proceeding
Note: Use the Magnalube grease from the Ultimaker S5
accessory box
Tip: Tilt the feeder so that the cable is easy to disconnect. Pull the
connector out of the PCB carefully; avoid pulling at the cables
Tip: Secure the ow sensor cable to the back panel with some tape,
to prevent it slipping through the slot in the panel
Caution: Do not proceed with the next steps if the power cable is still
connected. This could damage your printer
Note: Step for an Ultimaker S5 without Material Station installed
4Ultimaker S5 Fine knurl feeder kit
Reassembly
1. Hold the new feeder close to the back
panel and connect the lament detection
cable to the ow sensor
2. Align the feeder with the gear and the back
panel and secure it with the two bolts (M3x10)
Tools: 2.0 mm hex screwdriver
3. Take the Bowden tube connected to the
print head and push it into the feeder’s
tube coupling collet
Tip: Ensure that the Bowden tubes from print head slots 1 and 2 are
connected to the corresponding feeders
4. Secure the Bowden tube with the clamp clip
Perform steps 1 - 4 for both of the feeders
Finished!
You can now proceed to install (or reconnect)
the Material Station as described in the
Quick Start Guide
Tip: The cable does not have much slack. Tilt the feeder so that the
cable is easy to connect
Tip: For reconnecting the Material Station, use the two tube
coupling collets and clamp clips that were removed
from the old feeders