Version 2022.4A
Contents
ZYYX - User Manual
1
Table of Contents
........................................................................................... 21. Getting Started
............................................................................................................ 21.1 Specifications
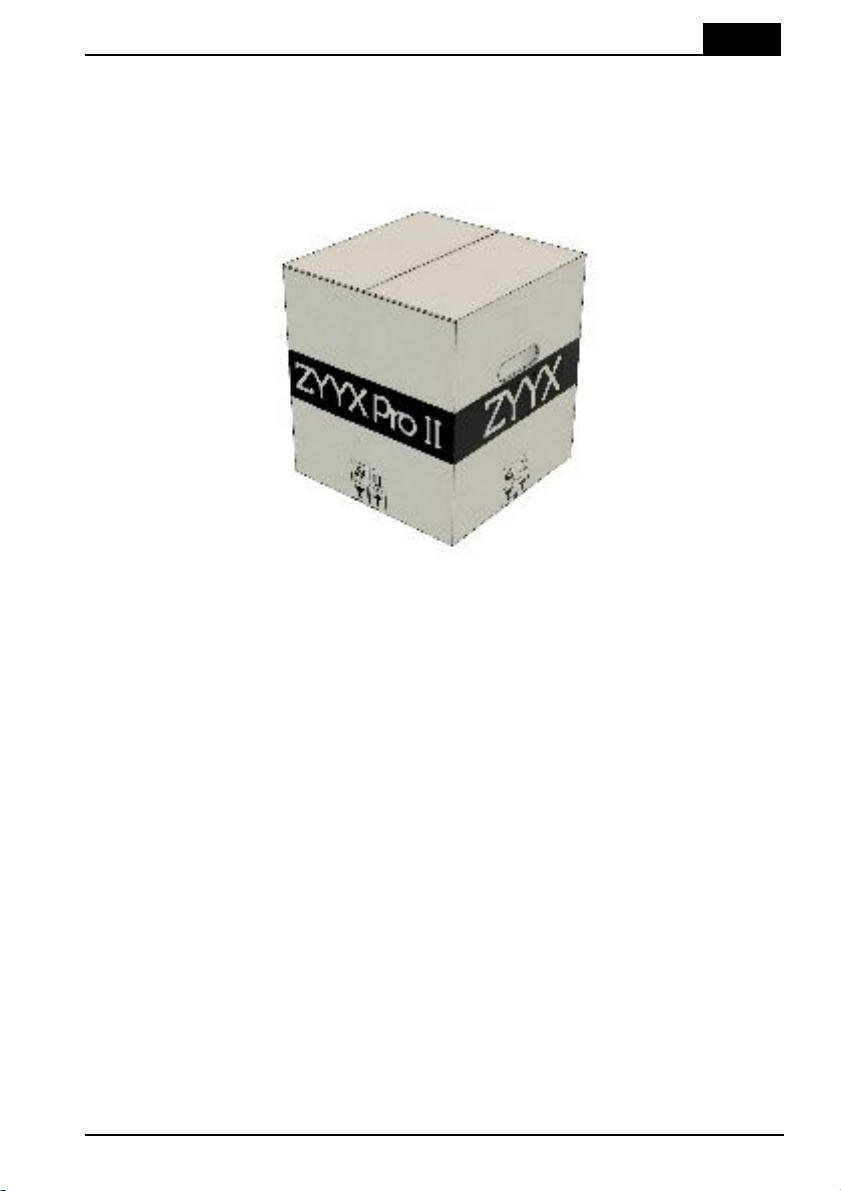
............................................................................................................ 31.2 Unpacking Your Printer
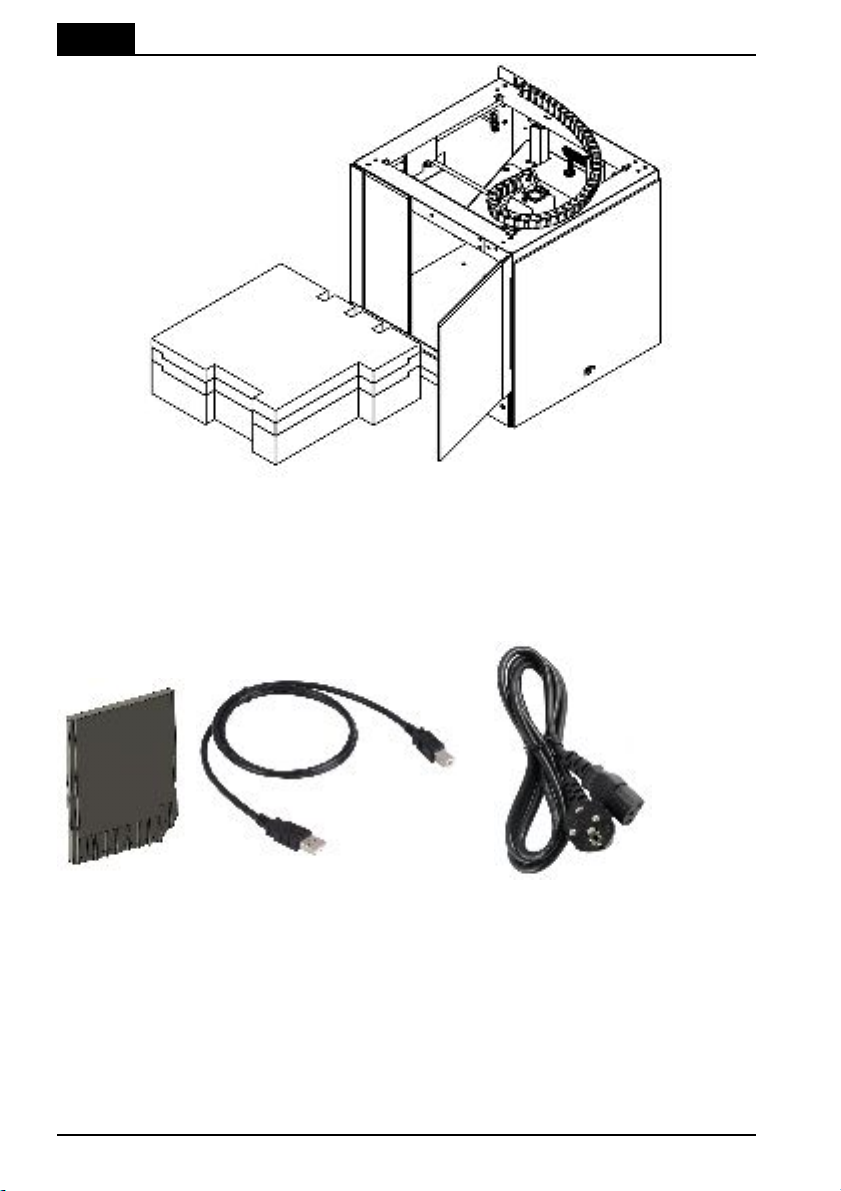
............................................................................................................ 41.3 What Is Included?
............................................................................................................ 61.4 Before Starting the ZYYX Pro II for the First Time
........................................................................................... 62. Product Overview
............................................................................................................ 82.1 User Interface
..................................................................................................................82.1.1 Keyboard Operation
............................................................................................................ 82.2 Setting Up the ZYYX Pro II Printer
............................................................................................................ 102.3 Setting Up the Simplify3D Slicer Software and ZYYX Pro II Profiles
............................................................................................................ 112.4 Slicing a First Print File
............................................................................................................ 132.5 Printing
............................................................................................................ 142.6 SwiftTool24s
............................................................................................................ 152.7 Swapping SwiftTools
............................................................................................................ 162.8 Filament Handling
............................................................................................................ 172.9 Tips and Tricks
..................................................................................................................182.9.1 Maintenance
..........................................................................................................182.9.1.1 Build-Plates
..........................................................................................................182.9.1.2 Air Filter Cartridge Ultra
..........................................................................................................192.9.1.3 Monthly Cleaning Routine
..........................................................................................................192.9.1.4 Adjusting Z-Axis Offset
........................................................................................... 193. Troubleshooting
........................................................................................... 204. Warranty
........................................................................................... 215. Standards and Compliances
............................................................................................................ 225.1 Manufacturer Declaration of Conformity
............................................................................................................ 235.2 Filament Safety Data Sheet (SDS)
................................................................................................... 24Index