V1.0 Rungu Front Wheel Alignment Procedure
Copyright 2017 Standard Bearer Machines, LLC Page 4of 11
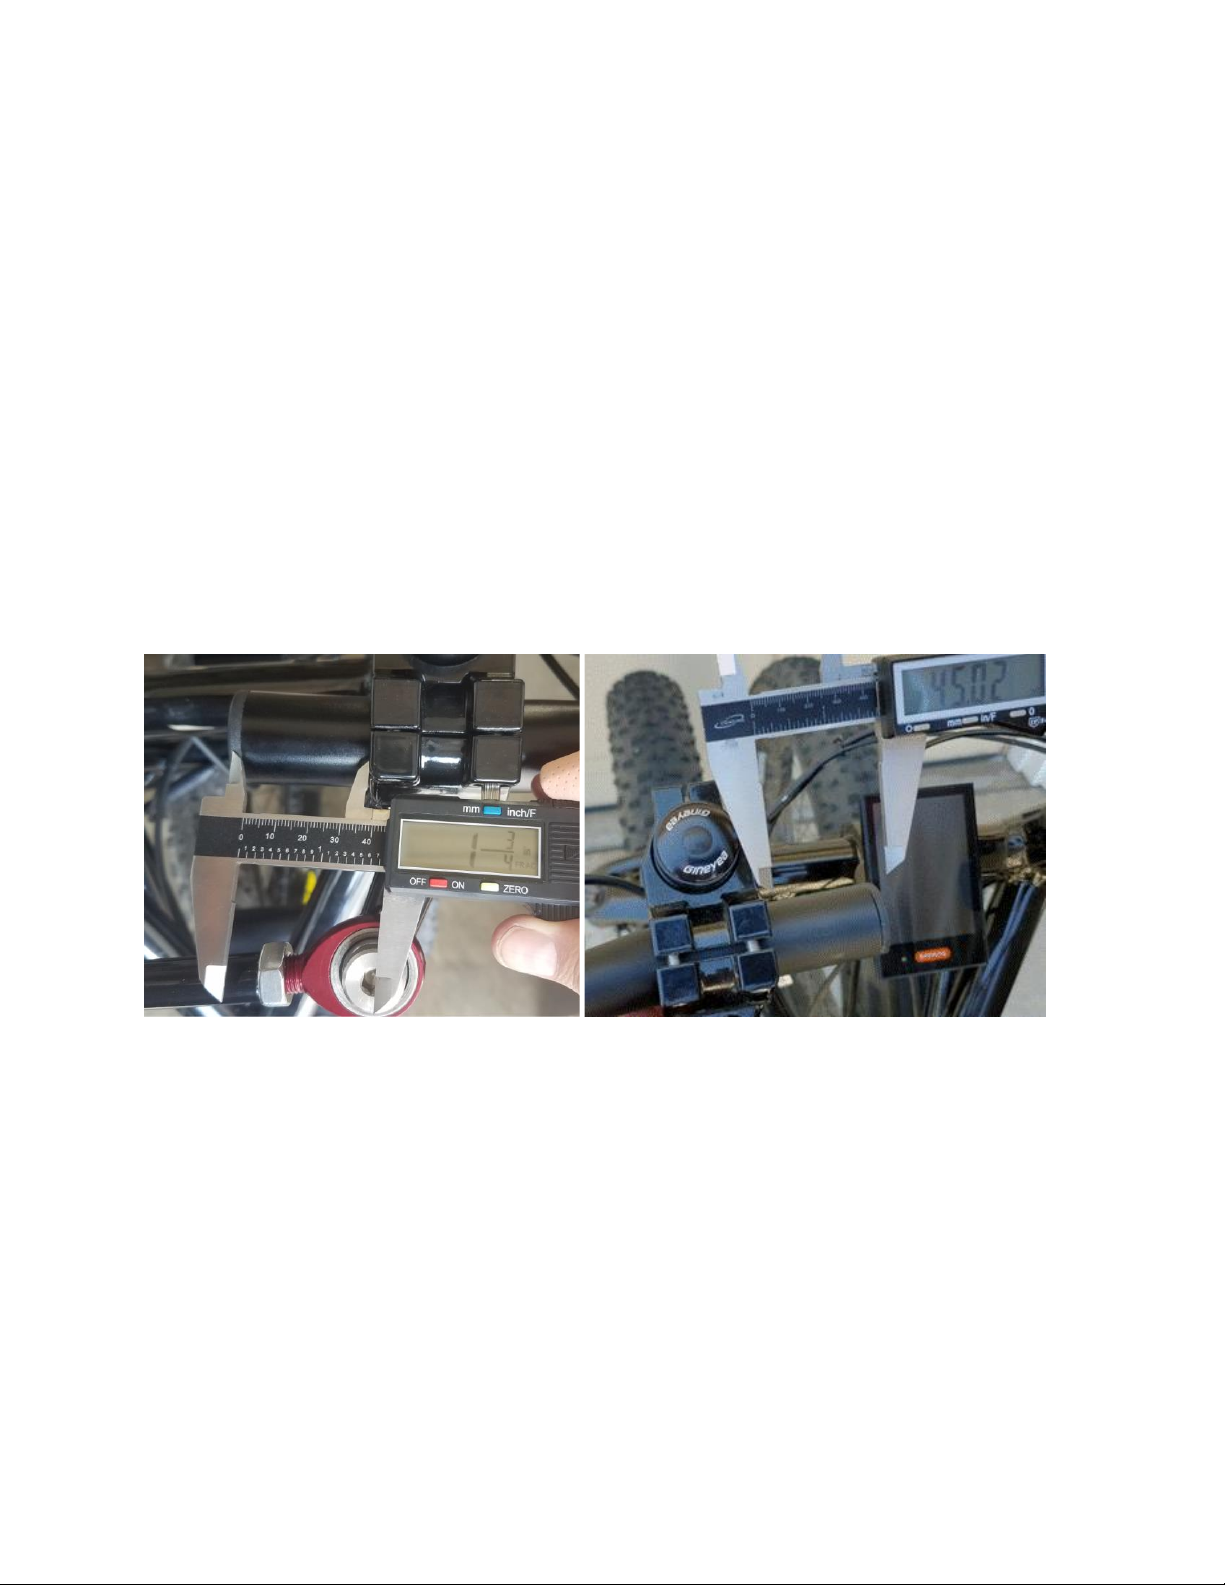
Verifying linkage rod length.
Steering Rungu with minimum tire scrub depends on the overall length of the linkage rod between the
two handlebars. The distance from the center of one linkage rod screw to the other should be 200 +/-
2mm. Measure the distance as shown below.
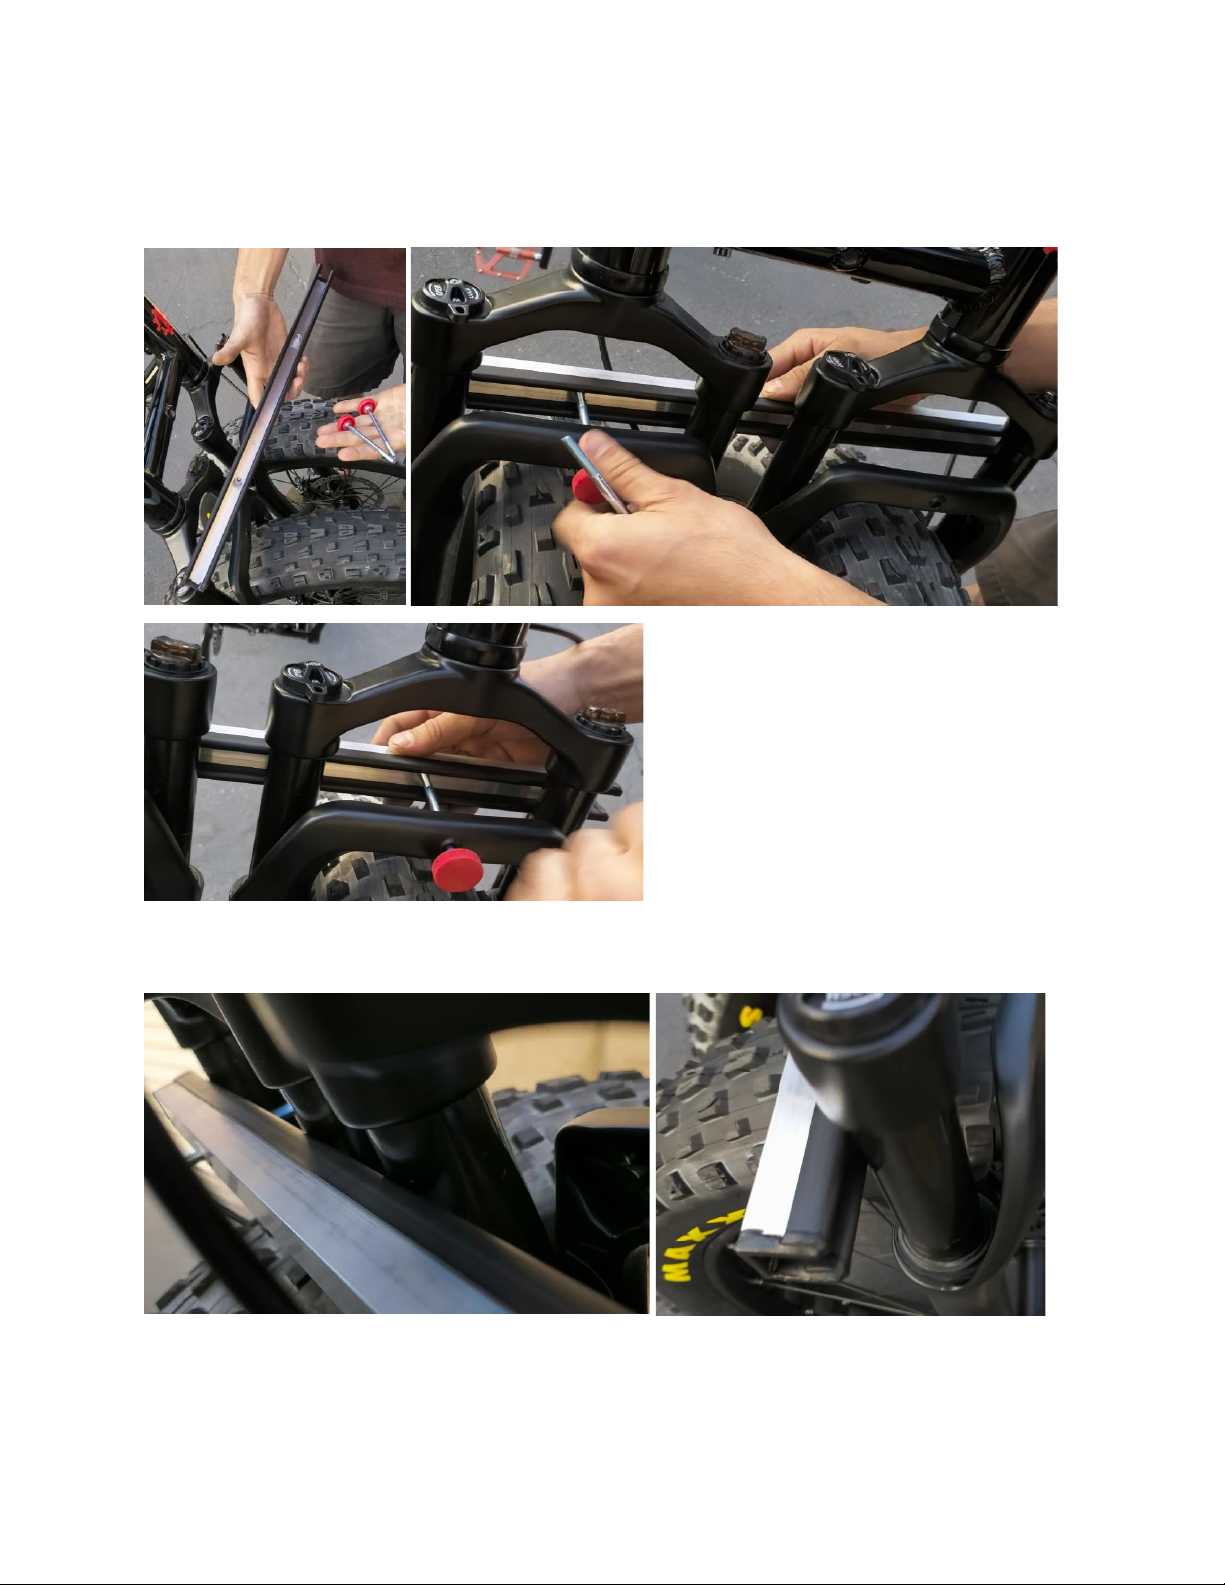
If the linkage rod is bent in such a way that the distance is shorter, replace the linkage rod tube before
continuing with the wheel alignment. You can purchase replacement linkage rod tubes by contacting
support@riderungu.com. To replace the linkage rod tube, use a ¼” hex wrench to remove one of the
linkage rod shoulder bolts and unscrew the rod ends from the damaged linkage rod. Be careful to retain
the jam nuts to use with the new linkage rod tube. When you rebuild the linkage rod, measure the
distance and adjust the length before replacing the linkage rod bolt. Tighten the linkage rod bolt with a
¼” hex bolt; don’t use a 6mm hex wrench as it will gall the bolt when tightened. Use an adjustable
wrench to tighten the jam nuts once the rod is in place.
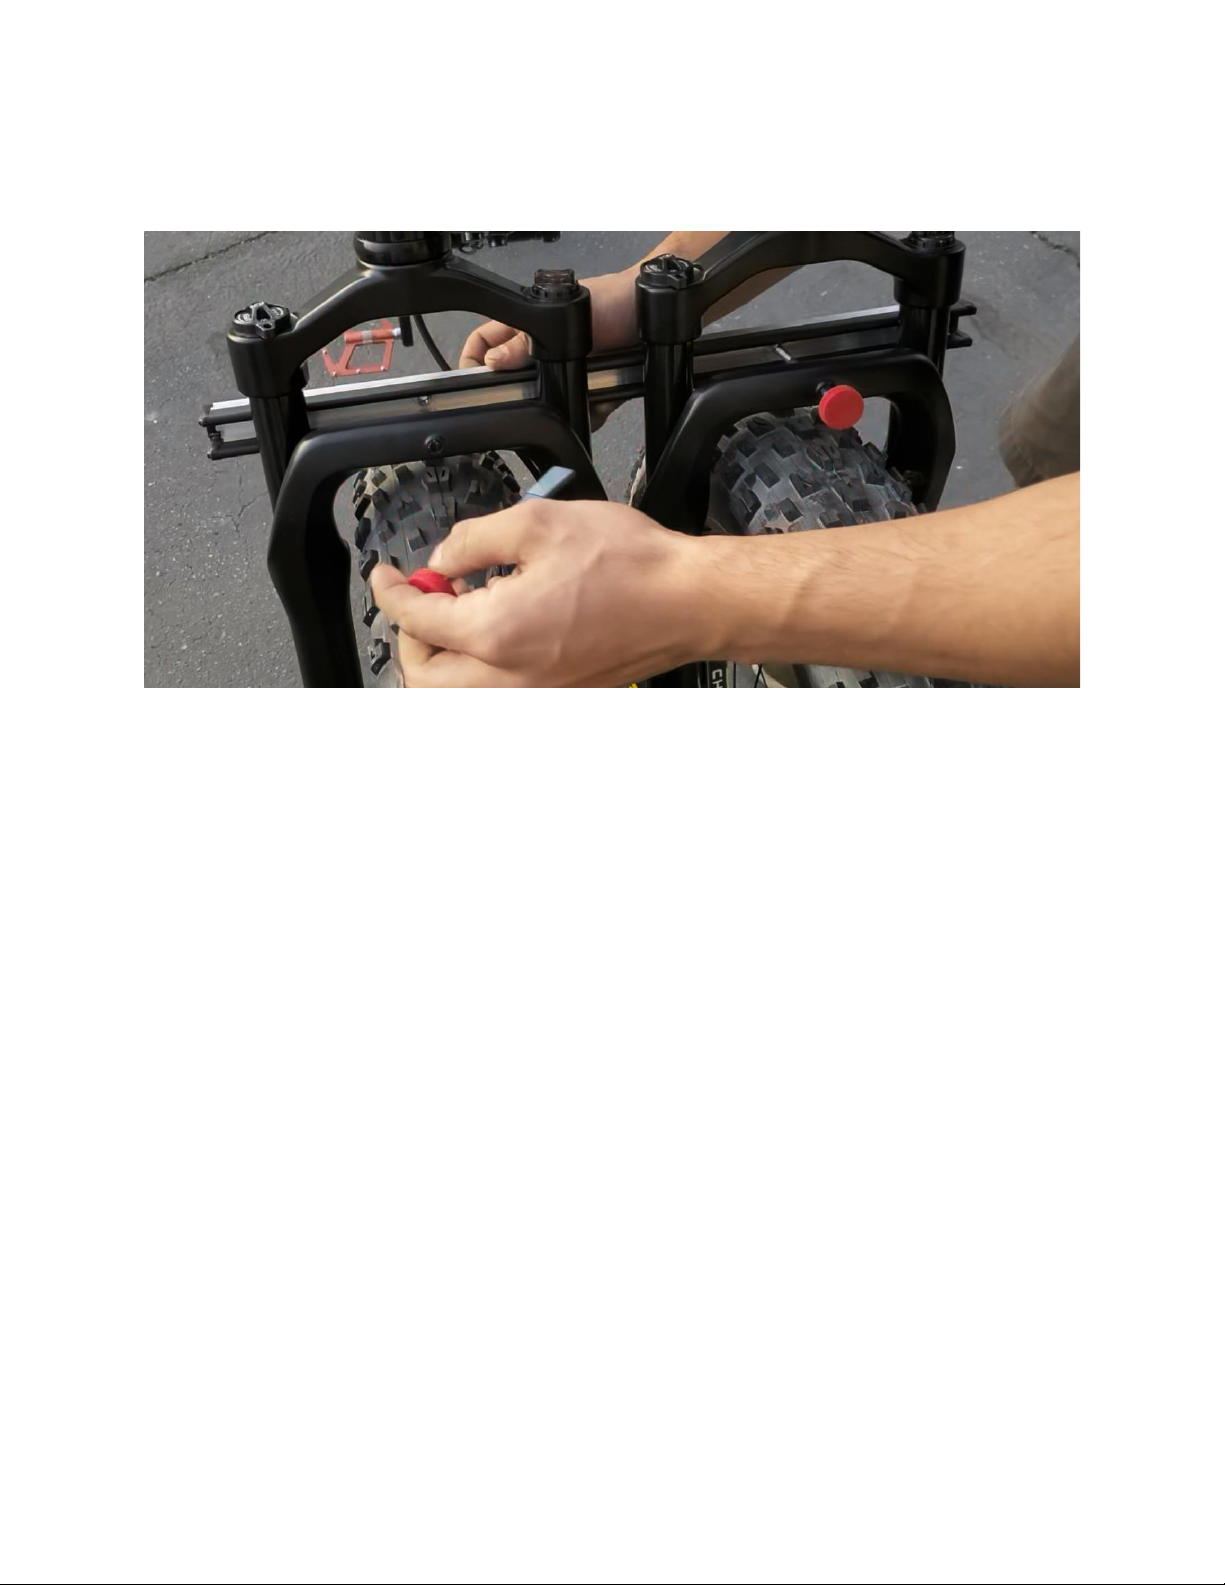
If the linkage rod is too long or too short, adjust the length before proceeding to alignment. To adjust
the length, use a ¼” hex wrench to remove one of the linkage rod shoulder bolt. Then loosen the jam
nuts by unscrewing the rod end. Then adjust the length by rotating the rod end until it unscrews or
tightens to the right length. Replace the linkage rod in place. Tighten the linkage rod bolts with a ¼” hex
bolt; don’t use a 6mm hex wrench as it will gall the bolt when tightened. Use an adjustable wrench to
tighten the jam nuts once the rod is in place.