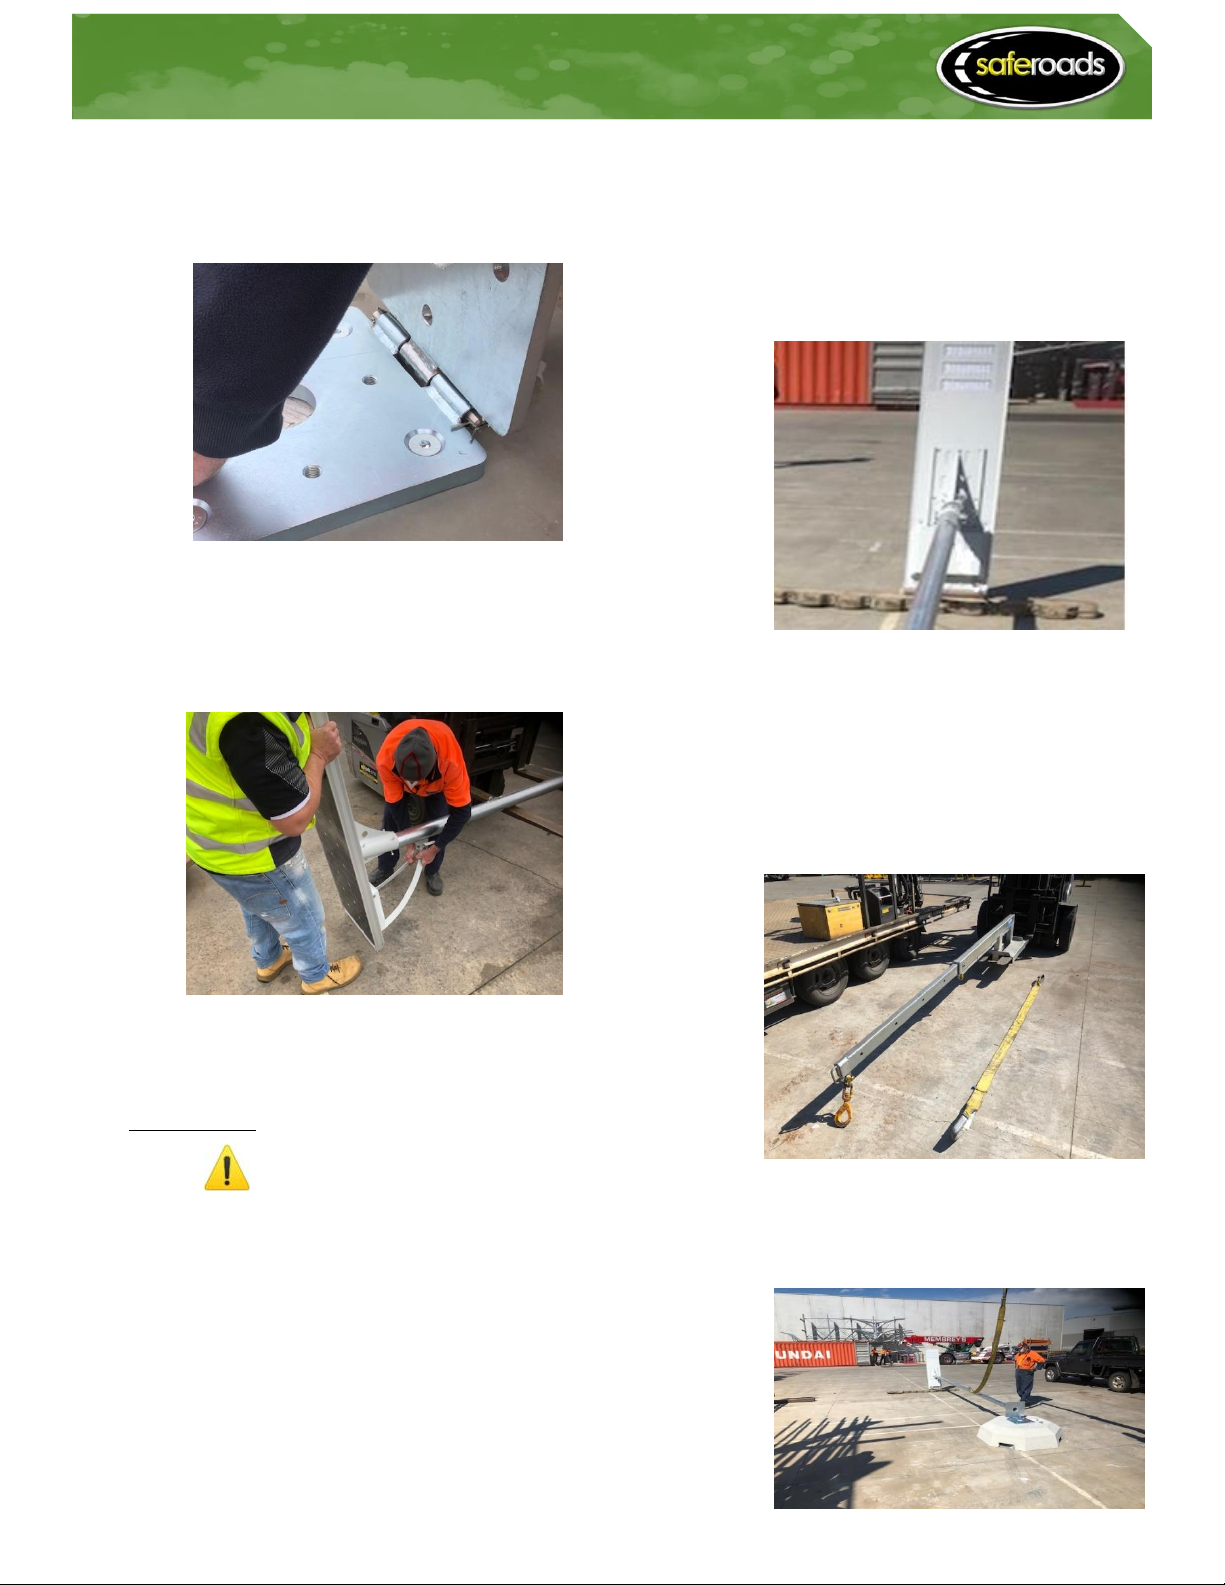
b) Once the two plates are aligned, insert the hinge
pin and the two (2) x “R” Clips. This will secure
the pole to the base plate during the raising of
the pole.
c) Raise the pole parallel to the ground. This will be
easier to fit the light assembly to the pole. Place
the solar light assembly onto the top of pole,
fasten the jacking bolts and the support brace.
Ensure the light is firmly affixed to the pole.
d) Once the integrated solar light head is secure to
the pole, the pole can be raised.
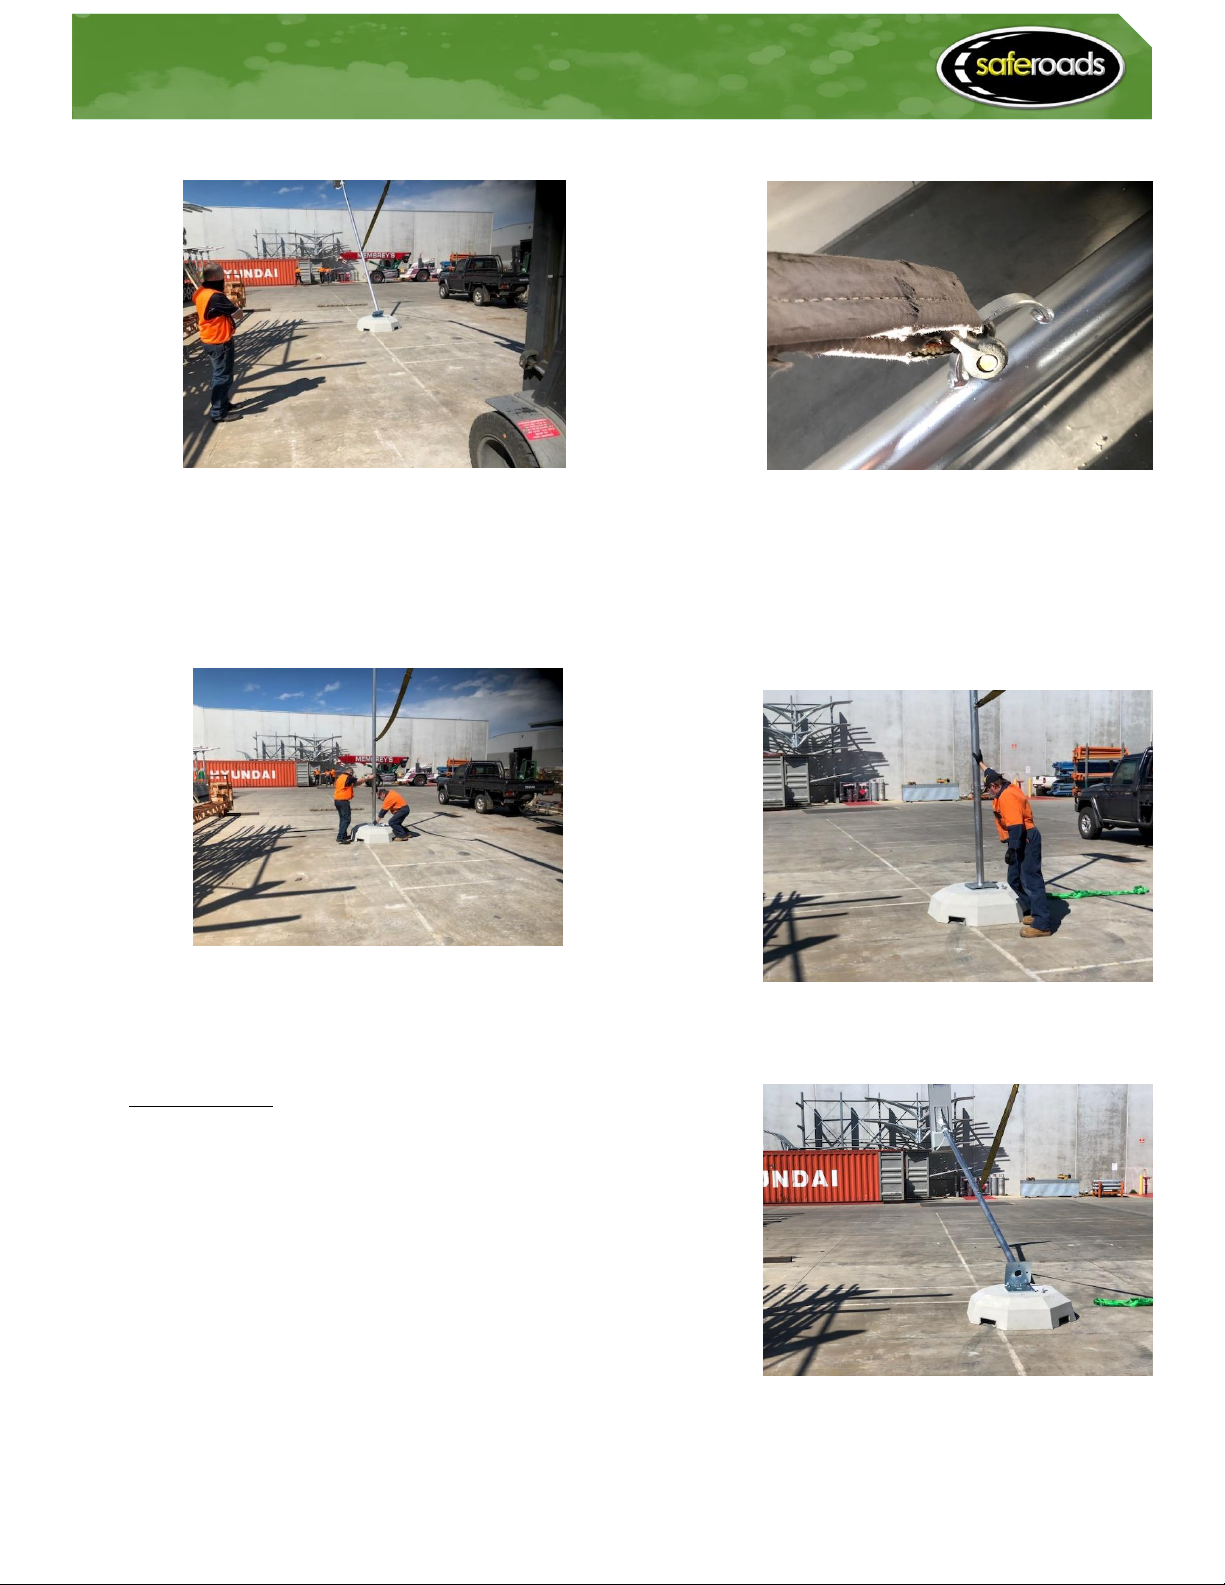
6. Raising the pole
6.1 Safety
a) Only use certified lifting equipment to raise the
pole. Inspect all slings prior to use to ensure that
they are in a serviceable condition;
b) Plant and equipment is to be fitted with a
certified lifting jig (& hook). Plant can consist of
either a crane, excavator, backhoe or forklift;
c) Ensure there are no overhead services;
d) Ensure there are no operators forward of the
base plate when the lift is occurring and all
operators are well clear (7+ meters) from the
base plate;
e) No manual lifting is to take place.
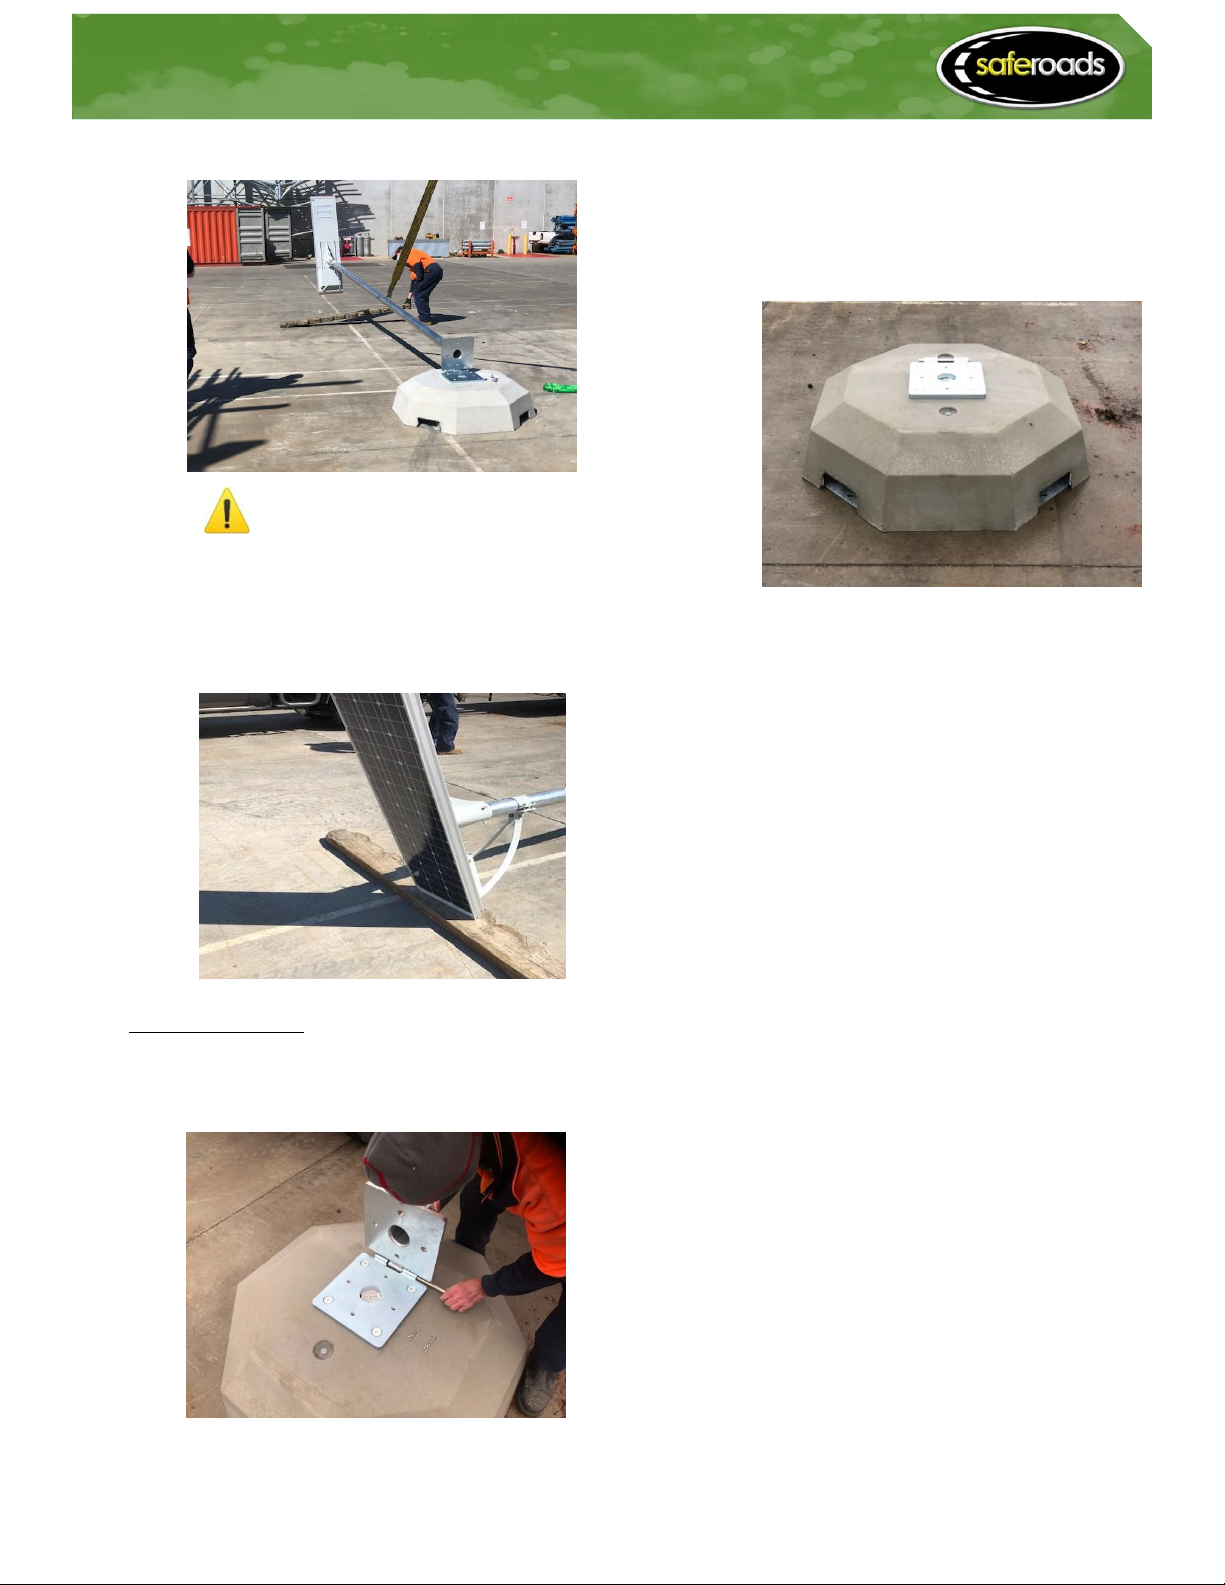
6.2 Orientation of Light
a) Prior to lifting, ensure the orientation of the light
is in the upwards direction of the lift; and
b) It is always good practice after fitting the light, to
rest the light head on a piece of timber to avoid
damage to the light housing.
6.3 Lifting Equipment
The minimum lifting equipment requirement is:
a) 1 x Three (3) meter flat sling rated to 2 tonne
(min);
b) 1 x Rated “D” Shackle – min –2 Tonne capacity;
c) 1 x certified lifting jib complete with lifting hook
–minimum capacity 2 tonne.
6.4 Attaching the sling
a) Attach the sling with the “D” Shackle to the lower
attachment point on the pole