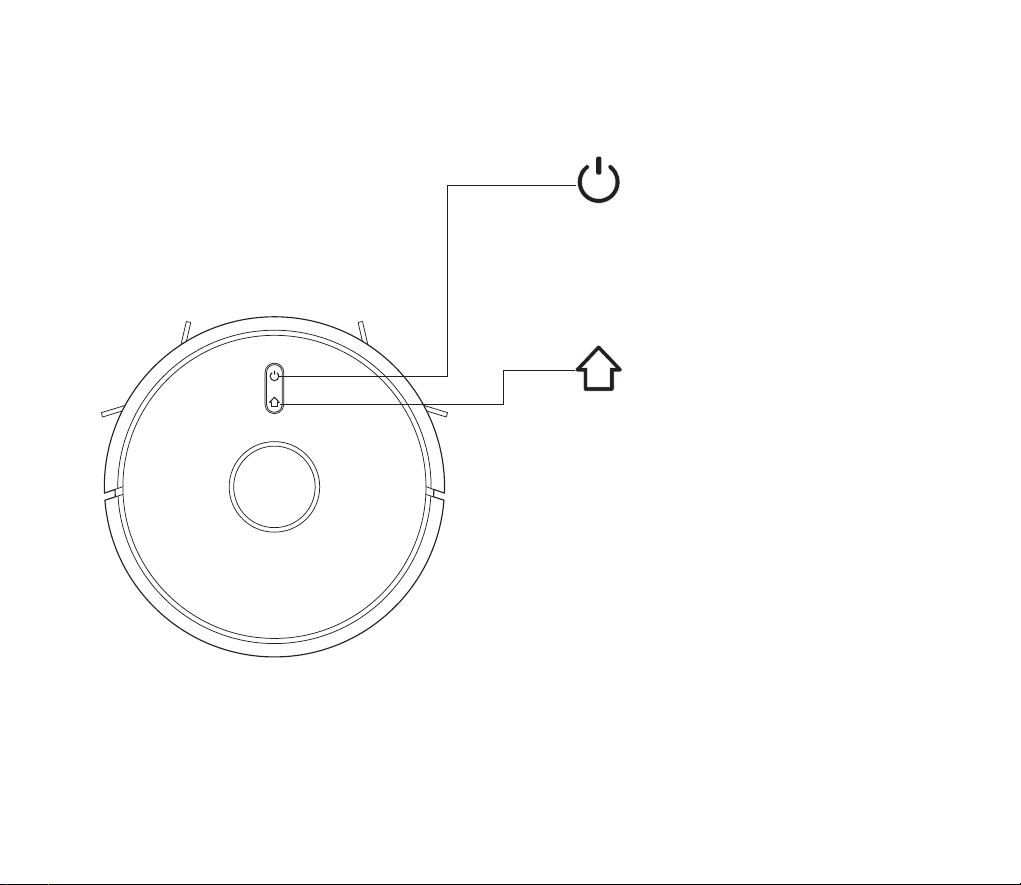
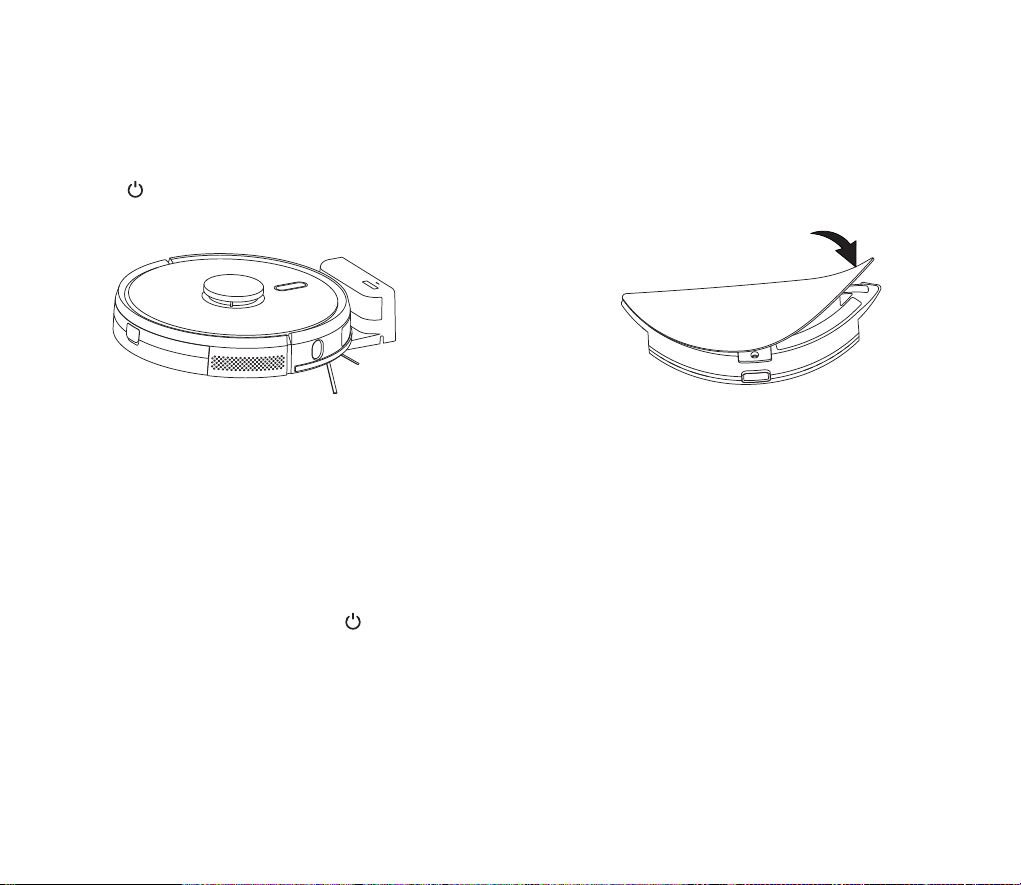
Long press to switch on the robot.Charge the robot on charging
base when the power indictor light is normally on
5Starting up and charging
6Connect mobile APP(this step can be skipped)
Please refer to WiFi connection guideline, then connect mobile APP
7Start cleaning
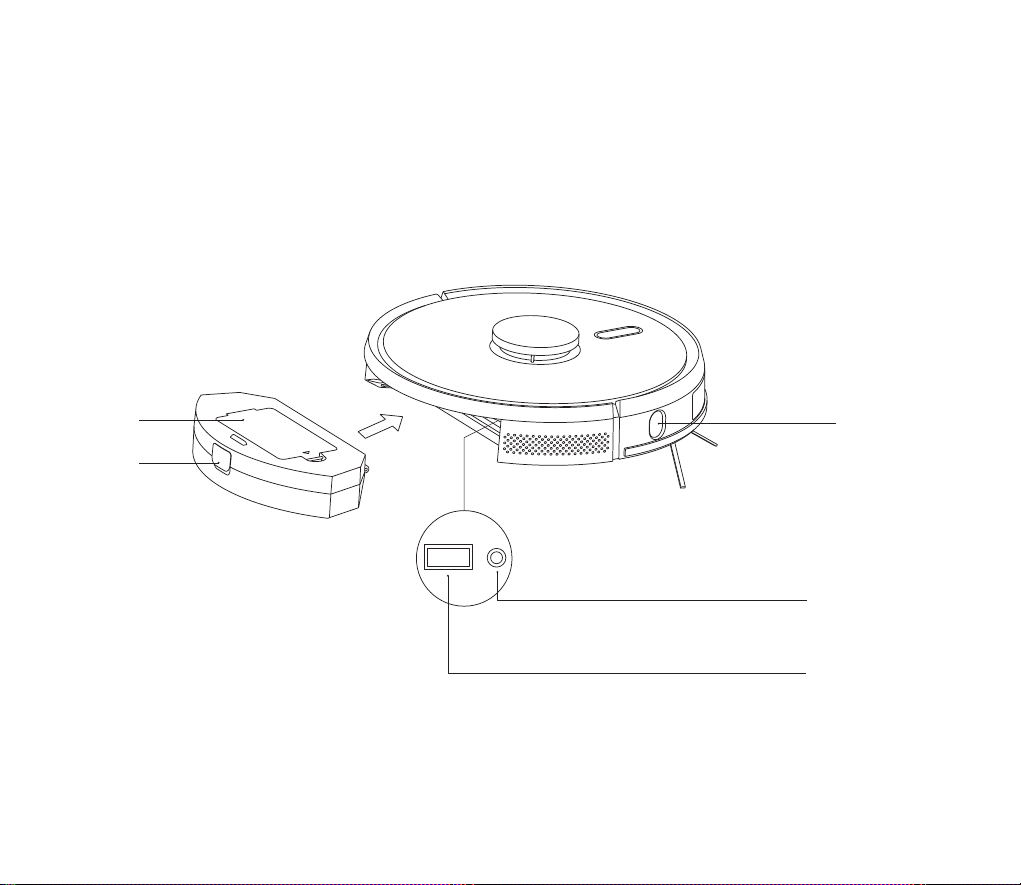
8Installation of mopping module
Inst a l l a t i o n o f m o p p i n g c l o t h : p a s t e t h e m o p p i n g
cloth flatly to t h e b o t t o m o f w a t e r t a n k
Electric-controlled water tank
Note: please clean the mopping cloth after using to keep it in good cleaning
condition
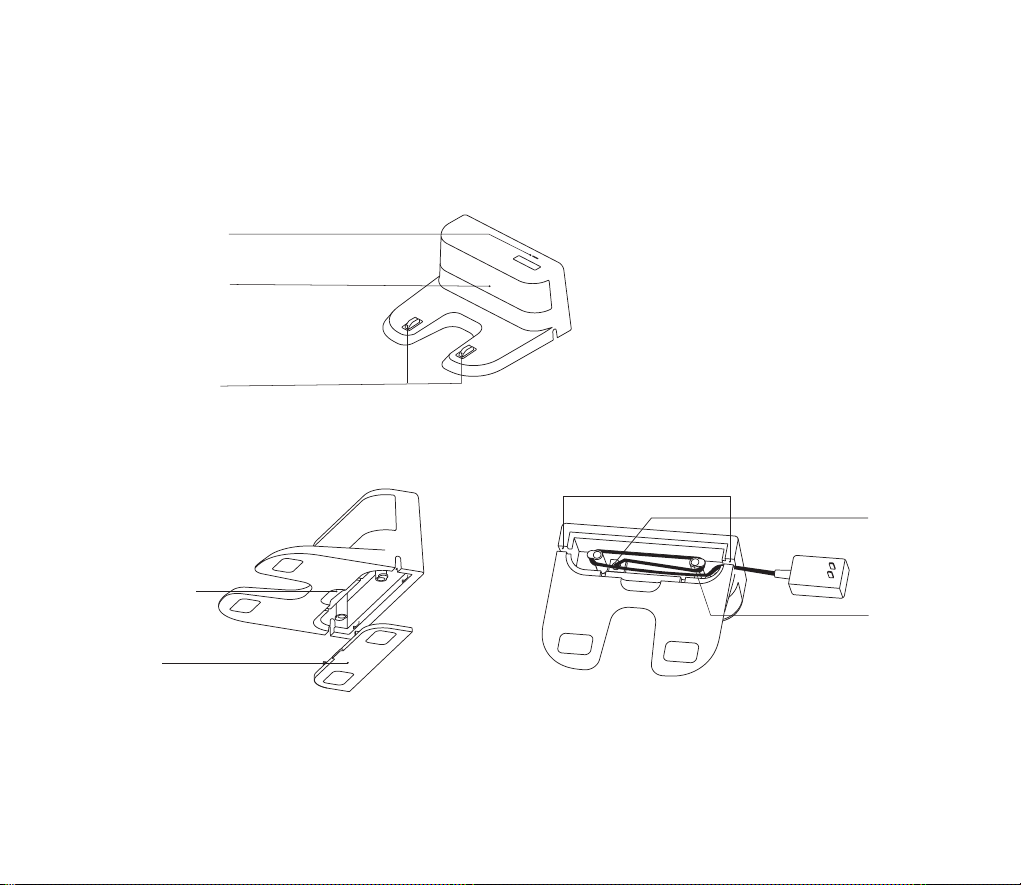
Installation
Note If the machine cannot be started due to low battery, please charge the
host on the charging base and the machine will be started
automatically. The machine can work normally only when the battery
level is ≥20%
Note
·The sweeping robot cannot be used to remove liquids
·If the battery level is less than 20, the machine cannot work. Please charge it
·The machine will return to the charging base automatically if the battery level
is less than 20% in use and will be powered off and start cleaning
automatically after the battery level reaches 80%
·Please clear various wires (including power line of charging base) on the
ground before use so as to avoid outage and damage of objects or wires
when wires are dragged by the host
After the robot is powered on, short press key on the robot or use
mobile APP to start cleaning.(press any button to pause during
using)