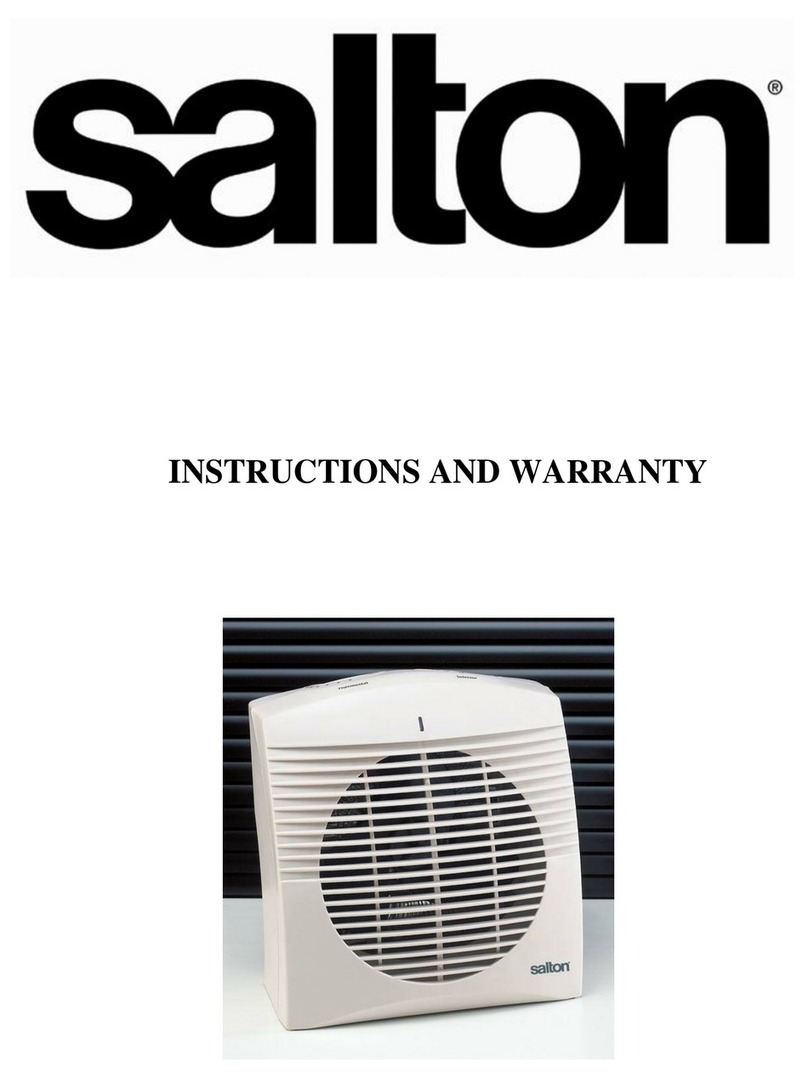
Salton SBH46 Installation guide

INSTRUCTIONS AND WARRANTY
MODEL NO. SBH46
SALTON BATHROOM HEATER

2
Congratulations on purchasing our Salton Bathroom Heater. Each unit is manufactured
to ensure safety and reliability. Before using this appliance for the first time, please read
the instruction manual carefully and keep it for future reference.
FEATURES OF THE SALTON BATHROOM HEATER
The Salton Bathroom Heater is wall mounted for safety and convenience. This
means that the heater will not stand on the floor of the bathroom, where it could
come into contact with water.
With two heat settings, the Salton Bathroom Heater can be set to temperature best
suited to the size of the bathroom.
A viewing window on the front of the unit lets you see what heat setting you have the
unit on quickly and easily.
The 70cm pull cord operation of the heater means that it can be mounted close to
the roof of the bathroom, again preventing accidental contact with water.
The wall-mounting bracket is tilt-adjustable to allow you to direct the heat released in
the direction you require.
Silica glass heating elements ensure rapid heating. The composition of the glass is
designed to heat quickly and evenly, ensuring your room is always warm and
comfortable.
The polished stainless steel reflector behind the silica glass elements reflects the
heat out into the room. This means that the heat from the front and the back of the
elements is fully utilized.
IMPORTANT SAFEGUARDS
When using any electrical appliance, basic safety precautions should always be followed
including the following:
1. Please read the instructions carefully before using any appliance.
2. Always ensure that the voltage on the rating label corresponds to the mains
voltage in your home.
3. Incorrect operation and improper use can damage the appliance and cause injury
to the user.
4. The appliance is intended for household use only. Commercial use invalids the
warranty and the supplier can not be held responsible for injury or damage
caused when using the appliance for any other purpose than that intended.

3
5. This appliance is not intended for use by persons (including children) with
reduced physical, sensory or mental capabilities, or lack of experience and
knowledge, unless they have been given supervision or instruction concerning
use of the appliance by a person responsible for their safety
6. Children should be supervised to ensure that they do not play with the appliance
7. Check the power cord and plug regularly for any damage. If the cord or the plug
is damaged, it must be replaced by the manufacturer or a qualified person in
order to avoid an electrical hazard.
8. Do not use the appliance if it has been dropped or damaged in any way. In case
of damage, take the unit in for examination and/or repair by an authorised service
agent.
9. To reduce the risk of electric shock, do not immerse or expose the motor
assembly, plug or the power cord to water or any other liquid.
10. Never immerse the unit in water or any other liquid for cleaning purposes.
11. Remove the plug from the socket by gripping the plug. Do not pull on the cord to
disconnect the appliance from the mains. Always unplug the unit when not in
use, before cleaning or when adding or removing parts.
12. The use of accessory attachments that are not recommended or supplied by the
manufacturer may result in injuries, fire or electric shock.
13. A short cord is provided to reduce the hazards resulting from becoming
entangled in or tripping over a longer cord.
14. Do not let the cord hang over the edge of a table or counter. Ensure that the cord
is not in a position where it can be pulled on inadvertently.
15. Do not allow the cord to touch hot surfaces and do not place on or near a hot gas
or electric burner or in a heated oven. Do not place the unit on a hot surface.
16. Do not use the appliance on a gas or electric cooking top or over or near an open
flame.
17. Use of an extension cord with this appliance is not recommended. However, if it
is necessary to use an extension lead, ensure that the lead is suited to the power
consumption of the appliance to avoid overheating of the extension cord,
appliance or plug point. Do not place the extension cord in a position where it can
be pulled on by children or animals or tripped over.
18. This appliance is not suitable for outdoor use. Do not use this appliance for
anything other than its intended use.
19. DO NOT carry the appliance by the power cord.

4
20. Do not leave this appliance unattended during use. Always unplug the unit when
not in use and before cleaning.
21. Always operate the appliance on a smooth, even, stable surface.
22. Ensure that the switch is in the “Off” position after each use.
23. The manufacturer does not accept responsibility for any damage or injury caused
by improper or incorrect use, or for repairs carried out by unauthorised
personnel.
24. In case of technical problems, switch off the appliance and do not attempt to
repair it yourself. Return the appliance to an authorised service facility for
examination, adjustment or repair. Always insist on the use of original spare
parts. Failure to comply with the above mentioned pre-cautions and instructions,
could affect the safe operation of this machine.
25. DO NOT COVER THE APPLIANCE.
PLEASE NOTE: When this heater is used for the first time, the heater will emit a smell of
burning and some smoke. This is normal and is caused by the insulation on the
elements and some dust particles on the elements. The smell and smoke will stop after
approximately 5 minutes.
INSTALLATION GUIDELINES
NOTES:
Do not install the heater where the heat will radiate onto a door, wall or furniture. Do
not install the heater near light fixtures.
It is highly recommended that a qualified electrician install this heater. Always
ensure that the heater is earthed, and is connected to a 230V power supply.
The wires must be connected as follows:
oGreen and Yellow –Earth
oBlue –Neutral
oBrown - Live
Do not install the heater where it will come into contact with water (i.e. splashing from
a bath or shower), and where it can be switched on from a bath or shower. A height
of 200cm is recommended.
Ensure that the heater is installed with a minimum of 100cm distance to any objects.

5
TO INSTALL THE HEATER
Remove the screw marked A and the
screw corresponding on the bottom of the
wall mounting bracket.
Remove the panel marked B.
Mark where the four holes are to be drilled
to mount the unit using the bracket as a
guide.
Drill four 6mm holes and insert the wall
plugs.
Mount the heater over the holes, using the four screws to secure it to the wall. Rotate
the heater on the bracket to give access to all four holes. Ensure the screws are
tightened sufficiently.
Place the panel marked B back in place and replace the two screws marked A.
Ensure all the screws are tightened.
Connect the heater to a source of power using the colour guideline provided in
INSTALLATION GUIDELINES.
OPERATING INSTRUCTIONS
Switch on the heater using the cord only.
Pull the cord once for one bar to heat, and pull the cord again for two bars to heat. At
each pull, the number in the viewing window will change, indicating the number of
bars turned on. To turn off the heater, pull the cord a third time, so that the “O” shows
in the viewing window. The heater is now Off.
Do not leave this heater unattended once switched on.
This heater gets hot when switched on. Do not touch the heater when switched on.
To change the angle of the heat radiance, turn the screws on either side of the
bracket once in an anti-clockwise direction. Change the angle of the heater as
desired, and tighten the screws by turning in a clockwise direction. Do not change
the angle of the heater with the screws still tight, as this may cause permanent
damage to the heater.
A
B

6
STORING THE APPLIANCE
It is recommended that the heater not be removed from the wall once installed.
CLEANING AND MAINTENANCE
This appliance is for household use only and is not user-serviceable.
Do not open or change any parts by yourself. Please refer to a qualified electrical
service department or return to the supplier if servicing is necessary.
Ensure that the heater switch is set to “O” before cleaning.
Always wait for the heater to cool down fully before cleaning.
The body of the heater should be cleaned with a damp cloth.
Do not use bleach or other abrasive substance or solvents to clean your
appliance as it can be damaging to the finish.
Do not immerse the heater in water or any other liquid, or hold it under a running
tap to clean. Do not let water enter the heater.
SERVICING THE APPLIANCE
There are no user serviceable parts in this appliance. If the unit is not operating
correctly, please check the following:
You have followed the instructions correctly
That the unit has been wired correctly.
That the mains power supply is ON.
If the appliance still does not work after checking the above:
- Consult the retailer for possible repair or replacement. If the retailer fails to resolve the
problem and you need to return the appliance, make sure that:
The unit is packed carefully back into its original packaging.
Proof of purchase is attached.
A reason is provided for why it is being returned.
If the supply cord is damaged, it must be replaced by the manufacturer or an authorised
service agent, in order to avoid any hazard. If service becomes necessary within the
warranty period, the appliance should be returned to an approved Amalgamated
Appliance (Pty) Ltd service centre. Servicing outside the warranty period is still available,
but will, however, be chargeable.
CHANGING THE PLUG
Should the need arise to change the fitted plug, follow the instructions below.
This unit is designed to operate on 230V current only. Connecting to other power
sources may damage the appliance. Connect a three-pin plug as follows:
The wires in this mains lead are coloured in
accordance with the following code:
Green/Yellow = Earth
Blue = Neutral
Brown = Live

7
PLEASE AFFIX YOUR PROOF OF PURCHASE/RECEIPT HERE
IN THE EVENT OF A CLAIM UNDER WARRANTY THIS RECEIPT MUST BE
PRODUCED.
W A R R A N T Y
1. Tedelex Trading (Pty) Limited (“Tedelex”) warrants to the original purchaser of this product
(“the customer”) that this product will be free of defects in quality and workmanship which
under normal personal, family or household use and purpose may manifest within a period of 1
(one) year from the date of purchase (“warranty period”).
2. Where the customer has purchased a product and it breaks, is defective or does not work
properly for the intended purpose, the customer must notify the supplier from whom the
customer bought the product (“the supplier”) thereof within the warranty period. Any claim in
terms of this warranty must be supported by a proof of purchase. If proof of purchase is not
available, then repair, and/or service charges may be payable by the customer to the supplier.
3. The faulty product must be taken to the supplier's service centre to exercise the warranty.
4. The supplier will refund, repair or exchange the product in terms of this warranty subject to
legislative requirements. This warranty shall be valid only where the customer has not broken
the product himself, or used the product for something that it is not supposed to be used for.
The warranty does not include and will not be construed to cover products damaged as a result
of disaster, misuse, tamper, abuse or any unauthorised modification or repair of the product.
5. This warranty will extend only to the product provided at the date of the purchase and not to
any expendables attached or installed by the customer.
6. If the customer requests that the supplier repairs the product and the product breaks or fails to
work properly within 3 (three) months of the repair and not as a result of misuse, tampering or
modification by or on behalf of the customer, then the supplier may replace the product or pay
a refund to the customer.
7. The customer may be responsible for certain costs where products returned are not in the
original packaging, or if the packaging is damaged. This will be deducted from any refund paid
to the customer.
TEDELEX TRADING (PTY) LTD (JOHANNESBURG)
JOHANNESBURG TEL NO. (011) 490-9000
CAPE TOWN TEL NO. (021) 552-5161
DURBAN TEL NO. (031) 792-6000
www.amap.co.za
Table of contents
Other Salton Heater manuals
Popular Heater manuals by other brands

Phoenix
Phoenix PELLET HEATER user manual

Stanley
Stanley ST-40-GFA-E instruction manual

Thermoscreens
Thermoscreens Designer Series Installation, operation & maintenance instructions

Space-Ray
Space-Ray FUSION Series Installation & operation instructions

EUROM
EUROM ALUTHERM BASEBOARD Wi-Fi instruction manual

Fakir
Fakir HK 2200 Operation manual

TESY
TESY HL-222H PTC Usage and Storage Instructions

Sengoku
Sengoku MGN-110 owner's manual

Trane
Trane BAYHTR1504BRKC Installer's guide

Trane
Trane GKNE ACCOMPANIMENT TO THE INSTALLATION, OPERATION AND MAINTENANCE MANUAL

Soleus Air
Soleus Air HC1-15-12 operating instructions

Toyostove
Toyostove RB-2 Operation and maintenance instructions