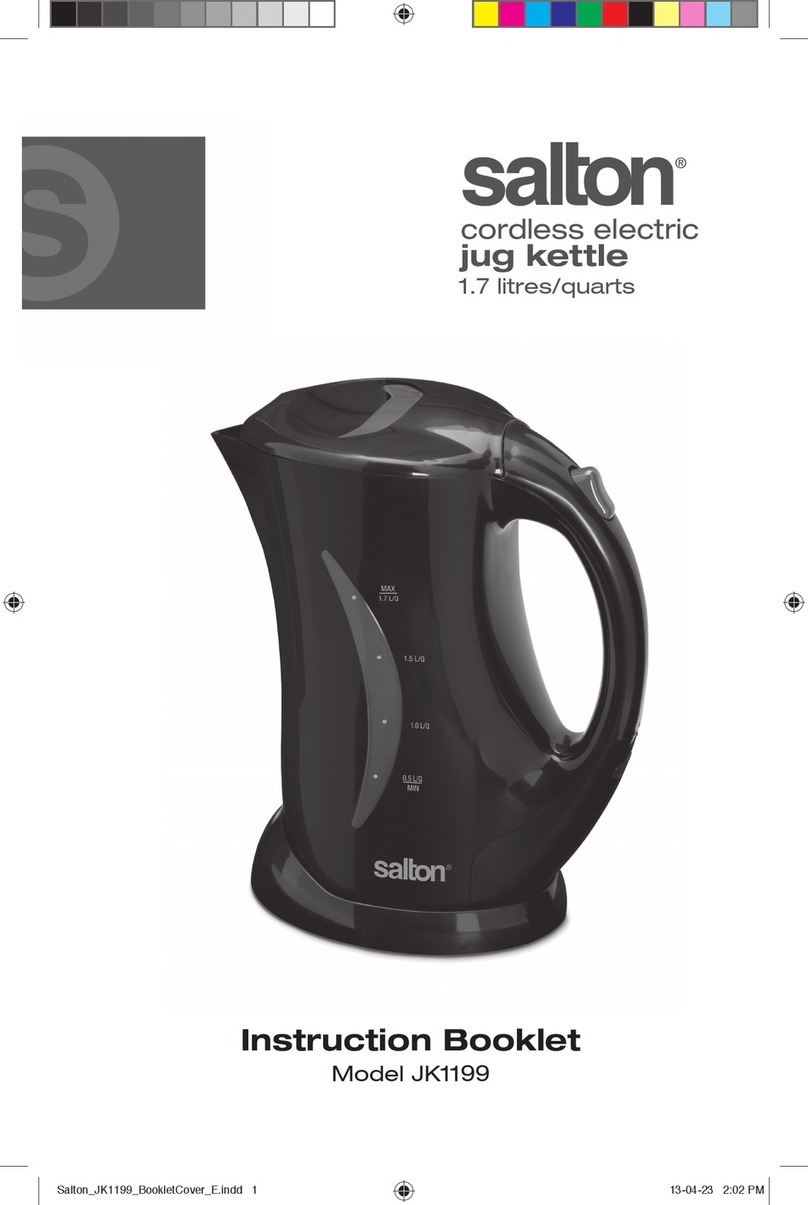
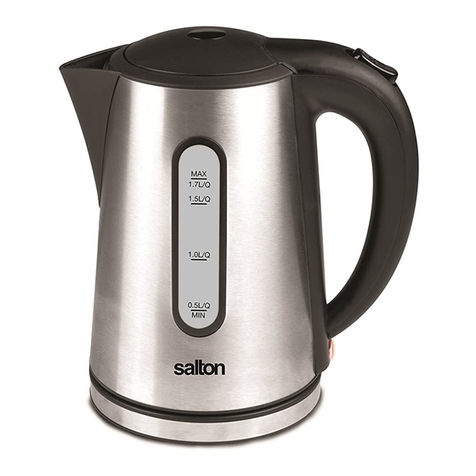
Salton JK2079 User manual

Instruction Booklet
Model: JK2079
dual flow kettle
kettle & hot water
dispenser, 1.5L

IMPORTANT SAFEGUARDS
When using electrical appliances, basic safety precautions should always
be followed including the following:
1. Read all instructions.
2. DO NOT touch hot surfaces. Use handles or knobs.
3. To protect against electrical hazards, do not immerse cord, plugs, or
the appliance in water or other liquid.
4. Close supervision is necessary when any appliance is used by or near
children. Children should be supervised to ensure that they do not
play with the appliance.
5. This appliance is not intended for use by persons (including children)
with reduced physical, sensory or mental capabilities or lack of
experience and knowledge, unless they have been given supervision
or instruction concerning the use of the appliance by a person
responsible for their safety.
6. Unplug from outlet when not in use and before cleaning. Allow to cool
before putting on or taking off parts and before cleaning the appliance.
7. DO NOT operate any appliance with a damaged cord or plug or after
the appliance malfunctions, or is dropped or damaged in any manner.
Return appliance to the manufacturer for examination, repair or
electrical or mechanical adjustment. All servicing, other than cleaning,
should be performed by an authorized service representative.
See Warranty section.
8. The use of accessories or attachments not recommended by the
manufacturermayresultinre,electricshockorpersonalinjury.
9. DO NOT use outdoors.
10.DO NOT let cord hang over edge of table or counter, or touch hot
surfaces.
11.DO NOT place on or near a hot gas or electric burner, or in a heated
oven.
12.Alwaysattachplugtoappliancerst,thenplugcordintothewalloutlet.
Todisconnect,turnanycontrolto‘OFF’,thenremoveplugfromwall
outlet.
13.DO NOT use appliance for other than intended use.
14.DO NOT leave unit unattended while in use.
15.Extreme caution must be used when moving an appliance containing
hot liquids.
2

16.Do not use Kettle without the Lid in place.
17.Scalding may occur if the Lid is opened while the Kettle is hot.
18.Always ensure that the Drip Tray is in position and a mug is on the
Drip Tray when Water Dispensing Port is open. Keep hands away
from Water Dispensing Port when Water Dispensing Port is open.
SAVE THESE INSTRUCTIONS
HOUSEHOLD USE ONLY
GROUNDED PLUG
To reduce the risk of electric shock this appliance has a grounded plug
(2bladesand1pin).Iftheplugdoesnottfullyintotheelectricaloutlet
contactaqualiedelectrician.Donotmodifythepluginanywayoruse
an adaptor.
DESCRIPTION OF PARTS
1. Spout
2. Lid
3. Handle
4. Water Level Window
5. Water Dispensing Port
6. Water Dispensing Port
Opening Button
7. Power Base
8. Lid Opening Button
9. Stop Button
10. Power Button
11. Drip Tray
3
1
5
7
8
6
3
4
9 10
11
2

BEFORE FIRST USE
1. Read all instructions carefully and keep them for future reference.
2. Remove all packaging.
3. Ensurethatthelterisinstalledinthekettle.
4. Plug the Power Base into a 120V AC wall outlet.
5. FilltheKettlewith1liter(4cups)ofcoldtapwater,placeonthe
Power Base and press the Power Button and bring to a boil.
6. Oncewaterhasboiled,openthecoverandadd500ml(2cups)of
white vinegar. Let stand for at least 1 hour or overnight. Discard
water and vinegar solution.
7. FillthekettletotheMAXlllinewithcoldtapwater.Bringtoaboil
and discard. Repeat.
8. The kettle is now ready to use.
HOW TO USE
1. OpentheLidbypressingtheLidOpeningButtonandllwitha
minimum of 500 ml (2 cups) of water.
2. DO NOTattempttolltheKettlewhileitispluggedintothewalloutlet.
DO NOTuseforotherthanboilingwater.Otherliquidswill
contaminate the interior of the kettle.
DO NOTllpasttheMAXlevelindicatedontheWaterLevelWindow.
Overllingmaycausewatertospitoutwhenboiling.
3. Close the Lid.
4. PlacetheKettleontheBaseonaat,level,dry,heatresistant
surface. Ensure that it is correctly engaged on the Base.
5. Plug into a 120V AC wall outlet.
NOTE: Never plug kettle into an electrical outlet when the kettle is
empty.
6. Direct kettle spout away from cabinets, walls, etc. to prevent possible
steam damage.
7. Depress the Power Button on the Lid and the white indicator light will
be visible through the Water Level Window indicating that the kettle is
intheboilcycle.Oncethewaterhasboiled,theindicatorlightwillgo
out and the Kettle will shut off. To turn off the kettle at any time, press
the Stop Button.
IMPORTANT:
a) The kettle shuts off automatically after the boiling cycle is complete.
b) If the kettle is removed from the base before the boiling cycle is
complete kettle will automatically shut off.
c) To turn the kettle off before the boiling cycle is complete, press the
Stop Button.
8. The Lid should not be opened when the Kettle is hot.
9. If you want to use the Kettle again, allow the thermal safety switch
to cool down for 15 to 20 seconds then depress Power Button.
4
10.Unplug cord from wall outlet before lifting Kettle from Power Base.
OnlygriptheKettlebytheHandleasallothersurfacesmaybehot.
11.Return the Kettle to the Base or a heat resistant surface after use.
12.IMPORTANT: If the Kettle is accidently switched on when empty,
the thermostat will automatically cycle on and off to prevent the Kettle
from overheating. If this situation occurs, press the Stop Button and
unplugtheKettleimmediately.LettheKettlecoolbeforerelling.
13.It is recommended that the Power Cord be disconnected from the wall
outlet when not in use.
14.DO NOT attempt to connect any other appliance to the Power Base
or tamper with the connector in any way.
WATER DISPENSER MODE
1. Followsteps1-6intheHOWTOUSEsection.
2. Ensure Drip Tray is in position and open the Water Dispensing Port by
pressingtheWaterDispensingPortOpeningButton.
3. Place a mug on Drip Tray. IMPORTANT NOTE: A mug must ALWAYS
be placed on the Drip Tray when Water Dispensing Port is open.
4. Select your desired cup size by turning the dial around the Power
Button, and Press the Power Button.
5. When water has boiled it will automatically pour into the mug from the
Water Dispensing Port and the kettle will shut off.
IMPORTANT:
a) The kettle shuts off automatically after the boiling cycle is complete.
b) If the kettle is removed from the base before the boiling cycle is
complete the kettle will automatically shut off.
c) To turn the kettle off before the boiling cycle is complete, press the
Stop Button.
6. Unplug cord from wall outlet before lifting Kettle from Power Base.
OnlygriptheKettlebytheHandleasallothersurfacesmaybehot.
7. Return the Kettle to the Base or a heat resistant surface after use.
8. IMPORTANT: If the Kettle is accidently switched on when empty,
the thermostat will automatically cycle on and off to prevent the Kettle
from overheating. If this situation occurs, press the Stop Button and
unplugtheKettleimmediately.LettheKettlecoolbeforerelling.
9. It is recommended that the Power Cord be disconnected from the wall
outlet when not in use.
10.DO NOT attempt to connect any other appliance to the Power Base
or tamper with the connector in any way.
5

CARE AND CLEANING
1. All servicing, other than cleaning, should be performed by an
authorized service representative. See Warranty section.
2. Unplug Kettle from wall outlet. Empty the Kettle and allow it to cool
before cleaning.
1. Exterior
-Useasoft,dampclothtocleantheexterior.
-DO NOT use abrasive cleaners. Dry exterior thoroughly before use.
-DO NOT immerse kettle or power base in water or other liquid.
2. Descaling
Undernormaluse,scalebuild-upwillformontheinsideoftheKettle
and will coat the stainless steel plate. Scale, which has accumulated
inside the Kettle must be removed.
1. Boil equal parts of white vinegar and water. (500 ml / 2 cups of each
is recommended)
2. Oncethewaterhasboiled,allowthemixturetostandseveralhoursor
overnight.
3. EmptyoutthemixtureandlltheKettletotheMAXlevelwithfresh
water.
4. Bring water to a boil and discard.
5. Forheavierscalebuild-up,usepurevinegar,boil,thenletstand
overnight.
6. EmptyoutvinegarandlltheKettletotheMAXlevelwithfreshwater.
7. Bring water to a boil and discard.
8. Fortheheaviestscalebuild-upuseascale/limeremoverandfollow
themanufacturer’sinstructions.
NOTE:
1. Scalebuild-upcanbereducedbypouringoutwaterafterKettleuse
thenrellingtheKettlewhenrequired.
2. The descaling process should be repeated periodically.
6

A short supply cord is provided to reduce the hazards of becoming
entangled in or tripping over a long cord. Extension cords may be used
if care is exercised in their use. If an extension cord is used, the marked
electrical rating of the detachable power-supply cord or extension cord
should be at least as great as the electrical rating of the appliance. If
the appliance is of the grounded type, the extension cord should be a
grounded 3-wire cord. The extension cord should be arranged so that
it will not drape over the counter top or table top, where it can be pulled
on by children or tripped over.
This warranty does not include the cost of shipping, which is to be borne by the
customer.
LIMITED WARRANTY
**The original sales receipt is the only acceptable proof of purchase**
Salton Appliances (1985) Corp. warrants that this appliance shall be free from
defects in material and workmanship for a period of two (2) years from the date
of original purchase. Salton Appliances (1985) Corp. at its sole discretion during
this warranty period, will repair or replace a defective product or issue a refund.
Any refund to the purchaser will be at a pro-rated value based on the remaining
period of the warranty. All liability is limited to the amount of the purchase price.
This warranty covers normal domestic usage and does not cover damage which
occurs in shipment or failure which results from alteration, accident, misuse,
abuse, glass breakage, neglect, improper maintenance, use contrary to the
operating instructions or commercial use. This warranty is not available to
retailers or other commercial purchasers or owners.
7

Contact one of our many Service Centers found on our website
www.salton.com/customer-care
For added protection, we suggest that you use an insured delivery service with
tracking information when returning your product. Salton Canada will not be held
responsible for in-transit damage or for packages that are not received.
This warranty does not include the cost of shipping, which is to be borne by the
customer.
To contact our Customer Service Department:
Salton Appliances (1985) Corp.
81A Brunswick,
Dollard-des-Ormeaux, Quebec H9B 2J5
Canada
Telephone: 514-685-3660 (Ext. 226)
E-mail: [email protected]
Fax: 514-685-8300
www.salton.com
Securely package and return the appliance to us. Please enclose:
• Original proof of purchase
• The completed form below with a $12.50 Return Shipping & Handling fee –
either a cheque, money order or credit card (A personal cheque will delay return
shipping by 2-3 weeks)
TO OBTAIN PROMPT WARRANTY SERVICE:
or
Name
Address
City Prov/State Postal/Zip Code
Daytime Phone No. Email
Product defect:
Type of payment Cheque/Money Order Visa MasterCard
Name on card Expiry Date CSV No
Card No.
□ □ □
Table of contents
Other Salton Kettle manuals

Salton
Salton GK1967 User manual

Salton
Salton JK1956 User manual

Salton
Salton JK2073 User manual

Salton
Salton SCGK60E Installation guide

Salton
Salton GK2077 User manual

Salton
Salton JK1439 User manual

Salton
Salton SCK360 Installation guide

Salton
Salton GK1429 User manual

Salton
Salton SECK23 Installation guide

Salton
Salton SSAK22 Installation instructions manual

Salton
Salton GK1831 User manual

Salton
Salton SSAK22 Installation instructions manual

Salton
Salton GK1842 User manual

Salton
Salton JK1590 User manual

Salton
Salton JK1903 User manual

Salton
Salton GK1758 User manual

Salton
Salton JK1286 User manual

Salton
Salton SSTK2.5 Installation guide

Salton
Salton JK1282 User manual

Salton
Salton SPCK Series Installation guide