Tel: 886.909 602 109 Email: sales@salukitec.com
www.salukitec.com
Content
1.
Installation....................................................................................................................................................5
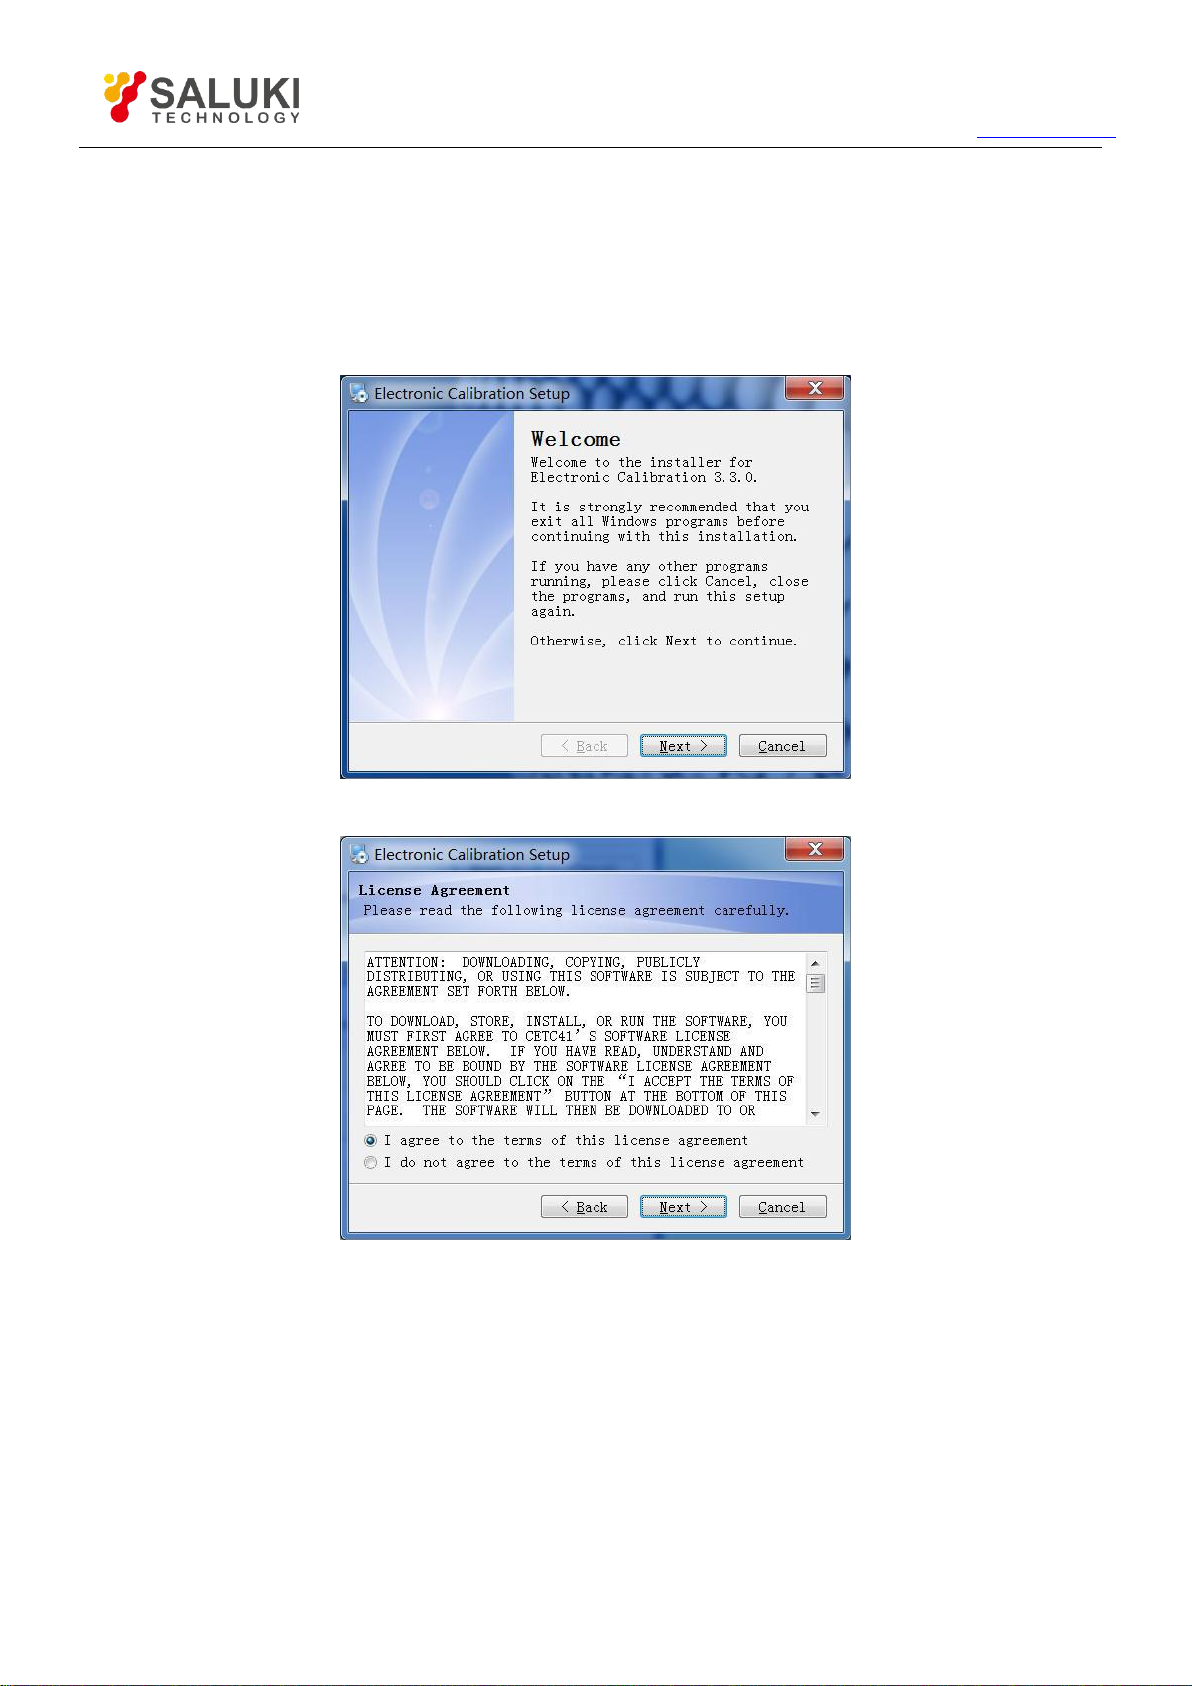
1.1.
Software Installation
.............................................................................................................................. 5
1.2.
Ecal Kit USB Driver Installation
................................................................................................................ 8
2.
Access Software......................................................................................................................................... 10
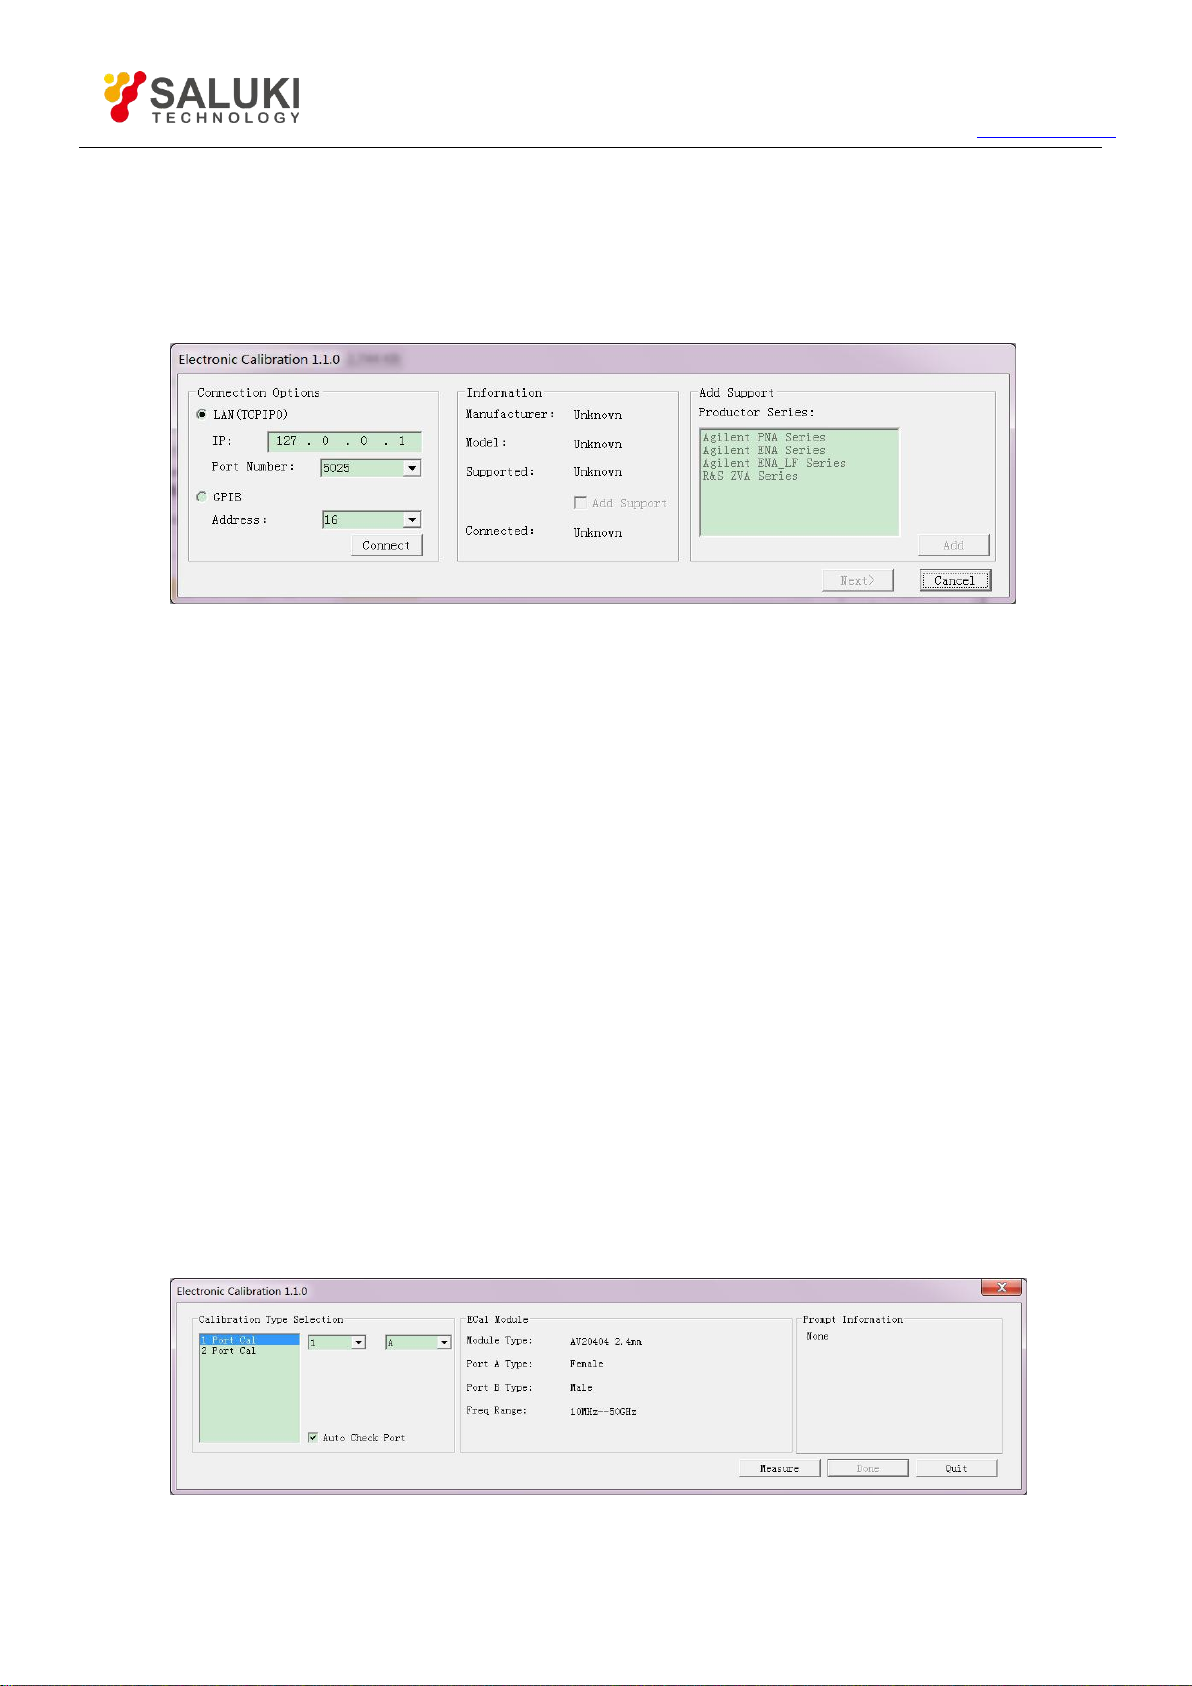
2.1.
Connection Window.......................................................................................................................... 10
2.2.
Measurement Window.......................................................................................................................10
3.
Macro Embedded
......................................................................................................................................... 12
4.
Software Operation..................................................................................................................................... 19
4.1.
User Interface...................................................................................................................................19
4.2.
Operation.........................................................................................................................................20
5.
Troubleshooting..........................................................................................................................................23
5.1.
ConnectionFail
...................................................................................................................................23
5.2.
USB Connected Error
..........................................................................................................................23
5.3.
E-cal Module Error
............................................................................................................................. 24
5.4.
Ecaldll Failure
....................................................................................................................................24
5.5.
Connection Lost between Ecal and VNA
................................................................................................25
5.6.
Collection Lost between VNA and control computer
.................................................................................25