Registration (Modication) & Deletion
Original factory settings set the password to ‘1234’. For complete safety, clear all registration rst, and then program and use a new password.
(Refer to Initialization, P. 14)
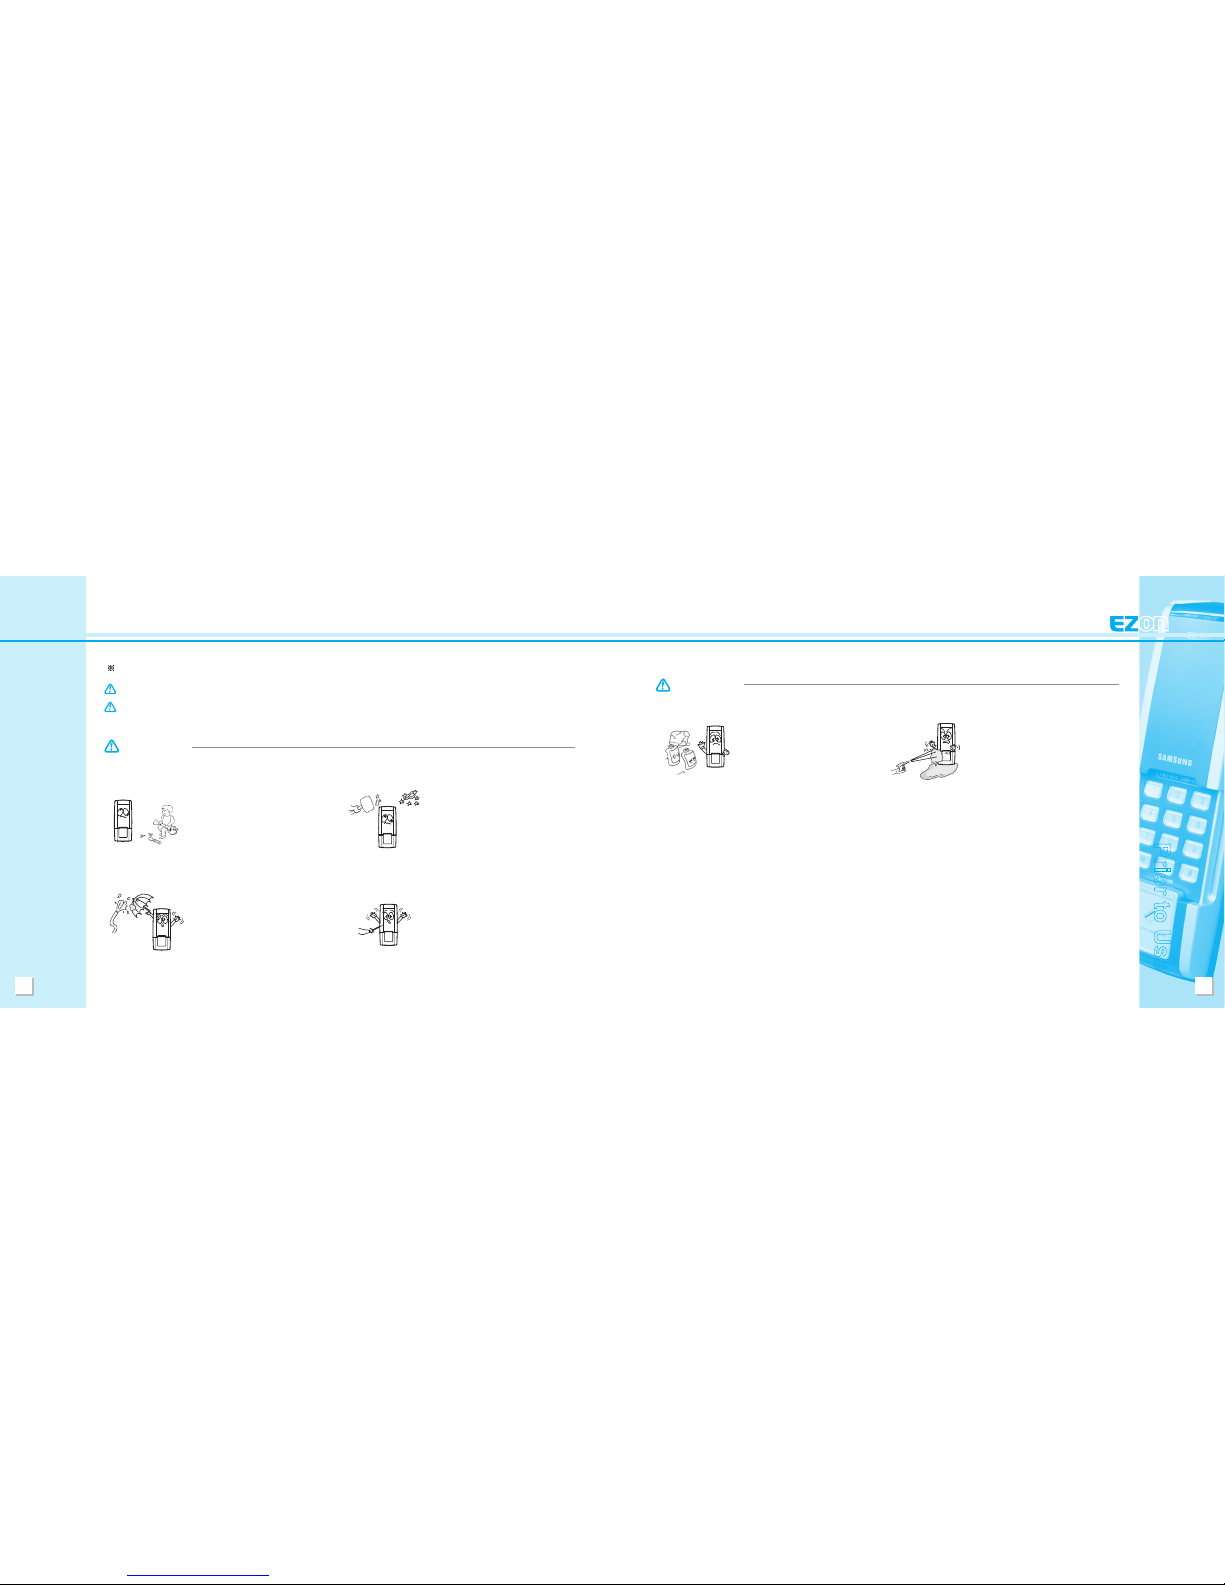
Be careful not to reveal an active password to others.
Using the same password over a long period of time raise the issue of disclosure. It is recommended that passwords be changed on a periodic basis.
CAUTION
1. Password
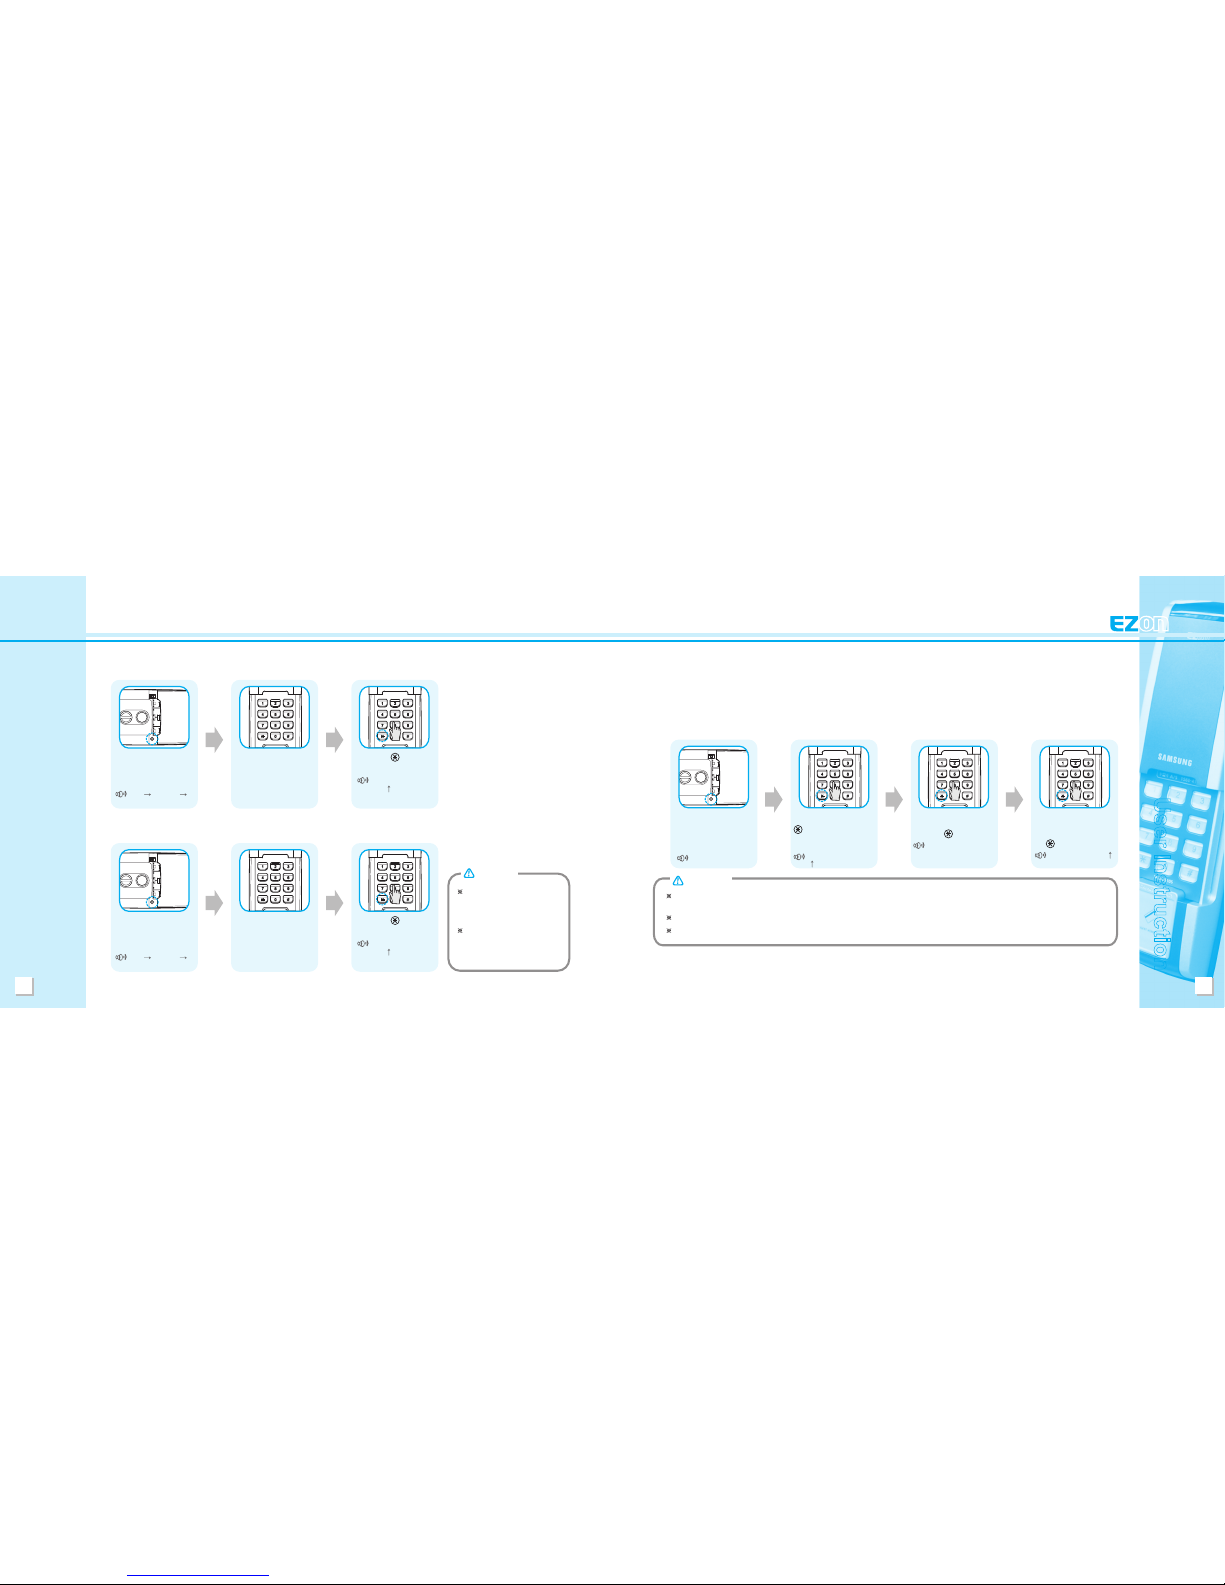
1) Registration (Modication) Method
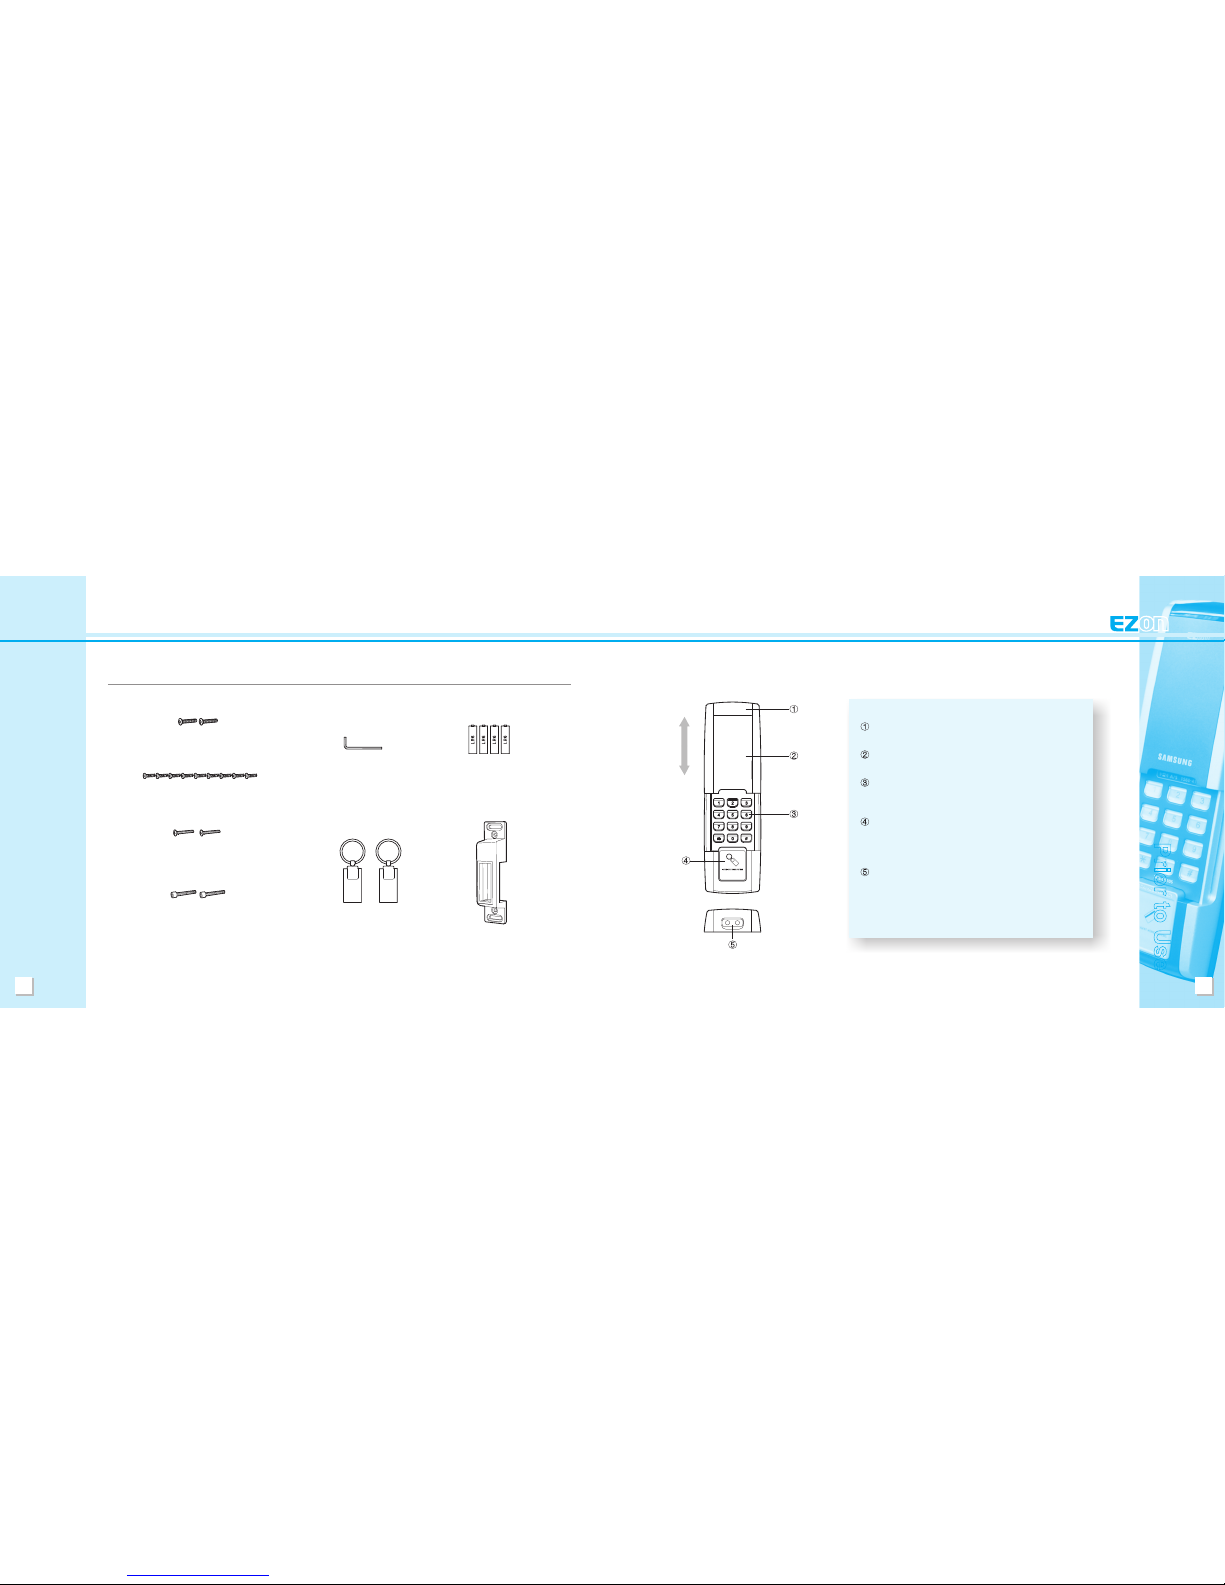
The password is used with the exterior keypad to release the door lock.
The password can be any single number of 4 ~ 12 digits in length.
Open the battery cover
in the interior unit and
press the registration
button once.
Beep
Input the previously registered
password, and then press the
(star) button. (If operating
for the rst time, the default
password is ‘1234’.)
Beep, Beep, Beep, Beep
( ) + Beep, Beep
Input the new password
for registration, and then
press the (star) button.
Beep, Beep
To complete registration,
input the new password
once again, and then press
the (star) button.
Beep, Beep, Beep, Beep ( )
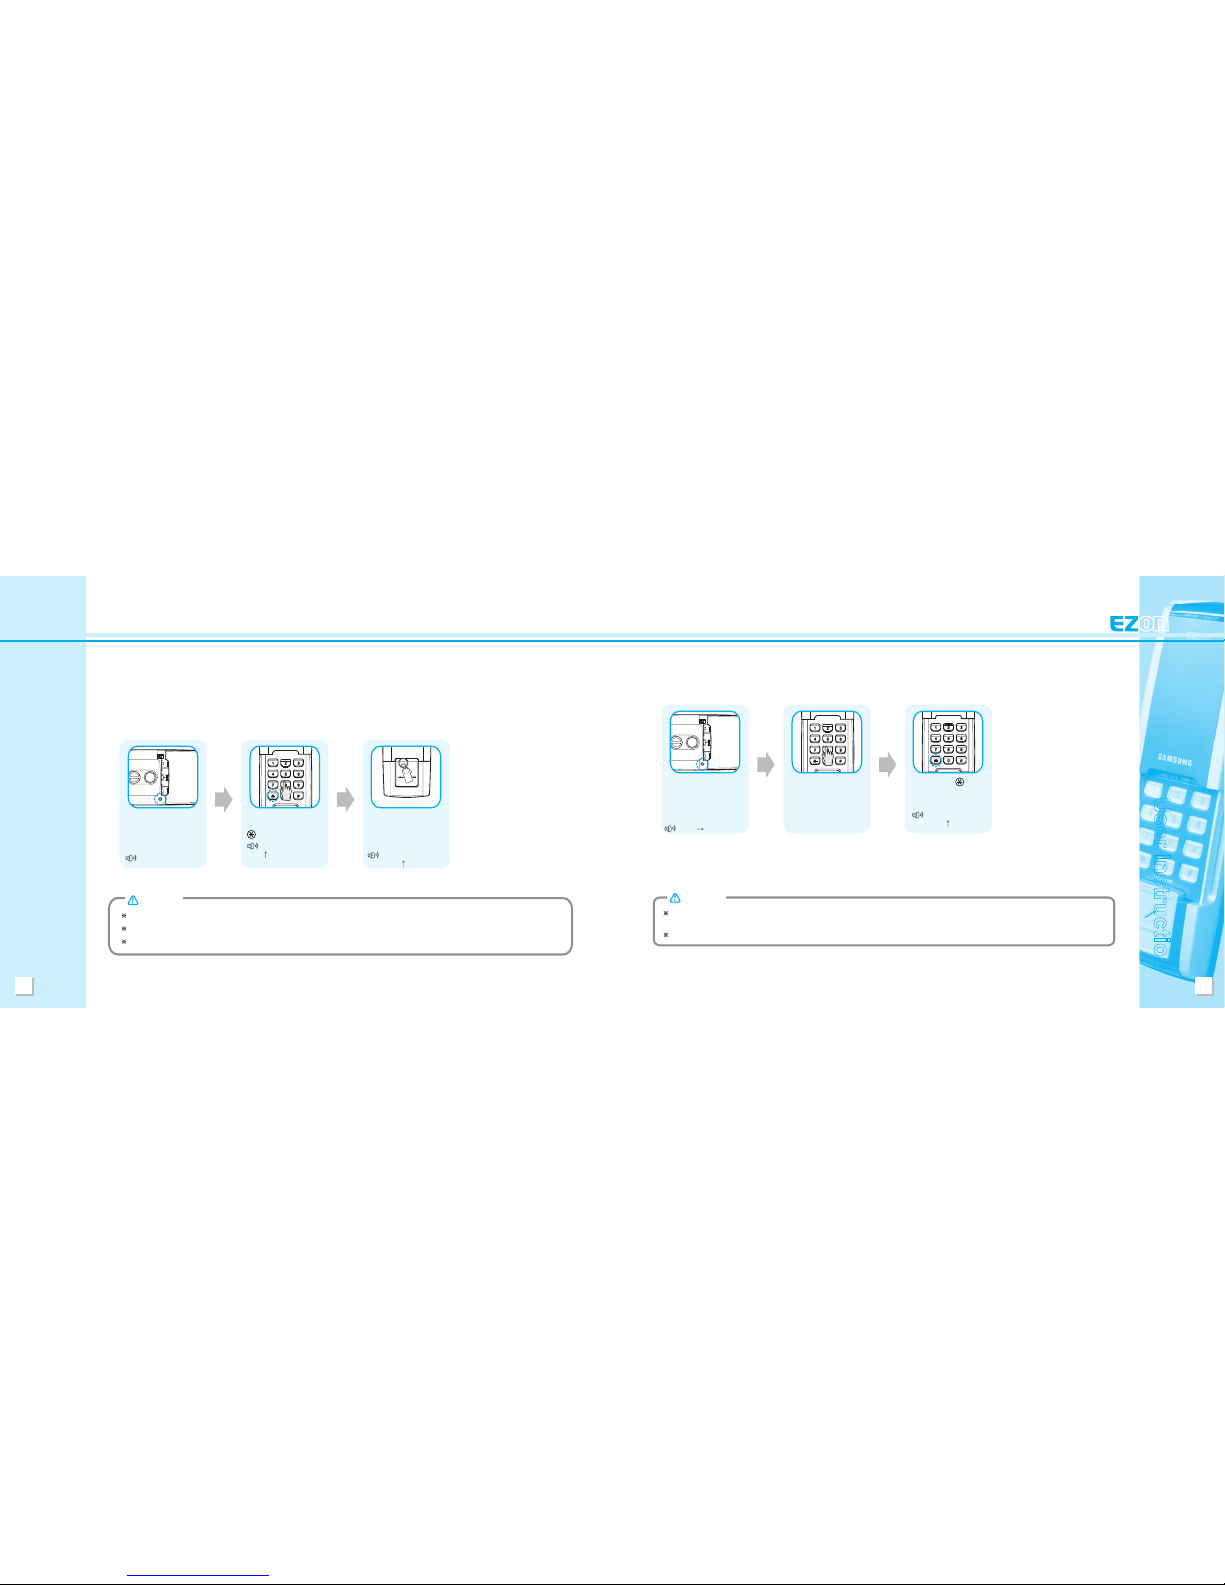
Initialization (Password, Card, Key-Tag)
(1) Password Known
Press the (star)
button.
Beep, Beep, Beep,
Beep ( )
(2) Password Unknown
Open the battery cover in the
interior unit and press and
hold the registration button for
approximately ten seconds.
Beep Beep, Beep
Beep, Beep, Beep, Beep
Enter the code
‘4560852580’.
Press the (star)
button.
Beep, Beep, Beep,
Beep ( )
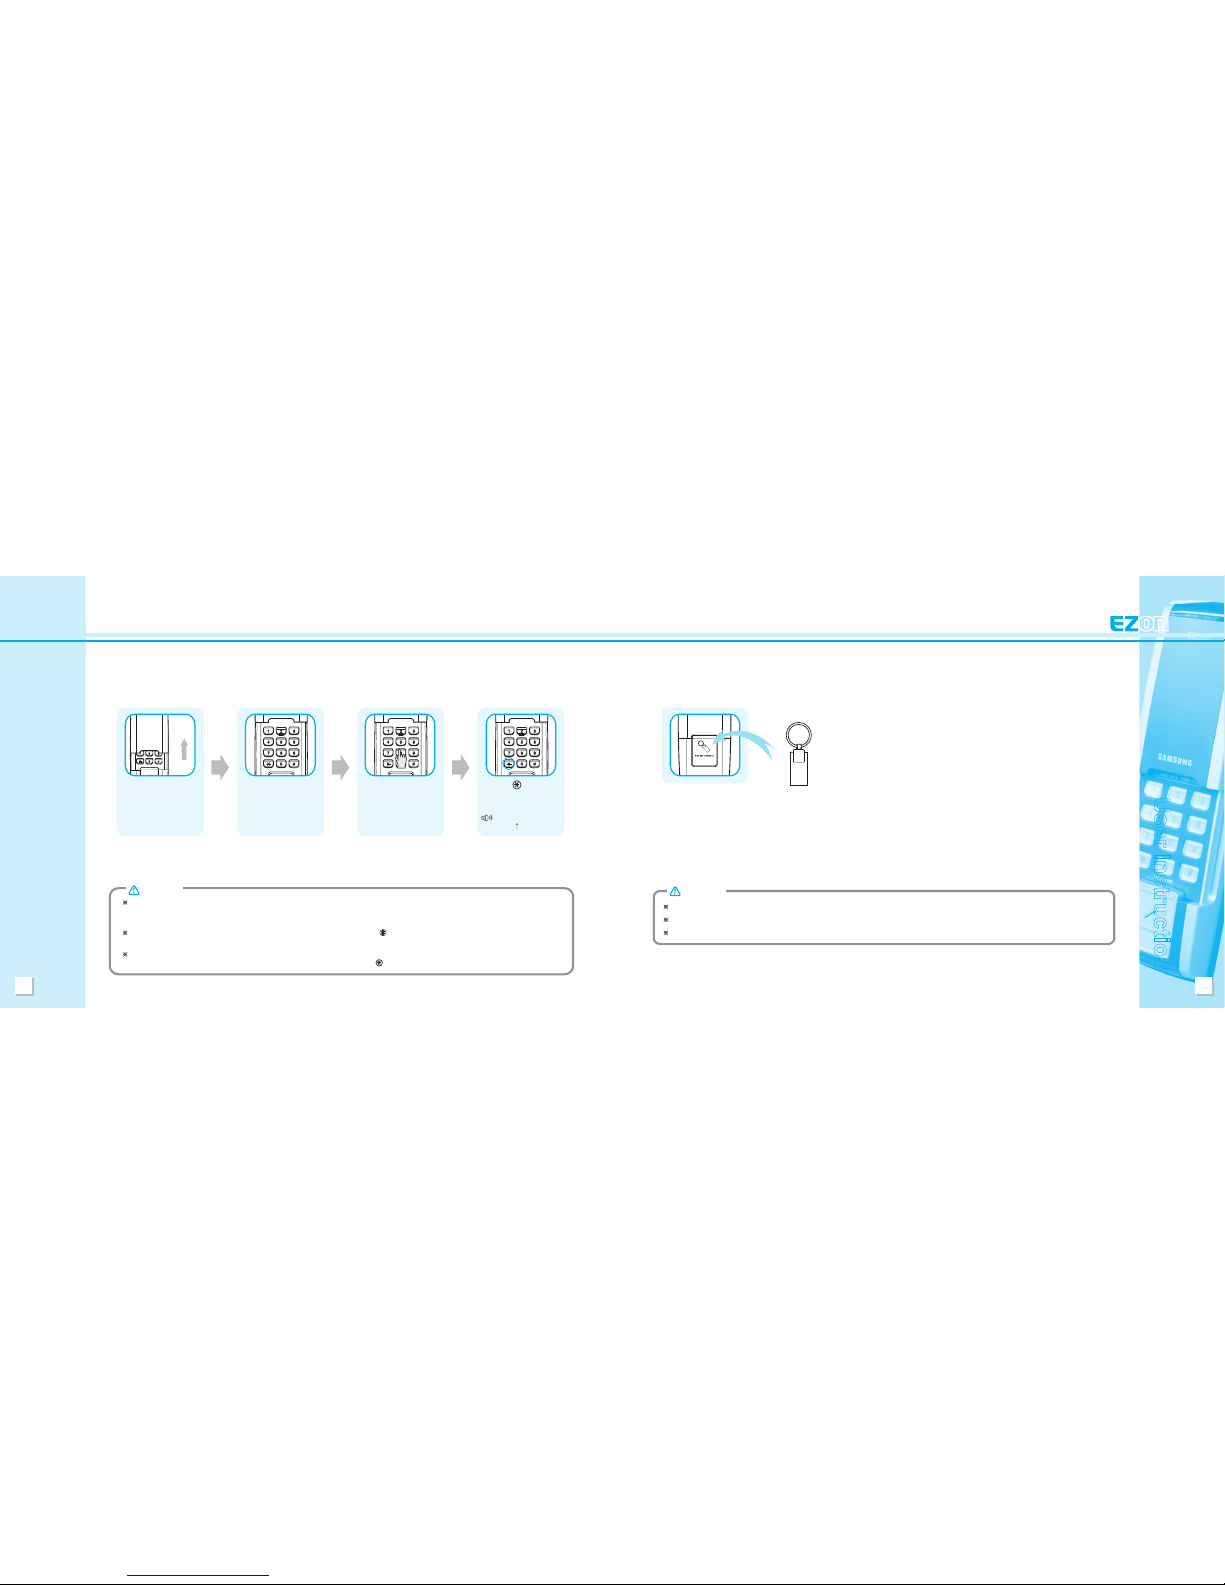
Initialization results in the deletion
of all registration information,
and the password is automatically
set to ‘1234’.
After selecting initialization,
please wait until the light turns
off. The memory clearing process
requires some time.
CAUTION
Open the battery cover in the
interior unit and press and
hold the registration button for
approximately ten seconds.
Beep Beep, Beep
Beep, Beep, Beep, Beep
Enter the password.