manuals.online logo
Brands
  1. Home
  2. •
  3. Brands
  4. •
  5. Samsung
  6. •
  7. Switch
  8. •
  9. Samsung SDN- 550 User manual

Samsung SDN- 550 User manual

© Goodson Wainwright Associates Ltd. 2007 (Samsung Techwin Technical Support)
SDN- 550 Quick Reference Guide
Factory Default Settings:
LENS =…………………….…DC
SHUTTER =…………………..- - - (Auto)
WHITE BAL=……………..….ATW
BACKLIGHT =……………….OFF
AGC =…………………….…..NORMAL
SSNR=………………….……LOW
SENS-UP=…………………...OFF
<SPECIAL>
CAMERA ID =…...................OFF
COLOR (Day mode)………..ON
SYNC…………………………INTERNAL
Motion Detection…………....OFF
PRIVACY =……………….....OFF
MIRROR =……………….…..OFF
SHARPNESS =………………ON (25/31)
To enable Sens-up function
1. Press SETUP
2. Press 6x « SENS-UP »
3. Press 1x « AUTO »
4. Press SETUP 1x
5. The default setting is « 8x »
6. Adjust the level using and (it is
recommended that no more than 8x is set for
general use)
7. Press SETUP 1x
8. Press 2x
9. Select « EXIT » then « SETUP » to exit menu.
To change settings for WHITE BAL:
1. Press SETUP at the rear of the camera.
2. Press 2x
3. « WHITE BAL. » Press 1x
4. « MANUAL » Press SETUP 1x
5. Adjust the RED and BLUE levels if necessary.
6. Press SETUP 1x
7. Press 6x
8. Select « EXIT » then « SETUP » To exit menu.
OR:
(AWC)
1. Press SETUP at the rear of the camera.
2. Press 2x
3. « WHITE BAL. » Press 2x
4. Now hold a white card in front of the lens so that it fills
the screen, but still reflects light.
5. « AWC » Press SETUP and hold for 3 seconds.
6. Press 6x
7. Select « EXIT » then « SETUP » to exit menu.
Info :
•The OSD Menu will disappear after 1 minute if no
buttons are pressed.
•A common cause of NO PICTURE is the incorrect
setting of the DC/VIDEO switch at the rear of the
camera. Check this option first.
•In The case of unexplained faults with the camera,
select the RESET option from the SPECIAL menu.
To Adjust the Lens Brightness Level:
1. Press the SETUP Button on the back of the
camera
2. « LENS » is selected
3. Press SETUP 1x
4. « BRIGHTNESS » Use and to adjust
the brightness level.
5. Press SETUP 1x
6. Select « EXIT »
7. Press SETUP 1x to exit menu
To set Manual Lens and Shutter option:
1. Press SETUP at the rear of the camera.
2. « LENS » Press 1x “MANUAL”
3. Press 1x
4. « SHUTTER » Press 1x
5. « MANUAL » Press SETUP 1x
6. Adjust the shutter speed (Default = 1/50. 1/120000 max.)
7. Press SETUP 1x
8. Press 7x
9. Select « EXIT » option
10. Press « SETUP » 1x to exit menu.
To enable SPOTLIGHT function (a function of BACKLIGHT):
1. Press SETUP at rear of camera
2. Press 3x « BACKLIGHT »
3. Press 4x SPOTLIGHT (Reduces areas of bright or
reflected light in the image)
4. Press SETUP 1x
5. Adjust the size and the position of the box on the screen,
using the functions 1.TOP; 2.DOWN; 3.LEFT; 4.RIGHT. For
example: select 1. DOWN using 1x. Adjust the values and
therefore the depth of the box, using and .
6. To exit, select option 5 « END ». Press SETUP 1x
7. Press 5x
8. Select « EXIT » then « SETUP » to exit menu.
Video Out
p
ut
OSD Menu
buttons
DC/Video Lens switch
Power LED
Power In
p
ut
Control input for
Day/Night
Output from
Motion Detection
© Goodson Wainwright Associates Ltd. 2007 (Samsung Techwin Technical Support)
SDN- 550 Quick Reference Guide
Recommended SSNR settings for general use:
1. It is recommended that « SENS-UP » is set to 8x max for
general applications.
2. Set SSNR level to LOW or MIDDLE.
3. Set AGC level to LOW or MIDDLE.
SPECIAL MENU SETTINGS
All these functions are accessed by selecting the function “SPECIAL” from the main Menu. This is achieved by:
1. Press SETUP at the rear of the camera.
2. Press 7x « SPECIAL »
3. Press SETUP 1x
4. You are now in the SPECIAL functions menu.
To Set the DAY/NIGHT Function:
The Camera is set to COLOR (DAY) by default. To
enable the automatic DAY/NIGHT mode:
1. Access SPECIAL menu
2. Press 1x « COLOR »
3. Press 1x « AUTO »
4. Press 2x « RETURN »
5. Press SETUP 1x
6. Press 1x « EXIT »
7. Press SETUP 1x to exit menu.
8. The DAY/NIGHT function is now automatic.
To set the PRIVACY function:
1. Access the SPECIAL menu.
2. Press 4x « PRIVACY »
3. Press 1x « ON »
4. Press SETUP 1x
5. The setup of this screen is exactly the same as MOTION
DETECTION, with the addition of the option to change the
Shade of the privacy mask displayed on screen.
6. Select « AREA TONE » and change the shade using
. Black is 0, White is 100.
7. To exit, Press SETUP 1x.
8. Press 4x « RETURN » then SETUP 1x.
Select EXIT and Press SETUP 1x to exit menu
To Set the Motion Detection function:
1. Access SPECIAL menu.
2. Press 3x « MOTION DET »
3. Press 1x « ON »
4. Press SETUP 1x
5. It is possible to set 4 zones to detect movement.
6. Select each zone (1,2,3,4) using
7. Remove a particular Zone by selecting « AREA
STATE » below. Choose OFF to disable the zone.
8. The options TOP / DOWN / LEFT / RIGHT adjust
the size and the position of the detection zone. Use
to select a particular dimension.
9. Use to adjust the value.
10. Press SETUP to exit.
11. Press 5x « RETURN »
12. Press SETUP 1x.
13. Select EXIT and Press SETUP 1x to exit menu.
To Set the Digital Zoom function (DZOOM):
1. Access SPECIAL menu.
2. Press 2x « DZOOM »
3. Press 1x « ON ». Press SETUP 1x
4. Adjust the zoom level using (it is recommended that
« DZOOM » is set no more than 2x for general
applications)
5. Press SETUP 1x
6. Press 3x « RETURN » Press SETUP 1
7. Press 1x « EXIT »
8. Press SETUP 1x to exit menu.
To set the Camera ID:
1. Access the SPECIAL menu (See above)
2. Press 1x
3. Press SETUP 1x
4. Choose the camera name up to 16 characters, using
.
5. After each letter or Number, Press SETUP.
6. To correct errors, use the left arrow to delete.
7. CLR erases all characters.
8. Select POS to place the camera title on the screen.
9. When the Camera ID is complete, select END to save
the ID.
10. Press 8x « RETURN »
11. Press SETUP 1x
12. Press 1x « EXIT »
13. Press SETUP 1 x to exit menu.
To RESET Settings to Factory Default:
1. Access the SPECIAL menu.
2. Press 2x « RESET »
3. WARNING!! ALL SETTINGS WILL NOW BE RESET!
4. Press SETUP 1x
5. Press 1x. « RETURN »
6. Press SETUP 1x
7. Press 1x « EXIT »
8. Press SETUP 1 x to exit menu.
Other Samsung Switch manuals

Samsung SmartThings Wifi ET-WV525 User manual

Samsung

Samsung SmartThings Wifi ET-WV525 User manual

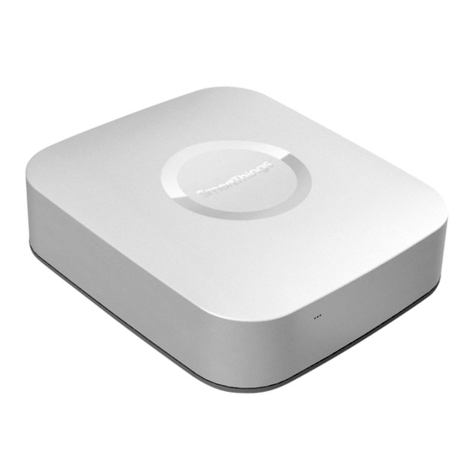
Samsung SmartThings Hub User manual

Samsung

Samsung SmartThings Hub User manual

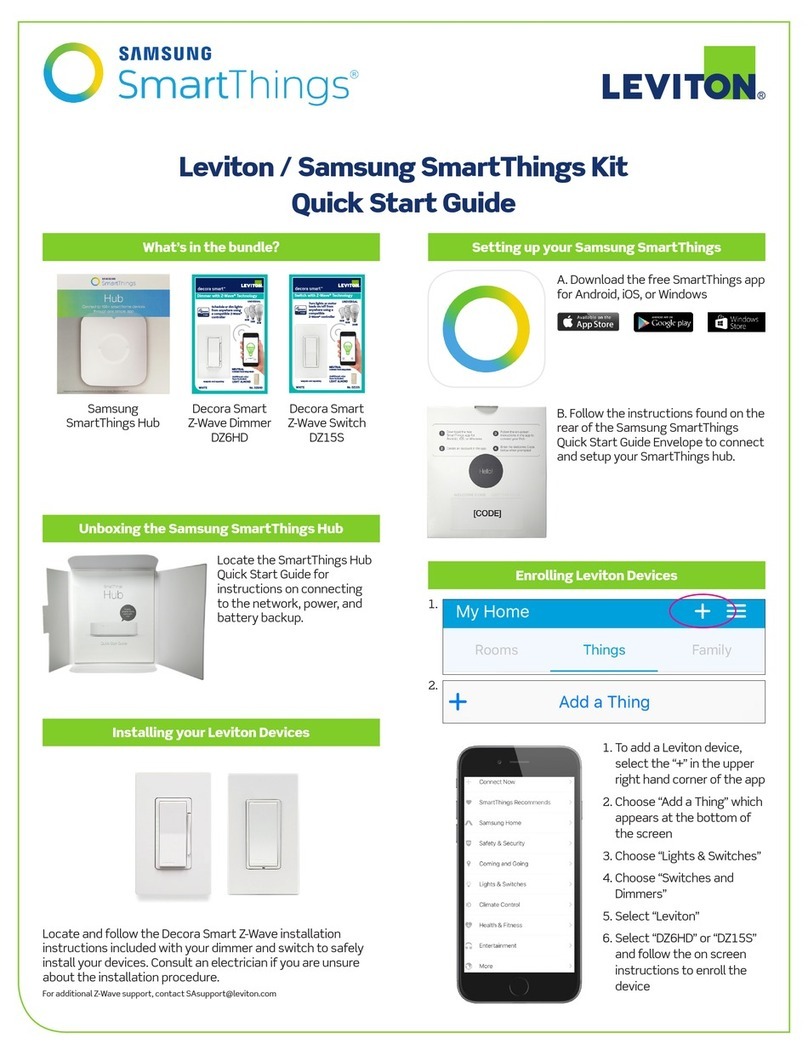
Samsung SmartThings Hub User manual

Samsung

Samsung SmartThings Hub User manual

Samsung WAM250 User manual

Samsung

Samsung WAM250 User manual

Samsung WAM250 User manual

Samsung

Samsung WAM250 User manual

Samsung SmartThings ET-WV523 User manual

Samsung

Samsung SmartThings ET-WV523 User manual

Samsung SM-V505 User manual

Samsung

Samsung SM-V505 User manual

Samsung Connect Home Pro ET-WV531 User manual

Samsung

Samsung Connect Home Pro ET-WV531 User manual

Samsung SE-208BW User manual

Samsung

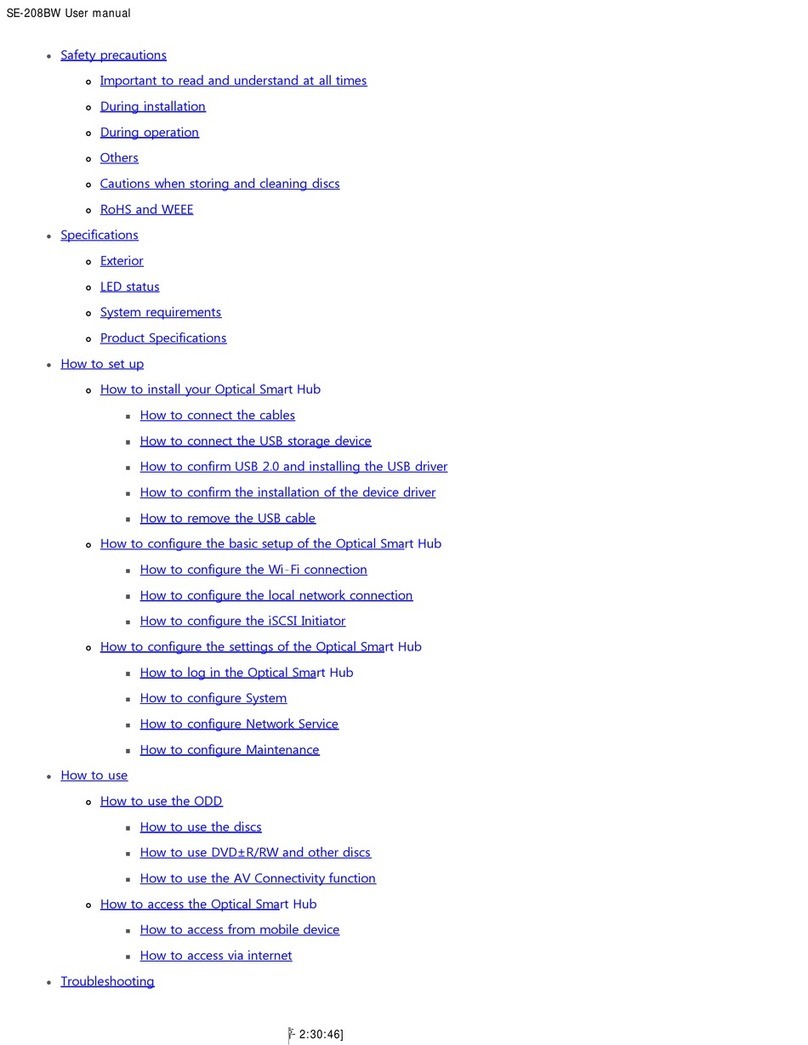
Samsung SE-208BW User manual

Samsung SPU-400 User manual

Samsung

Samsung SPU-400 User manual

Samsung SMART TV Guide

Samsung

Samsung SMART TV Guide

Samsung WAM250 User manual

Samsung

Samsung WAM250 User manual

Samsung SCQ-041AP User manual

Samsung

Samsung SCQ-041AP User manual

Samsung WAM250 User manual

Samsung

Samsung WAM250 User manual

Samsung WAM250 User manual

Samsung

Samsung WAM250 User manual

Samsung WAM250 User manual

Samsung

Samsung WAM250 User manual

Samsung SmartThings STH-ETH-200 User manual

Samsung

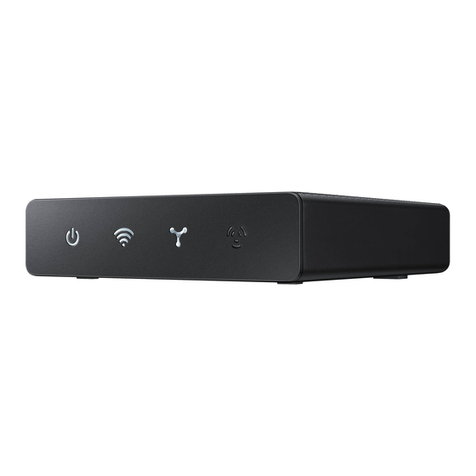
Samsung SmartThings STH-ETH-200 User manual

Popular Switch manuals by other brands

Digitus DS-12423 Quick installation guide

Digitus

Digitus DS-12423 Quick installation guide

TitanNetworx TNDS-9000P install guide

TitanNetworx

TitanNetworx TNDS-9000P install guide

LevelOne FSW-1609TFX Specifications

LevelOne

LevelOne FSW-1609TFX Specifications

BEMKO WZ30 instruction manual

BEMKO

BEMKO WZ30 instruction manual

SIIG Hi-Speed USB 4-Port Bay Hub Quick installation guide

SIIG

SIIG Hi-Speed USB 4-Port Bay Hub Quick installation guide

ATEN RCM101A user manual

ATEN

ATEN RCM101A user manual

Progressive Dynamics PD5200 Installation and operation guide

Progressive Dynamics

Progressive Dynamics PD5200 Installation and operation guide

steute Ex AZ 16 2O/1S-3D Mounting and wiring instructions

steute

steute Ex AZ 16 2O/1S-3D Mounting and wiring instructions

Arris Ruckus ICX 7850 Series Configuration guide

Arris

Arris Ruckus ICX 7850 Series Configuration guide

Raymarine HS5 Installation insrtuctions

Raymarine

Raymarine HS5 Installation insrtuctions

Hawking CS140 Specifications

Hawking

Hawking CS140 Specifications

Accusys ExaSAN SW16-G3 user guide

Accusys

Accusys ExaSAN SW16-G3 user guide

esera automation 11220 user guide

esera automation

esera automation 11220 user guide

ALZA WS-EUB user manual

ALZA

ALZA WS-EUB user manual

Rohm BU16028KV Technical note

Rohm

Rohm BU16028KV Technical note

ATEN ALTUSEN KL1508A user manual

ATEN

ATEN ALTUSEN KL1508A user manual

D-Link DES-3528 - xStack Switch - Stackable Hardware installation guide

D-Link

D-Link DES-3528 - xStack Switch - Stackable Hardware installation guide

Avocent 3100/3200 Installer/user guide

Avocent

Avocent 3100/3200 Installer/user guide

manuals.online logo
manuals.online logoBrands
  • About & Mission
  • Contact us
  • Privacy Policy
  • Terms and Conditions

Copyright 2025 Manuals.Online. All Rights Reserved.