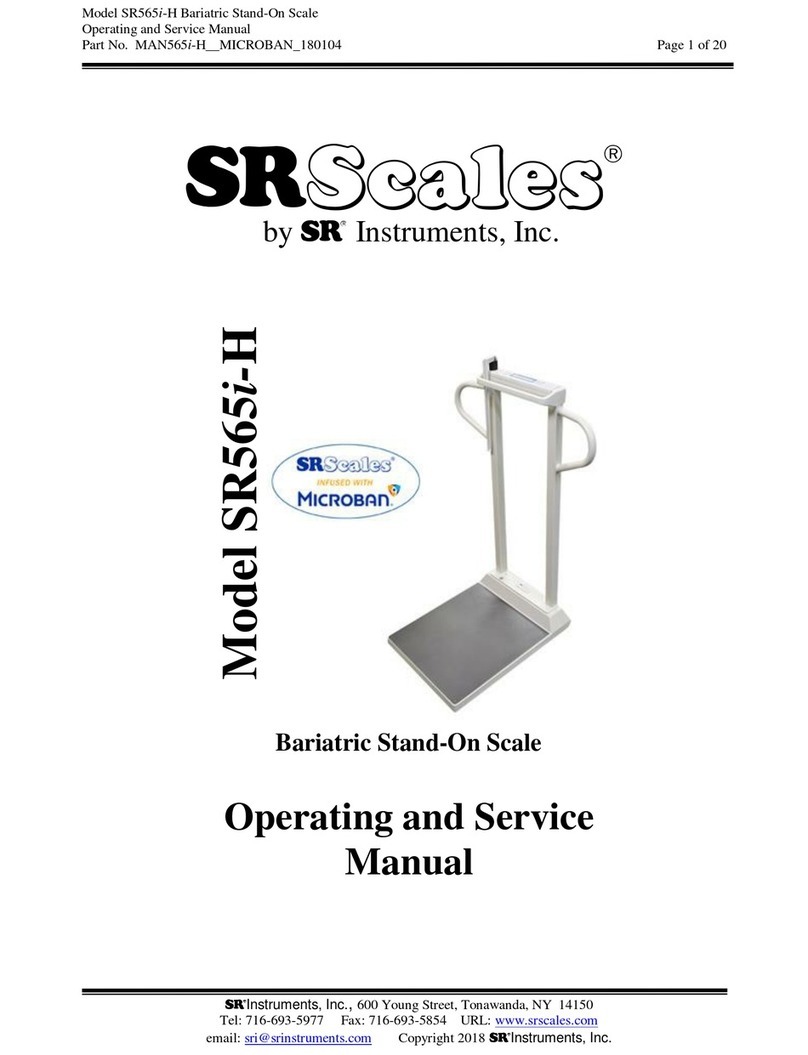
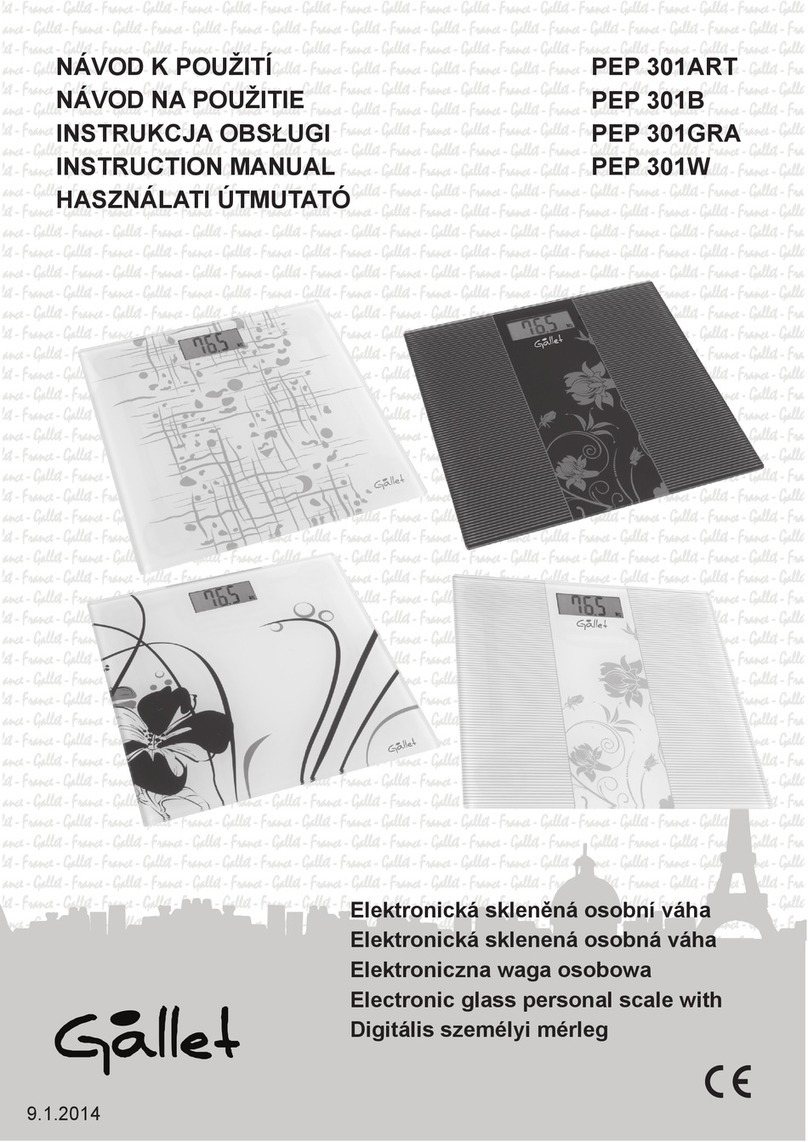
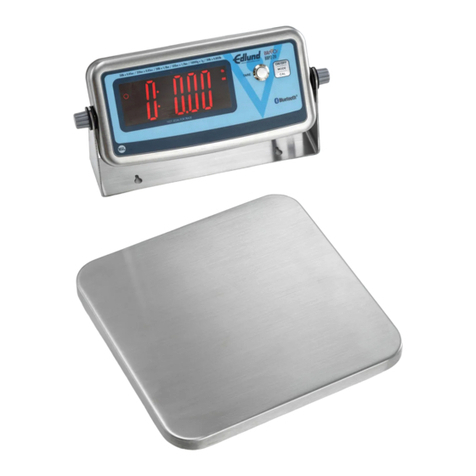
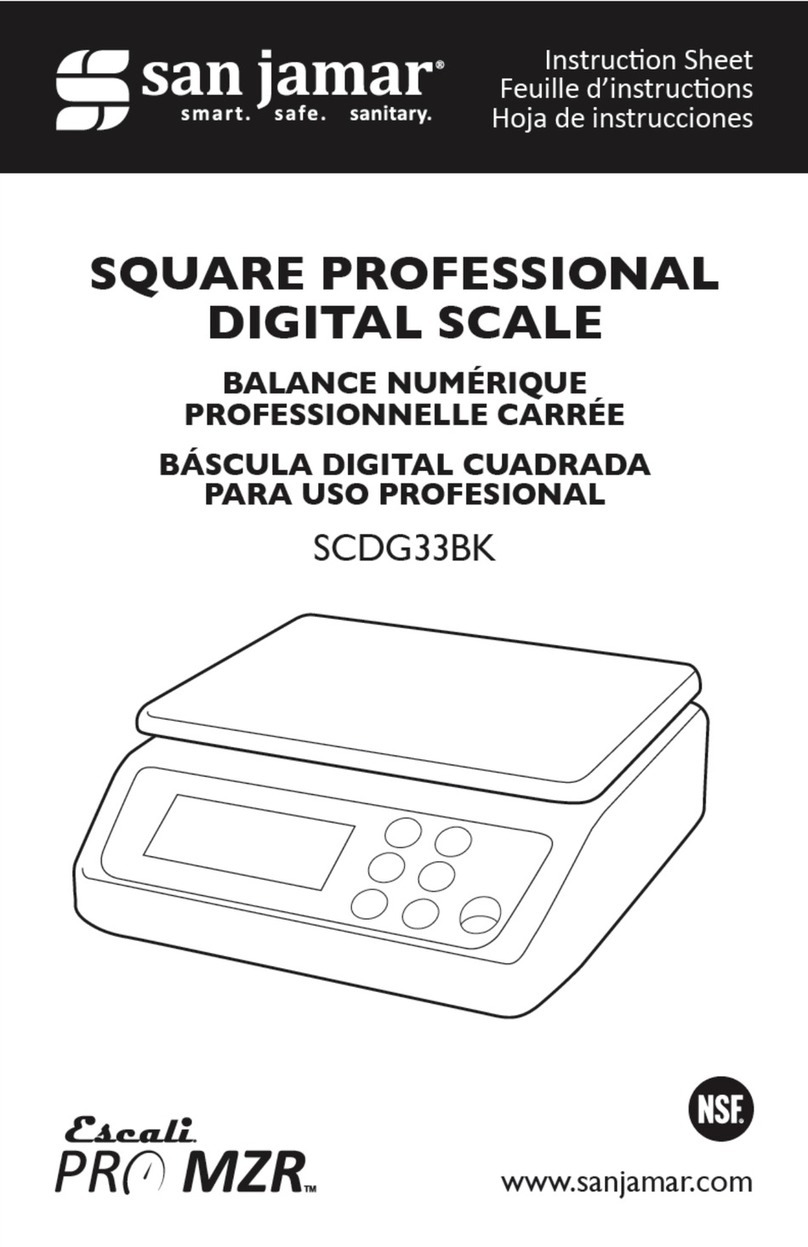
San Jamar SCDGM33 User manual


2
Thank you for purchasing a San Jamar digital scale. Please read the
following operation information to ensure the proper function of your new scale.
BATTERY INSTALLATION
1. Turn the entire scale upside down, and set it securely on a rm, at surface.
2. Open the battery door by loosening the battery door screw.
3. Install four UM2 size C batteries in the battery compartment, ensuring that
the positive/negative side is in the direction as shown in the cabinet.
4. Close the battery door and fasten it with the screw.
AC/DC ADAPTER (OPTIONAL)
1. Open the adapter cabinet door.
2. Plug the adapter jack into the socket.
3. Take out the adapter, and close the cabinet door.
4. Plug the adapter to the AC main.
LEVEL THE SCALE
When the scale is put to use at a new location, adjust the level of the scale by
turning the 4 level adjusting feet until the bubble is located in the middle position of
the bubble leveler.
POWER OFF
1. The scale can be powered off manually by pressing the ON/OFF key.
2. For a total shut down; use the power switch on the side.
ACTIVATING THE SCALE
1. Turn on the “power on/off switch”
2. Turn the scale on by pressing ON/OFF key.
3. The LCD screen will show all characters for a few seconds, and then “0.000 ”
will be shown on the display.
4. The scale turns off automatically after being idle for two minutes.
BACK LIGHT
1. You can turn the BACK LIGHT on or off by pressing the BACK LIGHT
key.

3
PRODUCT SPECIFICATIONS
Model: SCDGM33
Capacity: 33 lb / 15 kg
Graduation: 0.1 oz / 2 g
Platform Dimensions: 8.25” x 10.25”
Product Dimensions: 10.25” x 11.75” x 4.25”
Power Source: (4) C Batteries,
Optional 9-volt wall adapter
Automatic shut-off: 2 minutes
NSF Certied
Model: SCDGM66
Capacity: 66 lb / 30 kg
Graduation: 0.1 oz / 2 g
Platform Dimensions: 8.25” x 10.25”
Product Dimensions: 10.25” x 11.75” x 4.25”
Power Source: (4) C Batteries,
Optional 9-volt wall adapter
Automatic shut-off: 2 minutes
NSF Certied

4
WEIGHING AN ITEM
1. Turn on the scale.
2. Place an item on the platform.
3. The weight of the item will be displayed.
SELECTING WEIGHT UNIT
When the scale is powered on, press the MODE key to change weight unit
according to the following sequence:
kg — - lb — - oz — - lb/oz
USING THE HOLD FUNCTION
When the item is on the scale plaorm, press the HOLD key once and then
remove the item from the scale plaorm. The weight of the item will be held for
10 seconds with a “HOLD” icon displayed on the le side of the LCD.
USING THE TARE MODE:
1. Turn the scale on.
2. “0.000 ” will be shown on the display after a few seconds.
3. Place an item on the weighing platform, and read the value accordingly.
4. Press the TARE key; the weight of the item will be eliminated, and the reading
will change to “0.000 ”.
5. Place next item on the weighing platform, and note the reading.
6. Press TARE key again to show the total weight.
7. Repeat steps (4) to (6) when adding more items.
NOTE: The scale will display a negative reading when you remove all items. Press
the TARE key once, and the negative reading will disappear.

5
USING THE COUNTING MODE: SET SAMPLE SIZE
1. Turn on the scale.
2. Press and hold the PCS key for about 3 seconds until a ashing number is
displayed.
3. Press the MODE key to select the sample size in the sequence of 10 →20 →
40 →60 →80 →100
4. Once you have determined your desired sample size; place the samples on the
platform. (Example: For a sample size of 10, place quantity of 10 onto the plat-
form, for sample size of 20, place quantity of 20, etc.)
5. Press the PCS key to conrm the sample size. You can now add, and subtract
samples.
6. Press the PCS key again to return to weighing mode.
Remark: By pressing theTARE key; this will activate the accumulation of counting.
SeeTare Mode Steps
In order to ensure accurate counting gure, the minimum unit sample weight must
be > ld, and the counting size must not exceed 65535 pcs. If over 65535 pcs, the
LCD will display “- - - -”
PROPER USE & CARE
• Use and stow the scale at room temperature.
• This scale is an instrument of precision. Do not submit the scale to shaking,
excessive vibration, or other rough treatment; use on a at, and stable surface.
• The display may be affected by electromagnetic disturbances such as radios,
microwaves, or cell phones. If such disturbances occur, remove the source of
the disturbance, and restart the scale.
• Disassembling, or tampering with the scale voids the warranty.
• Clean the scale with a damp cloth; do not submerge in liquid; scale is not
waterproof.
• For best results, use alkaline batteries.
• Failure to insert batteries in the correct polarity, as indicated in the battery
compartment, may shorten the life of the batteries or cause batteries to leak.
• Do not mix Alkaline, Standard (Carbon-Zinc) or Rechargeable (Nickel
Cadmium) or (Nickel Metal Hydride) batteries. Do not mix old and new
batteries.
• Batteries should be recycled or disposed of as per state and local guidelines.
Do not dispose of batteries in re!

6
WARNING MESSAGES
EEEE Overload warning
Out2 Load cell is damaged or needs recalibration
Unst The scale is in a unstable environment
Lo Low battery warning
PART AND KEY DESCRIPTION
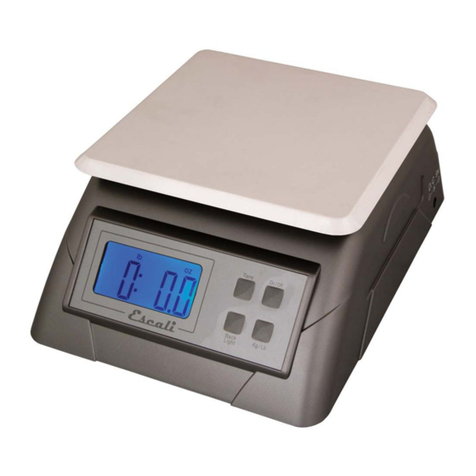
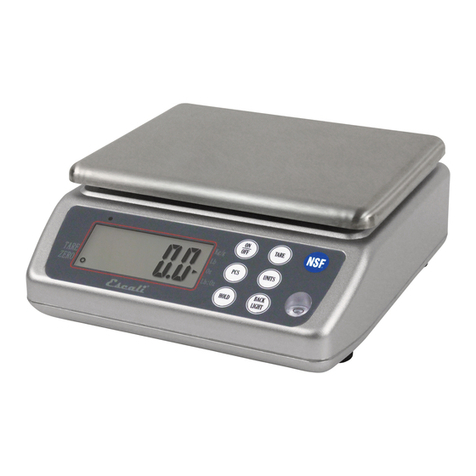
1) Stainless Steel Platform
2) Bubble Leveler
3) LCD Display
4) Keypad
5) Battery Compartment
6) Main Power On/Off Switch
7) Adapter Door
8) AC/DC Adapter Socket
9) AC/DC Adapter
10) Level Adjusting feet

7
Merci d’avoir acheté une balance numérique San Jamar. Veuillez lire la
notice suivante pour vous assurer de bien utiliser votre nouvelle balance.
INSTALLATION DES PILES
1. Placez la balance à l’envers sur une surface plane et solide.
2. Ouvrez la porte des piles en desserrant sa vis.
3. Installez quatre piles UM2 de taille C dans le compartiment à piles, en
veillant à ce que les côtés positif/négatif soient comme c’est indiqué dans le
compartiment.
4. Fermez la porte des piles et resserrez la vis.
ADAPTATEUR CA/CC (FACULTATIF)
1. Ouvrez la porte du compartiment de l’adaptateur.
2. Branchez la che de l’adaptateur dans la prise.
3. Sortez l’adaptateur et fermez la porte du compartiment.
4. Branchez l’adaptateur au secteur
METTRE LA BALANCE AU NIVEAU
Lorsque la balance est déplacée vers un nouvel endroit, ajustez le niveau de la
balance en tournant les 4 pieds d'ajustement jusqu’à ce que la bulle se situe au
milieu du niveau à bulle.
MISE HORS TENSION
1. La balance peut être mise sous tension manuellement en appuyant sur la
touche ON/OFF (Marche/Arrêt).
2. Pour éteindre complètement, utilisez l’interrupteur situé au côté.
ACTIONNER LA BALANCE
1. Actionnez l’interrupteur d’alimentation
2. Mettez sous tension la balance en appuyant sur la touche ON/OFF
(Marche/Arrêt).
3. L’écran ACL afchera tous les caractères pendant quelques secondes, puis
« 0,000 » s’afchera à l’écran.
4. La balance s’éteint automatiquement si elle n’est pas utilisée pendant deux
minutes.
RÉTROÉCLAIRAGE
1. Vous pouvez allumer ou éteindre le RÉTROÉCLAIRAGE en appuyant sur
la touche BACK LIGHT (rétroéclairage).

8
SPÉCIFICATIONS DU PRODUIT
Modèle: SCDGM33
Capacité: 33 lb / 15 kg
Graduation: 0,1 oz / 2 g
Dimensions du plateau: 21 cm x 26 cm
Dimensions du produit: 26 cm x 29.8 cm x 10,8 cm
Alimentation: 4 piles C,
Adaptateur mural de 9 volts facultatif
Fermeture automatique: 2 minutes
Homologué NSF
Modèle: SCDGM66
Capacité: 66 lb / 30 kg
Graduation: 0,1 oz / 2 g
Dimensions du plateau: 21 cm x 26 cm
Dimensions du produit: 26 cm x 29.8 cm x 10,8 cm
Alimentation: 4 piles C,
Adaptateur mural de 9 volts facultatif
Fermeture automatique: 2 minutes
Homologué NSF

9
PESER UN ARTICLE
1. Mettez la balance sous tension.
2. Placez un article sur le plateau.
3. Le poids de l’article sera afché.
SÉLECTIONNER L’UNITÉ DE POIDS
Lorsque la balance est sous tension, appuyez sur la touche MODE pour choisir
l’unité de poids selon la séquence suivante :
kg —- lb —- oz —- lb/oz
UTILISATION DE LA FONCTION HOLD (CONSERVER)
Lorsqu’un arcle est sur le plateau, appuyez sur la touche HOLD (conserver) une
fois, puis rerez l’arcle. Le poids de l’arcle est conservé pendant 10 secondes et
une icône « HOLD » est achée du côté gauche de l’ACL.
UTILISATION DU MODE TARE :
1. Mettez la balance sous tension.
2. « 0.000 » sera afché après quelques secondes.
3. Placez un article sur le plateau et lisez la valeur en conséquence.
4. Appuyez sur la touche TARE; le poids de l’article sera éliminé et l’afchage
changera à « 0.000 ».
5. Placez l’article suivant sur le plateau et prenez note du poids.
6. Appuyez sur la touche TARE de nouveau pour obtenir le poids total.
7. Répétez les étapes (4) à (6) en ajoutant d’autres articles.
REMARQUE : La balance afche une lecture négative lorsque vous retirez
tous les articles.Appuyez une fois de plus sur la touche TARE et l’afchage
négatif disparaîtra.

10
UTILISATION DU MODE DE COMPTAGE: ÉTABLIR LA TAILLE
DE L'ÉCHANTILLON
1. Mettez la balance sous tension.
2. Appuyez sur la touche PCS pendant environ 3 secondes jusqu’à ce qu’un
chire clignotant s’ache.
3. Appuyez sur la touche MODE pour séleconner la taille de l’échanllon dans
la séquence de 10 → 20 → 40 → 60 → 80 → 100
4. Une fois la taille de l’échanllon déterminée, placez les échanllons sur le
plateau. (Exemple : Pour un échanllon de 10, placez la quanté de 10 sur le
plateau; pour un échanllon de 20, placez la quanté de 20, etc.)
5. Appuyez sur la touche PCS pour conrmer la taille de l’échanllon. Vous
pouvez maintenant ajouter et soustraire des échanllons.
6. Appuyez sur la touche PCS pour retourner au mode de pesée.
Remarque: Appuyer sur la toucheTARE activera l'accumulation de comptage.
Voir Étapes du mode Tare
An de s’assurer d’avoir un chiffre précis de comptage, le poids minimal de
l’échantillon doit être > ld, et le comptage ne doit pas dépasser 65 535 unités.
Au-delà de 65 535 unités, l’ACL afchera « - - - - ».
UTILISATION ET ENTRETIEN
• Utilisez et rangez la balance à la température ambiante.
• La balance est un appareil de précision.Veillez à ce que la balance ne subisse
pas de secousses, de vibrations excessives ni de quelque manipulation brusque;
utilisez-la sur une surface plane et stable.
• L’écran risque d’être affecté par les perturbations électromagnétiques
comme les radios, les micro-ondes ou les téléphones cellulaires. En cas de
perturbation, déplacez la source de perturbation et redémarrez la balance.
• Démonter ou altérer la balance annule la garantie.
• Nettoyez la balance à l’aide d’un chiffon humide; ne l'immergez pas dans un
liquide; la balance n’est pas imperméable.
• Pour obtenir les meilleurs résultats, utilisez des piles alcalines.
• Ne pas mettre de pile selon la polarité correcte, comme c’est indiqué dans le
compartiment à piles, risque de réduire la durée de vie utile des piles et de les
faire fuir.
• Ne mélangez pas des piles alcalines, standard (carbone-zinc) et rechargeables
(nickel cadmium) ou (nickel hydrure métallique). Ne mélangez pas des piles
neuves et des vieilles.
• Les piles devraient être recyclées ou mises au rebut selon les directives de
l’État ou de la localité. Ne vous débarrassez pas des piles dans un feu!
12
Gracias por comprar una báscula digital San Jamar. Por favor lea la
siguiente información de operación para asegurar el funcionamiento correcto de su
nueva báscula.
INSTALACIÓN DE LA BATERÍA
1. Voltee la báscula completamente boca abajo y póngala en una supercie rme
y plana.
2. Abra el compartimiento de las baterías aojando el tornillo de la puerta
del compartimiento.
3. Instale en el compartimiento de baterías cuatro baterías UM2
tamaño C asegurándose que los extremos positivos/negativos estén
en la dirección indicada en el compartimiento.
4. Cierre la puerta del compartimiento de baterías y asegúrela con el tornillo.
ADAPTADOR CA/CC (OPCIONAL)
1. Abra la puerta del compartimiento de baterías.
2. Enchufe el conector del adaptador en el zócalo.
3. Retire el adaptador y cierre la puerta del compartimiento.
4. Enchufe el adaptador al suministro de CA de la red.
NIVELE BÁSCULA
Al usar la báscula en un nuevo lugar, ajuste el nivel de la báscula girando las 4 patas
niveladoras hasta que la burbuja esté ubicada en el centro del nivel de burbuja.
APAGAR
1. La báscula puede apagarse manualmente presionando la tecla ON/OFF
(Encendido/apagado).
2. Para apagarla totalmente, use el interruptor de encendido en el costado.
ACTIVAR LA BÁSCULA
1. Mueva el interruptor de encendido "ON/OFF" a la posición encendido.
2. Encienda la báscula presionando la tecla ON/OFF (Encendido/apagado).
3. La pantalla LCD mostrará todos los caracteres durante algunos segundos,
luego se mostrará "0.000 " en la pantalla.
4. La báscula se apaga automáticamente luego de estar sin uso durante
dos minutos.
RETROILUMINACIÓN
1. Puede apagar o encender la RETROILUMINACIÓN presionando la tecla
BACK LIGHT.

13
ESPECIFICACIONES DEL PRODUCTO
Modelo: SCDGM33
Capacidad: 15 kg (33 lb)
Graduación: 2 g
Dimensiones de la plataforma: 21 cm x 26 cm
Dimensiones del producto: 26 cm x 29.8 cm x 10,8 cm
Fuente de alimentación: (4) baterías C
Adaptador de pared de 9 voltios opcional
Apagado automático: 2 minutos
Certicada NSF
Modelo: SCDGM66
Capacidad: 30 kg (66 lb)
Graduación: 2 g
Dimensiones de la plataforma: 21 cm x 26 cm
Dimensiones del producto: 26 cm x 29.8 cm x 10,8 cm
Fuente de alimentación: (4) baterías C
Adaptador de pared de 9 voltios opcional
Apagado automático: 2 minutos
Certicada NSF

14
PESAR UN OBJETO
1. Encienda la báscula.
2. Ponga un objeto en la plataforma.
3. Se mostrará el peso del objeto en la pantalla.
SELECCIONAR LA UNIDAD DE MEDIDA
Con la báscula apagada, presione la tecla MODE (Modo) para cambiar la unidad de
medida de acuerdo a la siguiente secuencia: kg —- lb —- oz —- lb/oz
USAR LA FUNCIÓN DE SOSTENER
Con un objeto en la plataforma de la báscula, presione la tecla HOLD (Sostener)
una vez y luego quite el objeto de la plataforma de la báscula. El peso del objeto se
conservará durante 10 segundos, mostrando el icono "HOLD" en el lado izquierdo
de la pantalla LCD.
USAR EL MODO TARA:
1. Encienda la báscula.
2. Luego de algunos segundos se mostrará "0.000 " en la pantalla.
3. Ponga un objeto en la plataforma de pesaje y lea el valor que se muestra.
4. Presione la tecla TARE (Tara). El peso del objeto será eliminado y la lectura
cambiará a "0.000 ".
5. Ponga el siguiente objeto en la plataforma de pesaje y observe la lectura.
6. Presione de nuevo la tecla TARE (Tara) para mostrar únicamente el peso
total del objeto.
7. Repita los pasos 4 a 6 al añadir más objetos.
NOTA: La báscula mostrará una lectura negativa cuando haya quitado todos los
objetos. Presione una vez la tecla TARE (Tara) y la lectura negativa desaparecerá.

15
USAR EL MODO CONTAR: DEFINIR EL TAMAÑO DE LA
MUESTRA
1. Encienda la báscula.
2. Presione y mantenga presionada la tecla PCS (Piezas) durante
aproximadamente 3 segundos hasta que se muestre un número parpadeante.
3. Presione la tecla MODE (Modo) para seleccionar el tamaño de la muestra en
la secuencia:10 → 20 → 40 → 60 → 80 → 100
4. Una vez que haya determinado el tamaño deseado de la muestra, ponga
las muestras en la plataforma. (Ejemplo: Para un tamaño de muestra de 10,
ponga una cantidad de 10 en la plataforma, para un tamaño de muestra de 20,
ponga una cantidad de 20, etc.)
5. Presione la tecla PCS (Piezas) para confirmar el tamaño de la muestra. Ahora
puede sumar y restar muestras.
6. Presione de nuevo la tecla PCS (Piezas) para regresar al modo de pesaje.
Nota:Al presionar la teclaTARE (Tara) se activa la acumulación de cuentas.
Ver los pasos de modo tara
Para asegurar la precisión de la gura de cuenta, el peso mínimo de la unidad de la
muestra debe ser > ld, y el tamaño de la cuenta no debe exceder 65535 piezas. Si es
mayor a 65535 piezas, la pantalla LCD mostrará "- - - -".
USO CORRECTO Y CUIDADO
• Use y guarde la báscula a temperatura ambiente.
• Esta báscula es un instrumento de precisión. No someta la báscula a sacudidas,
vibración excesiva ni otros tratos duros. Úsela en una supercie plana y
estable.
• La pantalla puede ser afectada por interferencias electromagnéticas tales como
radios, microondas y teléfonos celulares. Si ocurren tales interferencias, retire
la fuente de la interferencia y reinicie la báscula.
• Desensamblar o manipular la báscula anula la garantía.
• Limpie la escala con un trapo húmedo. No sumerja en líquido, la báscula no es
a prueba de agua.
• Para mejores resultados, use baterías alcalinas.
• Si no inserta las baterías con la polaridad correcta, como se muestra en el
compartimiento de las baterías, se puede acortar la vida de las baterías o
producirles una fuga.
• No mezcle baterías alcalinas, estándar (carbón-zinc) o recargables (níquel
cadmio) o (níquel-metal hidruro). No mezcle baterías nuevas y usadas.
• Las baterías deben ser recicladas o desechadas de acuerdo a las indicaciones
estatales y locales. ¡No arroje las baterías al fuego!

16
MENSAJES DE ADVERTENCIA
EEEE Advertencia de sobrecarga
Out2 La celda de carga está dañada o necesita calibración
Unst La báscula está en una supercie inestable
Lo Indicador de batería baja
PIEZAS Y DESCRIPCIÓN DE LAS TECLAS
1) Plataforma de acero inoxidable
2) Nivel de burbuja
3) Pantalla LCD
4) Teclado
5) Compartimiento de batería
6) Interruptor principal de apagado/encendido
7) Puerta del adaptador
8) Conector del adaptador CA/CC
9) Adaptador CA/CC
10) Patas niveladoras

17
NOTES:

This manual suits for next models
1
Table of contents
Languages:
Other San Jamar Scale manuals

San Jamar
San Jamar Escali Pro MZR SCDG13LP User manual

San Jamar
San Jamar SCDG33BK User manual

San Jamar
San Jamar SCDGP11 Series User manual

San Jamar
San Jamar SCDGSL33 User manual

San Jamar
San Jamar SCDG33WD User manual

San Jamar
San Jamar SCDG15BK User manual

San Jamar
San Jamar Escali PRO MZR SCDG13 User manual

San Jamar
San Jamar SCDG11BK User manual