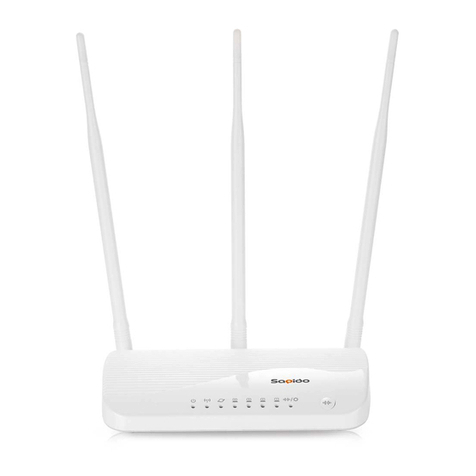
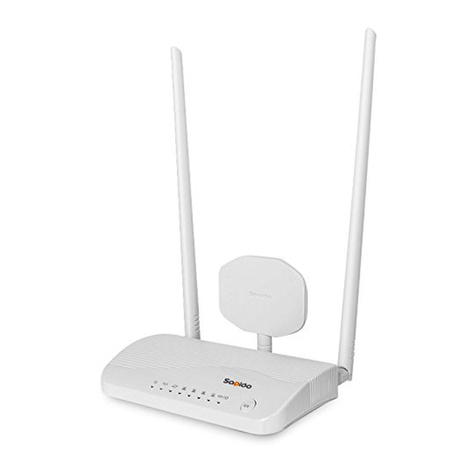
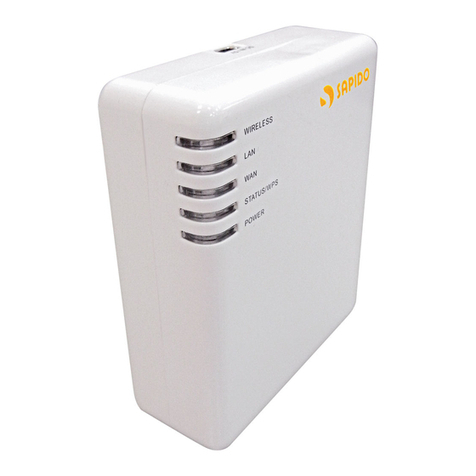
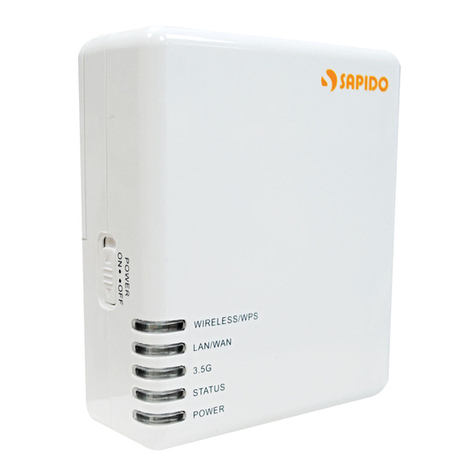
Sapido BRC76n User manual

Networking
Wireless
Router
300M Value Cloud Wireless Router
BRC76n
User Manual v1.0.0

FCC Caution
FCC Part 15.19 Caution:
1. This device complies with Part 15 of the FCC Rules. Operation is su ject to the
following two conditions:
(1) this device may not cause harmful interference and
(2) this device must accept any interference received, including interference that
may cause undesired operation
2. This device and its antenna(s) must not e co-located or operating in conjunction
with any other antenna or transmitter.
3. Changes or modifications to this unit not expressly approved y the party
responsi le for compliance could void the user authority to operate the
equipment.
IMPORTANT NOTE:
FCC Radiation Exposure Statement:
This equipment complies with FCC radiation exposure limits set forth for an uncontrolled
environment. This equipment should e installed and operated with minimum distance 20cm
etween the radiator & your ody.
This transmitter must not e co-located or operating in conjunction with any other
antenna or transmitter.
The antennas used for this transmitter must e installed to provide a separation
distance of at least 20 cm from all persons and must not e co-located or operating
in conjunction with any other antenna or transmitter.
FCC Statement in ser’s Manual (for calss B)
FCC Section 15.105
“Federal Communications Commission (FCC) Statement”
This equipment has een tested and found to comply with the limits for a lass B
digital device, pursuant to Part 15 of the FCC Rules. These limits are designed to
provide reasona le protection against harmful interference in a residential
installation. This equipment generates uses and can radiate radio frequency energy
and, if not installed and used in accordance with the instructions, may cause harmful
interference to radio communications. However, there is no guarantee that
interference will not occur in a particular installation. If this equipment does cause
harmful interference to radio or television reception, which can e determined y
turning the equipment off and on, the user is encouraged to try to correct the
interference y one or more of the following measures:
-- Reorient or relocate the receiving antenna.
-- Increase the separation etween the equipment and receiver.
-- Connect the equipment into an outlet on a circuit different from that to which the
receiver is connected.
-- Consult the dealer or an experienced radio/TV technician for help.
CE Statement of Conformity
Our product has een tested in typical configuration y Ecom Sertech Corp and was found
to comply with the essential requirement of “Council Directive on the Approximation of the
Laws of the Mem er States relating to Electromagnetic Compati ility” (89/336/EEC;
92/31/EEC; 93/68/EEC)

Chapter 1 Introduction

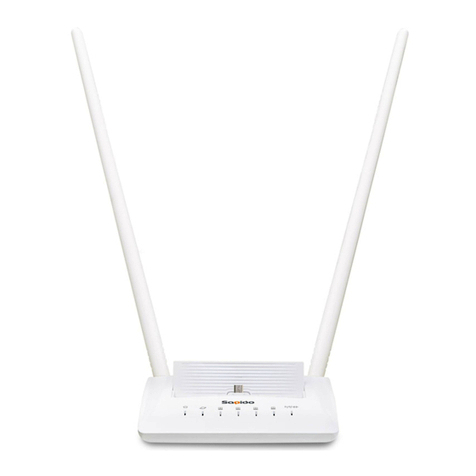
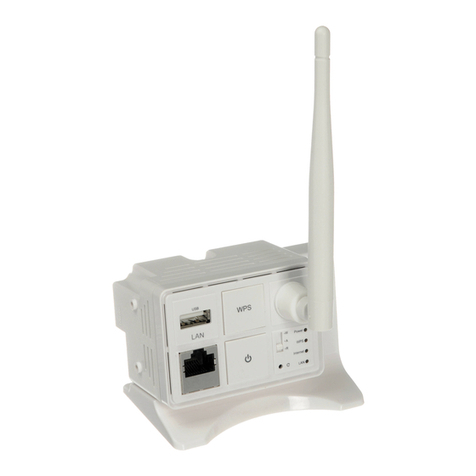
1.1 Product Appearance
LED Indicator Status Description:
LED Function Color Status Description
Power x 1 Power indicator Green On Power is eing applied to this
product
Wireless x 1 Wireless activity Green On Wireless is connected
Blinking
30ms
Wireless Tx/Rx activity
Blinking
120ms
Reset is in progress
WPS x 1 WPS status Green Blinking
120ms
WPS function in progress
WAN x 1 WAN port activity Green On 100M ps Ethernet is connected
Blinking
30ms
100M ps Ethernet Tx/Rx activity
Green On 10M ps Ethernet is connected
Blinking
120ms
10M ps Ethernet Tx/Rx activity
LAN x 4 LAN port activity Green On 100M ps Ethernet is connected
Blinking
30ms
100M ps Ethernet Tx/Rx activity
Green On 10M ps Ethernet is connected
Blinking
120ms
10M ps Ethernet Tx/Rx activity

Chapter 2 System and Network Setup
The BRC76N is an easy to setup and wireless device for various application and
environment, especially for large installs such as hotels, offices space, warehouses, hot-
spots and more.
To egin with BRC76N , you must have the following minimum system requirements. If your
system can’t correspond to the following requirements, you might get some unknown
trou les on your system.
ΟInternet Account for XDSL/Ca le Modem
ΟOne Ethernet (10/100m ps) network interface card.
ΟTCP/IP and at least one we rowser software installed (E.g.: Internet Explorer, Firefox,
Safari、Chrome latest version).
Ο802.11 、g、n wireless adapter for wireless mo ile clients.
ΟRecommended OS: WinXP, Visata or Win7 / Linux.
Ο
2.1 Build Network Connection
Administrator can manage the settings for WAN, LAN, Wireless Network, NTP, password,
VPN, Firewall, etc.
Please confirm the network environment or the purpose efore setting this product.
2.2 Connecting BRC76N
Prepare the followings efore the connection:
ΟPC or Note ook for setup
ΟEthernet ca le
1. Make sure you are under “Router Mode”.
2. Connect BRC76N to xDSL/ Ca le modem with the Ethernet ca le, WAN to LAN.
3. Turn on your Computer.

2.3 Network setup
After the network connection is uilt, the next step is setup the router with proper network
parameters, so it can work properly in your network environment. Before you connect to the
wireless router and start configuration procedures, your computer must e a le to get an IP
address from the wireless router automatically (use dynamic IP address). If it’s set to use
static IP address, or you’re unsure, please follow the elow instructions to configure your
computer with dynamic IP address:
If the operating system of your computer is….
Windows 2000 - please go to section 2.3.1
Windows XP - please go to section 2.3.2
Windows Vista/Win7 - please go to section 2.3.3
2.3.1 Windows 2000
Click “Start” utton (it should e located at lower-left corner of your computer), then click
control panel. Dou le-click Network and Dial-up Connections icon, dou le click Local Area
Connection, and Local Area Connection Properties window will appear. Select “Internet
Protocol (TCP/IP)”, then click “Properties”.
1. Select “O tain an IP address automatically” and “O tain DNS server address
automatically”, then click “OK”.

2.3.2 Windows XP
1. Click “Start” utton (it should e located at lower-left corner of your computer), then
click control panel. Dou le-click Network and Internet Connections icon, click Network
Connections, then dou le-click Local Area Connection, Local Area Connection Status
window will appear, and then click “Properties”.
2. Select “O tain an IP address automatically” and “O tain DNS server address
automatically”, then click “OK”.

2.3.3 Windows Vista / Windows 7
1. Click “Start” utton (it should e located at lower-left corner of your computer), then
click control panel. Click View Network Status and Tasks, and then click Manage Network
Connections. Right-click Local Area Network, then select “Properties”. Local Area
Connection Properties window will appear, select “Internet Protocol Version 4 (TCP /
IPv4)”, and then click “Properties”.
2. Select “O tain an IP address automatically” and “O tain DNS server address
automatically”, then click “OK”.

2.4 Router IP Address Lookup
After the IP address setup was completed, please clicks “start” → “run” at the ottom-lower
corner of your desktop:
Input “cmd”, and then click “OK”.

Input “ipconfig”, then press “Enter” key. Please check the IP address followed y “Default
Gateway” (In this example, the gateway IP address of router is 192.168.1.1)
NOTE: If the IP address of Gateway is not displayed, or the address followed y ‘IP Address’ egins with
“169.x.x.x”, please recheck network connection etween your computer and router, and / or go to the
eginning of this chapter, to recheck every step of network setup procedure.
2.4.1 Log into Web G I
After your computer o tained an IP address from wireless router, please start your we
rowser, and input the IP address of the wireless router in address ar, and the following
message should e shown. Please click “admin” to login the BRC76N .
Enter the User name and Password in to the lank and then Click Login. The default values
for User Name and Password are admin (all in lowercase letters).

Users can set or change user name and password used for accessing the we management
interface in this section.
Input User Name and New Password, then input Confirm Password again.
Chapter 3 Internet Connection
This Chapter descri es how to setup BRC76N to the internet. The BRC76N is delivered with
the following factory default parameters.

Default IP address: 192.168.1.1
Default IP subnet mask: 255.255.255.0
Web login user name: admin
Web login pass ord: admin
3.1 sing as a broadband router
1. Open a We rowser, and enter http://192.168.1.1 (Default Gateway) into the
lank.
2. Enter the User name and Password into the lank and then click Login. The
default values for User Name and Password are admin (all in lowercase letters).
Download
pdadd
Status page

3.2 Home button menu
Click Home button icon to enter MEN as below.
Logout

Item Description
Internet Setup There are several different method to access
Internet,PPPoE 、DHCP、Static IP、PPTP、L2TP、WiFi ISP
AP If a router is already set at the house, and you want to make
the wireless LAN communication
WiFi AP When you connect to the internet wirelessly through PC and
wireless device without wireless LAN function equipped.
Status You could check WAN, LAN, Client network in status.
Parental control You can use URL filter 、MAC Filter Schedule and Wireless
Schedule to limit access Internet.
Office Control For office environment,there are Multiple AP、Wireless Access
Control、IP Filtering、IP Binding and QoS
Firmware pgrade This function allows you upgrade the BRC76N firmware to new
version. Please note do not power off the device during the upload
ecause it may crash the system.
DoS Denial of Service

VPN Server PPTP/L2TP general setup introduction.
NAT Management There are port forwarding and DMZ function
Remote management This page allow you to access the GUI on WAN.
Advance Setup Advance setting menu
Time Zone You can maintain the system time y synchronizing with a pu lic
time server over the Internet.
Factory Default You could reset the current configuration to factory default.
Reboot This function is used to re oot
Logout This page is used to logout.

3.3 Internet Setup
Click Internet Setup icon to enter WAN setup as elow. The Internet Setup is
depended on the service that you contract with the provider. The BRC76N provides five
selections for the Internet Mode type, PPPoE, DHCP, Static IP , PPTP and L2TP and WiFi ISP.
Check with your ISP if you don’t know the WAN type.

3.3.1 PPPoE
Item Description
ser Name Input your user name provided y your ISP. If you don’t know,
please check with your ISP.
Password Input the password provided y your ISP.
Wireless AP Turn on/off wireless
SSID Service Set identifier, users can define to any or keep as default.
Encryption Select wireless encryption type form the drop-down list.
3.3.2 DHCP

Item Description
MAC type Select " niversal” or “Specific"
Universal:clone controller PC mac address as BRC76n WAN
mac address
Specific:use BRC76n itself mac address
Wireless AP Turn on/off wireless
SSID Service Set identifier, users can define to any or keep as default.
Encryption Select wireless encryption type form the drop-down list.

3.3.3 Static IP
Item Description
IP Address Enter the IP address which is provided y your ISP.
Subnet Mask Please enter the Su net Mask address
Gateway Input ISP Default Gateway Address.
DNS Input DNS information which is provided y your ISP
Wireless AP Turn on/off wireless
SSID Service Set identifier, users can define to any or keep as default.
Encryption Select wireless encryption type form the drop-down list.
3.3.4 PPTP
Other manuals for BRC76n
1
Table of contents
Other Sapido Wireless Router manuals

Sapido
Sapido GR-1736 User manual

Sapido
Sapido MB-1132G3 User manual

Sapido
Sapido RB-6132 User manual

Sapido
Sapido RB-1602G3 User manual

Sapido
Sapido RB-1632 User manual

Sapido
Sapido BRF71n User manual

Sapido
Sapido BR261c User manual

Sapido
Sapido RB-1232 User manual

Sapido
Sapido BR270n User manual

Sapido
Sapido BRE70n User manual

Sapido
Sapido GR-1102 User manual

Sapido
Sapido GR-1102 User manual

Sapido
Sapido GR-1733 User manual

Sapido
Sapido GR297n User manual

Sapido
Sapido RB-1232V2 User manual

Sapido
Sapido RB-1632 User manual

Sapido
Sapido WSG70n User manual

Sapido
Sapido BRD70n User manual

Sapido
Sapido BRB73n User manual

Sapido
Sapido RB-1830 User manual