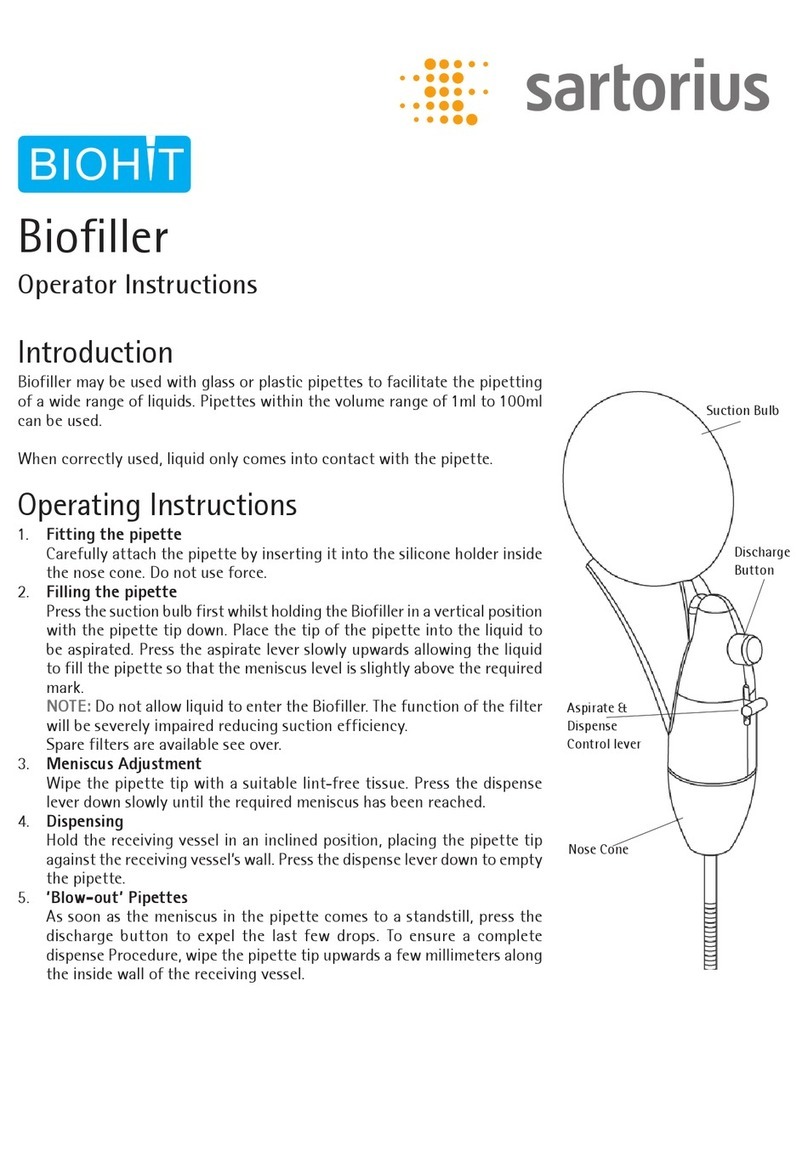
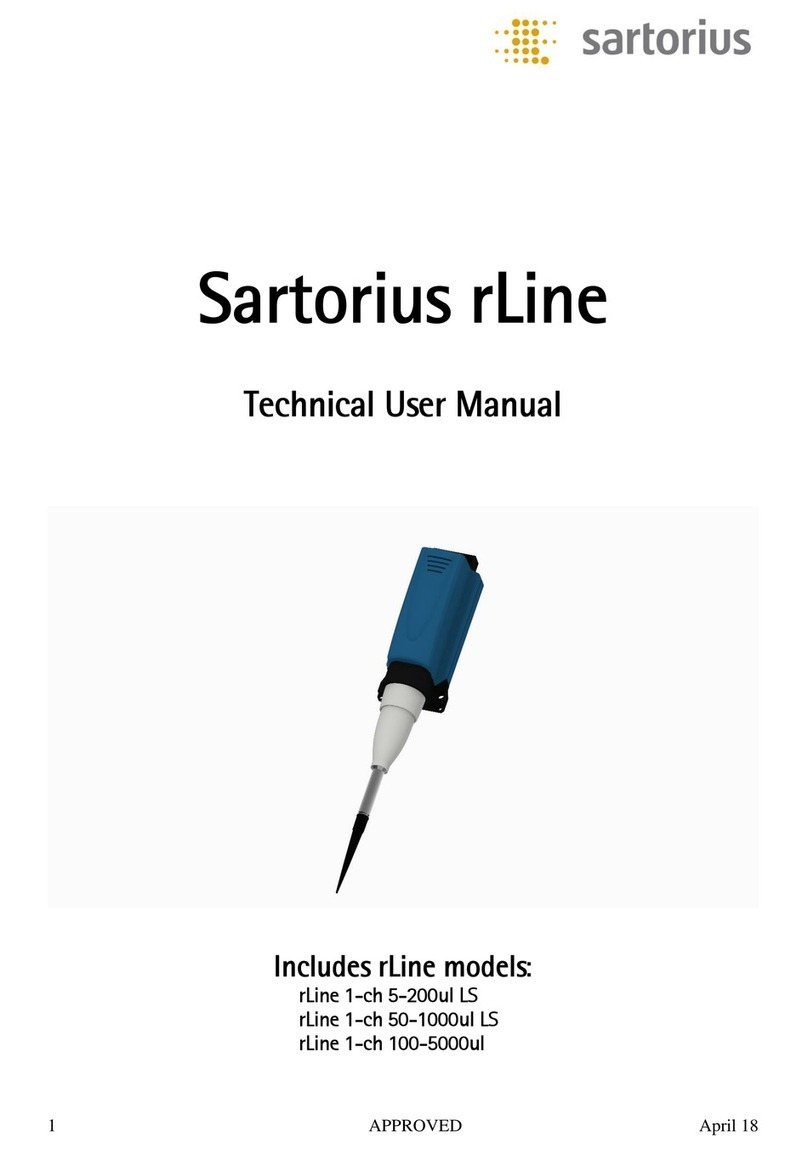
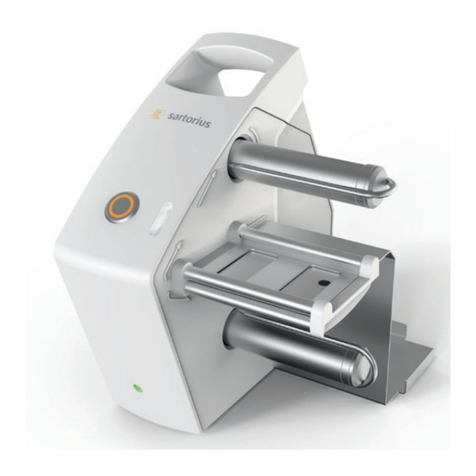
Sartorius Prospenser LH-723060 User manual

www.sartorius.com
Sartorius Prospenser
Bottle-top Dispenser / Flaschenaufsatz-Dispenser
Distributeur à visser sur flacon / Dispensador para botellas
Language Page
User Manual / Bedienungsanleitung 2
Mode d’ emploi / Manual Usario 50
Publication No. LLH6003-n170102 • Order No. 98649-020-38 • Ver. 01 | 2017 © Sartorius Liquid Handling Oy

Prospenser 0,2-1 ml LH-723060
Prospenser 0,4-2 ml LH-723061
Prospenser 1-5 ml LH-723062
Prospenser 2-10 ml LH-723063
Prospenser 5-30 ml LH-723064
Prospenser 10-60 ml LH-723065
Sartorius Biohit Liquid Handling Oy
Laippatie 1
00880 Helsinki
Finland
Phone +358.9.755.951
lhinfo.finland@sartorius.com
Sartorius Lab Instruments GmbH
Otto-Brenner-Strasse 20
37079 Goettingen
Germany
Phone +49.551.308.0
Fax +49.551.308.3289
The status of the information, specifications,
and illustrations in this manual are subject
to change. Sartorius reserves the right to
make changes to the technology, features,
specifications, and design of the equipment
without notice.
www.sartorius.com
Sartorius Prospenser
Bottle-top Dispenser
Flaschenaufsatz-Dispenser
User Manual
Bedienungsanleitung
Publication No. LLH6003-n170102 • Order No. 98649-020-38 • Ver. 01 | 2017 © Sartorius Liquid Handling Oy

2
Inhalt
Seite
1. Warn- und Sicherheitsvorschriften ...............................................4
2. Einzelteile.......................................................................................8
3. Funktionsprinzip.............................................................................9
4. Einsatzverbote..............................................................................10
5. Einsatzbeschränkungen...............................................................11
6. Gerät vorbereiten.........................................................................12
6.1 Befestigung Ansaugschlauch.......................................................12
6.2 Befestigung Ausstoßeinheit ...................................................... 14
6.3 Gerät auf Flasche aufschrauben..................................................15
7. Dosieren.......................................................................................16
7.1 Verschlusskappe abnehmen........................................................17
7.2 Entlüften des Gerätes .................................................................18
7.3 Einstellen des Volumens............................................................. 19
7.4 Dosieren.......................................................................................20
7.5 Dosieren beenden und Dosier- und
Transportsicherung einrasten......................................................21
8. Reinigen ......................................................................................22
8.1 Wartung/Reinigung......................................................................23
8.2 Intensivreinigung.........................................................................28
9. Sterilisation .................................................................................30
9.1 Vorbereitung ...............................................................................30
9.2 Dosierkolben ausbauen...............................................................30
9.3 Ansaug-/Ausstoßventil lockern...................................................32
9.4 Sterilisation durchführen ............................................................33
9.5 Dosierkolben wieder einbauen ...................................................34
Contents
Page
1. Warning and safety instructions....................................................4
2. Individual components ..................................................................8
3. Functional principle ......................................................................9
4. Prohibited use..............................................................................10
5. Restrictions on use .....................................................................11
6. Preparing the unit........................................................................12
6.1 Securing the suction tube ..........................................................12
6.2 Securing the ejection unit ...........................................................14
6.3 Screwing the unit on to the bottle..............................................15
7. Dispensing....................................................................................16
7.1 Closure cap removal ...................................................................17
7.2 Venting the unit...........................................................................18
7.3 Volume configuration...................................................................19
7.4 Dispensing....................................................................................20
7.5 After use, locking of dispensing mechanism..............................21
8. Cleaning ......................................................................................22
8.1 Service/Cleaning ..........................................................................23
8.2 Intensive cleaning........................................................................28
9. Sterilisation ..................................................................................30
9.1 Preparation...................................................................................30
9.2 Removal of the piston ................................................................30
9.3 Loosening the suction/ejection valve.........................................32
9.4 Sterilisation ..................................................................................33
9.5 Reassembly of the piston........................................................... 34

3
Inhalt
Seite
9.6 Ansaug-/Ausstoßventil festdrehen .............................................35
9.7 Gerät zusammenbauen................................................................35
10. Ventile auswechseln....................................................................36
10.1 Ansaugventil auswechseln..........................................................36
10.2 Ausstoßventil auswechseln.........................................................38
11. Reparatur beim Hersteller............................................................39
12. Volumenprüfung..........................................................................40
13. Problembehandlung ....................................................................41
14. Technische Daten/Materialien.....................................................46
Contents
Page
9.6 Tightening the suction/ejection valve ........................................35
9.7 Reassembly of the dispenser......................................................35
10. Valve replacement.......................................................................36
10.1 Suction valve replacement..........................................................36
10.2 Ejection valve replacement.........................................................38
11. Repair by manufacturer...............................................................39
12. Volumetric inspection..................................................................40
13. Trouble-shooting..........................................................................44
14. Technical data/Materials .............................................................46
9.6
9.7
10.0
10.1
10.2
11.0
12.0
13.0
14.0
9.6
9.7
10.0
10.1
10.2
11.0
12.0
13.0
14.0

4
1. Warn- und Sicherheitsvorschriften
Achtung!
Vor Gebrauch die Bedienungsanleitung und die Sicherheits-
vorschriften sorgfältig lesen und beachten. Jeder im Labor
beschäftigten Person sind diese Sicherheitshinweise vor
Benutzung bekannt zu machen und jederzeit griffbereit
zu halten. Die Gebrauchsanleitung ist jedoch nicht in der
Lage, alle auftretenden Sicherheitsprobleme darzustellen.
Jeder Anwender ist selbst verantwortlich, Sicherheits- und
Gesundheitsvorschriften einzuhalten und Einschränkungen
vor Gebrauch des Gerätes zu bestimmen und zu beachten.
- Beachten Sie sämtliche allgemeinen Sicherheitsvorschriften
für das Labor, wie z. B. das Tragen von Schutzkleidung,
Schutzbrille und Schutzhandschuhen beim Einsatz
entsprechender Flüssigkeiten.
1. Warning and safety instructions
Attention!
Befor use please read the safety instructions and
observe them carefully. Before use every member of
staff must be familiar with these safety guidelines and
they must be kept availabe at all times. This instruction
manual cannot describe all possible safety hazards.
It is every user´s responsibility to observe all health
and safety precautions and to determine and observe
restrictions before use of the unit.
- Observe all general safety practices and guidelines for
laboratories, such as the use of protective clothing,
goggles and gloves when handling hazardous chemicals.

5
1. Warn- und Sicherheitsvorschriften
- Beachten Sie die Hinweise und Vorschriften des
Reagenzienherstellers.
- Das Gerät darf nur zum Dosieren von Flüssigkeiten
eingesetzt werden, wobei definierte Einsatzverbote und
Einsatzbeschränkungen unbedingt einzuhalten sind
(ggf. Rücksprache beim Hersteller).
- Vor Gebrauch jeweils Dichtigkeit aller Verbindungen und
sicheren Sitz der Ausstoßeinheit und des Ansaugschlauches
überprüfen. Eine nicht festsitzende Ausstoßeinheit
könnte beim Niederdrücken des Kolbens Spritzer verur-
sachen.
- Vor dem Dosieren unbedingt die Verschlusskappe vom
Ausstoßschlauch nehmen. Kolben niemals niederdrücken,
solange die Verschlusskappe aufgesetzt ist.
1. Warning and safety instructions
- Observe the recommendations of the manufacturer of
the chemicals.
- The device may only be used for dispensing liquids.
Defined prohibitions and restrictions for use must be
observed (if in doubt contact the manufacturer).
- Before every use always check the tightness of all
connections and safe installation of the ejection unit
and suction tube. A loose ejection unit might cause
splashing when the piston is pushed down.
- Before use it is essential to remove the closure cap
from the ejection tube. Never press the piston down
when the closure cap is fitted to the tube.

6
1. Warn- und Sicherheitsvorschriften
- Achten Sie darauf, dass weder Sie selbst noch eine
andere Person gefährdet werden. Nie in Richtung einer
Person dispensieren; Spritzer vermeiden; geeignete
Aufnahmegefäße verwenden. Dispensieren Sie jeweils
an die Innenwand des Aufnahmegefäßes anstatt auf
dessen Inhalt oder Boden.
- Keinesfalls Gewalt anwenden!
- Nach Gebrauch den Ausstoßschlauch mit der Verschluss-
kappe verschließen. Vorsicht! Reagenz kann heraustropfen!
- Nach Gebrauch die Dosier- und gleichzeitig Transport-
sicherung einrasten (Nullstellung, siehe Punkt 7.5).
Den Dispenser (außer zu Reinigungszwecken) nicht mit
hochgezogenem Kolben stehen lassen.
1. Warning and safety instructions
- Make sure, that neither you nor other persons are
endangered. Never dispense towards any person, avoid
splashing, use suitable vessels. When dispensing, always
direct the liquid on to the wall of the vessel, never to its
bottom or the content.
- Never use force!
- After use close the ejection tube with the closure cap.
Attention! Liquid might drip off.
- After use lock the mechanism (zero position, see
point 7.5). Never leave the dispenser with the piston
raised (except for cleaning purposes).

7
1. Warn- und Sicherheitsvorschriften
- Nur Original-Zubehör und Original-Ersatzteile verwenden.
- Nach der Sterilisation (siehe Punkt 9.) den Dispenser
auf Raumtemperatur abkühlen lassen.
- Bei Störungen, z. B.
- schwergängiger oder festsitzender Kolben
- verklebtes oder undichtes Ansaug-/Ausstoßventil
- undichte Stellen
- Bruch von Bauteilen
sofort aufhören zu dosieren. Vor weiterer Benutzung des
Gerätes die Hinweise zur Reinigung (siehe Punkt 8.) und
Problembehandlung (siehe Punkt 13.) beachten.
Ggf. zur Reparatur an Hersteller senden. Beachten Sie
hierzu Punkt 11.
1. Warning and safety instructions
- Only use genuine manufacturer´s accessories and spare parts.
- After sterilisation (see point 9.) let the dispenser cool
down to room temperature.
- If problems occur e. g.
- stiff or sticking piston
- sticking or leaking suction or ejection valves
- leaking parts
- cracks in components
stop dispensing immediately. Before further use observe
the instructions for cleaning (see point 8.) and Trouble-
shooting (see point 13.). If necessary, return it to
manufacturer for repair, see point 11.

8
2. Einzelteile
1. Kolben
2. Zylinder
3. Stufenlehre
4. Schutzhülse
5. Skalenring
6. Verstellring
7. Griff
8. Ventilblock
18. Ausstoßeinheit
14. Schlauchführung
15. Überwurfmutter
16. Ausstoßschlauch
17. Verschlusskappe
19. Ausstoßventil
10. Ventilgehäuse
11. Ventilkugel
12. Ventilfeder
13. Ventilsitz
20. Ansaugventil
9. Ventilmantel
11. Ventilkugel
12. Ventilfeder
(Disp. 30 + 60 ml)
13. Ventilsitz
21. Ansaugschlauch
22. Schlauch
23. Überwurfmutter
24. Fenster
25. Einstellmarke
26. Montageschlüssel
2. Individual components
1. piston
2. cylinder
3. step gauge
4. protective sleeve
5. volume scale
6. adjusting ring
7. knob
8. valve block
18. ejection unit
14. tube support
15. union nut
16. ejection tube
17. closure cap
19. ejection valve
10. valve casing
11. valve ball
12. valve spring
13. valve seat
20. suction valve
9. valve support
11. valve ball
12. valve spring
(for 30 + 60 ml only)
13. valve seat
21. suction tube
22. tube
23. union nut
24. observation window
25. adjustment mark
26. assembly wrench

9
3. Funktionsprinzip
- Das Gerät ist ein digital einstellbarer Flaschen-Dispenser
zum Dosieren von Flüssigkeiten. Das Grundgerät (Ge-
winde A32) und die Adaptervarianten (siehe Zubehör)
ermöglichen den Einsatz von handelsüblichen Reagenzien-
flaschen.
- Beim Hochziehen des Dosierkolbens hebt sich die Kugel
des Ansaugventiles. Aus einer Vorratsflasche wird über
den Ansaugschlauch Flüssigkeit in den Zylinder gesaugt.
Nach Beendigung des Ansaugvorganges schließt das
Ansaugventil.
- Beim Niederdrücken des Dosierkolbens öffnet sich das
Ausstoßventil und gibt das am Skalenring eingestellte
Volumen frei.
Die gewünschte Volumenmenge wird (bei niedergedrücktem
Kolben) am Skalenring durch einfache Drehung auf den an
der Einstellmarke angezeigten Wert eingerastet.
3. Functional principle
- This instrument is a bottle top dispenser with digital
volume selection for the dispensing of liquids. The
basic model plus the various adapters (see accessories)
enable its use with commonly used reagent bottles.
- When the piston is raised the ball of the suction valve is
lifted. Liquid is aspirated through the suction tube from
the reservoir bottle into the cylinder. After finishing the
suction phase the suction valve closes.
- Pushing down the piston opens the ejection valve
and dispenses the volume which was selected on the
volume scale.
To select the required volume the piston must be in the
down position. Turn the adjusting ring in either direction,
so that the required volume mark is set above the adjust-
ment arrow.

10
4. Einsatzverbote
Das Gerät ist nicht zu verwenden bei:
- Flußsäure (HF), da sie Glas angreift
(Alternativ: Dispenser HF).
- Flüssigkeiten, die Halar (ECTFE), FEP, PTFE, Borosilikat-
glas 3.3, Al2O3oder Hastelloy (Version HF: Platin-Iridium)
angreifen, PP (bei Dispenser PP).
- Suspensionen (z. B. Aktivkohle-Lösung), da feste
Partikel die Ventile verstopfen können.
- Leicht entzündliche Medien (Flammpunkt beachten).
- Einsatz in explosionsgefährdeter Umgebung.
4. Prohibited use
The unit should not be used with the following:
- Hydrofluric acid (HF), it attacks the glass
(exception: dispenser HF).
- Liquids which attack the materials Halar (ECTFE), FEP,
PTFE, borosilicate glass 3.3, Al2O3or Hastelloy (HF Version:
platinum-iridium) and PP (in the case of dispenser PP).
- Suspensions (e. g. of activated carbon solvent), because
solid particles might block the valves.
- Easily-combustible media (note the flashpoint).
- Use in potentially-explosive environments.

11
5. Einsatzbeschränkungen
- Konzentrierte Salzlösungen, stark konzentrierte Laugen
können zu schwergängigem oder festsitzendem Kolben
führen.
- Der Dispenser ist für einen Arbeitstemperaturbereich
von 4 °C bis 50 °C geeignet.
- Einsatz des Gerätes nur in Bereichen, in denen gewähr-
leistet ist, dass keine gefährliche explosionsfähige
Atmosphäre auftritt.
- Nicht im explosionsgefährdeten Bereich ablegen.
Achtung - wichtiger Hinweis!
Bei schwergängigem oder festsitzendem Kolben
niemals Gewalt anwenden. Nicht dosieren, Anwendung
unterbrechen und Intensivreinigung durchführen
(siehe Punkt 8.2).
5. Restrictions on use
- Concentrated saline solutions, highly concentrated alkaline
solutions may cause the piston to stick or move stiffly.
- The dispenser is suitable for operating temperatures
between 4°C and 50°C.
- The unit should only be used in areas where it can be
assured that no hazardous potentially-explosive atmos-
pheres occure.
- Do not deposit in potentially-explosive areas.
Attention - important hint!
Never use force if the piston sticks or become stiff.
Stop use immediately and carry out a thorough
cleaning (see point 8.2).

12
6. Gerät vorbereiten
Achtung, vor Montagebeginn beachten!
- Ein einwandfreier und sicherer Betrieb ist nur bei
Verwendung der beiliegenden Original-Zubehörteile
gewährleistet.
- Niemals fremde oder beschädigte Zubehörteile
verwenden.
6.1 Befestigung Ansaugschlauch
- Ansaugschlauch neben Vorratsflasche stellen,
dabei zeigt das Schlauchende mit der
Überwurfmutter zum Boden der Flasche.
- Schlauch in Höhe Unterkante Sicherungsring
der Vorratsflasche schräg abschneiden.
6. Preparing the unit
Attention, please note before assembly!
- For safe and trouble free operation only use the
genuine manufacturer‘s accessories and parts.
- Never use damaged or other than genuine
manufacturer‘s parts.
6.1 Securing the suction tube
- Hold the suction tube beside the storage
bottle. The tube end with the union nut
should face towards the base of the bottle.
- Cut the tube at a slant level to the lower
edge of the locking ring on the storage
bottle.

13
6.1 Befestigung Ansaugschlauch
- Ansaugschlauch bis zum Anschlag
aufstecken.
- Anschließend Überwurfmutter auf
Ventilmantel drehen.
6.1 Securing the suction tube
- Push the suction tube on up to the stop.
- Then tighten the union nut onto the
valve mantle.

14
6.2 Befestigung Ausstoßeinheit
- Ausstoßeinheit mit:
Schlauchführung
Überwurfmutter
Ausstoßschlauch
Verschlusskappe
- Ausstoßeinheit bis zum Anschlag
aufstecken.
- Überwurfmutter gut festdrehen und
auf festen Sitz prüfen.
6.2 Securing the ejection unit
- Ejection unit with:
tube guide
union nut
ejection tube
closure cap
- Put the ejection unit on up to the stop.
- Tighten the union nut firmly and ensure
that it is securely fitted.

15
6.2 Befestigung Ausstoßeinheit
Achtung!
- Festen Sitz der Ausstoßeinheit prüfen.
- Nur Original-Ausstoßeinheit verwenden
(siehe Zubehör und Ersatzteile).
- Keine deformierte oder beschädigte Ausstoßeinheit
einsetzen.
6.3 Gerät auf Flasche aufschrauben
Gerät mit oder gegebenenfalls ohne Gewinde-
adapter auf Vorratsflasche aufschrauben.
6.2 Securing the ejection unit
Attention!
- Ensure that the ejection unit is firmly attached.
- Only use genuine manufacturer‘s ejection unit
(see accessories and spare parts list).
- Never use deformed or damaged ejection units.
6.3 Screwing the unit onto the bottle
Screw the dispenser onto the reservoir bottle,
either directly or with one of the enclosed
adapters, depending on the bottle‘s thread
size.

16
6.3 Gerät auf Flasche aufschrauben
Warnhinweise!
- Sämtliche Sicherheitsbestimmungen, Einsatzverbote
und Einsatzbeschränkungen beachten.
- Schutzkleidung, Schutzbrille und Schutzhandschuhe
verwenden.
7. Dosieren
Achtung!
-Sicherheitsvorschriften (siehe Punkt 1.) einhalten.
- Einsatzverbote und Einsatzbeschränkungen beachten
(siehe Punkt 4. und 5.).
- Dispenser nur so bedienen, dass Ausstoßeinheit stets
vom Bediener und anderen Personen abgewandt ist.
- Kolben nicht niederdrücken, wenn Verschlusskappe
aufgesteckt ist.
6.3 Screwing the unit onto the bottle
Warning!
- Obeserve all safety instructions, usage prohibitions
and restrictions on use.
- Wear protective clothing, safety glasses and protective
gloves.
7. Dispensing
Attention!
- Follow safety instructions (see point 1.).
- Usage prohibitions and restrictions of use must be
observed (see point 4. and 5.).
- Dispense only when the ejection unit is turned away
from the user and any other person.
- Never press down the piston when the closure cap is
fitted to the tube.

17
7.1 Verschlusskappe abnehmen
- Auffanggefäß unter Ausstoßeinheit stellen.
- Verschlusskappe wie in der Abbildung
gezeigt, abziehen.
Achtung: Dabei kann Reagenz heraustropfen!
- Verschlusskappe entsprechend der
Abbildung nach hinten schieben.
7.1 Closure cap removal
- Position a collecting vessel under the
ejection unit.
- Remove closure cap as shown in the
drawing.
Caution: Liquid might drip off!
- Slide the closure cap‘s ring to the direction
of the device‘s body as shown in the
drawing.

18
7.2 Entlüften des Gerätes
- Durch Drehen des Skalenringes Dosier- und
Transportsicherung (Nullstellung) lösen.
- Auffanggefäß unter Ausstoßeinheit halten.
- Prüfen, ob Verschlusskappe abgenommen.
(Vorsichtsmaßnahme).
- Luftblasen durch mehrmaliges kurzes Hoch-
ziehen und Niederdrücken des Dosierkolbens
entfernen.
- Vorgang wiederholen, bis keine größeren
Luftblasen im Fenster mehr sichtbar sind
(siehe Pfeile).
- Dosieren (kleines Volumen) bis keine Luftblasen
mehr im Ausstoßschlauch sichtbar sind
(siehe Pfeile).
7.2 Venting the unit
- Turning the scale ring away from the zero
position will set the unit for operation.
- Position a collecting vessel under the
ejection unit.
- Check whether closure cap is opened.
(precautionary).
- Eject air bubbles by pulling the piston a
short distance and firmly pressing it down.
- Repeat this operation a few times until no
more air bubbles are visible in the observation
window (see arrows).
- Start operation (small volume) until no
more air bubbles are visible in the ejection
tube unit (see arrows).

19
7.2 Entlüften des Gerätes
- Lassen sich größere Luftblasen nicht entfernen,
könnte ein Ventil oder der Ansaugschlauch
undicht sein (siehe Punkt 13. Problembehandlung).
7.3 Einstellen des Volumens
- Durch Drehen (links oder rechts) des
Skalenrings das gewünschte Volumen auf
den Pfeil (Einstellmarke) einrasten.
Achtung!
Nur bei untenstehendem Kolben.
7.2 Venting the unit
- If larger air bubbles can not be ejected, a valve or the
suction tube is not fitting tight
(see point 13. trouble-shooting).
7.3 Volume configuration
- By turning the adjusting ring (in either
direction) set the desired volume mark
directly above the arrow.
Attention!
Do this only when the piston is in down
position.
This manual suits for next models
5
Table of contents
Other Sartorius Dispenser manuals
Popular Dispenser manuals by other brands

Graco
Graco PrecisionSwirl 243402 Instructions-parts list

Graco
Graco 17F837 manual

rosseto
rosseto EZ-PRO EZP2760 manual

Fakir
Fakir Harvest Collection instruction manual

Tork
Tork Image Design 460013 instruction manual

Schroeder America
Schroeder America PEPSI 959 Installation instruction, parts list and configuration guide