manuals.online logo
Brands
  1. Home
  2. •
  3. Brands
  4. •
  5. Bradley
  6. •
  7. Dispenser
  8. •
  9. Bradley 6334 User manual

Bradley 6334 User manual

P.O. Box 309, Menomonee Falls, WI 53052-0309
Phone: 1-800-BRADLEY Fax: 262-253-4161
bradleycorp.com
Installation
A
D
A
•
C
O
M
P
L
I
A
N
T
P20-150 Rev. D; ECN 09-15-0002
© 2009 Bradley Corporation
Page 1 of 2 1/23/09
Step 1: Install soap dispenser
The plunger assembly, flange assembly, pump
assembly and shank come pre-assembled but are
shown unassembled for clarity.
1. Provide a 1-1/4” diameter hole in the deck at the
location where the dispenser is to be installed.
2. Insert the square cut end of the supply tube
through the shank and into the bottom of the pump
assembly as shown.
3. Insert the shank with supply tube through the top of
the hole in the deck and secure with the washer and
wing nut provided.
4. Thread the soap bottle into the bottom of the shank.
Step 2: Fill and prime soap dispenser
The 6334 Soap Dispenser will dispense vegetable
or coconut oil liquid soaps, synthetic detergents,
and antiseptic solutions in a liquid form. A 10–15%
concentration is recommended for vegetable or
coconut oil liquid soaps. Synthetic detergents and
antiseptic soaps require no dilution.
The soap bottle and shank are not removed when
filling the dispenser.
After filling, the soap valve must be pumped several
times to “prime” the unit, especially when it is filled for
the first time.
1. Remove the plunger assembly:
• Pull the plunger body upward and slide the
wrench onto the flats on the flange assembly.
• Rotate the wrench 1/4 turn counterclockwise to
disengage the two locating pins securing the
plunger assembly.
• Pull the plunger assembly out of the flange.
2. Pour the liquid soap through the flange opening into
the bottle up to the recommended fill level as shown
in Figure 1.
3. Replace the plunger assembly:
• Slide the wrench onto the flats on the flange assembly.
• Insert the plunger assembly into the flange, aligning the two locating pins with the two grooves inside the
flange.
• Rotate the wrench 1/4 turn clockwise to engage the locating pins and secure the plunger assembly. Pull
the plunger upward to ensure that it is locked into place.
6334
Soap Dispenser
Plunger
Assembly
(P19-223) Locating Pin
(qty. 2)
Flange
Assembly
(P19-224)
Wrench
(M44-075)
Pump
Assembly
(P19-225)
Shank
(P19-226)
Supply Tube
(P19-230)
Nut
(P19-228)
Washer, Rubber
(P19-229)
Soap Bottle
(P19-227)
Recommended
Soap Fill Level
Bottom end of shank
has internal threads
Washer, Metal
(P19-233)
6334 Installation
21/23/09 Bradley Corporation • P20-150 Rev. D; ECN 09-15-0002
Soap Dispenser Care and Maintenance
The 6334 Soap Dispenser will dispense vegetable or coconut oil liquid soaps, synthetic detergents, and
antiseptic solutions in a liquid form. A 10–15% concentration is recommended for vegetable or coconut oil liquid
soaps. Synthetic detergents and antiseptic soaps require no dilution.
Regular cleaning is advised for a soap dispenser in order that it may provide optimum performance and
maximum service life. Cleaning the soap dispenser monthly to remove soap residue, dirt, and other
accumulations should become a regular part of your washroom cleaning routine and general maintenance
program.
General Cleaning of Soap Dispenser
1. Use warm water and soap to clean the exterior of the soap dispenser. Do not use abrasive cleaners on
the metal parts of the soap dispenser. Dry and polish with a soft cloth for a bright finish.
2. Inspect the interior of the soap bottle for residue or coagulation of soap. If residue or coagulation exists,
clean the soap bottle. To clean the soap bottle,
• pour out any remaining soap.
• fill the bottle half full of hot water and shake well to dislodge the soap residue.
• empty the water from the bottle.
Repeat these three steps until the soap bottle is clean.
3. To clean the internal components of the soap dispenser, simply pump hot water through the soap
dispenser until a clean flow of water comes out of the spout.
Changing Soap Types
1. Unscrew the soap bottle from the shank and pour out all the remaining soap. Using hot water, rinse the
bottle two or more times until all the residue is eliminated. In addition, pump the valve several times with
hot water until a clear flow of water appears. Follow these steps with a rinse of ethyl alcohol (ethanol) and
shake out thoroughly. Let the soap dispenser air dry.
2. After the dispenser is dry, reattach the soap bottle to the shank.
3. Unscrew the valve assembly from the shank using the wrench provided and withdraw it from the soap
bottle.
4. Pour the liquid soap into the top opening of the shank.
5. Replace the valve assembly and tighten with the wrench provided.
6. Pump the soap valve several times to “prime” the unit.
Soap Dispenser Maintenance
Because many of the problems with soap dispensers are caused by a build-up of soap residue, it is
recommended that the internal components of the soap dispenser be cleaned periodically. To clean the soap
dispenser components, follow the procedure outlined below:
1. Remove the plunger, flange and pump assemblies from the shank.
2. Clean the internal parts of the soap dispenser using hot water and a soft bristle brush.
3. Reassemble the soap dispenser.
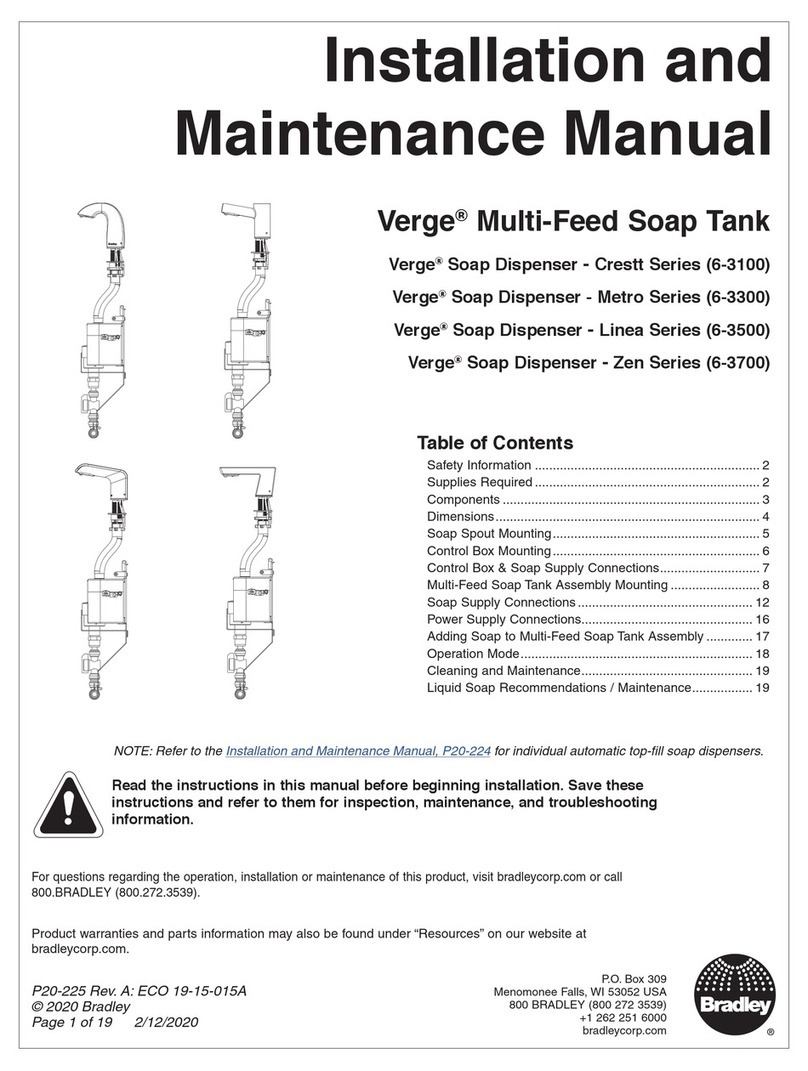
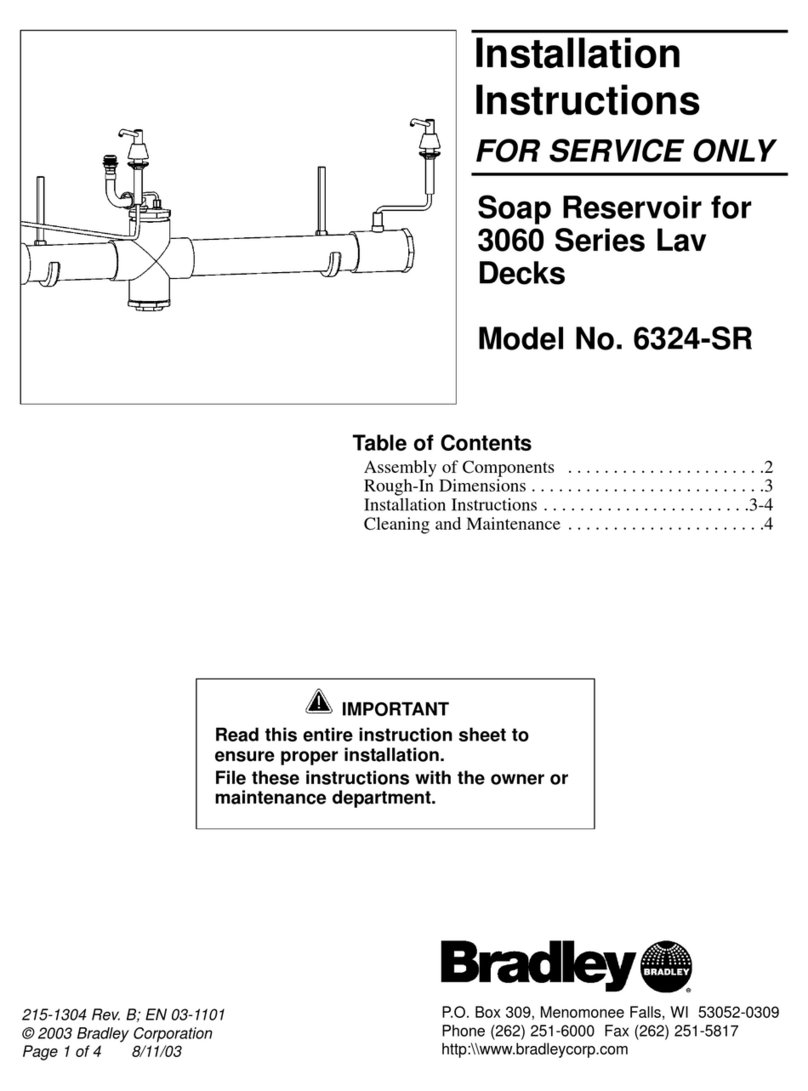
This manual suits for next models

1

Other Bradley Dispenser manuals

Bradley Elvari 6B1-11 User manual

Bradley

Bradley Elvari 6B1-11 User manual

Bradley 6A01-110000 User manual

Bradley

Bradley 6A01-110000 User manual

Bradley 2498 User manual

Bradley

Bradley 2498 User manual

Bradley 6A01-110000 User manual

Bradley

Bradley 6A01-110000 User manual

Bradley Verge Crestt Series Manual

Bradley

Bradley Verge Crestt Series Manual

Bradley Elvari 6B1 Series Product manual

Bradley

Bradley Elvari 6B1 Series Product manual

Bradley Verge Crestt Series Manual

Bradley

Bradley Verge Crestt Series Manual

Bradley 6501 User manual

Bradley

Bradley 6501 User manual

Bradley 6322 Maintenance manual

Bradley

Bradley 6322 Maintenance manual

Bradley Elvari 5B1-11 Product manual

Bradley

Bradley Elvari 5B1-11 Product manual

Bradley Elvari 6B1 Series Product manual

Bradley

Bradley Elvari 6B1 Series Product manual

Bradley 270 User manual

Bradley

Bradley 270 User manual

Bradley 6324-SR User manual

Bradley

Bradley 6324-SR User manual

Popular Dispenser manuals by other brands

corob D600 extra user manual

corob

corob D600 extra user manual

AMAZON COMMERCIAL B07TMFB4JC manual

AMAZON COMMERCIAL

AMAZON COMMERCIAL B07TMFB4JC manual

Server BP-1 quick start guide

Server

Server BP-1 quick start guide

ES ES2060 manual

ES

ES ES2060 manual

Keg King robobrew 8695 instruction sheet

Keg King

Keg King robobrew 8695 instruction sheet

VALERA A102 datasheet

VALERA

VALERA A102 datasheet

U-Line TORK XPRESS H-1596 quick start guide

U-Line

U-Line TORK XPRESS H-1596 quick start guide

Franke RODAN RODX627 Installation and operating instructions

Franke

Franke RODAN RODX627 Installation and operating instructions

Hewi 805.06.150 Mounting instructions

Hewi

Hewi 805.06.150 Mounting instructions

TECHCON SYSTEMS TS1251 user manual

TECHCON SYSTEMS

TECHCON SYSTEMS TS1251 user manual

Better Packages 555e Service manual

Better Packages

Better Packages 555e Service manual

Royal Catering RCKW-ND01 user manual

Royal Catering

Royal Catering RCKW-ND01 user manual

Air Wolf Beta Series manual

Air Wolf

Air Wolf Beta Series manual

Aquila Pelletizer PE80 Original instruction manual

Aquila

Aquila Pelletizer PE80 Original instruction manual

Hewi 900 Installation and operating instructions

Hewi

Hewi 900 Installation and operating instructions

Qimarox PD2 user manual

Qimarox

Qimarox PD2 user manual

Franke Rodan Installation and operating instructions

Franke

Franke Rodan Installation and operating instructions

Bartscher 191005 Original instruction manual

Bartscher

Bartscher 191005 Original instruction manual

manuals.online logo
manuals.online logoBrands
  • About & Mission
  • Contact us
  • Privacy Policy
  • Terms and Conditions

Copyright 2025 Manuals.Online. All Rights Reserved.