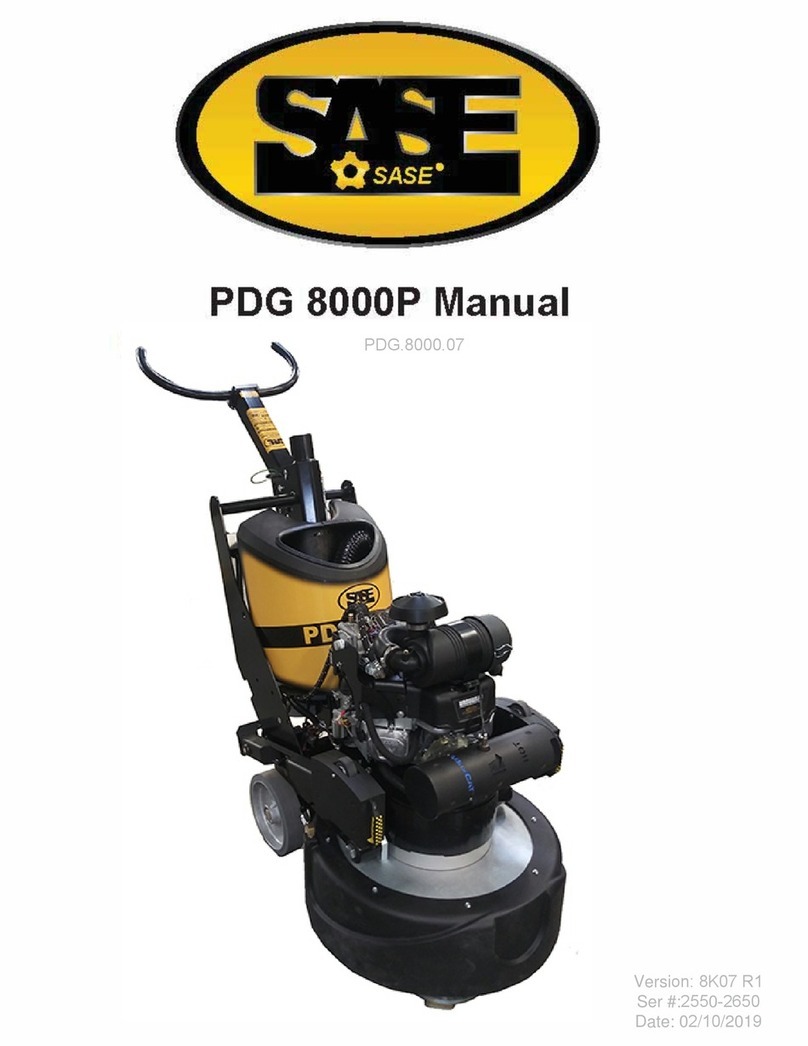
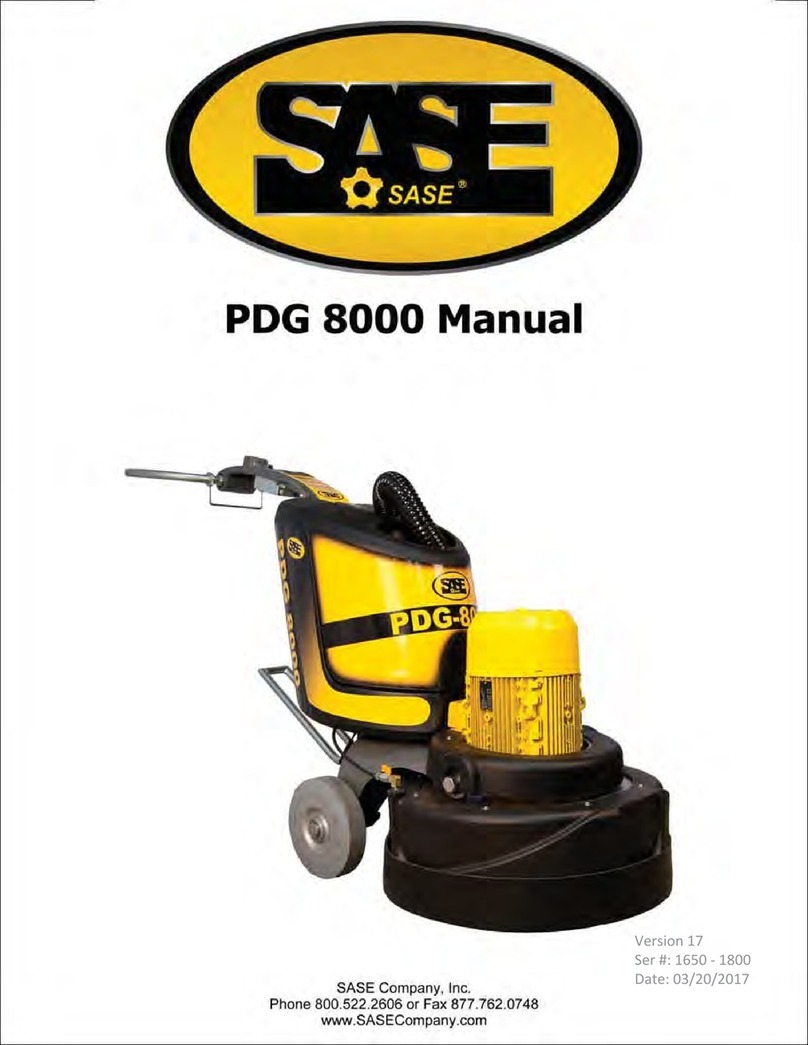
Sase 780 User manual

780
SASE COMPANY
OPERATING
AND PARTS
MANUAL
Revision Date: May 2003
SASE Company, Inc.
1-800-522-2606
www.sasecompany.com


The Surface Preparation Equipment Specialists
Sales •Rentals •Service •Leasing
1-800-522-2606
www.sasecompany.com
Thank you and congratulations on your decision to purchase SASE Surface Preparation Equipment! We
are confidant that you will be satisfied with your purchase and that you will receive many years of quality
use and production.
Our goal is nothing short of excellence in providing the finest surface preparation equipment and service
that can be found on the market today. This pursuit of excellence is founded upon our 15 years in selling
and servicing surface preparation equipment. The SASE Company staff is dedicated to providing
exceptional service and is the cornerstone by which the SASE Company superior product line is built.
When you need timely service, support or replacement parts, SASE Company is there with regional
warehouses, same day shipping of parts and machines or delivery right to your jobsite. Sales and service
staff are available form 5:30 AM to 5:00 PM (PST) for jobsite consulting, trouble shooting or for shipping
orders.
On behalf of the entire SASE Company Team, thank you for your valued business and we look forward to
servicing your surface preparation needs.
Sincerely,
SASE Company, Inc.
Jim Weder
President
SASE Company Surface Preparation Equipment. . . . time tested, job site proven.
NATIONWIDE LOCATIONS
Washington •California •Illinois •Georgia •Virginia
Florida •Ohio •Texas •New England •Oklahoma •North Carolina


Diamatic 780 Diamond Grinder page
TECHNICAL SPECIFICATIONS 2
SAFETY INSTRUCTIONS 3
MACHINE ADJUSTMENTS 6
INSTALLATION AND REMOVAL OF TOOLS 7
WET AND DRY GRINDING 8
POWER SUPPLY 9
START AND STOP PROCEDURE 10
CONTROL PANEL 11
MAINTENANCE AND CLEANING 12
TROUBLESHOOTING 13
DIAMOND DISC RECOMMENDATIONS 14
PART NUMBERS AND DRAWINGS 15
WIRING DIAGRAMS 25
TABLE OF CONTENTS
SUBJECT PAGE

Diamatic 780 Diamond Grinder page 2
2
TECHNICAL SPECIFICATIONS
Diamatic 780 220 Volt
Weight 1,100 LBS
Power Requirement 220 Volt Three Phase 60 Amp
Motor Output 20 Horsepower
Motor RPM 1500
Foot Pounds of Torque 96
Grinding Width 30.5 Inches
Grinding Pressure 935 Pounds
Disc Diameter 9 Inch
Diamatic 780 440 Volt
Weight 1,100 LBS
Power Requirement 440 Volt Three Phase 30 Amp
Motor Output 23 Horsepower
Motor RPM 1500
Foot Pounds of Torque 108
Grinding Width 30.5 Inches
Grinding Pressure 935 Pounds
Disc Diameter 9 Inch

Diamatic 780 Diamond Grinder page 3
3
♦ Check that you are using the recommended power supply and have made the
correct connections.
♦ To avoid injury and damage to yourself and the machine, only qualified electricians
should make and check any electrical connections to the machine.
♦ Before inserting the plug into the power supply socket, inspect the plug for damage.
If damage is found, have the defective item replaced by a qualified electrician
immediately.
♦ Make sure the machine is switched off before inserting the power plug into the
socket.
♦ Before operating the machine make sure that the instruction manual has been read
thouroughly by the operator.
♦ Keep the machine and other tools away and out of reach of children.
♦ When necessary: wear gloves, eye protection, and hearing protection during
grinding operations.
♦ Use only genuine accessories.
♦ Use the machine only for the purposes which have been designed for.
♦ Make sure that the operator is qualified and capable for the operating / purpose for
which the machine is intended to be used.
♦ Don’t put anything other than water in th water tank. Always be careful that no
water will come into contact with the motor or other electrical parts. Water can
cause injury to yourself and the machine if it makes contact with any electrical part.
♦ Check the floor condition / lay out prior to starting the machine. Protruding
obstacles such as scews, bolts, etc. must be removed as they can cause damage
to the grinding disc and the machine.
♦ No responsibility can be taken by the manufacturer or any distributors for any other
action which is not described in this safety instructions or in the instruction manual.
SAFETY INSTRUCTIONS

Diamatic 780 Diamond Grinder page 4
4
WARNING!
♦ KEEP THE MACHINE DRY!
♦ DON’T CLEAN THE MACHINE USING HIGH PRESSURE WATER!
♦ ONLY QUALIFIED PERSONAL SHOULD OPEN THE POWER BOX!
Power Box
CHECK THAT THE CABLE IS
FREE AND NOT PINCHED!
SAFETY INSTRUCTIONS

Diamatic 780 Diamond Grinder page 5
5
WARNING!
♦ DO NOT PUT YOUR HANDS OR OBJECTS INTO THE VACUUM
HOLES WHILE THE MACHINE IS OPERATING!
♦ DURING WET GRINDING THE VACUUM HOLES SHOULD ALWAYS
BE COVERD WITH THE RED PROTECTION CAP!
Vacuum
Hole
SAFETY INSTRUCTIONS

Diamatic 780 Diamond Grinder page 6
6
Place the machine the into the working condition.
Adjust the machine with the hydraulic jack in a horizontal position.
Slide the dust ring down until it is flush with the floor.
MACHINE ADJUSTMENTS
Jack
Dust Ring

Diamatic 780 Diamond Grinder page 7
7
Disconnect the machine from the power source.
Tilt the machine back into the position shown.
Each diamond disc is held on by 3 countersunk screws. When installing
make sure the tools is aligned preoperly with the ‘centering stars’.
Screw
Disc
INSTALLATIONS AND REMOVAL OF TOOLS

Diamatic 780 Diamond Grinder page 8
8
WET GRINDING
Fill the water tank with water.
Rotate the water tap handle to start the water flowing.
DRY GRINDING
Connect the vacuum hose to the 2 vacuum hose connections on the
machine.
Water Tap
Vacuum Hose
Connection (2X)
WET AND DRY GRINDING

Diamatic 780 Diamond Grinder page 9
9
Check that you have the correct voltage and have made the correct
connections.
Connect power cable on power connector.
POWER SUPPLY
Power Connector

Diamatic 780 Diamond Grinder page 10
10
Adjust the the handle for operation.
Connect the power cable to the machine at the power connection.
Wait until the “NO FAULT” light is on. (A)
Connect the saftey cord to your wrist.
Start the machine by pushing the green start button. (B)
Stop the machine by pusing the red stop button. (C)
START AND STOP PROCEDURE
Handle
Safety Cord
B
A
C

Diamatic 780 Diamond Grinder page 11
11
You can choose the speed of the machine with the Speed Control button.
Recommended Settings:
0-4: Heavy Duty work
4-6: Medium Duty work
6-10: Light Duty work
CONTROL PANEL
Speed Control
AMP Meter
Volt Meter
Voltage Checking Switch

Diamatic 780 Diamond Grinder page 12
12
Before any work is done on the machine you must disconnect the
power supply.
To assure the long life of the machine, it must be frequently cleaned, when
doing so you must remember that:
♦ Clean the machine with a moist cloth without using any abrasive powers
or corrosive chemicals which could cause harm to the machine.
♦ Never use high pressured water on the machine.
♦ Keep the electrical box dry and dust free. Water and dust will destroy
the electrical components.
♦ Check regularly the bolts and nuts on the machine.
♦ Check the belts on the inside of the machine using the inspection hole
on the bottom. The inside of the machine and the belt must be dry and
dust free.
MAINTENANCE AND CLEANING
Inspection Hole

Diamatic 780 Diamond Grinder page 13
13
Machine does not start:
Check the power connections.
Check the power source.
Check to make sure the kill switch is not activated.
Machine does not grind effectively:
Check if you are using the correct grinding tools for what you are trying to remove.
Check to see if you have correct amount of pressure on the grinding tools. (See
Machine Adjustments)
Machine is unstable:
Check if the discs are mounted and tight.
Machine does not rotate counter clockwise:
Check upper belt
Discs do not rotate:
Check the lower belt. (Rotate one disc, the other two must also rotate)
TROUBLESHOOTING

"The Surface Preparation Equipment Specialists"
1-800-522-2606
www.sasecompany.com
Suggested Applications and Guidelines
Diamatic Diamond Disc for Concrete
Disc
Color Grit
Size Binding
Material Binding
Hardness Suggested Application
Silver 16/18 Metal Soft *Coatings Removal
Blue 20/25 Metal Soft *Coatings Removal
*Non-aggressive concrete grinding
Red 30/40 Metal Medium *Powerfloated, hard concrete grinding
*Some coatings removal
Black 30/40 Metal Hard *Concrete grinding
*General use
Orange 30/40 Metal Very Hard *Aggressive concrete grinding
White 80/100 Metal Soft *Removal of swirl marks from initial grinding step
*Concrete polishing
*Not recommended as the first grinding step
Gold 180/200 Metal Soft *High-end concrete grinding
*Concrete polishing
*Never use as the first grinding step
*Coating removal refers to but is not limited to: thin epoxies, urathanes, paints, sealers, adhesives and mastics
Diamatic Diamond Disc for Polishing Concrete
Disc
Color Grit
Size Binding
Material Binding
Hardness Suggested Application
Black 120 Resin Very Soft *First step of concrete polishing
*Use after Gold Discs (water required)
Red 400 Resin Very Soft *Second step of concrete polishing
*Use after Black Resin Discs (water required)
Yellow 800 Resin Very Soft *Third step for high end concrete polishing
*Use after Red Resin Discs (water required)
White 1500 Resin Very Soft *Fourth step for high end concrete polishing
*Use after Yellow Resin Discs (water required)
*Sase Company stocks all the above discs. Others discs with varying grit and binding combinations can be
special ordered to meet your application requirement.

DIAMATIC 780
Table of Contents
Page Number Description Qty. per machine
15 Table of Contents 1
16 Diamatic 780 1
17 Frame 1
18 Belts and Cross Section 1
19 Drive Housing 1
20 Belt Tensioner 1
21 Center Pulley 1
22 Drive Pulley 3
23 Gear Wheel 1
24 Diamond Holder 3
Page 15

Table of contents
Other Sase Grinder manuals