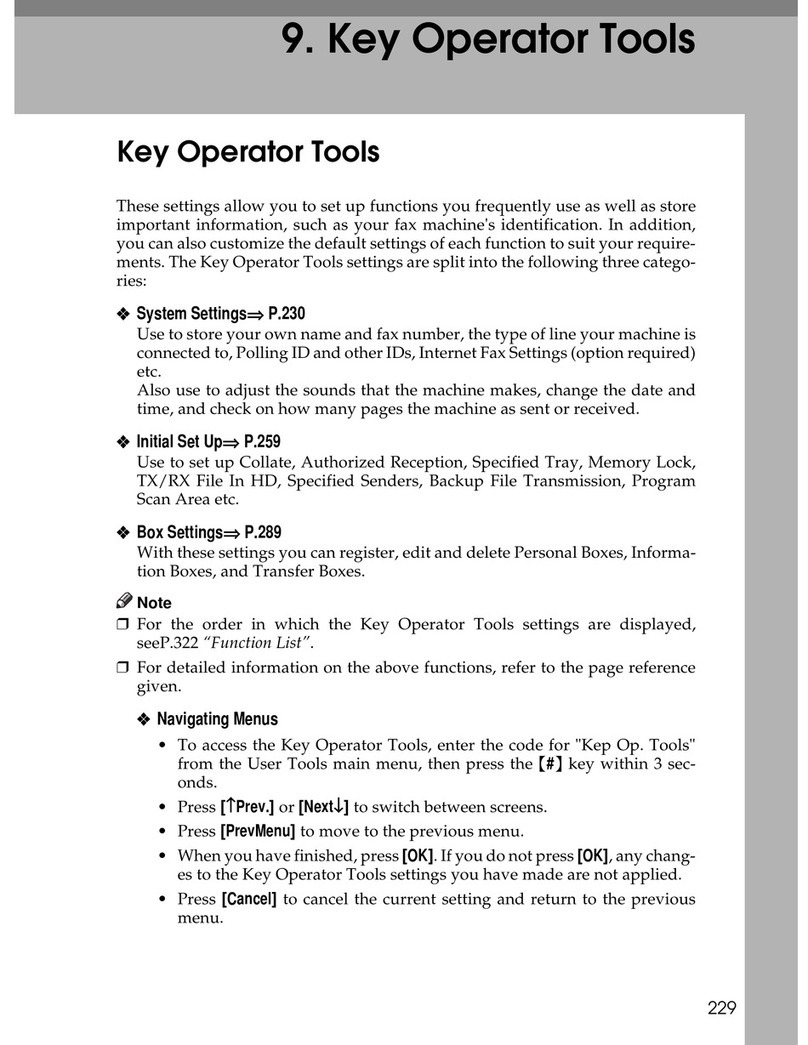
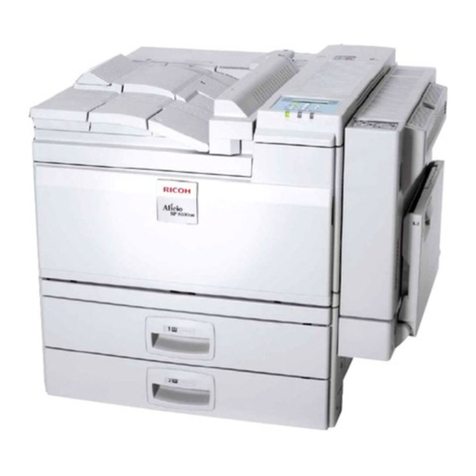
Savin 2555 User manual

Savin 2555
Operating Instructions
COPY REFERENCE
Read this manual carefully before you use this product and keep it handy for future
reference.
For safety, please follow the instructions in this manual.

305
6. User Tools (Copy/
Document Server Features)
Accessing the User Tools (Copy/
Document Server Features)
This section is for the key operators in charge of this machine. You can change
or set the machine's default settings.
Preparation
After using the User Tools, be sure to exit from the User Tools.
The selected key is highlighted.
Any changes you make with the User Tools remain in effect even if the main
power switch or operation switch is turned off, or the {
Clear Modes/Energy Sav-
er
}key is pressed.
Reference
For details, see “Accessing the User Tools (System Settings)” in the System
Settings manual.
APress the {
User Tools/Counter
}key.
The User Tools Main Menu appears.
BPress the [
Copy/Document Server Features
]key.
The Copy/Document Server Features menu appears.
TSPS040N
Screen
Contrast User Tools/
Counter

User Tools (Copy/Document Server Features)
306
6
CSelect the desired menu and press the key.
Note
❒[T
Next
]: Press to go to the next page.
❒[U
Prev.
]: Press to go back to the previous page.
Reference
⇒P.308 “User Tools Menu (Copy/Document Server Features)”.
DChange the settings by following the instructions on the display panel.
Then press the [
OK
]key.
Reference
⇒P.310 “Settings You Can Change with the User Tools”.
Note
❒[
OK
]: Press to set the new settings and return to the previous menu.
❒[
Cancel
]: Press to return to the previous menu without changing any data.
Exiting From the User Tools
AAfter changing the User Tools settings, press the [
Exit
]key on the User
Tools Main Menu.
Changing the User Tools is completed, and the machine is ready for copying.
Note
❒To exit from the change of the machine's default settings and return to
Copy mode, press the {
User Tools/Counter
}key.
❒You can also exit from the User Tools by pressing the {
User Tools/Counter
}
key.

Accessing the User Tools (Copy/Document Server Features)
307
6
This page is intentionally blank.

User Tools (Copy/Document Server Features)
308
6
User Tools Menu (Copy/Document Server Features)
General Features
Reproduction Ratio
Next Key
Prev. Key Next Key
Prev. Key Next Key
Page Format
Next Key
Date Dtamp
Page Numbering
Prev. Key
Prev. Key
Prev. Key

User Tools Menu (Copy/Document Server Features)
309
6
ZBQS130E
Next Key
Count Manager
Input / Output
Stamp Setting
Background Numbering
Preset Stamp
User Stamp
Next Key
Next Key
Prev. Key
Prev. Key
Prev. Key

User Tools (Copy/Document Server Features)
310
6
Settings You Can Change with the User
Tools
Reference
For how to access the User Tools, see ⇒P.305 “Accessing the User Tools (Copy/
Document Server Features)”.
General Features
1
/
3
Menu Description
Auto Paper Select
Priority As a default setting, Auto Paper Select is selected. You can can-
cel this setting.
Note
❒Default: Yes
Auto Paper Select
Tray Display You can choose whether the available paper trays/sizes are
shown on the initial display.
Note
❒Default: Display
❒If you choose “Hide”, the display is shown as below. When
the [
Auto Paper Select
]key is pressed, paper sizes appear on
the display.
Auto Image Density
Priority As a default setting, Auto Image Density is selected. You can
change this setting.
Note
❒Default: Yes
Original Mode Pri-
ority As a default setting, Text is selected as the Originals Type. You
can change it to Text·Photo, Photo, Pale, or Generation.
Note
❒Default: Text

Settings You Can Change with the User Tools
311
6
Original Mode Dis-
play You can choose whether the original modes are shown on the
initial display.
Note
❒Default: No
❒If you choose “Yes”, the display is shown as below.
Original Mode Quality Level
You can adjust the quality level of copies for each of the original types (Text, Text·Pho-
to, Photo, Pale, Generation).
Text Adjust the sharpness of text.
Note
❒Default: Normal
❒[
SP Mode Changed
]is the value set during service setup.
❒Choosing [
Sharp
]or [
Soft
]affects the outline sharpness of
text.
Text·Photo When there are photo(s) and text on the original, determine
whether the photo or text takes priority.
Note
❒Default: Normal
❒[
SP Mode Changed
]is the value set during service setup.
❒[
Normal
]achieves a good balance between text and photos.
Menu Description

User Tools (Copy/Document Server Features)
312
6
Photo For a photo original, adjust the finish quality level to match the
type of photo original.
Note
❒Default: Screened Printed
❒[
SP Mode Changed
]is the value set during service setup.
❒Select [
Screened Printed
]for printed photo originals, and [
Con-
tinuous Tone
]for printed photo originals with fine dots.
❒Select [
Normal
]for printed photo and text originals.
Pale Adjust the quality level for the finish of a pale original with nor-
mal density.
Note
❒Default: Normal
❒[
SP Mode Changed
]is the value set during service setup.
Generation Adjust the quality level so as not to thicken the lines of the finish
image.
Note
❒Default: Normal
❒[
SP Mode Changed
]is the value set during service setup.
Original Image
Density Level You can select one of seven original image density levels for
each of the original types (Text, Text·Photo, Photo, Pale, Gener-
ation).
Note
❒Default: Normal
Auto Reset Timer The machine returns to its initial condition automatically after
your job is finished. The time can be set from 10 to 999 seconds,
or 0.
Note
❒Default: 60sec.
❒To turn “Auto Reset Timer” off, input “0”.
❒Note that when “Auto Reset Timer” is turned off, the ma-
chine will not return to the user code input window auto-
matically.
Menu Description
Settings You Can Change with the User Tools
313
6
General Features
2
/
3
Menu Description
Duplex Mode Prior-
ity You can select the type of the Duplex function effective when
the machine is turned on, Energy Saver mode is off, or Auto Re-
set is on.
Note
❒Default:
• Metric version: 1 Sided
→
1 Sided
• Inch version: 1 Sided
→
2 Sided
Copy Orientation in
Duplex Mode You can set the copy orientation when making two-sided cop-
ies.
Note
❒Default: Top to Top
Original Orienta-
tion in Duplex
Mode
You can set the original orientation when making two-sided
copies.
Note
❒Default: Top to Top
Initial Mode You can select the initial mode or Program No. 10 as the mode
effective when the machine is turned on, or modes are cleared.
Note
❒Default: Normal
Maximum Copy
Quantity The maximum copy quantity can be set between 1 and 999.
Note
❒Default: 999Cop.
Original Beeper The beeper (key tone) sounds when you forgot to remove orig-
inals after copying.
Note
❒Default: On
❒If the “Operation Panel Beeper” of the User Tools (System
Settings) setting is “Off”, the beeper does not sound irrespec-
tive of the “Original Beeper” setting. See “Operation Panel
Beeper” in the System Settings manual.

User Tools (Copy/Document Server Features)
314
6
General Features
3
/
3
Job End Call You can choose whether or not the beeper sounds when copy-
ing is complete, when copying is interrupted, when the paper
tray runs out of paper, or when there is a paper jam.
Note
❒Default: On
❒When the “Auto Response (Human) Sensor” of the User
Tools (System Settings) setting is set to “Yes” and the ma-
chine senses that there is a person present, it judges that
copying operations are not complete and the beeper does not
sound. See “Auto Response (Human) Sensor” in the System
Settings manual.
❒If the “Operation Panel Beeper” of the User Tools (System
Settings) setting is “Off”, the beeper does not sound irrespec-
tive of the “Job End Call” setting. See “Operation Panel
Beeper” in the System Settings manual.
Time for indicating
job status The machine returns to its initial condition automatically from
the Job List display. The time can be set from 10 to 999 seconds,
or 0.
Note
❒Default: 15sec.
❒To turn “Time for indicating job status” off, input “0”.
Menu Description
Shortcut Keys:F1
Shortcut Keys:F2
Shortcut Keys:F3
Shortcut Keys:F4
Shortcut Keys:F5
You can register frequently used functions in Shortcut Keys F1
to F5. You can also change the registered functions. See ⇒P.10
“Display Panel”.
Note
❒Default:
• Shortcut Keys:F1: 1 Sided
→
2 Sided:T to T
• Shortcut Keys:F2: 2 Sided:T to T
→
2 Sided:T to T
• Shortcut Keys:F3: 1 Sided
→
1 Sided Combine:2 Originals
• Shortcut Keys:F4: 1 Sided
→
1 Sided Combine:4 Originals
• Shortcut Keys:F5: Shrink&Center
❒By using the Copy Face Up function, you can have copies de-
livered in reverse order specified by “Face-Up/Down Selec-
tion in Platen Mode” of the User Tools. However, you cannot
combine the Copy Face Up function with the Staple/Punch
function. If you select the bypass tray in which tab stocks are
loaded, the “Copy Face Up” setting is ignored.
Menu Description

Settings You Can Change with the User Tools
315
6
Reproduction Ratio
1
/
2
Menu Description
Shortcut R/E You can register up to three frequently used Reduce/Enlarge
ratios other than the fixed Reduce/Enlarge ratio and have them
shown on the initial display. You can also change the registered
Reduce/Enlarge ratios.
If no Reduce/Enlarge ratio has been set when selecting [
User Ra-
tio 1
], [
User Ratio 2
], or [
User Ratio 3
], enter the desired Reduce/
Enlarge ratio using the number keys.
R/E Priority Specify which Reduce, Enlarge or Input Ratio is shown on the
display panel with priority when the [
Reduce/Enlarge
]key is
pressed.
Note
❒Default: Reduce
Enlarge 1
Enlarge 2
Enlarge 3
Enlarge 4
Enlarge 5
You can customize the enlargement ratios available when you
press the [
Reduce/Enlarge
]key followed by the [
Enlarge
]key.
Note
❒Default:
• Metric version:
• Enlarge 1: 115%
• Enlarge 2: 122%
• Enlarge 3: 141%
• Enlarge 4: 200%
• Enlarge 5: 400%
• Inch version:
• Enlarge 1: 121%
• Enlarge 2: 129%
• Enlarge 3: 155%
• Enlarge 4: 200%
• Enlarge 5: 400%
❒When selecting [
User Set. Ratio
], enter a ratio using the num-
ber keys (in the range of 101 to 400%).

User Tools (Copy/Document Server Features)
316
6
Reproduction Ratio
2
/
2
Priority Setting : En-
large You can set the ratio with priority when the [
Reduce/Enlarge
]key
is pressed, followed by the [
Enlarge
]key.
Note
❒Default:
• Metric version: 141%
• Inch version: 155%
Menu Description
Reduce 1
Reduce 2
Reduce 3
Reduce 4
Reduce 5
Reduce 6
You can customize the reduction ratios available when you
press the [
Reduce/Enlarge
]key followed by the [
Reduce
]key.
Note
❒Default:
• Metric version:
• Reduce 1: 50%
• Reduce 2: 65%
• Reduce 3: 71%
• Reduce 4: 75%
• Reduce 5: 82%
• Reduce 6: 93%
• Inch version:
• Reduce 1: 50%
• Reduce 2: 65%
• Reduce 3: 73%
• Reduce 4: 78%
• Reduce 5: 85%
• Reduce 6: 93%
❒When selecting [
User Reduc.Ratio
], enter a ratio using the
number keys (in the range of 25 to 99%).
Priority Setting : Re-
duce You can set the ratio with priority when the [
Reduce/Enlarge
]key
is pressed, followed by the [
Reduce
]key.
Note
❒Default:
• Metric version: 75%
• Inch version: 78%
Menu Description
Settings You Can Change with the User Tools
317
6
Page Format
1
/
2
Shrink&Center Ra-
tio You can set a Reduce/Enlarge ratio when registering
“Shrink&Center” in a Shortcut Key.
Note
❒Default: 93%
Menu Description
Front Margin: Left/
Right You can specify left and right margins on the front side of copies
in Margin Adjust mode.
Note
❒Default:
• Metric version: Left 5mm
• Inch version: Left 0.2"
Back Margin: Left/
Right You can specify left and right margins on the back side of copies
in Margin Adjust mode.
Note
❒Default:
• Metric version: Right 5mm
• Inch version: Right 0.2"
Front Margin: Top/
Bottom You can specify front top and bottom margins on the front side
of copies in Margin Adjust mode.
Note
❒Default:
• Metric version: Bottom 0mm
• Inch version: Bottom 0.0"
Back Margin: Top/
Bottom You can specify back top and bottom margins on the front side
of copies in Margin Adjust mode.
Note
❒Default:
• Metric version: Bottom 0mm
• Inch version: Bottom 0.0"
Menu Description

User Tools (Copy/Document Server Features)
318
6
1 →2 Duplex Auto
Margin Adjust In 1 sided →2 sided Duplex mode, you can specify whether to
automatically set the margins on the back side.
The margin is set to the same value of “Back Margin: Left/
Right”.
Note
❒Default: Yes
Erase Border The default setting of the width of the erased margins in Erase
Border mode can be changed as follows:
• Metric version: 3 – 50mm in 1mm steps
• Inch version: 0.1" – 2.0" in 0.1" steps
Note
❒Default:
• Metric version: 10mm
• Inch version: 0.4"
Combine Orig.
Shadow Erase In Combine Copy or Booklet/Magazine Copy mode, you can
specify whether to erase a 3mm, 0.1" bounding margin around
all four edges of each original.
Note
❒Default: On
Erase Center The default setting of the width of the erased margins in Erase
Center mode can be changed as follows:
• Metric version: 3 – 50mm in 1mm steps
• Inch version: 0.1" – 2.0" in 0.1" steps
Note
❒Default:
• Metric version: 10mm
• Inch version: 0.4"
Menu Description

Settings You Can Change with the User Tools
319
6
Repeat Separation
Line You can select a separation line in Image Repeat mode from no
line, Solid line, Broken line 1, Broken line 2, or Crop.
•None
•Solid
•Broken1
•Broken2
•Crop
Note
❒Default: None
Menu Description

User Tools (Copy/Document Server Features)
320
6
Page Format
2
/
2
Menu Description
Double Copies Sep-
aration Line You can select a separation line in Double Copy mode from no
line, Solid line, Broken line, or Crop.
•None
•Solid
•Broken
• Crop Marks
Note
❒Default: None

Settings You Can Change with the User Tools
321
6
Combine Separa-
tion Line You can select a separation line in Combine mode from no line,
Solid line, Broken line 1, Broken line 2, or Crop.
•None
•Solid
•Broken1
•Broken2
•Crop
Note
❒Default: None
Copy Back Cover When copying the back cover, you can specify whether to issue
the back cover outside (outside page) or inside (inside page).
Note
❒Default: Outside (Reverse)
Cover page in com-
bine mode You can specify whether to make a combined copy on the front
cover sheet when you select [
Copy
]in Front Cover mode.
Note
❒Default: Combine
Designated Slip
Sheet Copy In Com-
bine
You can specify whether to make a combined copy on the in-
serted slip sheets in Designate: Copy mode.
Note
❒Default: Combine
Menu Description

User Tools (Copy/Document Server Features)
322
6
Booklet/Magazine
Original Orienta-
tion
You can select the type of originals for Booklet or Magazine
mode.
Note
❒Default: Portrait
Copy Order In
Combine Mode You can set the copy order in Combine mode to “Left to Right”
or “Top to Bottom”.
Note
❒Default: Left to Right
Menu Description

Settings You Can Change with the User Tools
323
6
Stamp Setting
Background Numbering
Preset Stamp
Menu Description
Size You can set the size of the numbers.
Note
❒Default: Normal
• Small: About 8 ×4mm, 0.32" ×0.16"
• Normal: About 32 ×16mm, 1.28" ×0.64"
• Large: About 64 ×32mm, 2.56" ×1.28"
Density You can set the density of the numbers.
Note
❒Default: Normal
Superimpose You can select whether the numbering is printed negative
when it overlaps black parts of the image.
Note
❒Default: Off
Menu Description
Stamp Priority You can select the stamp type priority detected in Stamp
mode.
Note
❒Default: COPY
Stamp Language You can select the language of the message that is printed
in Stamp mode.
Note
❒Default: English
Other manuals for 2555
4
Table of contents
Other Savin All In One Printer manuals

Savin
Savin 9520 User manual

Savin
Savin 3630 User manual

Savin
Savin 1302 User manual

Savin
Savin 9020 User manual

Savin
Savin 1232 Service manual

Savin
Savin Fax Option Type 1027 Service manual

Savin
Savin 4015 User manual

Savin
Savin SP 3400SF User manual

Savin
Savin C2408 Service manual

Savin
Savin Copier 3250DNP User manual