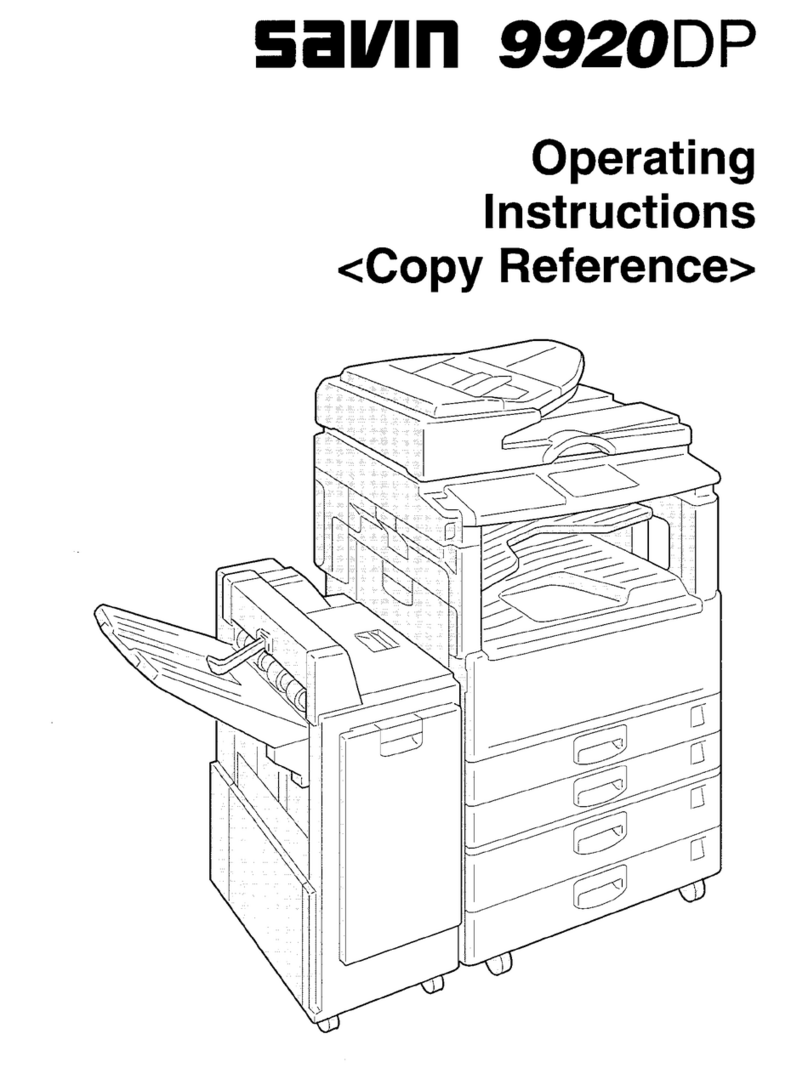
Savin 2555 User manual

Savin 2555
Operating Instructions
COPY REFERENCE
Read this manual carefully before you use this product and keep it handy for future
reference.
For safety, please follow the instructions in this manual.

209
3. Document Server
Overview
The Document Server enables you to save documents in the machine memory
and then edit and print them as you want.
There are two ways to save documents.
• Scanning from the document feeder
• Scanning from the exposure glass
APrepare the documents you want to save.
BSave the documents.
The documents are saved in the machine memory.
CPrint the documents.
You can print saved documents with any settings you desire at any time.
Document Server Features
The following printing features are available with the Document Server.
❖
On Demand Printing
You can print the saved documents as you want at any time.
❖
File Merge Printing
You can combine multiple documents to print them in one set.
1 32
GCDCSV0E

Document Server
210
3
Features and Benefits
On Demand Printing
Use to print any saved document as required.
❖Your current situation might be…
• When you need to print multiple sets of documents double-sided and sta-
pled together, you normally print the originals, make duplex copies and
then staple them together manually.
❖With the Document Server
If you save your document in the Document Server, you can print it out at any
time with the necessary print settings, such as duplex and stapling. Your doc-
uments will not be confused with those of others in the exit tray.
Note
❒Stapling requires the installation of the optional finisher.
❒Punching requires the installation of the optional punch kit in the finisher.
❒You can use a password to prevent others from printing saved documents.
GCDCSV1E
GCDCSV2E

Features and Benefits
211
3
File Merge Printing
You can combine multiple scanned documents to print them in one set.
❖Your current situation might be…
You want to combine several originals that are different in density, size, and
paper weight, e.g.
• Scrapped and pasted originals
• Photo originals
• One sided originals
• Two sided originals
❖With the Document Server
You can save the originals individually by making the best settings for each
original, and edit them as a file.
It does not matter whether the originals were scanned using the document
feeder or the exposure glass. As you can specify the print order for several
files, you can combine them as you want, and print them as a file.
You can check the print result by printing a sample set before making a large
print run by pressing the {
Sample Copy
}key.
If you are not satisfied with the print result of some pages of the set, you have
only to scan that part again.
GCDCSV3E

Document Server
212
3
Scanning Originals
You can scan the originals you want to save in the Document Server using the
control panel of the machine. The originals can be set either on the exposure
glass or into the document feeder.
The saved documents will automatically be named in the order of scanning as
“Scan001”, “Scan002”….
Note
❒You can set the timer to delete the documents stored in the Document Server
with the User Tools. See “Auto File Delete” in ⇒P.331 “Count Manager” .
❒You can change the file names that are assigned automatically.
❒You can use a password to prevent others from printing saved documents.
APress the {
Document Server/New Job
}key.
The “Document Server: Files” display appears.
BPress the [
Scan Originals
]key.
ZBQS120N
Copy
New Job
Document Server
New Job
Job List

Scanning Originals
213
3
The “Doc. server: Scanning” display appears.
CEnter a file name.
Note
❒If you do not wish to register a file name, go to step D.
❒If you do not register a file name, it is stored automatically.
To set the file name
APress the [
Change File Name
]key.
BEnter the new file name using the letter keys on the display panel.
Note
❒You can enter up to 8 letters.
❒To switch to the capital letter mode or small letter mode, press the [
Upper
Case
]or [
Lower Case
]key.
❒To change the letter entered, press the [
Back Space
], [
Clear
], or {
Clear/
Stop
}key and enter new letters. To delete the entered letters in 1 letter
steps, press the [
BackSpace
]key. To delete all the entered letters, press
the [
Clear
]or {
Clear/Stop
}key.
CPress the [
OK
]key.
DEnter your password.
Note
❒If you do not wish to enter a password, go to step E.

Document Server
214
3
To set the password
APress the [
Change Password
]key.
BEnter the password using the number keys (4 digits).
Note
❒To change the number entered, press the [
Clear
]or {
Clear/Stop
}key and
enter a new number.
CPress the [
OK
]or {
#
}key.
ESet your originals either on the exposure glass or into the document feeder.
Reference
For more information on the types of originals that can be set and how to
set them, see ⇒P.31 “Setting Originals”.
FMake any desired settings.
Note
❒Press the [
Scanning Complete
]key to cancel the file name, password, or print
settings and return to the “Document Server: Files” display.
Reference
For details, see the explanations of each function in this manual.
GPress the {
Start
}key.
The document is saved in the Document Server. The saved documents are
displayed on the “Document Server: Files” display.

Scanning Originals
215
3
Note
❒If you have set your originals in the document feeder, the “Document Serv-
er: Files” display appears automatically after all originals have been
scanned.
❒If you have set your originals on the exposure glass, press the [
Scanning
Complete
]key after all originals have been scanned. The “Document Server:
Files” display appears.
❒To stop scanning, press the {
Clear/Stop
}key.
❒To resume the paused scanning job, press the [
Resume
]key in the confir-
mation dialog box. To delete the saved images and cancel the job, press the
[
Cancel
]key.
❒When storing a password, appears on the left side of the file name.
To change the file name or password
APress the line of the document whose file name or password you want to
change.
BIf you select a document which requires a password, the “Input the Pass-
word” window appears. Input the password using the number keys,
then press the [
OK
]key.
CPress the [
Stored data list
]key.
DPress the [
Change File Name
]or [
Change Password
]key.
EEnter the new file name or password using the letter keys or number
keys.
FPress the [
OK
]key.

Document Server
216
3
Printing Saved Documents
You can print any of the documents saved in the Document Server.
Follow these steps to select a document and print it out.
APress the {
Document Server/New Job
}key.
The “Document Server: Files” display appears.
BPress the line for the document you want to print.
The selected line is highlighted.
Note
❒You can search the document you desire by the file name. See ⇒P.219 “To
Search by File Name”.
❒You can sort the files in order of [
File Name
], [
Time
], or [
Print order
]. Press the
key you want to sort by.
❒If the desired file name is not shown, see the next or previous screen using
the [T
Next
]and [U
Prev.
]keys.
❒If you cannot choose the desired document by its name, you can print the
first page to check the contents. Press the line for the desired document,
and press the [
Print 1st Page
]key followed by the {
Start
}key.
❒Press the selected line again to cancel the print job.
❒If you select a document which requires a password, the “Input the Pass-
word” window appears. Enter your password using the number keys,
then press the [
OK
]key. To delete the value entered, press the [
Clear
]or
{
Clear/Stop
}key. To cancel a selected document, press the [
Cancel
]key.

Printing Saved Documents
217
3
CTo print more than one document, repeat step Bto select the desired docu-
ments in the order you want to print them out.
The selected order is shown in the priority column next to the selected docu-
ment(s).
Note
❒To change the print order, press the highlighted lines to return to the nor-
mal conditions, then select them again in the order you want to print.
❒Press the {
Clear Modes/Energy Saver
}key to cancel all the settings.
DIf you need to change any of the print settings, press the [
Print Setting
]key.
The “Document Server: Print Conditions” display appears.
Note
❒The print settings remain in the machine after printing.
❒The print settings of the document you select first are applied to the
merged documents.
❒If you select multiple files, you can confirm the file names or print order of
the files you selected in step Cby scrolling through the list with the [T]and
[U]keys.
❒Press the [
Select File
]key to return to the “Document Server: Files” display.
Reference
For details, see the explanations of each function in this manual.
EEnter the required number of prints using the number keys.
Note
❒Up to 999 can be entered.
Document Server
218
3
❒To change the value entered, press the {
Clear/Stop
}key and enter new val-
ue.
❒If you print more than one set using the Sort function, you can check the
print result by printing out only the first set. See ⇒P.218 “Sample Printing”.
FPress the {
Start
}key.
The machine starts printing.
Note
❒To pause the print job, press the {
Clear/Stop
}key. In the confirmation dia-
log box, press the [
Resume
]key to resume it, or press the [
Cancel
]key to can-
cel it.
Sample Printing
If you print multiple sets using the Sort function, you can check if the print order
or the print settings are correct by printing out only the first set using the {
Sample
Copy
}key.
Limitation
❒This function can be used only when the Sort function has been turned on.
AFollow steps Ato Eof the preceding procedure.
BPress the {
Sample Copy
}key.
CAfter the first set is printed out, press the [
Resume
]key to print the rest of
the print job. Press the [
Cancel
]key to cancel it and return back to the “Doc-
ument Server: Print Conditions” menu for changing the setting.
Print First Page
You can print the first page of the document selected in the “Document Server:
Files” display to check the contents.
If more than one document is selected, the first page of each document is print-
ed.
APress the line for the desired document(s) in the “Document Server: Files”
display, and press the [
Print 1st Page
]key.
BPress the {
Start
}key.
The first page is printed out.

Printing Saved Documents
219
3
To Search by File Name
You can search the document stored in the Document Server by the file name.
APress the {
Document Server/New Job
}key.
The “Document Server: Files” display appears.
BPress the [
File Name
]key.
CEnter the file name using the letter keys.
Note
❒You can enter up to 8 letters.
❒To switch to the capital letter mode or small letter mode, press the [
Upper
Case
]or [
Lower Case
]key.
❒To change the letter entered, press the [
Back Space
], [
Clear
], or {
Clear/Stop
}
key and enter new letters. To delete the entered letters in 1 letter steps,
press the [
Back Space
]key. To delete all the entered letters, press the [
Clear
]
or {
Clear/Stop
}key.
DPress the [
OK
]key.
Only the files beginning with the letters appear in the “Document Server:
Files” display.
Note
❒To display all the files saved in the Document Server, press the [
All the files
]
key.

Document Server
220
3
Deleting Saved Documents
You should delete any of the saved documents using the control panel of the ma-
chine.
This section describes how to delete saved documents.
Important
❒You can save up to 200 documents in the Document Server. No more docu-
ments can be saved, when there are 200 documents in the Document Server.
You should delete unnecessary documents.
❒You can set the timer to delete the documents stored in the Document Server
with the User Tools. See “Auto File Delete” in ⇒P.331 “Count Manager”.
Note
❒You can delete all the saved documents at a time with the User Tools. See
“Delete All The Saved Files” in ⇒P.331 “Count Manager”.
Follow these steps to delete saved documents.
APress the {
Document Server/New Job
}key.
The “Document Server: Files” display appears.
BSelect a document you want to delete by pressing the name of it.
The selected name is highlighted.
Note
❒You can search the document you desire by the file name. See ⇒P.219 “To
Search by File Name”.
❒You can sort the files in order of [
File Name
], [
Time
], or [
Print order
]. Press the
key you want to sort by.
❒If the desired file name is not shown, see the next or previous screen using
the [T
Next
]and [U
Prev.
]keys.
❒If you cannot choose the desired document by its name, you can print the
first page to check the contents. Press the line for the desired document,
and press the [
Print 1st Page
]key followed by the {
Start
}key.
❒Press the selected line again to cancel the print job.

Deleting Saved Documents
221
3
❒If you select a document which requires a password, the “Input the Pass-
word” window appears. Enter your password using the number keys, and
press the [
OK
]key. To delete the value entered, press the [
Clear
]or {
Clear/
Stop
}key. To cancel a selected document, press the [
Cancel
]key.
CRepeat step Bif you want to select more than one document.
DPress the [
Delete
]key.
A confirmation dialog box appears.
EPress the [
Delete
]key to delete it.
Note
❒To cancel the delete operation, press the [
Stop
]key.

Document Server
222
3

223
4. Connect Copy (Option)
What is Connect Copy?
Connect Copy is a feature that allows you to connect two machines together us-
ing a cable. When you set up your copy job on one machine (the master unit),
data is transferred to the other machine (the sub-unit) so that copies can be made
on both machines simultaneously.
Connect Copy benefits
Connect Copy provides the following benefits:
❖
High-speed copying for greater productivity
For large volume copy runs, two connected machines form a single system
that can complete the job in a shorter time. If two 70 copies/minute (A4K, 81/
2" ×11"Ksize) copiers are connected together, a 140 copies/minute (A4K, 81/
2" ×11"Ksize) speed will be available.
❖
Auto-backup system for less participation of operators
Even if one machine stops because of a paper jam, it has run out of toner, or
run out of paper, the other machine will take over and finish the job automat-
ically. If the stopped machine is recovered, the machines will allocate the job
again and continue using Connect Copy to complete the job in a way that re-
sults in maximum productivity.
GC
C

Connect Copy (Option)
224
4
Note
❒You cannot make other copy jobs when two machines are connected.
❒The two machines automatically share the job in order to finish at almost
the same time and provide maximum productivity.
❒To use the two machines separately again, press the [
Connect
]key to dis-
connect them.

How Connect Copy Works
225
4
How Connect Copy Works
In this manual, we refer to the two machines as the master unit and sub-unit re-
spectively.
1. Master unit
2. Sub-unit
As your original is scanned in, the image data is stored on the master unit hard
disk and transferred simultaneously to the sub-unit hard disk. As soon as scan-
ning has finished, copying starts.
The master unit is the machine at which you press the [
Connect
]key to enter Con-
nect Copy mode. When you do this, the other machine becomes the sub-unit.
You can use either machine as the master unit or sub-unit, but you cannot
change the relationship without exiting Connect Copy mode first.
Connectable Copier Models
• The master unit and sub-unit do not have to be same speed models.
• You can still use Connect Copy even if no optional finisher, booklet finisher,
or large capacity tray (LCT) is available. However, the optional finisher must
be installed in both units in order to use the Stack and Staple functions, the
optional finisher and punch kit must be installed in both units in order to use
the Punch function, and the optional booklet finisher must be installed in both
units in order to use the Stack and Saddle Stitch function.
ZBQP190E
Master Unit Sub-Unit
55 copies/minute copier 55 copies/minute copier
55 copies/minute copier 70 copies/minute copier
70 copies/minute copier 55 copies/minute copier
70 copies/minute copier 70 copies/minute copier

Connect Copy (Option)
226
4
Functions Not Available with Connect Copy
The following functions are not available in Connect Copy mode:
• Job Preset
Interrupt Functions
• You cannot use Connect Copy when a job has been paused using the Inter-
rupt function.
• You can use the Interrupt function on the sub-unit while in Connect Copy
mode, but only when the master unit is not scanning originals.
Before You Start
Both units must have paper trays loaded with paper of the same size, direction
and type that you wish to copy onto.
To make the most out of the Connect Copy feature, we recommend that:
• The paper tray settings of the master unit and sub-unit match each other.
• The “Original Mode Quality Level” of the User Tools settings should be the
same on each unit. If they are not the same, the copied images may differ. See
“Original Mode Quality Level” in ⇒P.310 “General Features 1/3”.
• If the installations of the optional finisher or booklet finisher in both units are
not the same, the copied images may differ.

Connect Copy Display Panel
227
4
Connect Copy Display Panel
This section describes the displays on the master unit and sub-unit.
Note that when you enter Connect Copy mode, you must access all Connect
Copy features and menus through the master unit display panel.
Master unit Sub-unit
Initial display in standard copy modeInitial display in Connect Copy mode
Other manuals for 2555
4
Table of contents
Other Savin All In One Printer manuals