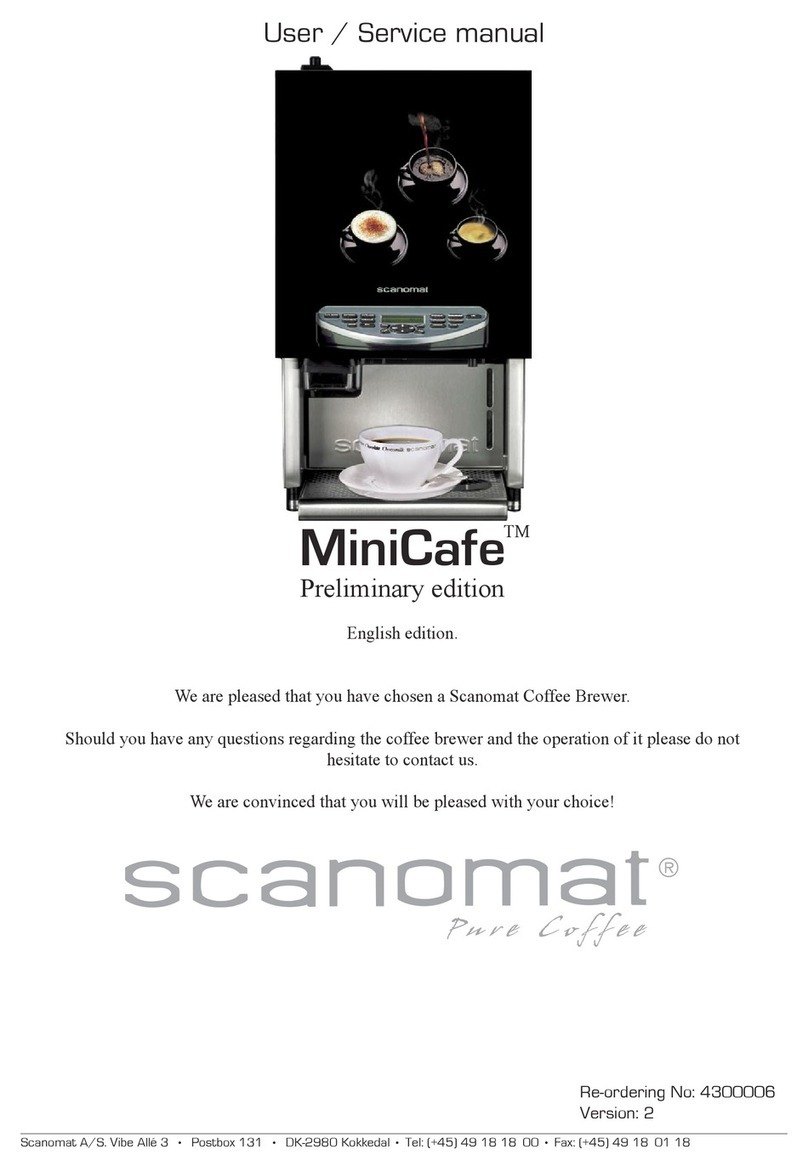
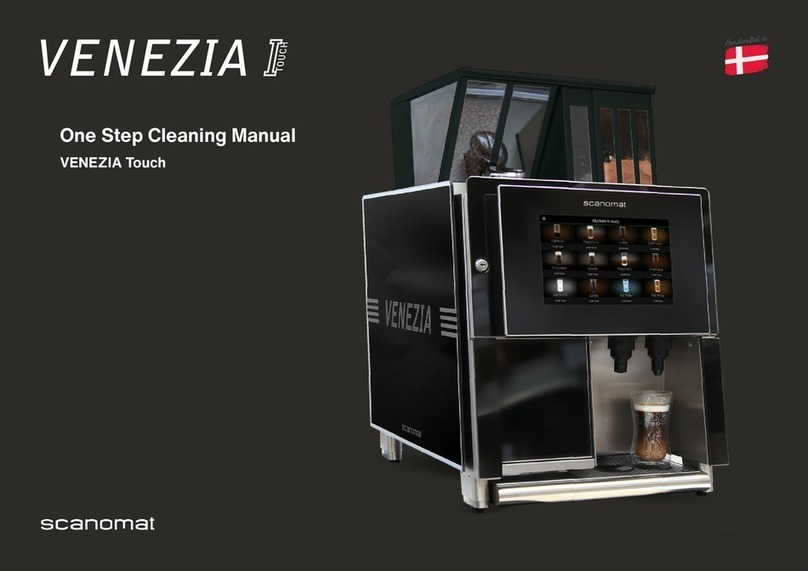
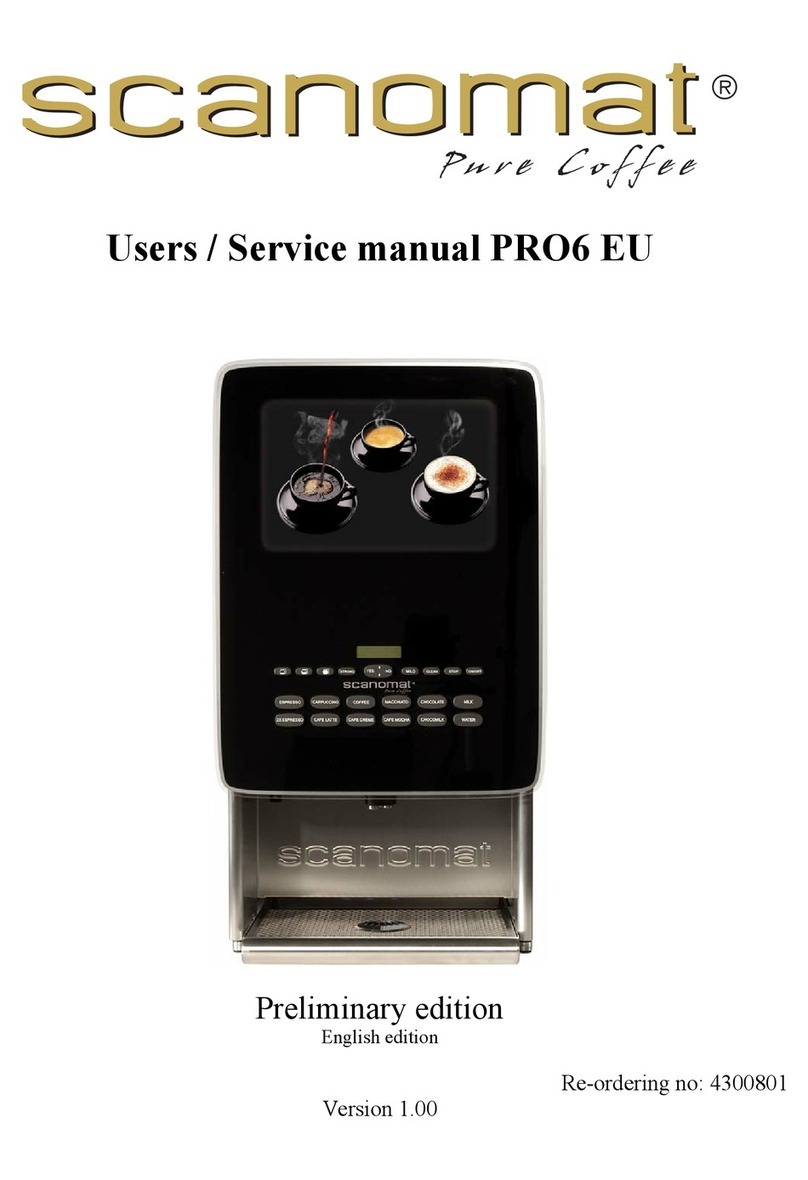
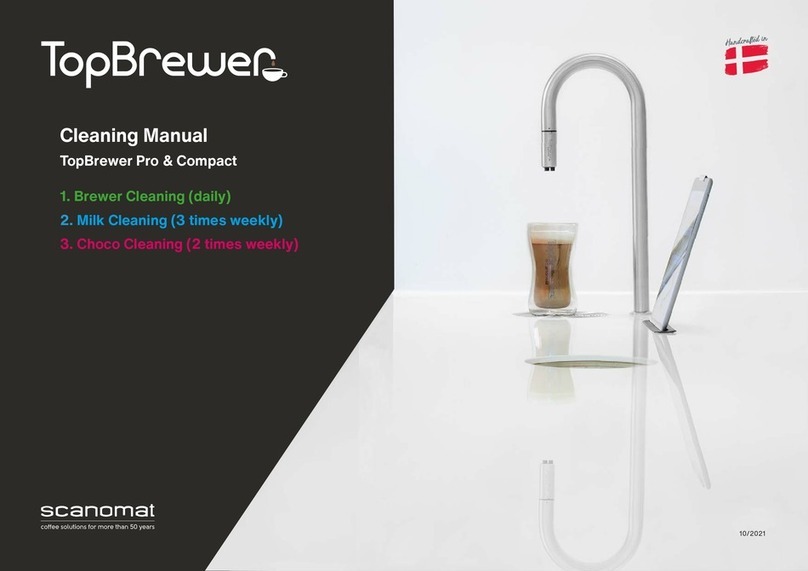
Scanomat TopBrewer User manual

User’s manual
Café on the Spot
English edition UK (RCD)
Re-ordering No: 4300074
Version: 1


We are pleased that you have chosen a Scanomat Coffee Brewer.
Should you have any questions regarding the coffee brewer and the operation of it please do not
hesitate to contact us.
We are convinced that you will be pleased with your choice!
Vibe Allé 3 •Postboks 131 •2980 Kokkedal
Telefon 49 18 18 00 •Telefax 49 18 01 18


Important
Warning:
Please be aware of the danger of scalding (in the dispensing area) when dispensing the various hot
drinks.
Warning:
Before cleaning, servicing etc. that require the opening of the front door, the switch situated in the
delivery area must be switched off. The brewer has been switched off when the display light turns off
and the blower stops.
Warning:
When pushing the machine on slanting surfaces, please be careful. On slanting surfaces, please do
not push the machine sideways, but push it in front of you. Do never leave the machine in areas,
which are not completely plane.
Note:
Please be aware that the switch in the coffee brewer only disconnects control circuit, not the mains
power
Important:
Remember to make sure that the two guiding wheels are locked when the machine is in operation,
during charging, during serving, during cleaning, during filling up, or when leaving the machine.
Note:
Do never step into drawers (max load 10 kg.). Do not pull out two drawers at the same time.

Contents
Operation of the SCANOMAT Coffee Brewer .............................................................................1
Technical Specifications:................................................................................................................2
General Drawing ...........................................................................................................................3
Installation.....................................................................................................................................4
Water Connection....................................................................................................................5
The display of the coffee brewer....................................................................................................6
The keyboard of the coffee brewer................................................................................................8
Initial start up of the coffee brewer ..........................................................................................10
Normal use .................................................................................................................................12
Brewing cups:.........................................................................................................................12
Pre-selections:........................................................................................................................12
Brewing carafes:.................................................................................................................12
Strong:...............................................................................................................................12
Light:.................................................................................................................................13
Decaf:……………………………………………………………………...……………13
Setting / programming of the coffee brewer ..................................................................................13
On/Off:...................................................................................................................................13
Temperature:..........................................................................................................................13
Adjusting the individual selections:...........................................................................................13
Cup size:............................................................................................................................14
Strength: ............................................................................................................................14
Direct carafe selection: .......................................................................................................14
Price:.................................................................................................................................15
Read-out of coin mech. data:..............................................................................................15
Carafe sizes:...........................................................................................................................15
Timer functions:......................................................................................................................16
Adjusting blocked drinks in timer function 3:......................................................................18
Adjusting time format:.........................................................................................................18
Adjusting the active recipe version:..........................................................................................18
Service functions .........................................................................................................................19
Reading out the counters:........................................................................................................19
Erasable counters:...................................................................................................................20
Resetting counters..............................................................................................................20
Reading out the not erasable counters.................................................................................21
Print out of the counters:.........................................................................................................21
Print out of the setting of the coffee brewer:.............................................................................21

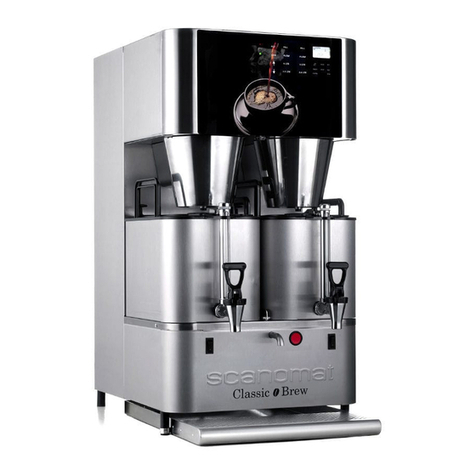
Product weighing: ...................................................................................................................21
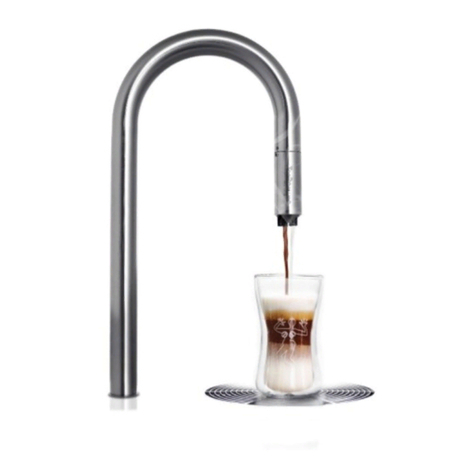
Maintenance................................................................................................................................22
Daily Maintenance:......................................................................................................................23
Charging………………………………………………………………………………………23
Chargin Procedure-during working hours.……………………………………………………23
Chargin Procedure-evening close down………………………………………………………23
Start-Up morning……………………………………………………………………………..24
Draining……………………………………………………………………………………….25
Preventive Maintenance...............................................................................................................26
Trouble Shooting:........................................................................................................................27
Connection Chart "Coffee on the Spot"........................................................................................28


Users manual Coffee on the Spot
Copenhagen) Reg.nr. 236.990
Tel: (+45) 49 18 18 00. Fax: (+45) 49 18 01 18 1
Operation of the SCANOMAT Coffee Brewer
The Scanomat coffee and coffee speciality brewers are high technology brewers which by means of a micro
processor controlled brew process dispense various first class quality coffee drinks.
Water is heated in the thermostatically controlled hot or cold water tank with automatic water inlet. The water
tank has built-in overheaters and an overflow leading to the drip tray.
By means of an ingredient throw device the various instant products are led from the canisters to a brew
chamber and here water is added. If necessary, the ingredients could be stirred mechanically in the brew
chamber before the drink in question is led to the outlet spout. It is possible to choose between cup or jug
dispensing.

Users manual Coffee on the Spot
Scanomat A/S Vibe Allé 3. Postboks 131 DK-2980 Kokkedal (Copenhagen) Reg.nr. 236.990
Tel: (+45) 49 18 18 00. Fax: (+45) 49 18 01 18
2
Technical Specifications:
Power supply:
230-240 VAC with earth connection, 2300 W 10 Amp.
Dimension:
Height: 135 cm
Width: 52 cm
Length: 92 cm
Water tank:
Hot water tank capacity: 20 litres
Weight:
Gross 112 kg
Nett 93 kg
Water connection:
2 - 6 Kp/cm2,flow min. 5 l./min.
Water temperature: 5 - 12°C.
Environment:
Temperature: 10 - 40°C, humidity max. 90%RH.
Shelves/transportation:
Temperature: min. 0°C.
Battery capacity:
7,2 Ah (optional 17 Ah).
900 cups (15 cl) without charging (7,2 Ah batteries).
Watertank:
Temperature drop with full tank 3°C/h.
Capacity:
125 cups (15 cl. cups) without water supply.

Users manual Coffee on the Spot
Scanomat A/S Vibe Allé 3. Postboks 131 DK-2980 Kokkedal (Copenhagen) Reg.nr. 236.990
Tel: (+45) 49 18 18 00. Fax: (+45) 49 18 01 18 3
General Drawing
A Ingredient canister
B Ingredient funnel
C Mixer bowl
D Whipper house
E Outlet holder
F Outlet tube
H Drip tray
I Main switch
J Quality Key reader
(optional)
K Cover plate
L Service switch
M Canister lid
N Mixer lid
O Whipper blade
T Mesh
U Levelling legs
Y Coin box
(optional)
Z Coin Mec.
(optional)

Users manual Coffee on the Spot
Scanomat A/S Vibe Allé 3. Postboks 131 DK-2980 Kokkedal (Copenhagen) Reg.nr. 236.990
Tel: (+45) 49 18 18 00. Fax: (+45) 49 18 01 18
4
Installation
Service and repair is only to be carried out by service engineers educated by Scanomat.
The coffee brewer is to be secured additionally in accordance with regulations.
The coffee brewer must be earth connected (yellow/green conductor).
Note: If the supply cable (power cord) has been damaged please note that only a maintenance engineer
recommended by the manufacturer is to renew it as special tools are required.
Earth conductor: yellow/green
Neutral conductor: blue
Phase: brown/black
Note:The coffee brewer require ventilation. Therefore there must be a minimum of 50 mm from the back side
of the brewer to the wall. The grating must be inspected frequently and vacuum-cleaned. If the installation
site/environment is especially dusty there must be vacuum-cleaned each month.
Note: Before connecting the coffee brewer draw off some buckets of water by means of the hose (to clean
the pipes and to avoid a disagreeable taste (see draining)). This procedure is also recommended when the
brewer has not been operating for some time.
Note:We recommend that the brewer is switched on permanently due to the ventilation system among others.
Turn off the main switch “I” if the machine is out of operation for a few days.

Users manual Coffee on the Spot
Scanomat A/S Vibe Allé 3. Postboks 131 DK-2980 Kokkedal (Copenhagen) Reg.nr. 236.990
Tel: (+45) 49 18 18 00. Fax: (+45) 49 18 01 18 5
Water Connection
When the water supply is being established please make sure that the coffee brewer is not situated on the rear
end of the water supply system to ensure continuous supply of fresh water (see illustration below).
1. Connect the coffee brewer to the cold water line which is equipped with an adjustable check valve (1/2"
external screw thread G+F). Before connecting the brewer draw off some buckets of water to clean the
pipes.
If the water quality is not top-quality we recommend that a Scanomat water filter is mounted.
2. Fasten the hose nipple (C) with screws to the connecting nipple (B) (available in angle and straight ver-
sion).
3. The connecting nipple is to be screwed on to the valve at the bottom of the coffee brewer.
4. Dirt filter (E) and nipple (D) are to be mounted.
5. The flange of the hose (C) is to be mounted on the nipples (D) and (B).
6. Turn on the water and make sure that all joints and connections are tight.
Note
If the water has a disagreeable taste when heated we recommend that the heated water is drawn off the
brewer and let the brewer take in water anew.
After holidays or weekends when the brewer has not been in operation for some time the water will loose on
quality therefore we recommend activating the "clean programme", perhaps a couple of times, in order to get
fresh water. In special cases it could be necessary to empty the water tank completely by means of the drain
hose and then let the brewer take in fresh water. This operation could be repeated if necessary.
Scanomat
Shower Sink Dishwasher Coffeebrewer
Waterpipe

Users manual Coffee on the Spot
Scanomat A/S Vibe Allé 3. Postboks 131 DK-2980 Kokkedal (Copenhagen) Reg.nr. 236.990
Tel: (+45) 49 18 18 00. Fax: (+45) 49 18 01 18
6
The display of the coffee brewer
Explanation of the individual symbols in the display.
ON Shows that the coffee brewer is in normal operating status. The symbol is also used
during programming of the timers.
OFF Shows that the coffee brewer has been switched off either by means of the keyboard or
by one the programmable timers. No drinks can be brewed.
CUPS Used when reading out the counters and when adjusting the carafe sizes.
STRONG Shows that a strong drink has been selected.
LIGHT Shows that a light (mild) drink has been selected..
INFORMATION Used to display temperature and functions, which do not have fixed symbols.
FIELD

Users manual Coffee on the Spot
Scanomat A/S Vibe Allé 3. Postboks 131 DK-2980 Kokkedal (Copenhagen) Reg.nr. 236.990
Tel: (+45) 49 18 18 00. Fax: (+45) 49 18 01 18 7
Temperature / counter / battery voltage, shown in steps on the display:
Step 1: When the heating element is active, an “H” will be flashing in front of the
temperature reading.
Step 2: A counter will count down for each drink and show the capacity of cups left
indicating when it is necessary to fill the water tank.
Step 3: (Optional) Battery voltage is shown in the display (must be min. 22 Volt and
max. 29 Volt).
WATER VALVE Will be active if the water tank is not completely full. In this situation, pressing a selection
key will cause the coffee brewer to take in water thereby filling the tank completely
before starting the brew. If the tank can not be filled within 5 seconds, the brew will not
be made.
Will be flashing if the level in the water tank is critically low. In this situation no drinks
can be made and the heating element will be disabled. Pressing a selection key will cause
the coffee brewer to attempt to take in water for a maximum time of 3 minutes. If this is
not enough to fill the tank the key press must be repeated
THERMO METER Will be flashing if the temperature in the hot water tank is too low. No drinks can be
selected in this situation..
CUP Will be flashing during brew. Also used to indicate the size of the cup during adjusting
this.
CARAFFE Will be on when a carafe is pre-selected.
ADDITIONAL INFO Used during programming of timers.
MAGNETIC CARD Used during reading magnetic keys: - CREDIT KEY and QUALITY KEY.

Users manual Coffee on the Spot
Scanomat A/S Vibe Allé 3. Postboks 131 DK-2980 Kokkedal (Copenhagen) Reg.nr. 236.990
Tel: (+45) 49 18 18 00. Fax: (+45) 49 18 01 18
8
The keyboard of the coffee brewer
Explanation of the individual keys:
Selection key.Pressing this when the coffee brewer is in normal operating state will cause
this to make a brew.
Carafe pre-selection. Pressing this will cause the following selection to made in a multiply
according to setting of this carafe.
Will activate the pre-selection STRONG. This will make the following selection stronger
than standard.
Will activate the pre-selection LIGHT (mild) . This will cause the following drink to be
milder than standard.
Will activate the pre-selection DECAF. This will cause the following drink to be made
with DECAF coffee in stead of normal. During programming this key is used to increase
values.
Will activate the pre-selection COLD: This will cause the following drink to be made
with cold water in stead of hot. During programming this key is used to decrease values.
The two above mentioned keys have during programming an automatic repeat function.
This means that keeping one of these pressed during adjusting a value, this will change
automatically.
Will display the watch of the coffee brewer.
Used to switch the coffee brewer on and off.
Used to read out information from the coffee brewer.
Used to confirm settings during programming of the coffee brewer.
Used to adjust the active recipe version of the coffee brewer.

Users manual Coffee on the Spot
Scanomat A/S Vibe Allé 3. Postboks 131 DK-2980 Kokkedal (Copenhagen) Reg.nr. 236.990
Tel: (+45) 49 18 18 00. Fax: (+45) 49 18 01 18 9
Used to interrupt an ongoing carafe brew, an ongoing cleaning sequence or to stop a
programming function.
Used during programming of the coffee brewer.
Activates the cleaning program of the coffee brewer.
Used during programming to select next value.
Used to activate / deactivate the SERVICE program of the coffee brewer.
NOTE: Not all keys mentioned here will be active in all coffee brewers. For example the keys
and . These will only be active if the coffee brewer is equipped with DECAF
coffee and COLD water system respectively. The availability of individual keys is also
dependant on the customer related setting of the coffee brewer.

Users manual Coffee on the Spot
Scanomat A/S Vibe Allé 3. Postboks 131 DK-2980 Kokkedal (Copenhagen) Reg.nr. 236.990
Tel: (+45) 49 18 18 00. Fax: (+45) 49 18 01 18
10
Initial start up of the coffee brewer
1) Set the On/Off. switch in the brewing region to On = 1. Press the start switch “A”(optional). There will be
light in the display of the coffee brewer.
When the coffee brewer has been connected to power and water, it will automatically take in water. The
display will show a flashing , a flashing and a low temperature.
2) Activate the SERVICE program by pressing , which is placed on the inside of the door.
The display shows
3) Press , and the coffee brewer will start taking in water for a maximum of 3 minutes. If the water supply
pressure is low, this might not be enough to fill the water tank. This will be indicated by the flashing on
the display. Press to repeat the process.
When the water tank is full, the heating element will be activated and heat the water to the programmed
temperature. When this is reached, the coffee brewer is ready for test.
4) Fill the ingredient bins of the coffee brewer.

Users manual Coffee on the Spot
Scanomat A/S Vibe Allé 3. Postboks 131 DK-2980 Kokkedal (Copenhagen) Reg.nr. 236.990
Tel: (+45) 49 18 18 00. Fax: (+45) 49 18 01 18 11
5)
6) As the products need to be brought forward to the end of the augers before a correct dosage can be
obtained, the following test procedure is recommended:
a) Place a carafe under the outlet(s).
b) Activate all the different selections one by one to make sure, that all product augers have been
active.
The coffee brewer is now ready for use.

Users manual Coffee on the Spot
Scanomat A/S Vibe Allé 3. Postboks 131 DK-2980 Kokkedal (Copenhagen) Reg.nr. 236.990
Tel: (+45) 49 18 18 00. Fax: (+45) 49 18 01 18
12
Normal use
Brewing cups:
During normal use, a cup is dispensed by placing a cup or a mug under the outlet spout and press the
appropriate selection key. If the coffee brewer is equipped with more than one outlet spout, there will be an
indication showing which selection goes to which spout.
Pre-selections:
Brewing carafes:
When brewing carafes first select the desired size by pressing , or . The display will show:
Pressing a selection key will now cause the dispensing of the number of cups programmed for the selected
carafe size.
Pressing will cause the coffee brewer to stop the carafe brew after completing the ongoing cup.
The pre-selection carafe is cancelled if is pressed.
The pre-selection carafe is cancelled automatically after 15 seconds if no selection key is pressed.
The pre-selection carafe is cancelled automatically after the brewing.
Strong:
Pressing will activate the pre-selection STRONG. The display will show:
(after 2 times pressing )
The following drink will now be made 2 steps stronger than normal. The function STRONG is in 5 steps.
Each press on will increase the value by 1, which will be indicated in the display.
Other manuals for TopBrewer
3
Table of contents
Other Scanomat Coffee Maker manuals

Scanomat
Scanomat San Remo Classico III User manual

Scanomat
Scanomat Classic Brew User manual

Scanomat
Scanomat VENEZIA Touch User manual

Scanomat
Scanomat TopBrewer Pro User manual

Scanomat
Scanomat MiniCafe Troubleshooting guide

Scanomat
Scanomat TopBrewer User manual

Scanomat
Scanomat TopBrewer Pro Troubleshooting guide

Scanomat
Scanomat TopBrewer Pro User manual

Scanomat
Scanomat PRO6 EU Troubleshooting guide