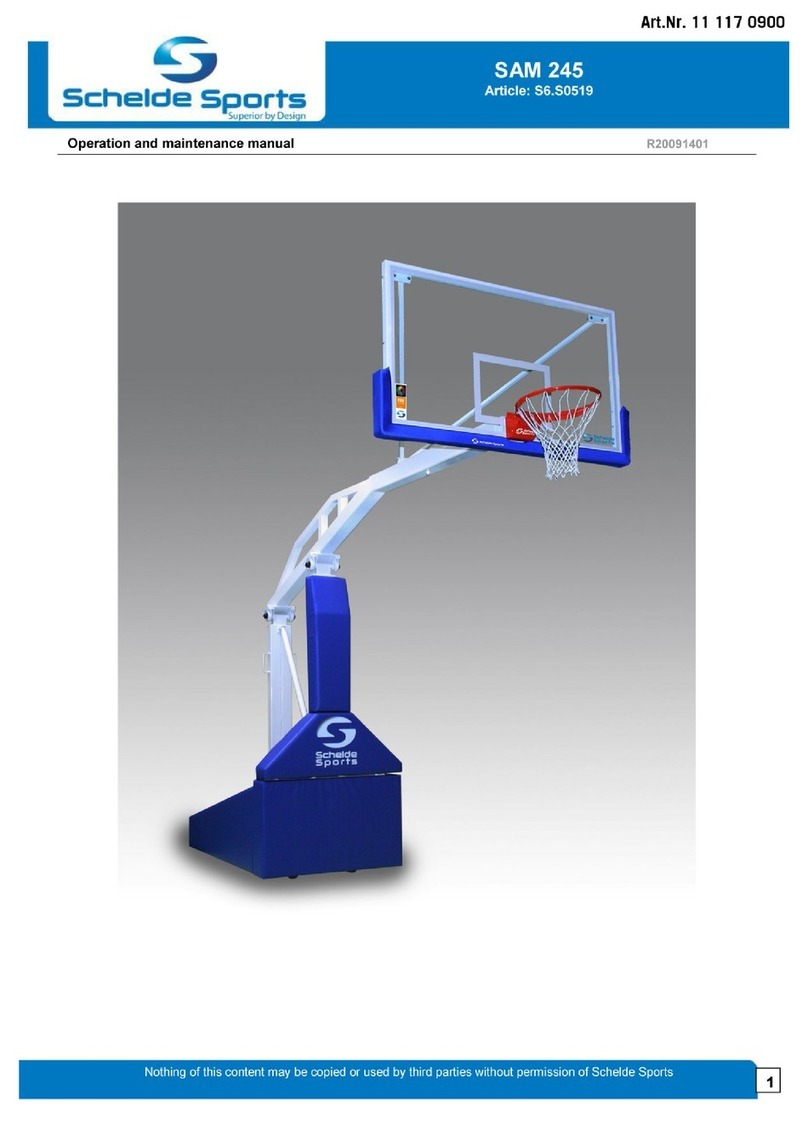
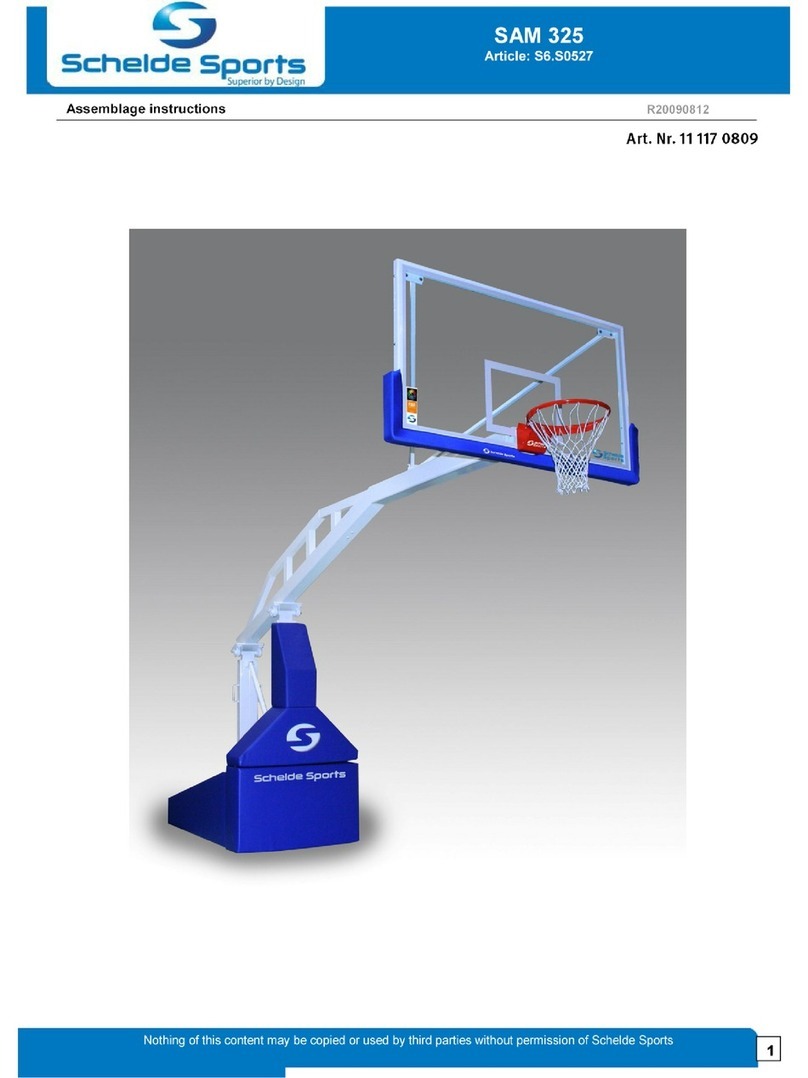
Schelde Sports SAM 3X3 User manual

USAGE
AND INSTALLATION
INSTRUCTIONS SAM 3x3
Nothing in this manual may be opied or used by third parties without the onsent of SCHELDE SPORTS
1
USAGE AND
INSTALLATION
INSTRUCTIONS
SAM 3X3
1612070

USAGE
AND INSTALLATION
INSTRUCTIONS SAM 3x3
Nothing in this manual may be opied or used by third parties without the onsent of SCHELDE SPORTS
2
CONTENTS
Safety 3
Che klist 4
Certifi ation 5
Pa kaging, weight and sizes 6
Assembly 7
Adjustment spring set 14
Operation 15
Operation manual APF 17
Maintenan e 19
Te hni al spe ifi ations 20

USAGE
AND INSTALLATION
INSTRUCTIONS SAM 3x3
Nothing in this manual may be opied or used by third parties without the onsent of SCHELDE SPORTS
3
Safety
1.
General Information
Although the utmost are has been taken
with this manual, errors and omissions may
not be ompletely ex luded. S helde Sports
therefore a epts no liability whatsoever, not
even for dire t or indire t damage, aused by
or in onne tion with the use and appli ation
of this installation manual. In every situation,
safety regulations must be observed, both
general rules and the instru tions in this
manual.
2.
How to use this manual
This manual ontains instru tions for
assembly. Please read this manual and
instru tions related to the assembly of this
produ t arefully and ensure that the manual
is always within easy rea h. To avoid the risk
of (serious) injury, read and apply all
warnings, pre autions and instru tions in this
manual.
The supervisor must inform users of the
presen e of this user manual and the
obligation to read it before using this
produ t.
3.
Warning
•
The ba kboard, the ring with the net
and the paddings may only be mounted
by qualified personnel.
•
Always observe lo al and general
building regulations and safety
regulations.
•
All parts may only be used for
basketball purposes, the guarantee will
be void if used for another purpose.
•
Always work with a minimum of two
people.
•
Always mount the ba kboard together
with the ring.
•
Never remove the transport bra ket
before the ba kboard is mounted,
removing the transport bra ket without
the ba kboard an ause serious
a idents. The springs are under
onsiderable tension
•
Store the transport bra ket and the
asso iated fasteners.
•
The ba kboard is made of tempered
glass, be extremely areful!
.
Introduction
Rollable foldable basketball stand, type SAM
3x3, with patented DSF system. Hard glass
ba kboard, 105 x 180 m (10 years warranty)
thi kness 12 mm, mounted in steel frame.
In ludes super padding. With dunk ring +
super net. This basketball stand is equipped
with a spe ial balan e spring system for light
and simple adjustment of the ring at various
heights.
The stand is exe uted with the required ounterweights
and possibly with floor fixings at the rear of the base
frame. Height in storage position 210 m. Approved and
re ommended by FIBA.
The stand is delivered in parts; a padding set,
ba kboard, ring and net, and bra es, board
padding, feet of the stamps (DSF or APF) and
the mounted stand with a set of mounting
material. The over plate and over for the
springs and the weights have already been
mounted. Any banner set and 24-se ond lo k
are available optionally.

USAGE
AND INSTALLATION
INSTRUCTIONS SAM 3x3
Nothing in this manual may be opied or used by third parties without the onsent of SCHELDE SPORTS
4
Checklist
SAM 3x3
Glas
s
ba k
bo
a
rd
S
180° dunk
ring
S
Front swivel wheel
2x2
S
Fixed wheel behind
2x2
S
Maintenan e
-
free bearings
S
Storage position
max. 210 m
S
Fa ilities for forklift
S
Play
ing
mode 305 m
S
Playing position 260 m
S
Automati teles ope
S
Deadlo k with lo k
S
Foot operated beam lo k
S
Super padding set (front, side and beam)
S
Banner set ( ustomized)
O
Auto APF Automati Pede
stal Feet
S
APF manually
O
24
-
se ond lo k
O
Extra weights
S
LED strip on glass board
O
S = Standard
O = Optional

USAGE
AND INSTALLATION
INSTRUCTIONS SAM 3x3
Nothing in this manual may be opied or used by third parties without the onsent of SCHELDE SPORTS
5
Certification

USAGE
AND INSTALLATION
INSTRUCTIONS SAM 3x3
Nothing in this manual may be opied or used by third parties without the onsent of SCHELDE SPORTS
6
Packaging, weight and sizes
Package 1
Rollable basketball stand SAM 3x3
Weight: ± 1200 kg
Dimensions: 351x112x137 m
Package 2
Hard glass backboard
Weight: ± 100 kg
Dimensions: 186x106x7 m
Package 3
Board padding
Weight: ± 5 kg
Dimensions: 98x45x11 m
Package 4
Dunk ring + net
Weight: ± 13 kg
Dimensions: 65x50x20 m
Package 5
Set side padding left / right
Weight: ± 35 kg
Dimensions: 196x95x20 m
Package 6
Padding for top
Weight: ± 15 kg
Dimensions: 130x130x30 m
Package 7
Padding for bottom
Weight: ± 36 kg
Dimensions: 130x95x28 m
Package 8
Accessories mounting stand
Weight: ± 15 kg
Dimensions: 157x13x10 m
Package 9
Upper lever padding
Weight: ± 5 kg
Dimensions: 103x22x30 m
Package 10
Optional manual control lever APF
Weight: ± 5 kg
Dimensions: 150x20x15 m
Package 11
Optional 2 -second clock
Weight: ± 15 kg
Dimensions: 57x53x20 m
Package 12
Optional banner set
Weight: ± 15 kg
Dimensions: 50x40x40 m

USAGE
AND INSTALLATION
INSTRUCTIONS SAM 3x3
Nothing in this manual may be opied or used by third parties without the onsent of SCHELDE SPORTS
7
Assembly
Mounting rollable basketball stand:
Warning
•
The ba kboard, the ring with the net and
the paddings may only be mounted by
qualified personnel.
•
Always observe lo al and general building
regulations and safety regulations.
•
Always work with a minimum of two
people.
•
Always mount the ba kboard together
with the ring.
•
A essory mounting glass ba kboard.
Mounting basketball stand/basketball hoop:
Step 1
Mount the atta hment 1 on the tube of the
board
Step 2
Hang the board (with at least 2 people) on
the mast of the stand. Mount the board with
2 bolts M10x25 2 and washers against the
head plate of the mast.
Step 3
Insert the 2 bolts M10x100 3 through the
board and the head plate of the mast, do
not mount the self-lo king nuts yet!
Step 4
Remove the prote tive ap 5 from the ring.
Hang the ring over the bolts M10x100 and fit
the lo k nuts. Also mount the 2 bolts M10x25
4 in the bottom holes of the ring.
Do not remove transport bracket before
the basketball backboard has been
mounted!!!
Removing the transport bra ket without
having mounted the board an ause serious
a idents. The springs are under onsiderable
tension.
- Save the transport bra ket and the
asso iated fasteners.
- The ba kboard is made of tempered
glass, be extremely areful.

USAGE
AND INSTALLATION
INSTRUCTIONS SAM 3x3
Nothing in this manual may be opied or used by third parties without the onsent of SCHELDE SPORTS
8
Mounting braces vertical adjustment
basketball backboard:
Step 1:
Mount the M12 adjusting yoke on plate in the
two upper orners of the board with 2x
M10x30 lo k bolt with washer and spring
washer. Pla e the plate in the middle of the
slotted holes and tighten the nuts.
Note: do not tighten the adjusting yoke
ompletely, as it must still be able to be
turned when the strut is fitted.
Step
2:
Mount the struts (2x) by means of the
supplied bolts M10x30, washers and self-
lo king nuts.
Levelling the board:
Step 3:
Horizontal: The board should be horizontal
with respe t to the base frame. Thus the
level on the board must have the same
position as on e.g. the bottom bar of the
base frame. Pla ing the board verti ally and
perpendi ular to the mast is done by
turning in and out the two board struts. If
the board is verti al and perpendi ular,
then tighten the lo k nuts M12 of the struts.
Step 4:
Note: mount the board perpendi ular to the
tree. After setting horizontally, tighten all
the bolts and nuts of the ring and plate
against the head.
Step 5:
Mount the prote tive ap of the ring.

USAGE
AND INSTALLATION
INSTRUCTIONS SAM 3x3
Nothing in this manual may be opied or used by third parties without the onsent of SCHELDE SPORTS
9
Mounting backboard padding:
Step 1:
Fit the padding with the orresponding bolts,
M6 nuts, spring washers and washers, the
padding is equipped with 4 bolts / nuts on the
bottom and 1 bolt / nut on both sides.
Remove transport bracket:
Step 1:
Remove the transport bra ket, this an now
be done safely. Save the transport bra ket,
it is needed for any future transport or if
the board needs to be repla ed.
Assemble side padding: 1x left and 1x right
Step 1:
On ea h side padding, mount the 4 plates
with lip on the ba k with button heads
M8x25, a washer and spring washer M8.
Step 2:
Using the aluminium strips and the 4x20
s rews, mount the padding inserts into the
designated openings of the side padding.
Step 3:
Pla e the padding against the side of the
base frame and lower the lips into the
appropriate slots in the base frame.
Mounting lower front padding
Step 1:
Hang the hinge parts in the base frame
Step 2:
Mount the lower front padding through the
hole in the base frame using the button
heads with washer and spring washer.
Fold out the front padding and mount
the remaining 2 button heads.

USAGE AND MOUNTING INSTRUCTIONS
SAM 3x3
Nothing in this manual may be opied or used by third parties without the onsent of SCHELDE SPORTS
10
Mounting upper front padding
Step 1:
Repla e the lower bolts M8x55 (where the
lower wooden bar is atta hed) by bolts M8x60
and mount the plates with lips on the front
padding.
Step 2:
With the remaining bolts M8x55 and
supplied bolts M8x55 and body rings M8,
mount the bottom padding insert on the 2
wooden bottom bars.
Step 3:
With the supplied M8x55 bolts and body rings
M8, mount the upper padding insert on the
upper 2 wooden bars, if no optional 24-se ond
lo k is in luded.
Step 4:
Lift the padding and lower the lips into the
appropriate slots on the front yoke. Se ure
the top with Vel ro.
Optional:
When using a 24-se ond lo k, skip step 3
and remove the 2 top wooden bars.
Use the bra kets supplied with the 24-
se ond lo k to mount the lo k in the
opening of the front padding. S rew the
bra ket at the ba k onto the front padding
.
For connection and operation of a 24-second
shot clock, see the man al s pplied with the
clock.

USAGE AND MOUNTING INSTRUCTIONS
SAM 3x3
Nothing in this manual may be opied or used by third parties without the onsent of SCHELDE SPORTS
11
Mounting the upper tree padding
Step 1:
Atta h the padding with the Vel ro upwards.
Mounting padlocks on lock:
Step 1:
Mount 1 padlo k on the lo k on the rear
side.
Step 2:
Mount 1 padlo k on the lo king pin of the
teles ope
Mounting / adjusting APF on the SAM 3x3
Step 1:
Pla e the 2 round stamps (APF) straight under
the 2 verti al shafts, at the front of the base
frame.
Bring the stand (under ontrol) in playing
position, so that the shafts with nut M30 and
ounter nut slide into the stamps.
Mount the stamps to the shafts, ea h with 2
M6x25 bolts and nut in the groove of the lo k
nut.
Do not tighten the bolts firmly but in su h a
way that the stamps hang flexibly on the
shafts.

USAGE AND MOUNTING INSTRUCTIONS
SAM 3x3
Nothing in this manual may be opied or used by third parties without the onsent of SCHELDE SPORTS
12
Attaching the banner set
Step 1:
Atta h the distan e holders supplied with
the bolts M6x20, spring washers and
washers M6 on both sides of the front yoke
and on both sides of the base frame.
Step 2:
Attach the s pplied M8 eye bolts with M8
washers in the appropriate places. 4x on the
distance holders, 2x on the back of the top
tree, 1x middle top of the top tree, 2x on the
front base frame and 2x on the board frame.
Total 11 pieces.
Step 3:
First attach both top banners. Do this when
the stand is still folded. Keep in mind the
right and left exec tion of the top banner.
Attach the end of the banner with the
r bber elastic and the karabiner to the eye
on the board.
Step 4:
Atta h the middle of the banner with
rubber elasti and the karabiner to the eye
in the middle of the top tree.
Step 5:
Atta h the other end of the top banner with
the strap and karabiner to the eye and then
pull the banner tight with the bu kle.
Repeat these steps for the se ond top
banner.
Next, fold the basket stand in playing
mode.

USAGE AND MOUNTING INSTRUCTIONS
SAM 3x3
Nothing in this manual may be opied or used by third parties without the onsent of SCHELDE SPORTS
13
Step 6:
The side banners an be mounted in unfolded
position. Consider the right and left version of
the banner. Atta h the karabiner whi h is
dire tly atta hed to the banner at the front of
the front yoke.
Step 7:
Atta h the bottom of the banner with
rubber elasti and karabiner to the eyes on
the front of the base frame.
Step 8:
Then atta h the ba k of the banner to the eye
on the ba k of the base frame.
Step 9:
Finally atta h the karabiner on the bu kle at
the ba k of the top tree. Then pull the
banner tight using the bu kle.
Then repeat these steps for the other
side banner.

USAGE AND MOUNTING INSTRUCTIONS
SAM 3x3
Nothing in this manual may be opied or used by third parties without the onsent of SCHELDE SPORTS
14
If necessary,
adjustment of the
spring set
If the stand has been in use for some time,
the spring tension an de rease to su h an
extent that the setting up of the stand is
seriously hampered. The tension of the
springs should then be in reased. To adjust
the tension, do the following steps:
Step 1:
Fold the stand in playing position.
Step 2:
Remove the two over plates above the
springs and the over above the weights.
Step 3:
The springs are tensioned by a rod to whi h
the springs are atta hed; uns rew the lo k
nuts 1 and turn the nuts 2 so that the rod
moves at least 1 m towards the fastening
points 3.
Step 4:
Tighten the lo k nuts 1 again. Hold nut 1
when tightening nut 2.
Step 5:
Che k the stand by bringing it into storage
position and ba k in playing mode again; if
the setting up is too heavy, repeat steps 1 to
4 until the stand an be set up with little
effort. Then atta h the over plates.

USAGE AND MOUNTING INSTRUCTIONS
SAM 3x3
Nothing in this manual may be opied or used by third parties without the onsent of SCHELDE SPORTS
15
Operation
Step 1:
Che k that the floor is free of obsta les
before rolling, in order to prevent damage
to the wheels.
Step 2:
Move the stand (in storage position) to the
desired position; the stand an be moved
with the aid of the ring.
Note: Always push / pull in the dire tion
(position) of the wheels when you roll the
stand.
Step 3:
Pla e the stand in the right pla e. Fix the
stand if possible (if presen e of position
holes in floor) by pla ing the positioning
pins in the orresponding floor holes.
During the folding out of the stand, the feet
will automati ally be stamped by means of
the APF system. The system also ensures
the orre t ring height.
Step 4:
Be ause of the extra ounterweight in the
frame of the basketball stand, it is not
ne essary to an hor the stand to the floor.
If this is desirable, then the stand an be
an hored to the floor/ground at the ba k.
Note: do not tighten the hain too tightly to
avoid extra vibrations after dunking.
Step 5:
Remove the padlo k on the lo k on the
ba k of the stand

USAGE AND MOUNTING INSTRUCTIONS
SAM 3x3
Nothing in this manual may be opied or used by third parties without the onsent of SCHELDE SPORTS
16
Step 6:
Lift the handle on the ba k of the stand
from the blo king position and bring the
stand in the playing position.
Step 7:
Cli k the detent bolt in the opening, insert
the lo king pin and atta h the padlo k for
extra safety. Also tighten the star knob.
Step 8:
Apply the deadlo k, tighten it so that the
learan e is turned out of the basket stand. If
ne essary, apply the se ond padlo k for extra
safety.

USAGE AND MOUNTING INSTRUCTIONS
SAM 3x3
Nothing in this manual may be opied or used by third parties without the onsent of SCHELDE SPORTS
17
Optional: Operation
of the manual APF
Step 1:
While the SAM stand is in storage
position, he k the position of the
slide strip.
Extended = automati mode,
Retra ted = manual mode
Step 2:
If the slide strip is extended, retra t the
strip so that the APF no longer automati ally
omes down when the SAM stand is pla ed in
the playing position.
Step 3:
Bring the SAM stand in playing mode and
roll the stand to the playing position.
Step 4:
When the stand is in the orre t position, take
the ontrol rods and pla e them in the
pressure plates of the APF (1 for left and 1 for
right).

USAGE AND MOUNTING INSTRUCTIONS
SAM 3x3
Nothing in this manual may be opied or used by third parties without the onsent of SCHELDE SPORTS
18
Step 5:
Simultaneously push, with two people, both
the left and right ontrol rod downward. In
this way, the front wheels of the SAM stand
are lifted off the floor and the front of the
stand is pla ed on the APF.
Step 6:
Pla e the ontrol rods under the storage
bra kets to keep the APF in the playing
position.
Step 7:
Blo k the ontrol rods in the bra ket by
means of the lo king pin.
Step 8:
Se ure the lo king pins by means of the
padlo k. In this way, nobody an remove
the SAM stand from the playing position
without permission.

USAGE AND MOUNTING INSTRUCTIONS
SAM 3x3
Nothing in this manual may be opied or used by third parties without the onsent of SCHELDE SPORTS
19
Maintenance
Che k that all bolts and nuts are properly tightened. Che k the wheels. Damaged wheels an ause
severe damage to a sports floor. Che k the general ondition of the stand for in orre t alignment,
ra ked or broken welds, squeaks or other visible or audible deviations. Che k the net for damage.
Che k the padding for damage, it is re ommended to repla e a damaged padding. Adjust the spring
tension if it be omes more diffi ult after a while. Maintenan e of the dunk ring: lubri ate the
moving parts periodi ally, depending on the intensity of use. If this does not happen, the spring
me hanism will be ome harder over time, and it an be damaged in the long term. In the absen e of
maintenan e any guarantee on the ring will lapse! Keep the devi e lean, free from dust and dirt.
Keep the transport bra ket and the mounting a essory for the board (see assembly instru tions) in
a safe pla e; when transporting the tower to another hall or when repla ing the glass board, these
parts are ne essary! Repair superfi ial damage (s rat hes, et .) qui kly, to prevent orrosion. Use
the supplied spray an.

USAGE AND MOUNTING INSTRUCTIONS
SAM 3x3
Nothing in this manual may be opied or used by third parties without the onsent of SCHELDE SPORTS
20
Technical specifications
Table of contents
Other Schelde Sports Accessories manuals
Popular Accessories manuals by other brands
Advance acoustic
Advance acoustic BIPAX2 Getting started manual

Rittal
Rittal CMC III Installation and Short User Guide
Advantech
Advantech WISE-2410 user manual
Yamaha
Yamaha SP1000 owner's manual
Trust
Trust START-LINE ACC-3500 Important information

PlaneWave Instruments
PlaneWave Instruments 200985 installation instructions
