Points to note
6
• Clean the multisonic® profi carefully after each
inhalation.
• Carry out the inhalation therapy as directed by
your physician.
• If the user does not use the inhalation unit in
accordance with the Instructions for Use then he
or she assumes liability for its safe operation.
• Check all the accessories regularly for any chan-
ges in appearance and replace the valves,
nebuliser head, mouthpiece, baffle plate and
sealing ring at the intervals stated in the
Instructions for Use.
• Never remove the nebuliser head or baffle plate
when the unit is switched on.
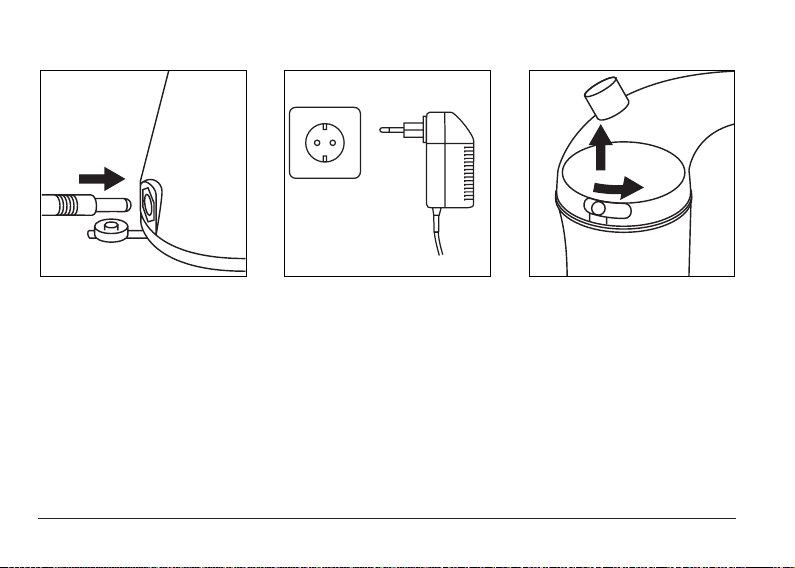
• If the unit has switched off once only a residual
quantity of substance remains or if the over-tem-
perature protection has activated, then the plug
must be pulled out of the socket on the rear side
of the unit and re-inserted to re-start the nebuliser.
• The multisonic® profi can be used for nebulisa-
tion of all Inhalation solutions that are water-
based, including suspensions and natural thera-
py agents that are suitable for inhalation.
• Use only medicines that have been prescribed or
recommended by your physician.
• If you have inhaled the wrong medicine by mis-
take then inform your physician without delay.
• Fill the medicine chamber with the required
volume of medicine before each inhalation.
• Never inhale medicines that are left over from
a previous inhalation unless your physician
expressly says that you may do so.
• Breathe in quietly and uniformly. The first 3 or 4
times you inhale do not do so deeply to allow
yourself time to get used to the aerosol mist.
• After breathing in hold your breath for a short
time (around 2 seconds) to allow the medicine
to be deposited properly in the airways.
• If you interrupt the inhalation procedure then
switch the unit off by pressing the ON/OFF switch.