EN
9
Caution:
The helmet is a safety device designed to absorb the eects of only one
impact. The helmet have to be replaced after a fall, accident or any other
impact.
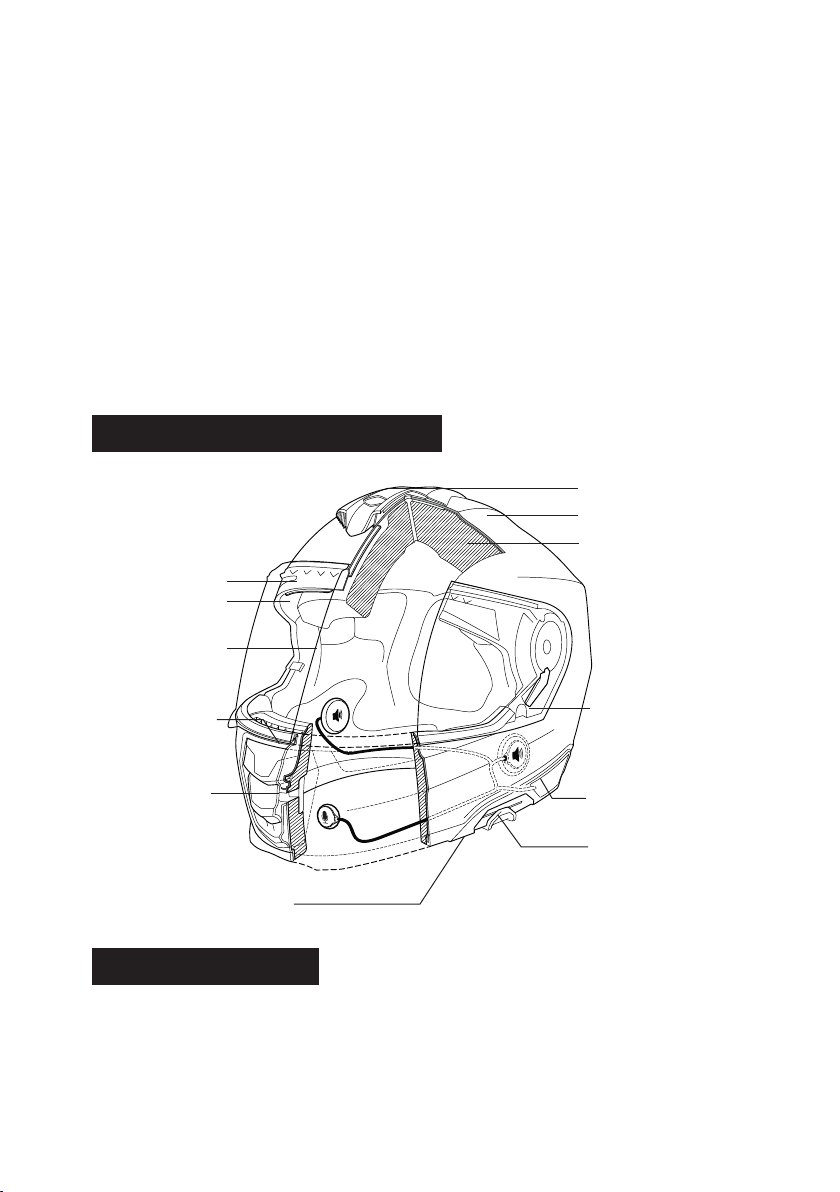
5. INNER SHELL
For optimised shock absorption properties, the inner shell of the helmet consists
of new EPS material. The complex multi-segment foam padding of the main
body provides better absorption and dissipation of impact forces and gives you
the highest level of safety. The large side panels ensure the helmet t optimally
and comfortably.
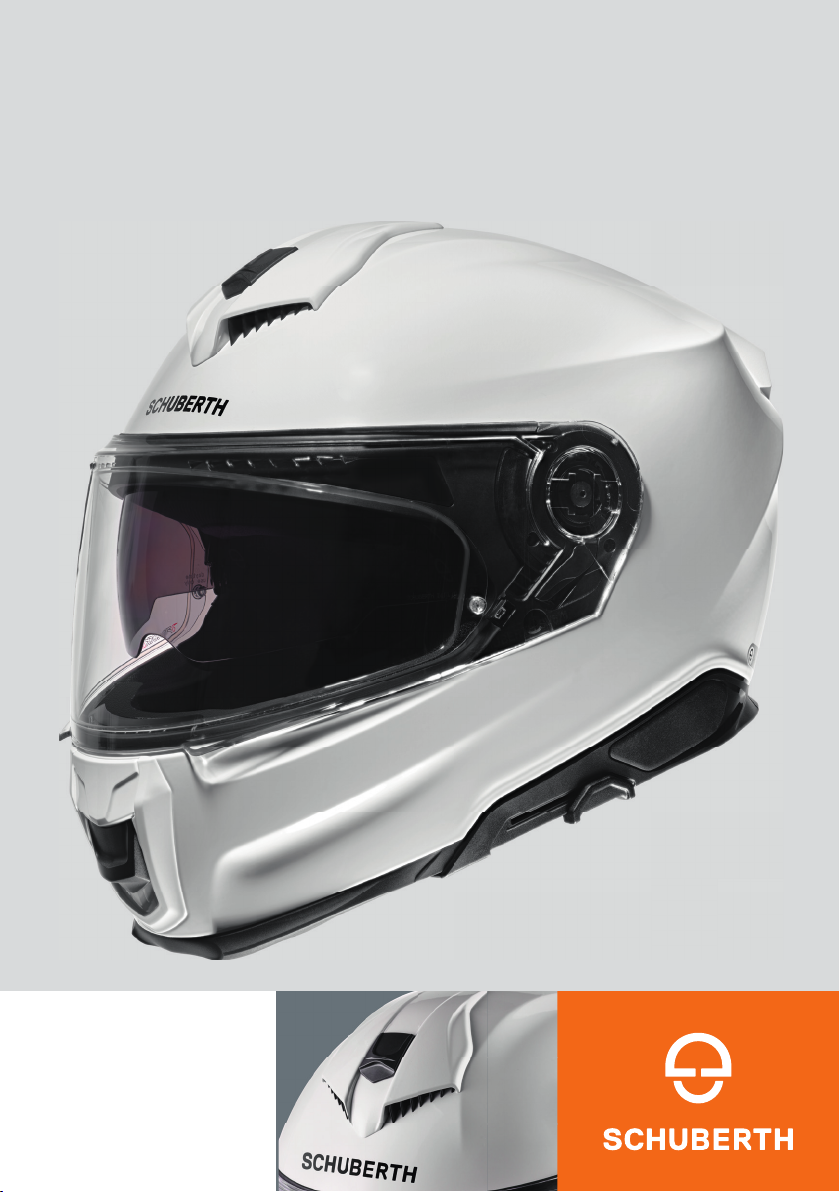
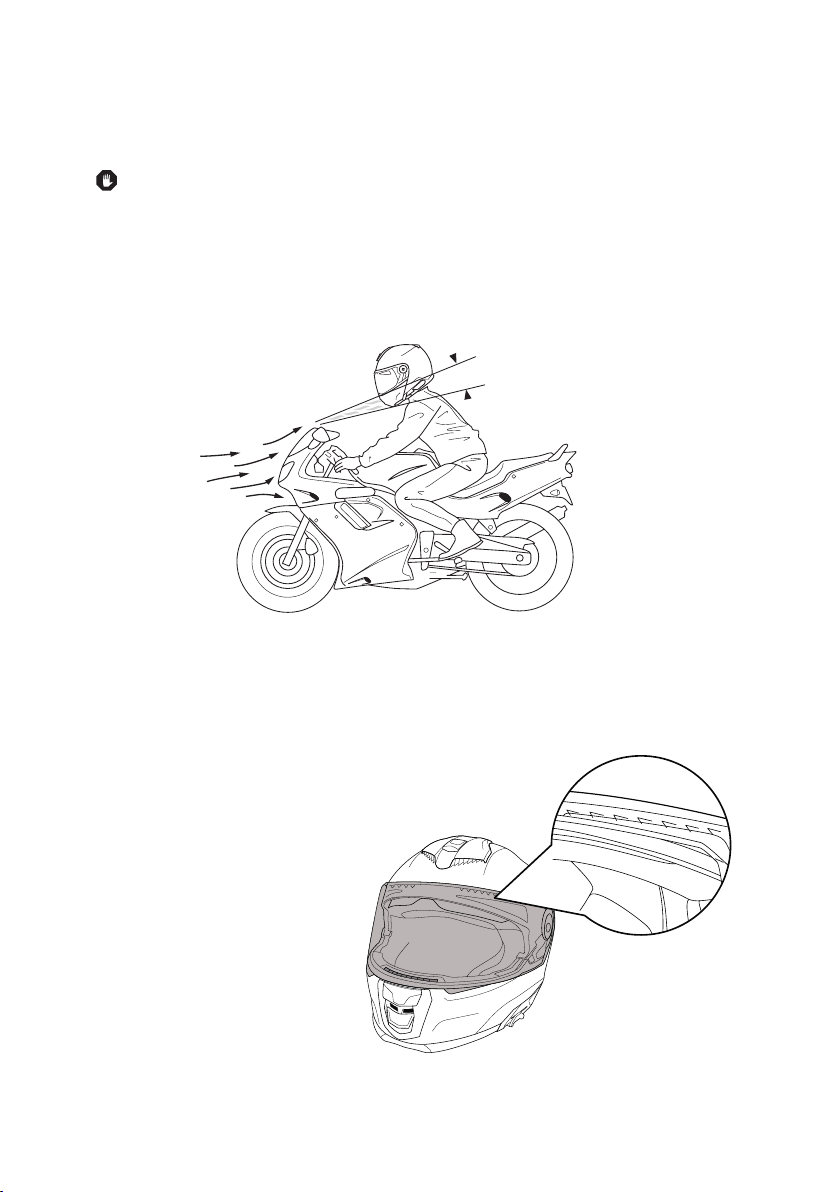
6. AERODYNAMICS AND AEROACOUSTICS
The S3 produces practically no uplift even at speed, Various features developed
in SCHUBERTH’s wind tunnel make the helmet notably quiet as far as
aeroacoustics are concerned, while providing optimized hearing capability when
riding. This enhances concentration, especially at high speeds.
Note:
Aeroacoustics values may vary according to the type of motorcycle, fairing
design, seat position and physical size of the rider.
Caution:
As a result of the aeroacoustics optimization of the helmet (and the lower
wind noise inside the helmet that comes with it), your actual speed can
easily be underestimated. Please do not rely on your sense of hearing to
estimate your road speed - always check it using your speedometer.
C. THE HELMET