Page 4
connections are made to determine the rotation of the motor. To change the
rotation of the motor, swap ANY two motor wire connections, or use the scorpion
programming card included with your esc to change the rotation direction.
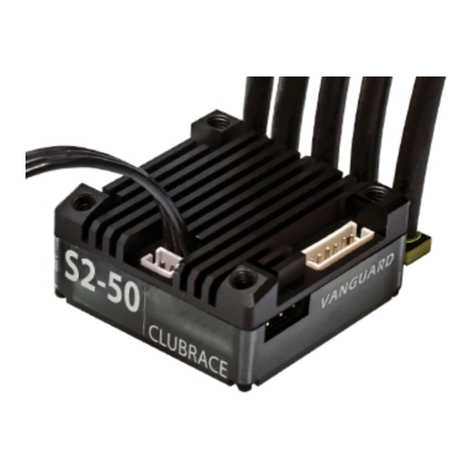
1.5 Mounting t e ESC
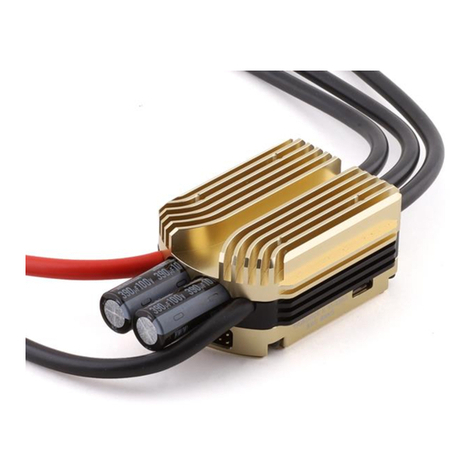
Mount the ESC with the Heatsink side of the controller facing outward. e
recommend using Velcro to attach the ESC to the airframe for easy removal.
Double sided tape is also acceptable. If zip ties are used, do not place them over
any of the components on the ESC. Instead, zip tie around the motor and battery
wires, leaving some slack to allow for movement. The 50V OPTO Series have
mounts that allow you to screw the ESC into a frame or something similar.
2.0 Using your scorpion ESC
2.1 Ensure that the ESC is connected to the proper channel on your receiver.
2.2 Turn your transmitter ON and set the throttle stick to zero throttle.
2.3 Connect the main power battery to the speed controller.
2.4 The ESC will beep the motor (4 tones) to indicate that it is armed.
The ESC will not provide any power to the motor, if the throttle stick is
anywhere higher then zero throttle when the main battery is plugged in. To
arm the esc ready for use you, You must move the throttle stick to zero then
disconnect and re connected the battery.
Always power your radio transmitter before powering up the receiver and/or
the ESC. Some receivers with failsafe features or Spektrum receiver units
that are not bound on receiver power up are entirely capable of causing the
arming sequence to occur and command the ESC to drive the motor. Always
keep the aircraft restrained and clear of body parts when the ESC is
powered.
If your ESC cannot sense any radio signal it will beep the motor and flash
orange on the LED continuously
