manuals.online logo
Brands
  1. Home
  2. •
  3. Brands
  4. •
  5. SCORPION
  6. •
  7. Controllers
  8. •
  9. SCORPION S2-50 User manual

SCORPION S2-50 User manual

2.0
Cont./ Brust Current, A
Brushless Motor Type Supported
Cars Applicable
Motor Limits
Resistance
Voltage Input
BEC
Footprint
Size (w/o FAN)
Weight
FAN
External Programming Port Output
S2-50 Clubrace Kit
50/100
Sensored Brushless Motor
1/12th
>= 13.5T
0.0017Ohm *2
2s LiPo
6V@3A DC-DC
30 mm (W) x 30 mm (L)
35.2 x 30.2 x 14.4 mm
22g
Battery
1
Scorpion Manual for
S2-50 Clubrace Kit Set
Full Forward
Full Reverse
/ Brake
Reverse
/ Brake
Forward
Neutral Point
Introduction
Thank you for purchasing Scorpion Vanguard Electronic Speed Controller. This
ultimate ready to race ESC gives you a powerful range and reliable performance,
even in the extreme conditions.
A high power system for RC model can be very dangerous, please read this manual
carefully before installing your new ESC.
IMPORTANT
1.0
•
•
•
•
•
•
•
•
•
3.0 Preparation
Choose a location for the ESC that is close to the motor, but away from the receiver
and single cable to prevent radio interference
If using double-side tape, clean the bottom of the ESC before applying for best
result
Keep the motor wire as short as possible for the best electric current
Install cooling fan (optional)
Install Scorpion Vanguard Super Booster (included), placing the booster as close as
•
•
•
•
•
•
•
•
•
to the ESC, to keep the booster wire as short as possible
Booster should be mounted directly to the positive (+) and negative (-) on the ESC,
as shown in the diagram below
•
•
4.0 Soldering and Connection
Always provide a steady working area and easy access to the solder posts
Do not connect the car battery while working on soldering
Cut the motor wires to desired length and strip the insulation about
3.2mm-6.35mm from the end. Apply solder to the exposed wire until it is
thoroughly covered. ** Caution: Solder and iron tip are hot
Refer to the below diagram for proper connection
Check with battery supplier for the battery connectors (excluded)
•
•
•
•
•
5.0 Radio Throttle Calibration
Turn on the transmitter
Move and hold throttle trigger to full reserve/brake before power up the ESC.
Important: if the full reserve/brake is not held, then the ESC will not activate
calibration mode.
Pull and hold the throttle trigger to full forward
Hold the throttle trigger in neutral position
Wait for third beep sound (Beep….Beep….. Beep……), the neutral been set
•
•
•
•
•
•
•
2.1 Vanguard Super Booster
1000 uf x 1
Voltage: 25V
Size: 10.2mm (D) x 21mm(L)
Working Temperature: 105 °C
V1.2
•
•With the same turn of motor will perform the same rpm and power
•
•
Hold the throttle and wait for the second single beeping sound (Beep...),
then the full reserve/brake will be set
•
Wait for the double beeping sound (Beep....Beep....), then the full throttle been
set
Available on 13.5T, 17.5T, 21.5T
Wide input voltage range 6-8.4V (2S LiPo)
Sensored brushless motors (BLDC)
Motor Limits from 13.5T or above
Up to 50A continued current
Aluminum heat sinks
RPM limit for 21.5T motor (11kRPM)
RPM limit for 17.5T motor (14kRPM)
RPM limit for 13.5T motor (17kRPM)
No RPM limit
Features
BATTERY
Vanguard
Super Booster
Socket under the cable
for fan use (Optional)
Scorpion Vanguard
Receiver
TH
RR 12.5
13.5T
create
6.0 Led & Motor Sound Indication
ESC turn on LED - Blink with the status
7.0 How to Connect the ESC to Computer
Team Scorpion provides the most advance setting features. Please contact
your reseller for advance setting.
For the PC program please contact the administrator at [email protected]
or download from the below link.
Program started then click the connect buton to connect with PC
• Follow the below diagram to connect the ESC to computer, using the
Scorpion V-link USB Cable (Optional) Driver below.
Blinky mode status
indication
• Green blink: RPM limit for 21.5T motor (11kRPM)
•Blue blink: RPM limit for 17.5T motor (14kRPM)
•Green and Blue blink : RPM limit for 13.5T motor (17kRPM)
•Green, blue and Red blink : No RPM limit
COMPUTER
Scorpion Vanguard
Vanguard Connection Cable
Scorpion Commander
V-Link II Cable (Vanguard) Scorpion cooling fan (Optional)
VANGUARD
(Optional)
Open in browser
Uninstall device
Click the Firmware button to update the rmware version
Click the Save button to save all setting
Scorpion Vanguard Speed Controller is guaranteed to be free from defected materials
a dated, itemized sales receipt).
During the warranty period Scorpion will repair speed controller that are found to be
defective, providing that it has no signs of damage or abuse. The user will be
responsible for shipping charges back to an authorized Scorpion Repair Facility, and
Scorpion will pay the return shipping charges. If the damage is the result of a crash or
mis-use, the returned item will be repaired, but the cost of repairs will be billed to the
user. Repairs will never exceed 50% of the cost of a new speed controller, and if the
at 50% discount of the current retail price for the ESC, plus a nominal shipping charge.
If the speed controller returned is no longer in production, Scorpion reserves the
right to substitute any other speed controller of equal or better quality. In any event,
Scorpion shall not be responsible for the damage that may result from the overuse of
products, for consequential or special damages, or for any amount that exceeds the
product value. If the motor product is purchased in clearance section, crash and
dent section from www.scorpionsystem.com and www.scorpion-team.com, then the
items are sold“AS IS”. No refund or warranty policy will be covered with these
products. It is because we do not have parts anymore to repair or replace. or
replacement. Please obtain an RMA number by submitting a request by email to our
RMA Department suppor[email protected] or our distributors for the RMA number before
9.0 Warranty and Service
8.0 Trouble Shooting
Trouble Possible Reason Solution
After powered on, the motor does not
rotate and there is no signal light
Throttle not calibrate or not at the
neutral position
Calibrate the throttle.
Check the power connections, replace the
connectors if necessary.
Sensor cable not connect or broken.
No signs of recognizing from computer
program Cable failure
Poor connection
USB driver
Power up the ESC
Change a new cable
Check all the sockets
Replace the Windows® default USB driver with
Scorpion provided USB driver
sending. The RMA process normally takes around 3 - 4 weeks.
RMA form can be found and download from
http://www.scorpion-team.com/downloads/
http://www.scorpionsystem.com
•
•
•
•
•
•
•
•

Other SCORPION Controllers manuals

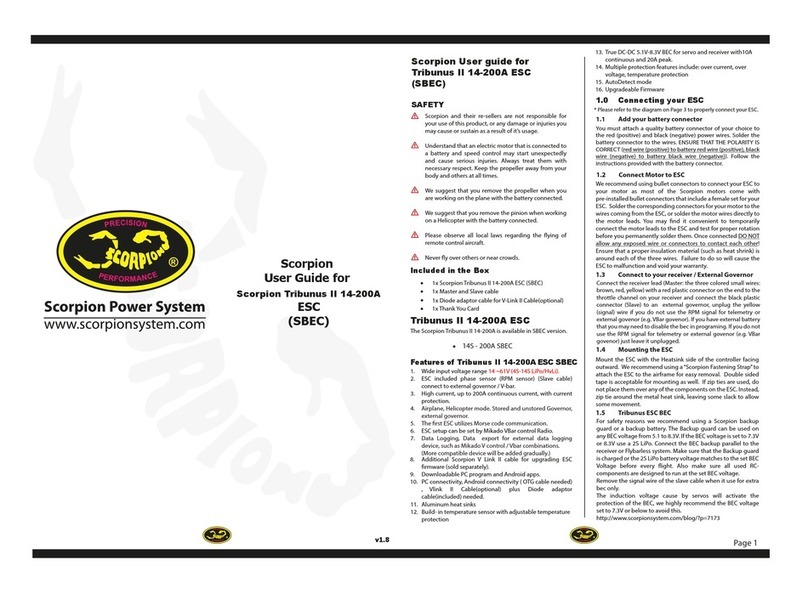
SCORPION Tribunus II 14-200A User manual

SCORPION

SCORPION Tribunus II 14-200A User manual

SCORPION Tribunus II 12-130A User manual

SCORPION

SCORPION Tribunus II 12-130A User manual

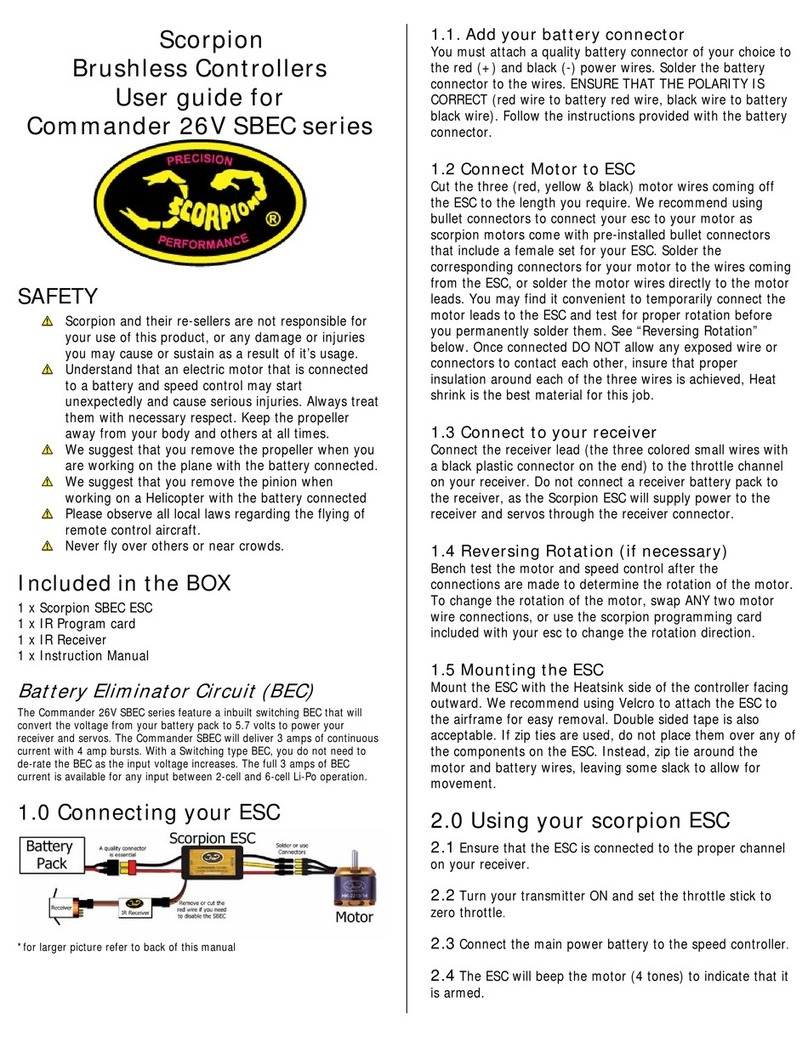
SCORPION Commander 26V SBEC series User manual

SCORPION

SCORPION Commander 26V SBEC series User manual

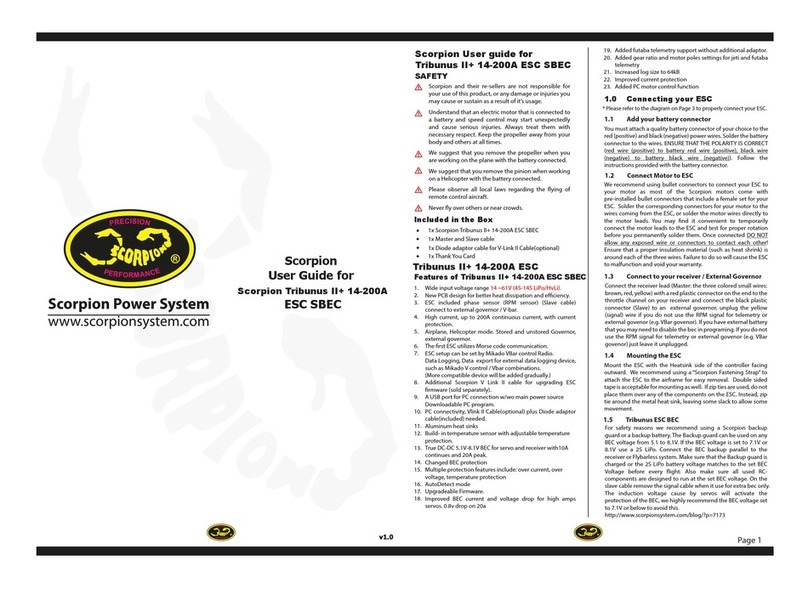
SCORPION Tribunus II+ 14-200A ESC SBEC User manual

SCORPION

SCORPION Tribunus II+ 14-200A ESC SBEC User manual

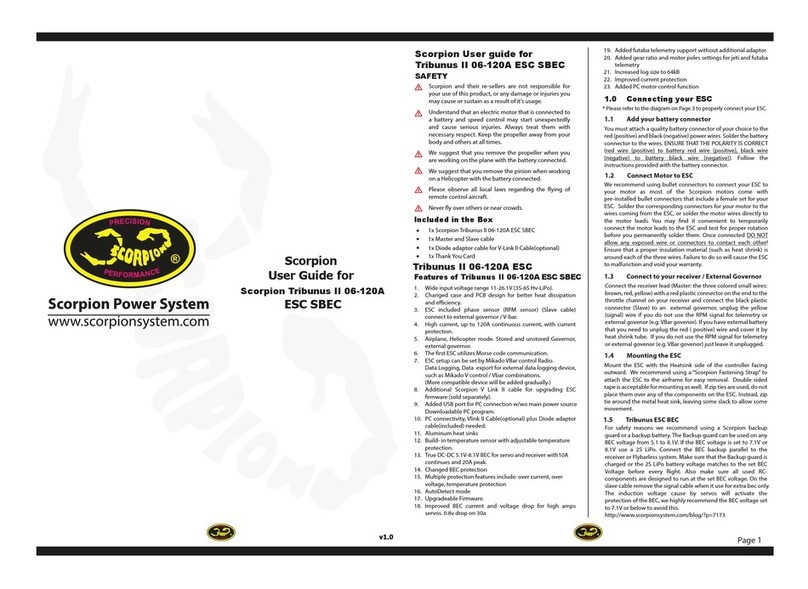
SCORPION Tribunus II 06-120A ESC SBEC User manual

SCORPION

SCORPION Tribunus II 06-120A ESC SBEC User manual

SCORPION Tribunus II 14-300A ESC SBEC User manual

SCORPION

SCORPION Tribunus II 14-300A ESC SBEC User manual

SCORPION 15V LBEC User manual

SCORPION

SCORPION 15V LBEC User manual

Popular Controllers manuals by other brands

Epson RC620 Series manual

Epson

Epson RC620 Series manual

Alcor Micro AU6475 Technical reference manual

Alcor Micro

Alcor Micro AU6475 Technical reference manual

Resol deltasol bx plus user manual

Resol

Resol deltasol bx plus user manual

Siemens SIMOTION P320-4 E manual

Siemens

Siemens SIMOTION P320-4 E manual

innoflyer LightDriver 5.0 manual

innoflyer

innoflyer LightDriver 5.0 manual

Lippert Curt 51189 installation manual

Lippert

Lippert Curt 51189 installation manual

Comunello FORT 400 Installation and user manual

Comunello

Comunello FORT 400 Installation and user manual

Carel mboss Assembly procedure

Carel

Carel mboss Assembly procedure

Josef Barthelme 66000341 instruction manual

Josef Barthelme

Josef Barthelme 66000341 instruction manual

TiEmme MB250 Technical manual

TiEmme

TiEmme MB250 Technical manual

CDVI ATRIUM A22K quick start guide

CDVI

CDVI ATRIUM A22K quick start guide

Genave RXC-3000 Hardware manual

Genave

Genave RXC-3000 Hardware manual

iWorX LCI2 installation guide

iWorX

iWorX LCI2 installation guide

LEGRAND Adorne LC7001 installation instructions

LEGRAND

LEGRAND Adorne LC7001 installation instructions

Armstrong 20-DC Series instructions

Armstrong

Armstrong 20-DC Series instructions

Surefire BMS-300 Installation & operation manual

Surefire

Surefire BMS-300 Installation & operation manual

Parker Lucifer EPP4 Series Installation and setting instructions

Parker

Parker Lucifer EPP4 Series Installation and setting instructions

Würth Proteus-III How-to

Würth

Würth Proteus-III How-to

manuals.online logo
manuals.online logoBrands
  • About & Mission
  • Contact us
  • Privacy Policy
  • Terms and Conditions

Copyright 2025 Manuals.Online. All Rights Reserved.