Instructions For: Desk & Pedestal Fans
Model Nos: SDF9/98,SDF12/98
SDF16/98 &SFP16/98
(The use of symbols in this document is to attract your attention to possible danger. The symbols and warnings themselves do not eliminate any danger, nor are they substitutes for proper
accident prevention measures).
Thank you for purchasing a Sealey product. Manufactured to a high standard this product will, if used according to these instructions
and properly maintained, give you years of trouble free performance.
IMPORTANT
BEFORE USING THIS PRODUCT, PLEASE READ THE INSTRUCTIONS CAREFULLY. MAKE CAREFUL NOTE OF SAFETY
INSTRUCTIONS, WARNINGS AND CAUTIONS. THIS PRODUCT SHOULD ONLY BE USED FOR ITS INTENDED PURPOSE.
FAILURE TO DO SO MAY CAUSE DAMAGE OR PERSONAL INJURY, AND WILL INVALIDATE THE WARRANTY.
1. SAFETY INSTRUCTIONS
1.1 ELECTRICAL SAFETY. WARNING! IT IS THE USERS RESPONSIBILITY TO ENSURE THAT:
All electrical equipment and appliances are safe before using. You must inspect power supply leads, plugs and all electrical
connections for wear and damage. You must ensure the risk of electric shock is minimised by the installation of devices such
as a residual current device (RCD) on the power supply. These are available from Sealey order part no: RCD981 for socket type,
and RCD982 for plug type. You must read and understand the following instructions concerning electrical safety.
1.1.1. The Electricity At Work Act 1989 requires all portable electrical appliances, if used on a business premises, to be tested with,
or by, a qualified person at least once each year by using a Portable Appliance Tester (PAT).
1.1.2. The Health & Safety at Work Act 1974 makes owners of electrical appliances responsible for the safe condition of the appliance,
and the safety of the appliance operator. If in any doubt about electrical safety, contact a qualified electrician.
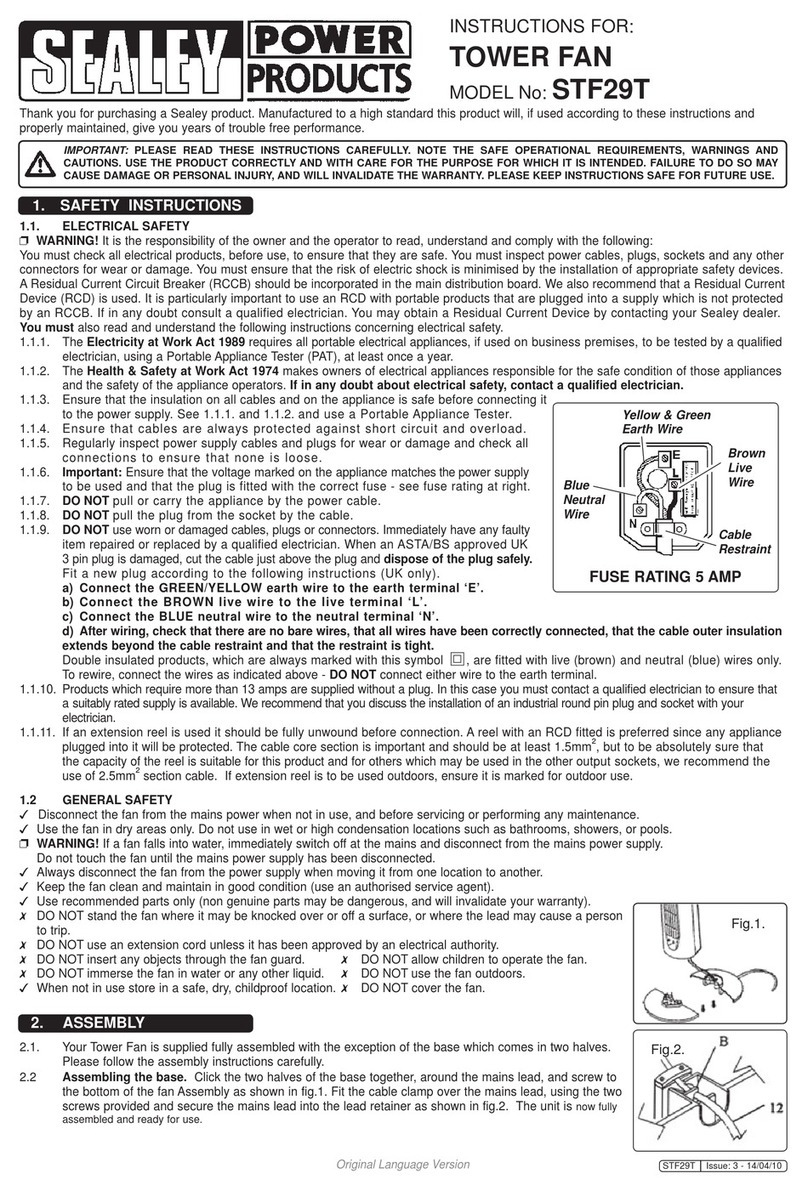
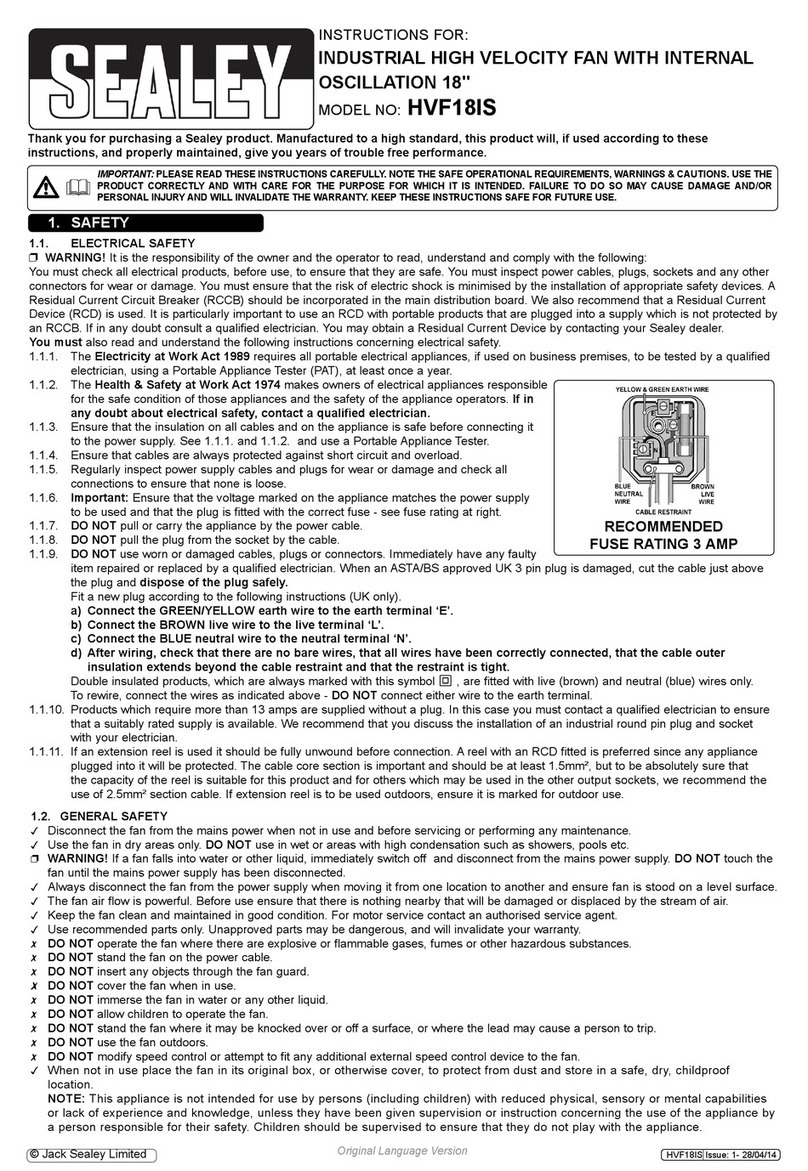
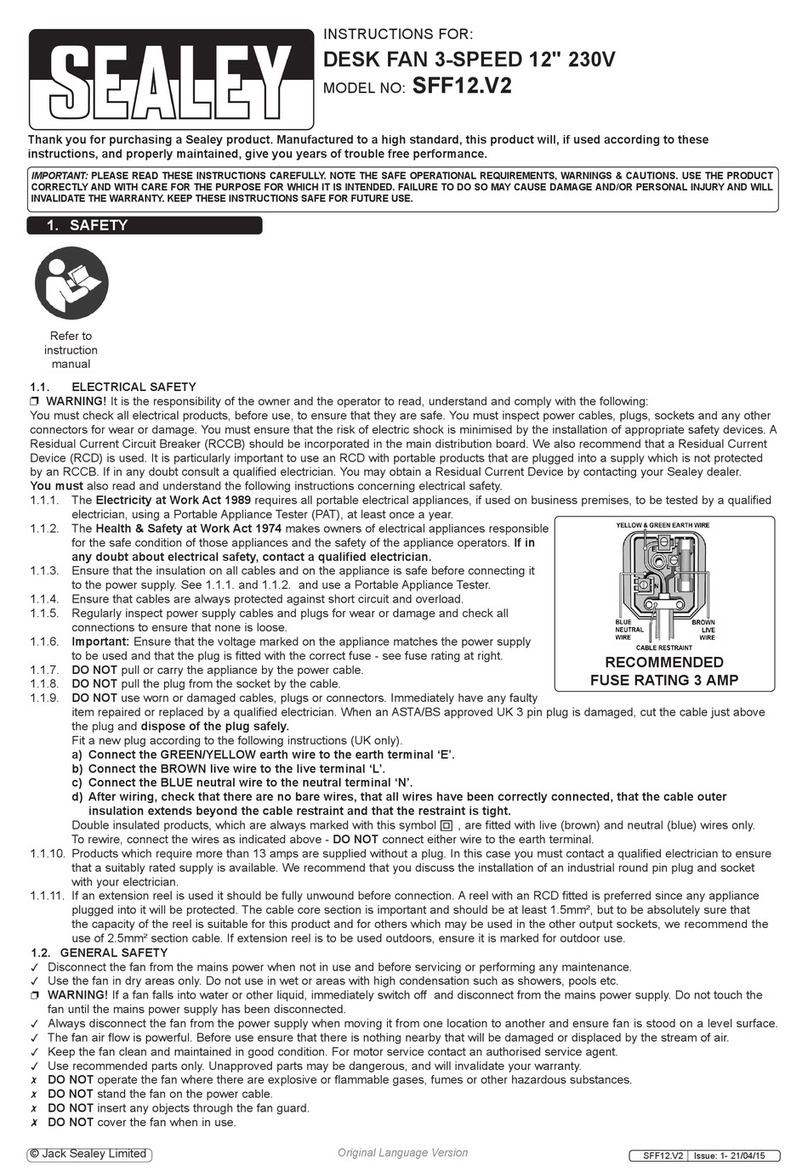
4DO ensure that cables are always protected against short circuit and overload.
4DO ensure that the insulation on the cables and the product is safe prior
to connection with the mains supply.
4DO connect product to the correct capacity power supply and check that all
fused plugs are fitted with the correct capacity fuse (all fans use a 3 amp fuse).
7DO NOT pull, or carry the powered appliance by its power supply lead.
7DO NOT pull power plugs from sockets by the power cable.
7DO NOT use worn or damage leads, plugs or connections. Immediately
replace or repair by qualified persons. A U.K. 3 pin plug with ASTA/BS approval
is fitted. In case of damage, cut off and fit a new plug according to the following
instructions (UK only - see diagram at right).
a) Ensure the unit is correctly earthed by using a three-pin plug.
b) Connect the GREEN/YELLOW EARTH wire to the EARTH terminal E.
c) Connect the BROWN LIVE wire to LIVE terminal L.
d) Connect the BLUE NEUTRAL wire to the NEUTRAL terminal N.
1.2 GENERAL SAFETY
3Disconnect the system from the mains power when not in use, and before servicing or performing other maintenance.
3Place the fan in a dry area. Do not place it near wet areas such as bathtubs, hot tubs or pools. If a fan has fallen into water, immediately
switch off the power supply. Do not touch the fan until the mains power supply has been switched off.
3Always disconnect the fan from the power supply when moving it from one location to another.
3Maintain the fan in good condition (use an authorised service agent).
3Use recommended accessories only (non recommended accessories can be hazardous, and will invalidate your warranty).
7DO NOT insert any objects, including body parts, into the fan grille when the fan is connected to the power supply.
7DO NOT cover the grille.
7DO NOT immerse the fan in water or any other liquid.
7DO NOT allow children to operate the fan.
7DO NOT use the fan outdoors.
7DO NOT use an extension cord unless it has been approved by an electrical authority.
Blue
Neutral
wire
Yellow & Green
Earth wire
Brown Live
wire
3 amp
3 pin
plug
2.1. Assemble the fan blade and safety grille.
2.1.1. Remove the blade screw and guard screw from the motor shaft by screwing clockwise and counter-clockwise respectively.
2.1.2. Attach the rear grille to the motor shaft, with the handle in the upright position.
2.1.3. Attach the guard screw by tightly screwing it to the motor shaft.
2.1.4. Install the blade onto the motor shaft until it reaches the retaining pin.
2.1.5. Attach the blade screw to the motor shaft by screwing it in counter-clockwise.
2.1.6. Open the clips on the front grille and fix it to the rear grille. Close the clips over the rear grille edge to secure the position.
2.1.7. Tighten the assembly by tightening the grilles locking screw and nut.
2.2. Place the fan in a suitable location and attach to the power supply.
2.3. Press the switch buttons to generate the desired speed.
2.4. To make the fan oscillate, push the oscillating knob (see diagram) on the top of the motor casing. To stop the fan oscillating,
pull the knob up.
2.5. To adjust the fan up or down, loosen the swivel adjustment knob (at the base of the motor casing - see diagram), move the fan
to the desired angle, then tighten the knob.
2.6. To adjust the height of the pedestal fan, loosen the height adjustment screw (see diagram), adjust to the desired height, then
tighten the screw.
2. OPERATION
