manuals.online logo
Brands
  1. Home
  2. •
  3. Brands
  4. •
  5. Sealey
  6. •
  7. Flashlight
  8. •
  9. Sealey AK293 User manual

Sealey AK293 User manual

Instructions For:
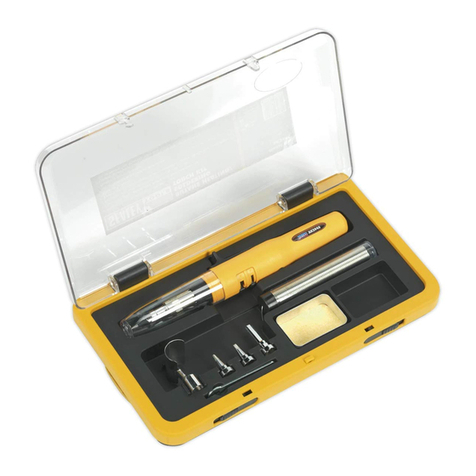
ELECTRONIC MICRO SOLDERING TORCH
Model No: AK293
Thank you for purchasing a Sealey Product. Manufactured to a high standard this product will, if used according to these instructions
and properly maintained, give you years of trouble free performance.
IMPORTANT:PLEASE READ THESE INSTRUCTIONS CAREFULLY. NOTE THE SAFE OPERATIONAL
REQUIREMENTS, WARNINGS AND CAUTIONS. USE THIS PRODUCT CORRECTLY AND WITH CARE FOR THE
PURPOSE FOR WHICH IT IS INTENDED. FAILURE TO DO SO MAY CAUSE DAMAGE AND/OR PERSONAL INJURY,
AND WILL INVALIDATE THE WARRANTY. PLEASE KEEP INSTRUCTIONS SAFE FOR FUTURE USE.
pWARNING! Ensure Health & Safety, local authority, and general workshop practice regulations
are adhered to when using this equipment.
pWARNING! Always wear approved eye or face protection when operating the torch.
pWARNING! Butane gas is extremely flammable, handle with care.
pWARNING! Always point the torch away from the eyes and body when igniting and during operation.
pWARNING! Ensure the Adjustment Knob is firmly closed and the flame completely extinguished
after use.
pWARNING! Do not puncture the cannister or dispose of in a fire.
7DO NOT use the torch in an area where paint fumes, solvents or flammable liquids pose a
potential hazard. Keep flammable material away from the torch when operating. Flammable waste,
such as wiping or cleaning rags, must be placed in a closed metal container and disposed of correctly.
8DO NOT operate the torch when you are tired or under the influence of alcohol, drugs or intoxicating
medication.
8DO NOT hold the workpiece by hand. Use clamps or a vice (not included) to secure the workpiece.
8DO NOT operate the torch if any parts are damaged or missing as this may cause failure and/ or
possible personal injury.
8DO NOT touch the workpiece close to the heated area as it will be very hot. Allow to cool.
8DO NOT touch the flame guard during or immediately after use as it will be very hot. Allow to cool.
8DO NOT leave the torch operating whilst unattended.
8DO NOT use this torch for longer than one hour continuously.
8DO NOT allow children to operate the torch.
3When not in use store away from direct sunlight in a safe, dry, childproof area, where the temperature
will not exceed 40°C (104°F).
3Familiarise yourself with application and limitations, as well as the specific potential hazards peculiar
to the torch.
3When not in use ensure the gas supply is turned off.
3Keep children and unauthorised persons away from the working area.
3Remove ill fitting clothing. Remove ties, watches, rings, and other loose jewellery, and contain
and/or tie back long hair.
3After use, allow the torch to cool before storing it.
1. SAFETY INSTRUCTIONS
AK293 - 2 - 110504 AK293 - 2 - 110504
Instructions For:
ELECTRONIC MICRO SOLDERING TORCH
Model No: AK293
Thank you for purchasing a Sealey Product. Manufactured to a high standard this product will, if used according to these instructions
and properly maintained, give you years of trouble free performance.
IMPORTANT:PLEASE READ THESE INSTRUCTIONS CAREFULLY. NOTE THE SAFE OPERATIONAL
REQUIREMENTS, WARNINGS AND CAUTIONS. USE THIS PRODUCT CORRECTLY AND WITH CARE FOR THE
PURPOSE FOR WHICH IT IS INTENDED. FAILURE TO DO SO MAY CAUSE DAMAGE AND/OR PERSONAL INJURY,
AND WILL INVALIDATE THE WARRANTY. PLEASE KEEP INSTRUCTIONS SAFE FOR FUTURE USE.
pWARNING! Ensure Health & Safety, local authority, and general workshop practice regulations
are adhered to when using this equipment.
pWARNING! Always wear approved eye or face protection when operating the torch.
pWARNING! Butane gas is extremely flammable, handle with care.
pWARNING! Always point the torch away from the eyes and body when igniting and during operation.
pWARNING! Ensure the Adjustment Knob is firmly closed and the flame completely extinguished
after use.
pWARNING! Do not puncture the cannister or dispose of in a fire.
7DO NOT use the torch in an area where paint fumes, solvents or flammable liquids pose a
potential hazard. Keep flammable material away from the torch when operating. Flammable waste,
such as wiping or cleaning rags, must be placed in a closed metal container and disposed of correctly.
8DO NOT operate the torch when you are tired or under the influence of alcohol, drugs or intoxicating
medication.
8DO NOT hold the workpiece by hand. Use clamps or a vice (not included) to secure the workpiece.
8DO NOT operate the torch if any parts are damaged or missing as this may cause failure and/ or
possible personal injury.
8DO NOT touch the workpiece close to the heated area as it will be very hot. Allow to cool.
8DO NOT touch the flame guard during or immediately after use as it will be very hot. Allow to cool.
8DO NOT leave the torch operating whilst unattended.
8DO NOT use this torch for longer than one hour continuously.
8DO NOT allow children to operate the torch.
3When not in use store away from direct sunlight in a safe, dry, childproof area, where the temperature
will not exceed 40°C (104°F).
3Familiarise yourself with application and limitations, as well as the specific potential hazards peculiar
to the torch.
3When not in use ensure the gas supply is turned off.
3Keep children and unauthorised persons away from the working area.
3Remove ill fitting clothing. Remove ties, watches, rings, and other loose jewellery, and contain
and/or tie back long hair.
3After use, allow the torch to cool before storing it.
Piezoelectric ignition with ceramic burner
head for simple operation and long life.
1300°C burner flame adjustable from 12mm
to 35mm. Includes bench stand for hands
free operation. Standard fill gives approximately
1 hour continuous operation. Overall Height
155mm.
1. SAFETY INSTRUCTIONS
2. INTRODUCTION & SPECIFICATIONS Adjustment Knob
Ignition Button
Air Control Sleeve
Flame Guard
Ignition Pin Gas Tank
Stand Base
ON
Filling Valve
Piezoelectric ignition with ceramic burner
head for simple operation and long life.
1300°C burner flame adjustable from 12mm
to 35mm. Includes bench stand for hands
free operation. Standard fill gives approximately
1 hour continuous operation. Overall Height
155mm.
2. INTRODUCTION & SPECIFICATIONS Adjustment Knob
Ignition Button
Air Control Sleeve
Flame Guard
Ignition Pin Gas Tank
Stand Base
ON
Filling Valve
Fig.A Fig.A

NOTE: It is our policy to continually improve products and as such we reserve the right to alter data, specifications and component
parts without prior notice.
IMPORTANT: No liability is accepted for incorrect use of this equipment.
WARRANTY: Guarantee is 12 months from purchase date. proof of which will be required for any claim.
INFORMATION: For a copy of our latest catalogue and promotions call us on 01284 757525 and leave your full name and address
including your postcode.
3.1. Gas Refilling
pWARNING! Extinguish any nearby naked flames or sources of ignition.
Use only high quality butane gas (Lighter fuel).
3.1.1. Ensure the ON/OFF adjustment knob is in the OFF position.
3.1.2. Shake the gas container several times to warm the fuel up.
3.1.3. Insert the container nozzle vertically down into the gas filling valve in the base of the gas
tank. Use a pumping action to obtain best results, Fig.1.
3.1.4. After filling allow a few minutes for the gas to stabilize.
3.2. Lighting
3.2.1. Turn the adjustment knob counter-clockwise until escaping gas can be heard, Fig. 2.
3.2.2 Press the ignition button and the flame will ignite, Fig.3.
3.2.3. If the flame does not ignite, check and adjust the gas/air mix by rotating the air control
sleeve. (See fig.A) Press ignition button again to ignite.
3.3. Temperature Adjustment
3.3.1. Using the adjustment knob, regulate the length of the flame to approximately 10-25mm.
Note: An excessively long flame will waste gas.
3.3.2. Adjust the temperature by rotating the air control sleeve and varying the size of the air inlet.
a. Large air inlet = high temperature.
b. Small air inlet = low temperature.
3.4. Turning Off
3.4.1. Turn the adjustment knob clockwise to shut off the flame, Fig. 4.
Fig 1 Fig 2 Fig 3 Fig 4
3. PREPARING TORCH FOR USE
AK293 - 2 - 110504 AK293 - 2 - 110504
01284 757500
01284 703534
E-mail:
sales@sealey.co.uk
Sole UK Distributor
Sealey Group,
Bury St. Edmunds, Suffolk.
Web address: www.sealey.co.uk 01284 757500
01284 703534
E-mail:
sales@sealey.co.uk
Sole UK Distributor
Sealey Group,
Bury St. Edmunds, Suffolk.
Web address: www.sealey.co.uk

Other Sealey Flashlight manuals

Sealey HT452IS User manual

Sealey

Sealey HT452IS User manual

Sealey LED448 User manual

Sealey

Sealey LED448 User manual

Sealey LED1001 User manual

Sealey

Sealey LED1001 User manual

Sealey AK2953.V2 User manual

Sealey

Sealey AK2953.V2 User manual

Sealey LED452IS User manual

Sealey

Sealey LED452IS User manual

Sealey AK2973 User manual

Sealey

Sealey AK2973 User manual

Sealey HT104R User manual

Sealey

Sealey HT104R User manual

Sealey HT106LED.V2 User manual

Sealey

Sealey HT106LED.V2 User manual

Sealey AK2955 User manual

Sealey

Sealey AK2955 User manual

Sealey LED500SB User manual

Sealey

Sealey LED500SB User manual

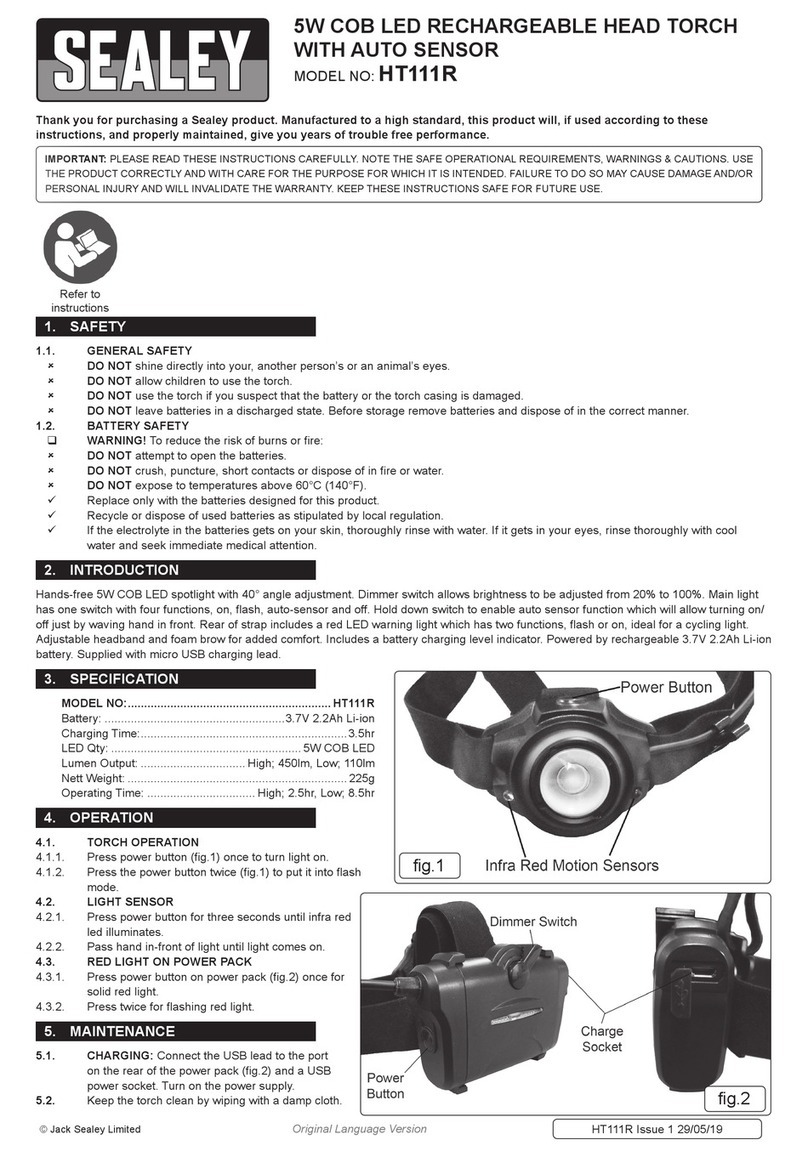
Sealey HT111R User manual

Sealey

Sealey HT111R User manual

Sealey HT300R User manual

Sealey

Sealey HT300R User manual

Sealey AK2957 User manual

Sealey

Sealey AK2957 User manual

Sealey HT105LED.V3 User manual

Sealey

Sealey HT105LED.V3 User manual

Sealey AK4042 User manual

Sealey

Sealey AK4042 User manual

Sealey LED449 User manual

Sealey

Sealey LED449 User manual

Sealey LED446 User manual

Sealey

Sealey LED446 User manual

Sealey HT110 User manual

Sealey

Sealey HT110 User manual

Sealey LED444 User manual

Sealey

Sealey LED444 User manual

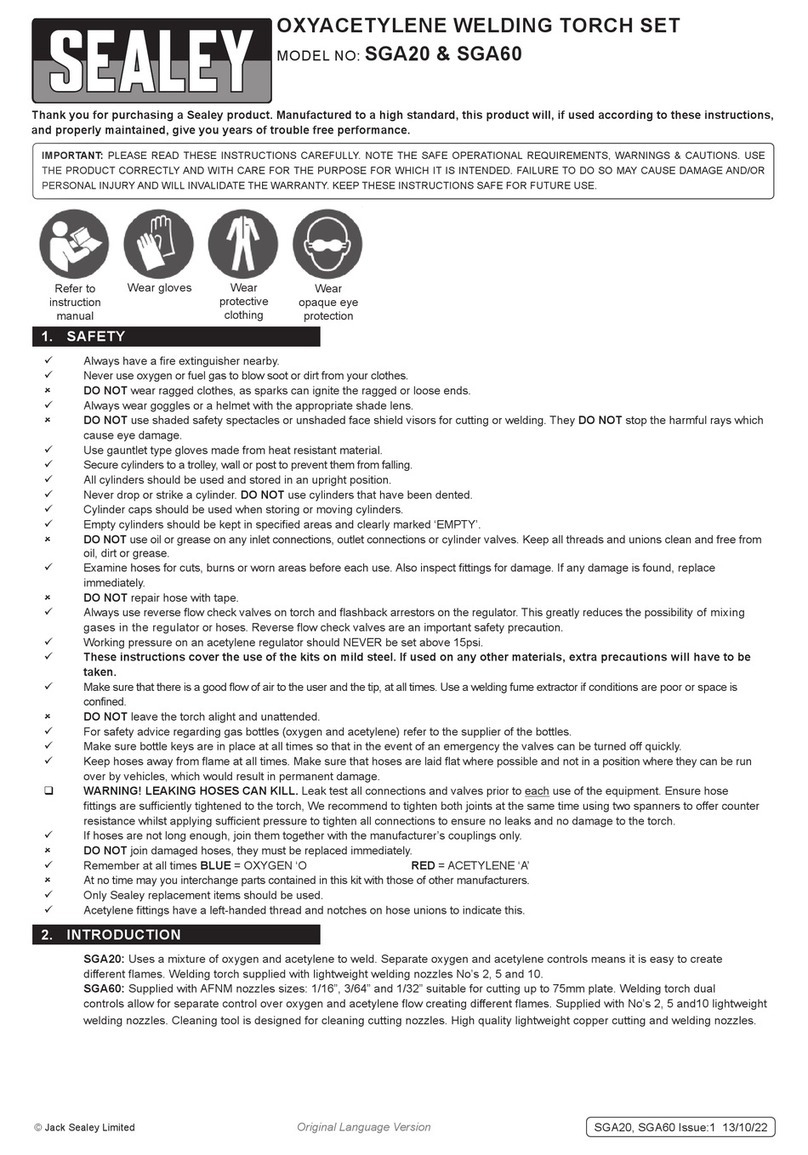
Sealey SGA20 User manual

Sealey

Sealey SGA20 User manual

Sealey AK2946 User manual

Sealey

Sealey AK2946 User manual

Sealey LED220UV User manual

Sealey

Sealey LED220UV User manual

Sealey LED318 Series User manual

Sealey

Sealey LED318 Series User manual

Sealey AK2946 User manual

Sealey

Sealey AK2946 User manual

Popular Flashlight manuals by other brands

tiki Cabos Warnings and Instructions

tiki

tiki Cabos Warnings and Instructions

vulta hurricane 262 lumen fg-e15 user manual

vulta

vulta hurricane 262 lumen fg-e15 user manual

First Light TOMAHAWK Series user manual

First Light

First Light TOMAHAWK Series user manual

Lincoln Electric PCT 80 Operator's manual

Lincoln Electric

Lincoln Electric PCT 80 Operator's manual

StreamLight SL-20L user manual

StreamLight

StreamLight SL-20L user manual

UNILITE PS-HDL6R quick start guide

UNILITE

UNILITE PS-HDL6R quick start guide

BRASSELER USA VE Beam Cordless Headlight System Instructions for use

BRASSELER USA

BRASSELER USA VE Beam Cordless Headlight System Instructions for use

RAW DT-826437 quick start guide

RAW

RAW DT-826437 quick start guide

Bayco Products NIGHTSTICK XPP-5422GMX instruction manual

Bayco Products

Bayco Products NIGHTSTICK XPP-5422GMX instruction manual

Coleman WideBeam 5306 How to use and enjoy

Coleman

Coleman WideBeam 5306 How to use and enjoy

RovyVon Aurora A8 quick start guide

RovyVon

RovyVon Aurora A8 quick start guide

Lumapower Signature Tactical LX user manual

Lumapower

Lumapower Signature Tactical LX user manual

Secur SP-4000 operating instructions

Secur

Secur SP-4000 operating instructions

Brookstone Twist Light manual

Brookstone

Brookstone Twist Light manual

TTS Easi-Torch EL00101 user guide

TTS

TTS Easi-Torch EL00101 user guide

TREND TCH/AT/B75R quick start guide

TREND

TREND TCH/AT/B75R quick start guide

Hitachi UB 18DAL instruction manual

Hitachi

Hitachi UB 18DAL instruction manual

Eurotops 41981 instruction manual

Eurotops

Eurotops 41981 instruction manual

manuals.online logo
manuals.online logoBrands
  • About & Mission
  • Contact us
  • Privacy Policy
  • Terms and Conditions

Copyright 2025 Manuals.Online. All Rights Reserved.