Sealey CP20VAG User manual

INSTRUCTIONS FOR
CORDLESS LITHIUM-ION ANGLE GRINDER
Ø115MM 20V 1HR CHARGE
MODEL NO: CP20VAG
Thank you for purchasing a Sealey product. Manufactured to a high standard, this product will, if used according to these
instructions, and properly maintained, give you years of trouble free performance.
IMPORTANT: PLEASE READ THESE INSTRUCTIONS CAREFULLY. NOTE THE SAFE OPERATIONAL REQUIREMENTS, WARNINGS & CAUTIONS. USE
THE PRODUCT CORRECTLY AND WITH CARE FOR THE PURPOSE FOR WHICH IT IS INTENDED. FAILURE TO DO SO MAY CAUSE DAMAGE AND/OR
PERSONAL INJURY AND WILL INVALIDATE THE WARRANTY. KEEP THESE INSTRUCTIONS SAFE FOR FUTURE USE.
1. SAFETY
1.1. Electrical Safety
WARNING! It is the user’s responsibility to check the following:
Check all electrical equipment and appliances to ensure that they are safe before using. Inspect power supply leads, plugs and
all electrical connections for wear and damage. Sealey recommend that an RCD (Residual Current Device) is used with all electrical
products. You may obtain an RCD by contacting your local Sealey stockist.
If the used in the course of business duties, it must be maintained in a safe condition and routinely PAT (Portable Appliance Test)
tested.
Electrical safety information, it is important that the following information is read and understood.
9Ensure that the insulation on all cables and on the appliance is safe before connecting it to the power supply.
9Regularly inspect power supply cables and plugs for wear or damage and check all connections to ensure that they are secure.
9 Ensurethatthevoltageratingontheappliancesuitsthepowersupplytobeusedandthattheplugisttedwiththecorrectfuse-see
fuse rating in these instructions.
8DO NOT pull or carry the appliance by the power cable.
8DO NOTpulltheplugfromthesocketbythecable.Removetheplugfromthesocketbymaintainingarmgripontheplug.
8DO NOT use worn or damaged cables, plugs or connectors. Ensure that any faulty item is repaired or replaced immediately by a
qualiedelectrician.
ThisproductisttedwithaBS1363/A13Amp3pinplug.
If the cable or plug is damaged during use, switch off the electricity supply and remove from use.
ReplaceadamagedplugwithaBS1363/A13Amp3pinplug.Ifindoubtcontactaqualiedelectrician.
Class II products are wired with live (brown) and neutral (blue) only are marked with the Class II symbol;
A)ConnecttheBROWNlivewiretotheliveterminal‘L’.
B)ConnecttheBLUEneutralwiretotheneutralterminal‘N’.
C) After wiring, check that there are no bare wires and ensure that all wires have been correctly connected.
Ensure that the cable outer sheath extends inside the cable restraint and that the restraint is tight.
8DO NOT connect either wire to the earth terminal.
Sealeyrecommendthatrepairsarecarriedoutbyaqualiedelectrician.
1.2. Battery Charger Safety Instructions
WARNING! DO NOT use the charging base to charge any battery other than that required for the tool.
Other types of batteries may explode!
9Inspect the plug, cable and the charging base for wear and damage to ensure items are safe before connecting to the mains power
supply. If worn or damaged DO NOTuse,immediatelyreplace,orcontactaqualiedelectrician.
9Check cables are always protected against short circuit and overload.
9Uncoil the power cable between the plug and the charging base before use.
8DO NOT pull or carry the charging base by the charger power lead, or pull the plug from the mains socket by the power lead.
8DO NOT use any other type of transformer with the charging base.
8DO NOTtrytoopenordis-assembletheplugorchargingbase.
8DO NOT use the plug to power any other electrical item.
9Disconnect the charging base from the mains power supply when not in use.
8DO NOT expose the charging base to damp or wet conditions (for indoor use only).
8DO NOT operate the charging base if it has been dropped, or has received a sharp knock, or is damaged. Contact an authorised
service agent.
8DO NOT dismantle the charging base as this may cause damage or personal injury and will invalidate your warranty.
8DO NOT insert foreign objects or material into the slot reserved for the battery.
8DO NOT immediately charge a second battery. Consecutive charging will overheat the charging base. Allow the unit to cool for 15
minutes before charging the next battery.
9Ensure that the insulation on all cables and on the appliance is safe before connecting it to the power supply.
CP20VAGIssue2(1,F)28/12/17
Original Language Version
© Jack Sealey Limited
Refer to
instructions
Weareye
protection
Wearprotective
gloves
Wearear
protection
Wearsafety
footwear
Wearprotective
clothing
Wearamask
Recommended fuse rating:
3 AMP

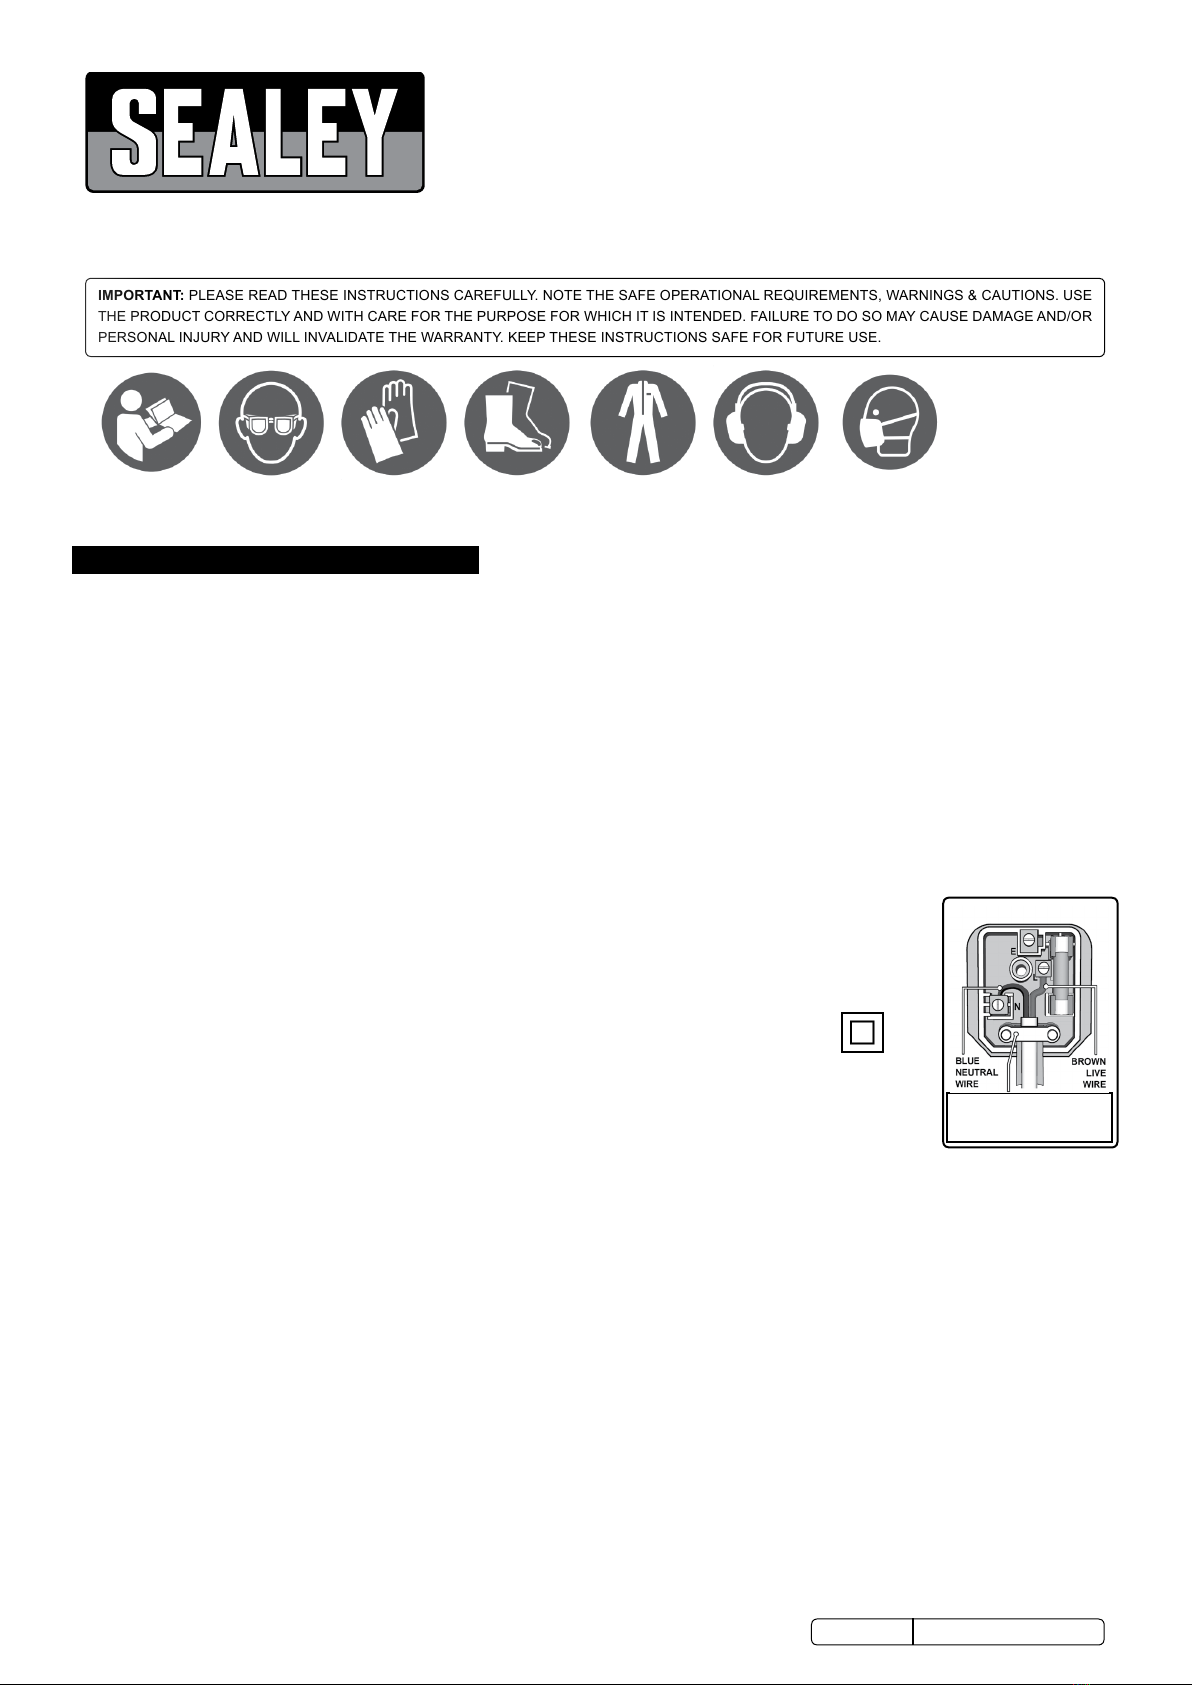
9Ensure that cables are always protected against short circuit and overload.
8DO NOT use worn or damaged cables, plugs or connectors. Immediately have any faulty item replaced by a qualified electrician.
1.3. Battery safety instructions.
WARNING!BatterycontainsLithium-ionwhichisdangerous.Handlewithcaretoavoiddamage,re,corrosionorpersonalinjury.
9Chargebatterypriortoitsrstuse.Thebatterywillhavebeenshippedinalowchargestate.To reduce the risk of burns or fire:
8DO NOT Attempt to open, disassemble, modify or service the battery pack.
8DO NOT Crush, puncture, short external contacts or dispose of in fire or water.
8DO NOT Expose to temperatures above 40°C (104°F).
9Replace only with the battery pack designated for this product.
9Use only the charging base provided to charge the grinder battery.
8DO NOT attempt recharging the battery by means of an engine generator or a DC power source.
WARNING!DisposeofspentbatteriescorrectlyastheycontainLithium-ion.DANGER! DO NOT attempt to disassemble the
battery. For safety and environmental reasons DO NOT discard in domestic waste or by burning. ONLY discard or recycle
according to local authority regulations.
WARNING! DO NOT allow a leaking battery to contact your person.
1.4. General Safety.
Disconnect the battery from the grinder unit before changing accessories, servicing or performing any maintenance.
9Maintain the grinder and battery in good condition. Check moving parts alignment on a regular basis.
9Replace or repair damaged parts. Use an authorised service agent and recommended parts only. Unauthorised parts may be
dangerous and will invalidate the warranty.
9Ensure the grinder is switched off before installing the battery.
9Keep the grinder battery and charger clean for best and safest performance.
9Remove ill fitting clothing. Remove ties, watches, rings and other loose jewellery and contain long hair.
9Evaluate your working area before using the grinder e.g. ceiling, floors and enclosures may contain electrical items or water piping.
9Ensure battery is correctly inserted into the grinder handle and latched in place before attempting to switch on.
9Secure loose workpieces with a clamp, vice or other adequate holding device.
9Avoid unintentional starting.
9 Wearapprovedsafetyeyeprotection(standardspectaclesarenotadequate).
9 Maintaincorrectbalanceandfooting.Ensurethefloorisnotslipperyandwearnon-skidshoes.
9 Beawarethatthisgrinderdoesnotneedtobepluggedintothemainspower.
9Keep children and unauthorised persons away from the working area.
8DO NOTusethegrinderwherethereareammableliquids,solidsorgases,suchaspaintsolvents,etc.
8DO NOT allow children to operate the grinder.
8DO NOT operate the grinder if any parts are missing as this may cause failure or possible personal injury.
8DO NOT hold unsecured workpiece in your hand.
8DO NOT carry the grinder with your finger on the power trigger.
8DO NOT use the grinder for a task it is not designed to perform.
8DO NOT operate the grinder when you are tired or under the influence of alcohol, drugs or intoxicating medication.
8DO NOT get the grinder, battery or charger wet or use in damp or wet locations.
8Keep the grinder, battery and charger in a safe, dry, childproof area where the temperature will not exceed 104°F (40°C).
WARNING! – Risk of Hand Arm Vibration Injury.
This tool may cause Hand Arm Vibration Syndrome if its use is not managed adequately.
ThistoolissubjecttothevibrationtestingsectionoftheMachineryDirective2006/42/EC.
This tool is to be operated in accordance with these instructions.
This tool has been tested in accordance with: ENISO28927-1:2009&BSENISO15744:2008.
DeclarationandverificationofVibrationEmissionfiguresareinaccordancewithEN12096:1997
Measured vibration emission value (a): 6.151 m/s²
Uncertainty value(k): 1.50m/s²
Please note that the application of the tool to a sole specialist task may produce a different average vibration emission. We
recommend that a specific evaluation of the vibration emission is conducted prior to commencing with a specialist task.
A health and safety assessment by the user (or employer) will need to be carried out to determine the suitable duration of use for
each tool.
NB: StatedVibrationEmissionvaluesaretype-testvaluesandareintendedtobetypical.
Whilstinuse,theactualvaluewillvaryconsiderablyfromanddependonmanyfactors.
Such factors include; the operator, the task and the inserted tool or consumable.
NB: ensure that the length of leader hoses is sufficient to allow unrestricted use, as this also helps to reduce vibration.
The state of maintenance of the tool itself is also an important factor, a poorly maintained tool will also increase the risk of Hand Arm
Vibration Syndrome.
Health surveillance.
Werecommendaprogrammeofhealthsurveillancetodetectearlysymptomsofvibrationinjurysothatmanagementprocedurescan
be modified accordingly.
Personal protective equipment.
Wearenotawareofanypersonalprotectiveequipment(PPE)thatprovidesprotectionagainstvibrationinjurythatmayresultfrom
theuncontrolleduseofthistool.Werecommendasufficientsupplyofclothing(includinggloves)toenabletheoperatortoremain
warm and dry and maintain good blood circulation in fingers etc. Please note that the most effective protection is prevention, please
refer to the Correct Use and Maintenance section in these instructions. Guidance relating to the management of hand arm vibration
canbefoundontheHSCwebsitewww.hse.gov.uk-Hand-ArmVibrationatWork.
Original Language Version
© Jack Sealey Limited CP20VAGIssue2(1,F)28/12/17

Original Language Version
© Jack Sealey Limited
2. INTRODUCTION
Lightweight,compactandergonomicallydesigned.Featuresheavy-dutyalloybevelgearheadwithaluminiumgearcasing.Featuresspindlelock
forquickdiscchangesandadjustablediscguard.Suppliedwithsidehandleandsoftgripforaddedcomfortandcontrol.PoweredbyLithium-ion
battery,whichmaintainsahighenergydensitylevelwithaatdischargecurve-performingbetterandlongerthanaconventionalNi-Cd/Ni-MH
battery. Supplied with 1 hour mains charger and battery in storage case.
3. SPECIFICATION
Model No:...............................................................CP20VAG
Battery: ...........................................................20V3AhLi-ion
Disc Size:.................................................................Ø115mm
Spindle Size: ....................................................... M14 x 2mm
Motor Power:.................................................................700W
No Load Speed: .................................................... 10,000rpm
ReplacementBattery:............................................. CP20VBP
Weight:........................................................................ 2.36kg
Noise Power:..........................................................96.06dB.A
Noise Pressure: .....................................................85.06dB.A
Vibration: ............................................................... 6.151m/s2
Vibration uncertainty: ................................................. 1.5m/s2
4. BATTERY CHARGING
NOTE-: Whennew,thebatterieswillhavebeenshippedinalowchargestate.Fullychargethebatteriesbeforeusingyourtool.
4.1. To remove the battery from the grinder, depress the spring loaded button on the battery pack. Remove the battery pack by sliding out.
DO NOT touch the metal battery terminals.
4.2. Thebatteryisdesignedtotintothechargeronewayonly.Insertthebatteryfullyandrmlytoseatthebatteryintothechargingbase.
4.3. Take the base charger and plug it into the mains, switch on the power the Red LED on the charger will illuminate.
4.4. WhenthebatteryisonchargerthegreenLEDsonthebatterywillilluminateandpulseon/off,thisindicatesthebatteryisnow
charging.
4.5. WhenthegreenLEDsilluminatepermanentlythebatteryisfullycharged.TheredLEDwillextinguish.
4.6. During the charging process the battery status can be checked by pressing the button on the battery. No lights indicates battery is
“at”,threelightsonindicatesbatteryfullycharged.
4.7. Remove the battery from the charger. Switch off and remove the plug from the mains. Push the battery back into the grinder until it
snaps into place. The grinder is now ready for use.
5. WHEEL / DISC FITTING
NOTE-: Remove battery to avoid accidental starting.
5.1. Clamp the wheel guard to the neck of the grinder. The orientation can be changed to suit the task later.
5.2. Fit the side auxiliary handle to the user preferred side.
5.3. Fit the inner clamp ring, registering slot flats with the spindle flats.
5.4. Offeragrindingwheel/cuttingdisc(115mmdiameterwith*22mmdiameterboreandbossminimumthickness3mm)ontotheinner
clampringspigot.Ifthebossthicknessislessthan3mm,reversetheclampringfitting,suchthatthespigotisoutboard.
5.5. Windontheouterclampringwiththe22mmdiameterspigotinboardenteringthegrindingwheelbore.
5.6. Withthepinnedwrench,clampthegrindingwheel/cuttingdisc.Resistancetothegearboxturninginthisprocessisofferedby
pressing the button on the casing head. Turn the wheel and press the button until the locking position is found.
5.7. Read the instructions for operation of the grinder and then fit the charged battery.
(*14mmboregrindingwheel/cuttingdiscs(notrecommended)mustbeclampedspigottospigot.)
CP20VAGIssue2(1,F)28/12/17

NOTE: It is our policy to continually improve products and as such we reserve the right to alter data, specications and component parts without prior notice.
IMPORTANT: No liability is accepted for incorrect use of this product.
WARRANTY: Guarantee is 12 months from purchase date, proof of which will be required for any claim.
Original Language Version
© Jack Sealey Limited
6. OPERATION
NOTE-: The operator should now be wearing the correct protective clothing, goggles and ear defenders.
6.1. Fitthepre-chargedbattery.
6.2. Withafirmgriponthegrinderbarrelhandledepressthesafetytrigger(positionedonthebackofthebody).Holdtheauxiliaryhandle;
start the grinder by depressing the Start switch.
Some minor inertia will be felt by the user and care must be taken with the grinding wheel.
To stop the grinder, release the Start switch.
6.3. On completion of tasks, clean all items and store in a dry, childproof area.
Sealey Group, Kempson Way, Suffolk Business Park, Bury St Edmunds, Suffolk. IP32 7AR
01284 757500 01284 703534 sales@sealey.co.uk www.sealey.co.uk
CP20VAGIssue2(1,F)28/12/17
BATTERY REMOVAL
UndertheWasteBatteriesandAccumulatorsRegulations2009,JackSealeyLtdarerequiredtoinformpotentialpurchasersofproducts
containing batteries (as defined within these regulations), that they are registered with Valpak’s registered compliance scheme. Jack
SealeyLtd’sBatteriesProducerRegistrationNumber(BPRN)isBPRN00705.
WEEE REGULATIONS
DisposeofthisproductattheendofitsworkinglifeincompliancewiththeEUDirectiveonWasteElectricalandElectronicEquipment
(WEEE).Whentheproductisnolongerrequired,itmustbedisposedofinanenvironmentallyprotectiveway.Contactyourlocalsolid
waste authority for recycling information.
ENVIRONMENT PROTECTION
Recycle unwanted materials instead of disposing of them as waste. All tools, accessories and packaging should be sorted, taken to
arecyclingcentreanddisposedofinamannerwhichiscompatiblewiththeenvironment.Whentheproductbecomescompletely
unserviceable and requires disposal, drain any fluids (if applicable) into approved containers and dispose of the product and fluids
according to local regulations.
Table of contents
Other Sealey Grinder manuals

Sealey
Sealey SGS115 User manual

Sealey
Sealey SG125EU User manual

Sealey
Sealey SA151.V2 User manual

Sealey
Sealey CP4004 User manual

Sealey
Sealey SG115E User manual

Sealey
Sealey SA674 User manual

Sealey
Sealey BG150XLW/98.V2 User manual

Sealey
Sealey SM53 User manual

Sealey
Sealey Siegen tools S0530.V2 User manual

Sealey
Sealey SA673 User manual

Sealey
Sealey SA16 User manual

Sealey
Sealey SG101 User manual

Sealey
Sealey SA151.V2 User manual

Sealey
Sealey BG150XW/99.V3 User manual

Sealey
Sealey SA14 User manual

Sealey
Sealey SA152.V2 User manual

Sealey
Sealey SA152.V2 User manual

Sealey
Sealey SA673 User manual

Sealey
Sealey POWER TOOL SA653 User manual

Sealey
Sealey CP5418V User manual