manuals.online logo
Brands
  1. Home
  2. •
  3. Brands
  4. •
  5. Sealey
  6. •
  7. Work Light
  8. •
  9. Sealey LED2105EU User manual

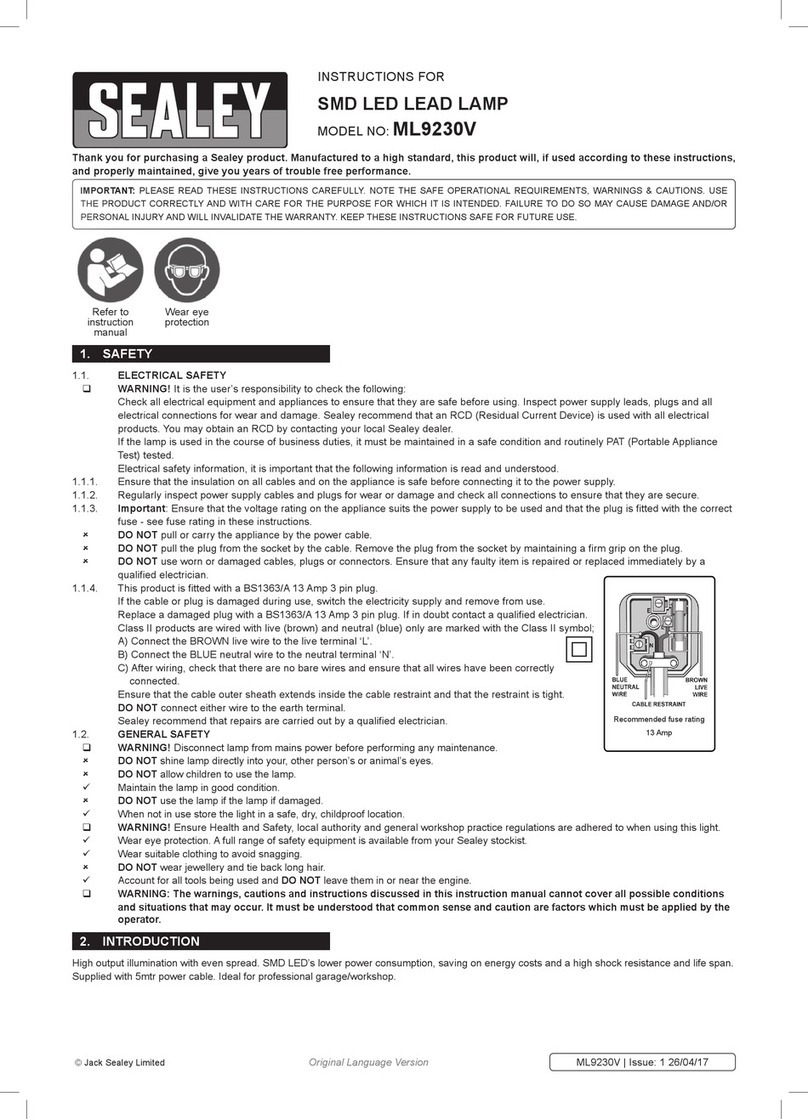
Sealey LED2105EU User manual

Thank you for purchasing a Sealey product. Manufactured to a high standard this product will, if used according to these instructions
and properly maintained, give you years of trouble free performance.
IMPORTANT: PLEASE READ THESE INSTRUCTIONS CAREFULLY. NOTE THE SAFE OPERATIONAL
REQUIREMENTS, WARNINGS & CAUTIONS. USE THE PRODUCT CORRECTLY AND WITH CARE FOR THE
PURPOSE FOR WHICH IT IS INTENDED. FAILURE TO DO SO MAY CAUSE DAMAGE AND/OR PERSONAL
INJURY AND WILL INVALIDATE THE WARRANTY. PLEASE KEEP INSTRUCTIONS SAFE FOR FUTURE USE.
1. SAFETY
1.1. GENERAL
Ensure the lamp is fully charged before initial use.
 DO NOT turn the lamp on when it is being charged.
 DO NOT shine directly into your, other person’s or
animal’s eyes.
 DO NOT allow children to use the lamp.
 DO NOT handle or move the lamp whilst it is being
charged.
 DO NOT use the lamp if you suspect that the battery or
the lamp casing is damaged.
DO NOT leave battery in a discharged state, recharge
battery immediately. Before storage, fully recharge the
battery, subsequently recharge the battery at least once
every six months of non-use.
1.2. ELECTRICAL SAFETY FOR USE OF CHARGER.
USE ONLY THE SUPPLIED CHARGER PLUG FOR
CONNECTING LAMP TO THE POWER SUPPLY.
 WARNING! It is the user’s responsibility to read,
understand and comply with the following electrical
instructions:
You must ensure the risk of electric shock is minimised
by the installation of appropriate safety devices.
An RCCB (Residual Current Circuit Breaker) should be
incorporated in the main distribution board. We also
recommend that an RCD (Residual Current Device) is
used with all electrical products, particularly portable
equipment which is plugged into an electrical supply not
protected by an RCCB.
You must also read and understand the following
instructions concerning electrical safety.
1.2.1. The Electricity At Work Act 1989
requires all portable electrical appliances, if used on
business premises, to be tested by a qualified electrician,
using a Portable Appliance Tester (PAT), at least once a
year.
1.2.2. The Health & Safety at Work Act 1974 makes owners
of electrical appliances responsible for the safe condition
of the appliance and the safety of the appliance operator.
If in any doubt about electrical safety, contact a
qualified electrician.
1.2.3. You must ensure that you:
Inspect the charger plug, cable and connector for wear
and damage to ensure items are safe before connecting
to the mains power supply.
If worn or damaged DO NOT use.
Important: Check that the voltage marked on the charger
plug is the same as the lamp.
Uncoil the cable between charger and the lamp.
 DO NOT pull the charger plug from the mains socket by
the lead.
 WARNING! DO NOT use any other type of charger with
this product, other than the supplied mains or car
charger. Failure to observe this warning could result in
injury and or fire and will invalidate the warranty.
 DO NOT try to take the charger plug apart.
 DO NOT use the charger plug to charge or power any
other electrical item.
 DO NOT get the charger wet, or use in wet, damp
conditions (for indoor use only).
1.3 BATTERY SAFETY
 WARNING! To reduce the risk of burns or fire:
 DO NOT Attempt to open, disassemble, modify or
service the battery pack.
 DO NOT Crush, puncture, short external contacts or
dispose of in fire or water.
 DO NOT Expose to temperatures above 60°C (140°).
 Replace only with the battery pack designated for this
product.
 Recycle or dispose of used battery as stipulated by local
regulation.
 If the electrolyte in the cells gets on your skin, thoroughly
wash with soap and water. If it gets in your eyes, rinse
thoroughly with cool water and seek immediate medical
attention
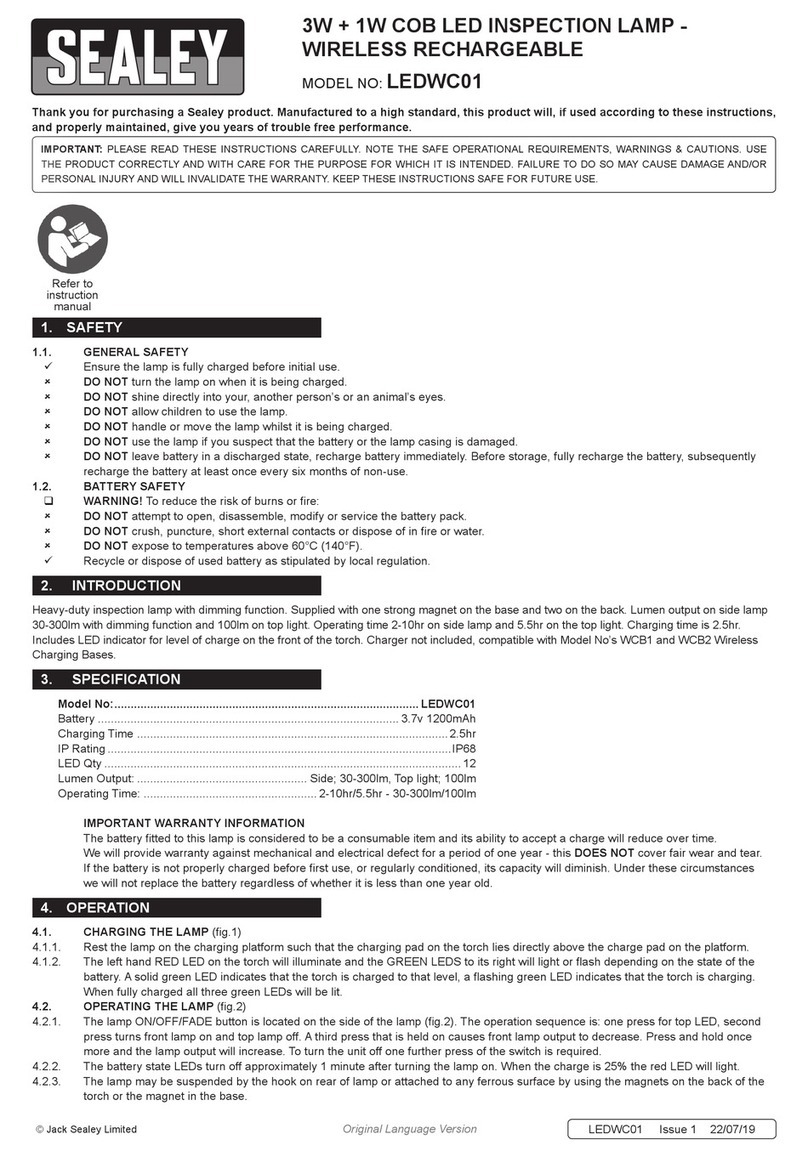
Featuring 26 super bright LEDs, 21 used as an inspection lamp or 5 in the end for use as a directional torch. Single LED battery
indicator. Two 360° swivel hanging hooks for hands-free applications allowing unit to be used horizontally or vertically. Three
rubber covered magnets, two magnets on the rear of the lamp for horizontal use and one on the end for vertical use. Bottom
quarter of the lamp rotates 180° allowing the unit to be positioned for ease of use on any ferrous surface. Replaceable
shatterproof polycarbonate lens with a highly polished reflector board gives an increased spread of light. Lithium-ion polymer
battery (3.7V/1200mAh) for longer life, no memory effect, a much slower discharge than typical Ni-MH batteries and can operate
for up to four hours on a single charge. Supplied with mains and in-car chargers.
Battery: 3.7V / 1200mAh
ChargingTime: ..................................4hrs
Operating Time:..................................4hrs
2. INTRODUCTION / SPECIFICATION
INSTRUCTION MANUAL FOR:
CORDLESS 21 / 5 LED RECHARGEABLE
INSPECTION LAMP LITHIUM-ION
MODEL No. LED2105EU
Original Language Version LED2105EU Issue: 3 - 06/02/12
3. CHARGING
4. OPERATION
Note: LED arrays are designed to allow individual LEDs to cease
functioning without causing the entire array to fail. This could be as a
result of shock or impact. Shock or impact will invalidate warranty.
4.1 Direct the lens away from your eyes before switching on.
Toggle the lamp between 5 LED, 21 LED and OFF using the push
switch on the handle (Fig.1B).
4.2 Suspend the lamp by the hanging hooks. When the light is hanging
from one hook it can be rotated through 360° for more precise
positioning.
4.3 Alternatively use the integral magnets to attach the lamp to any
ferrous surface.
 IMPORTANT WARRANTY INFORMATION:
The battery fitted to this cordless tool is considered to be a
consumable item and its ability to accept charge will reduce over time.
We will warranty it against mechanical and electrical defect for a period
of one year - this does not cover fair wear and tear. If the battery is not
properly charged before first use, or regularly conditioned, its capacity
will diminish. Under these circumstances we will not replace the battery
even if it is less than one year old.
Note: Fully charge the lamp before first use.
Note: The Lithium battery does not suffer from memory effect and once fully
charged may be stored for up to six months without another charge.
3.1 Connect the charger into the charge socket on back of the lamp
(Fig.2A). Plug into power supply and turn on, the charging LED
(Fig.1A) on the lamp will light RED to show charging has commenced.
3.2 When the battery has fully charged the LED will turn GREEN.
Environmental Protection.
Recycle unwanted materials instead of disposing of them as
waste. All tools, accessories and packaging should be sorted,
taken to a recycle centre and disposed of in a manner which is
compatible with the environment.
When the product is no longer required, it must be disposed of in
an environmentally protective way.
Battery Removal
Remove the 8 screws on the back of the lamp. Remove the back
casing, and disconnect the wiring to the charger port and from
the battery to the circuit board. Dispose of battery according local
government guidelines.
Lamp Charge Indicator
LED (A)
360° Rotating Hook
360° Rotating Hook
Horizontal Magnet
Horizontal Magnet
Vertical Magnet
Charging Socket (A)
5. MAINTENANCE
5.1 To replace the shatter proof lens, use a small screwdriver to prise the
lens off through the gap between the rubber ON / OFF switch and lens.
Gently flex the lens to remove it completely.
When replacing the lens insert the top tab in first and bend the lens to
insert the bottom, snap the rest of the lens into the lamp.
Switch (B)
Shatter Proof Lens
Fig.1
Fig.2
Li
NOTE: It is our policy to continually improve products and as such we reserve the right to alter data, specifications and component parts without prior notice.
IMPORTANT: No liability is accepted for incorrect use of this product.
WARRANTY: Guarantee is 12 months from purchase date, proof of which will be required for any claim.
INFORMATION: For a copy of our latest catalogue and promotions call us on 01284 757525 and leave your full name and address, including postcode.
01284 757500
01284 703534
sales@sealey.co.uk
Sole UK Distributor, Sealey Group,
Kempson Way, Suffolk Business Park,
Bury St. Edmunds, Suffolk,
IP32 7AR
www.sealey.co.uk
Web
email
Original Language Version LED2105EU Issue: 3 - 06/02/12
Under the Waste Batteries and Accumulators Regulations 2009, Jack
Sealey Ltd are required to inform potential purchasers of products
containing batteries (as defined within these regulations), that they are
registered with Valpak’s registered compliance scheme.
Jack Sealey Ltd’s Batteries Producer Registration Number (BPRN) is
BPRN00705

Other Sealey Work Light manuals

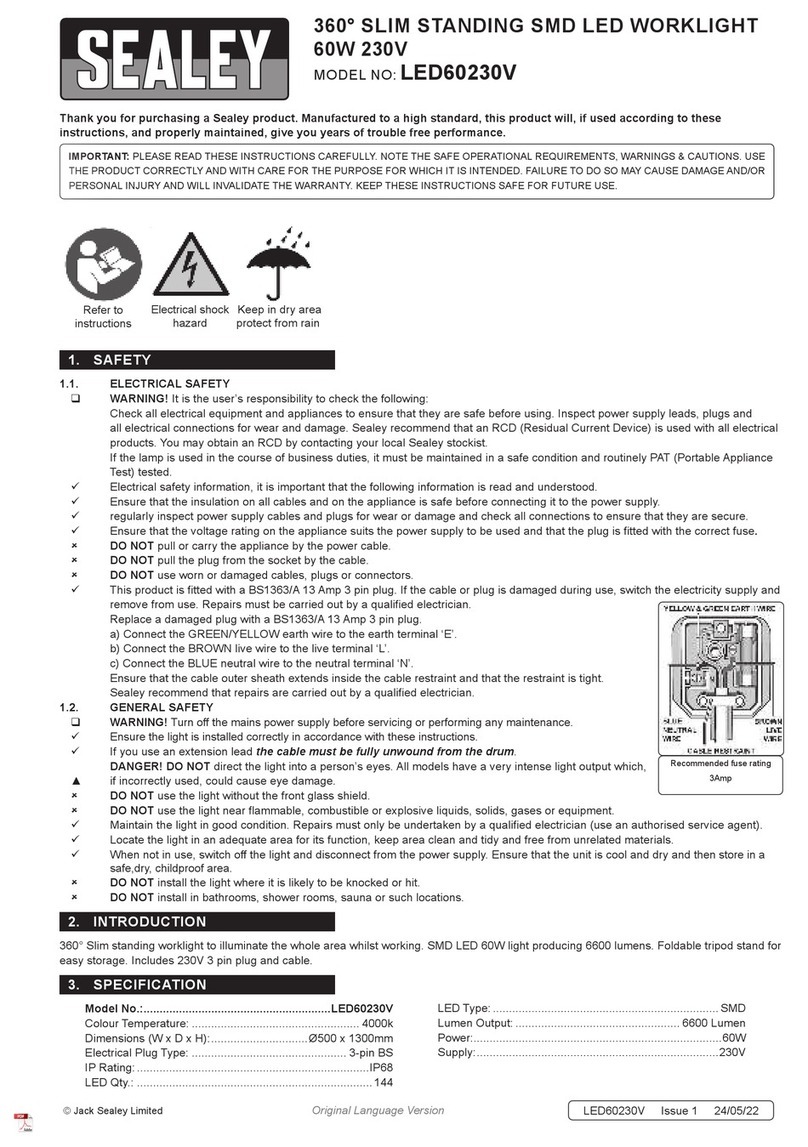
Sealey LED36012V User manual

Sealey

Sealey LED36012V User manual

Sealey LED180 User manual

Sealey

Sealey LED180 User manual

Sealey LED220UV User manual

Sealey

Sealey LED220UV User manual

Sealey LED319 User manual

Sealey

Sealey LED319 User manual

Sealey LED139 User manual

Sealey

Sealey LED139 User manual

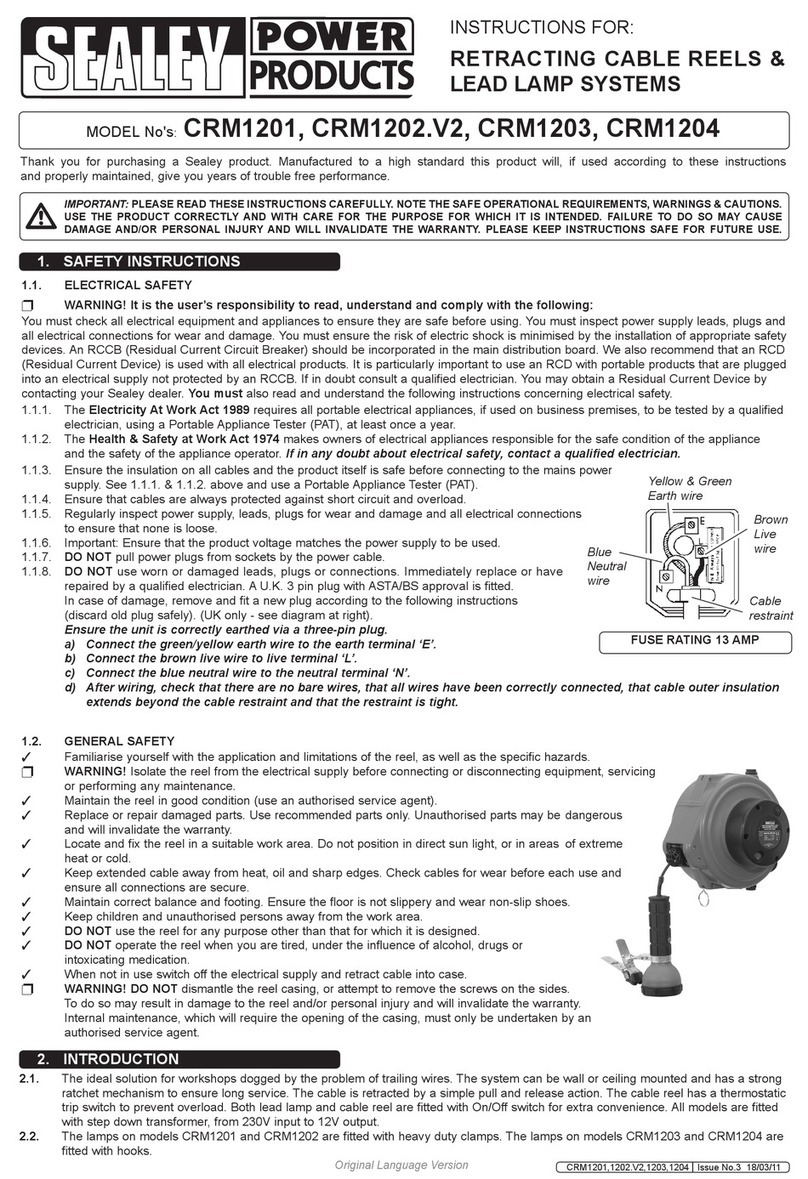
Sealey CRM2301 User manual

Sealey

Sealey CRM2301 User manual

Sealey LED036 User manual

Sealey

Sealey LED036 User manual

Sealey TBL450 User manual

Sealey

Sealey TBL450 User manual

Sealey ML9230V User manual

Sealey

Sealey ML9230V User manual

Sealey ML36 User manual

Sealey

Sealey ML36 User manual

Sealey LED0121B User manual

Sealey

Sealey LED0121B User manual

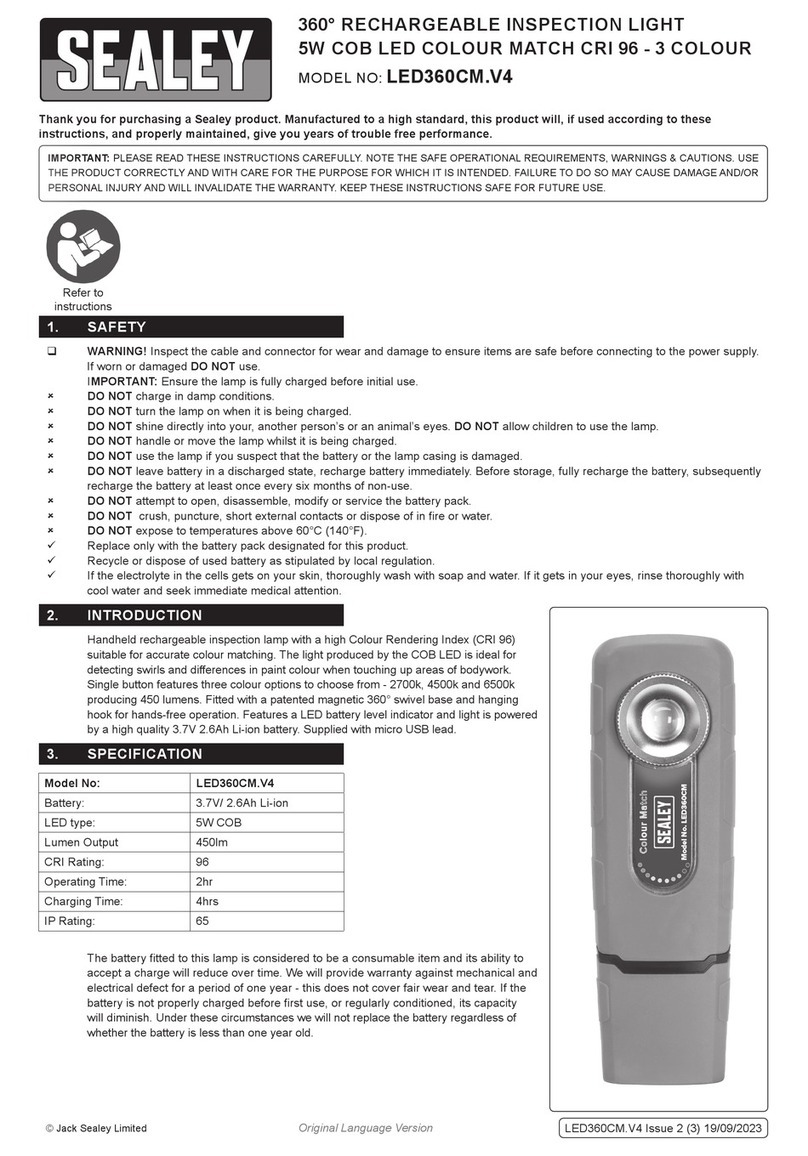
Sealey LED360CM.V4 User manual

Sealey

Sealey LED360CM.V4 User manual

Sealey LED1000 User manual

Sealey

Sealey LED1000 User manual

Sealey LED60230V User manual

Sealey

Sealey LED60230V User manual

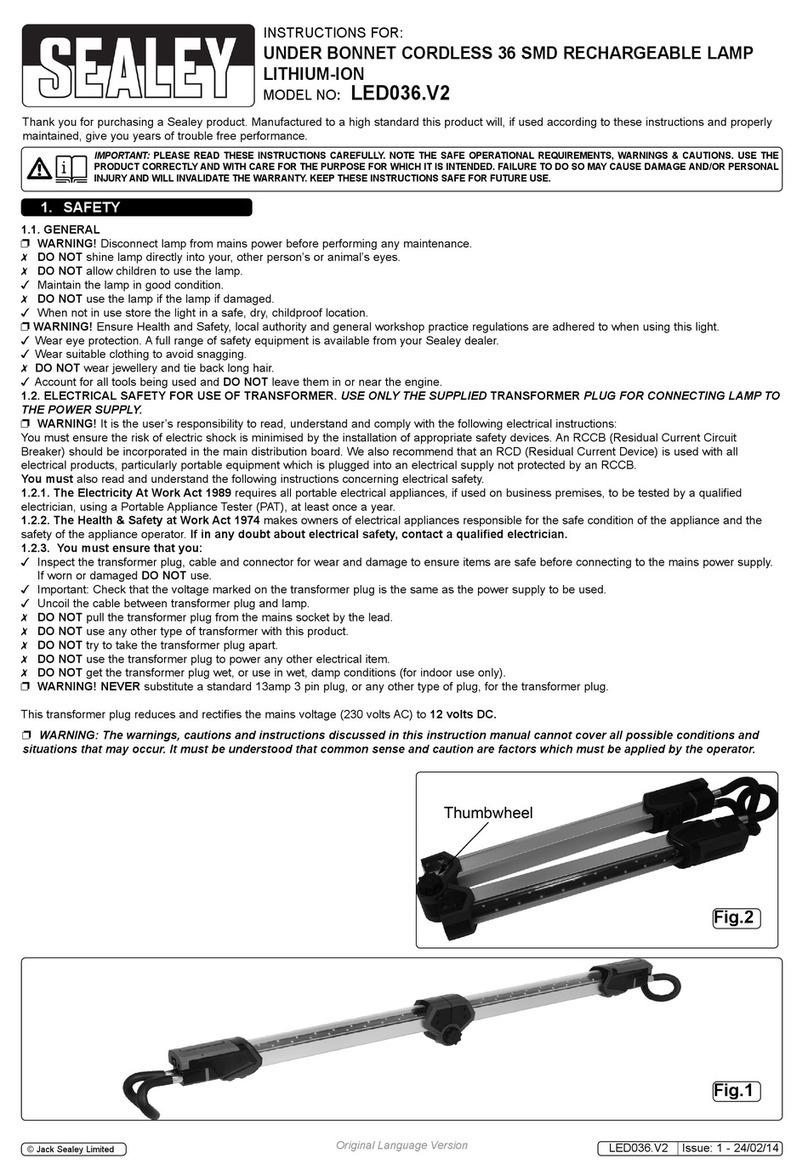
Sealey LED036.V2 User manual
Sealey

Sealey LED036.V2 User manual

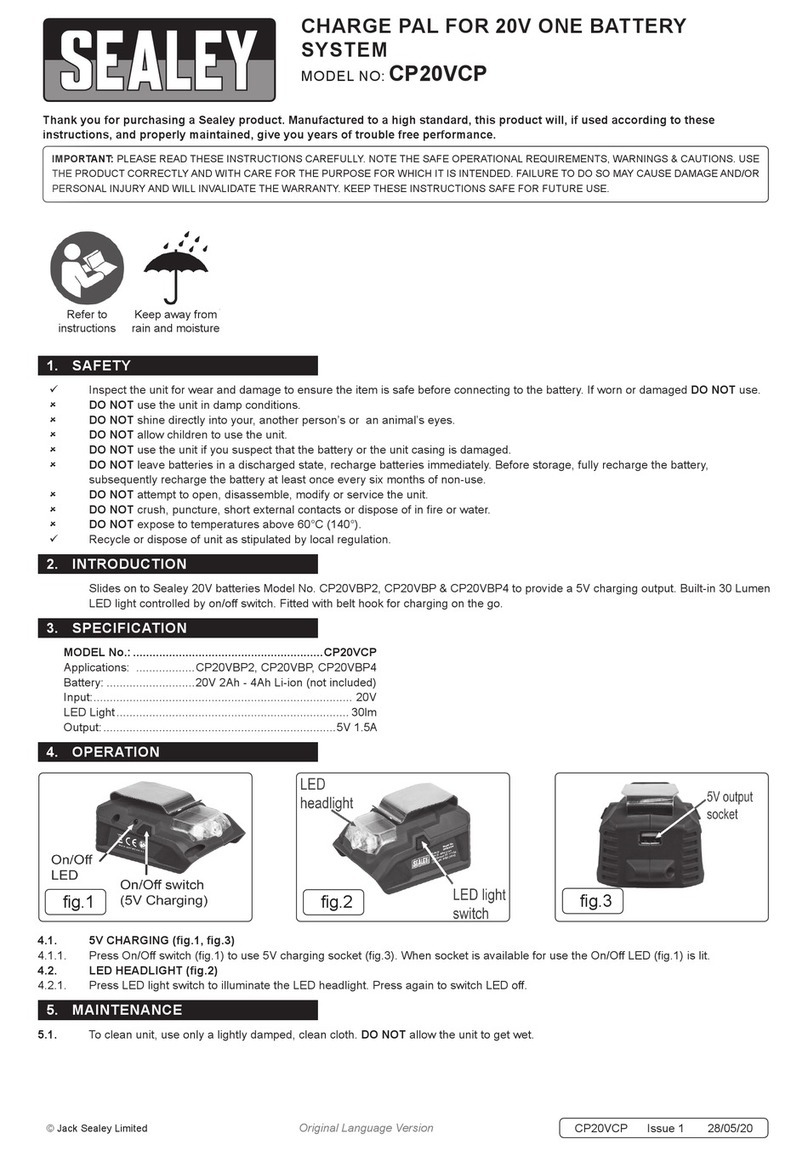
Sealey CP20VCP User manual

Sealey

Sealey CP20VCP User manual

Sealey LED0121B User manual

Sealey

Sealey LED0121B User manual

Sealey LED138 User manual

Sealey

Sealey LED138 User manual

Sealey TL84 User manual

Sealey

Sealey TL84 User manual

Sealey LED28 User manual

Sealey

Sealey LED28 User manual

Sealey LED014 User manual

Sealey

Sealey LED014 User manual

Sealey LED185 User manual

Sealey

Sealey LED185 User manual

Sealey LED360PLUSG User manual

Sealey

Sealey LED360PLUSG User manual

Sealey LED091 User manual

Sealey

Sealey LED091 User manual

Popular Work Light manuals by other brands

MERCATOR Zane instructions

MERCATOR

MERCATOR Zane instructions

NORDRIDE 2096 operating instructions

NORDRIDE

NORDRIDE 2096 operating instructions

DOTLUX 5079-02720M user manual

DOTLUX

DOTLUX 5079-02720M user manual

Soundoff Signal PAR 36 EWLB350DBDFOW quick start guide

Soundoff Signal

Soundoff Signal PAR 36 EWLB350DBDFOW quick start guide

GE 72609(0.027) instructions

GE

GE 72609(0.027) instructions

Berner BACWL Original instructions

Berner

Berner BACWL Original instructions

kincrome K10207 instruction manual

kincrome

kincrome K10207 instruction manual

Westfalia 91 94 13 Original instructions

Westfalia

Westfalia 91 94 13 Original instructions

Philips LivingColors Generation2 69171/**/** Series manual

Philips

Philips LivingColors Generation2 69171/**/** Series manual

DÖRR W-31 instruction manual

DÖRR

DÖRR W-31 instruction manual

SpeedTech Lights CARBINE 140 instruction manual

SpeedTech Lights

SpeedTech Lights CARBINE 140 instruction manual

HERA LB Series instruction manual

HERA

HERA LB Series instruction manual

Ansult 019449 operating instructions

Ansult

Ansult 019449 operating instructions

GE Lumination LB96-UNV-840-A-P installation guide

GE

GE Lumination LB96-UNV-840-A-P installation guide

IVT PL-896-38W-EX Instructions for use

IVT

IVT PL-896-38W-EX Instructions for use

Workzone SWING user manual

Workzone

Workzone SWING user manual

Robus RRB14CCT3E-01 instruction manual

Robus

Robus RRB14CCT3E-01 instruction manual

UNILITE SLR-4750 quick start guide

UNILITE

UNILITE SLR-4750 quick start guide

manuals.online logo
manuals.online logoBrands
  • About & Mission
  • Contact us
  • Privacy Policy
  • Terms and Conditions

Copyright 2025 Manuals.Online. All Rights Reserved.