SEANY H-1600 User manual
User Manual
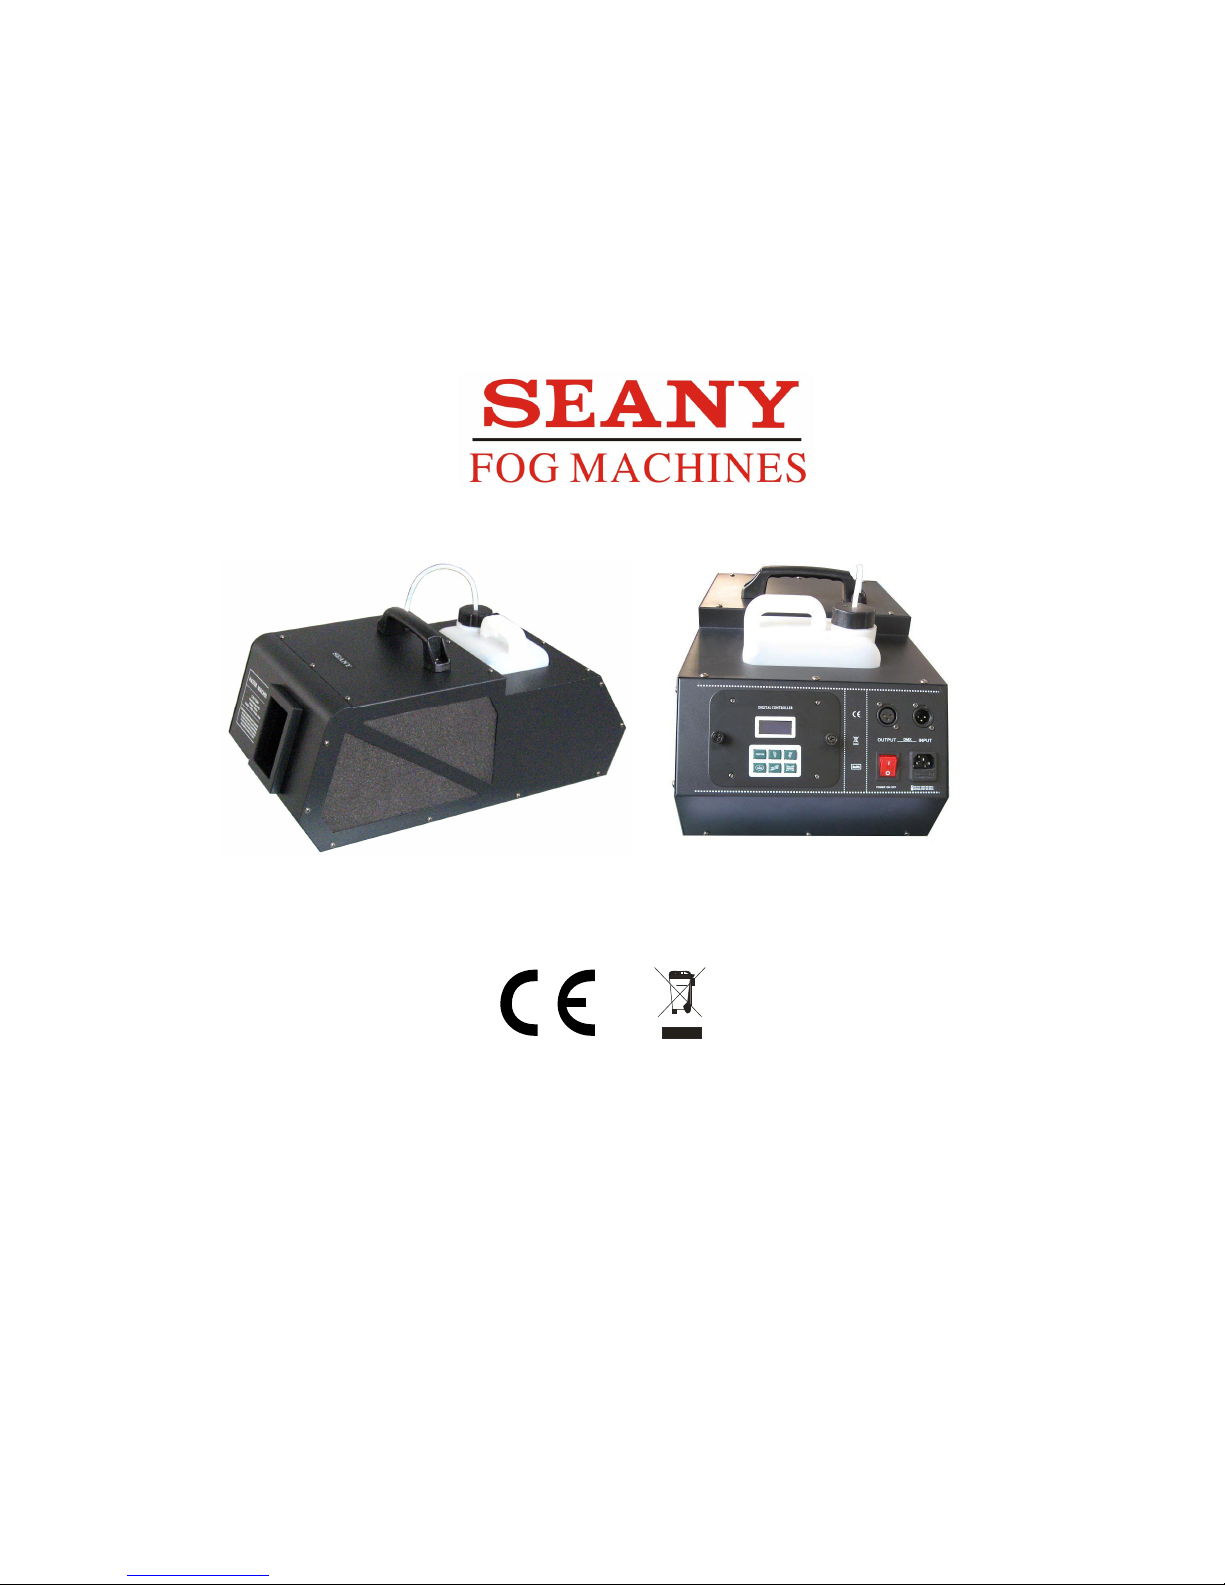
H-1600
Read and save these instructions
SEANY TECHNOLOGY (HK) LIMITED
GUANGZHOU SEANY STAGE LIGHTING EQUIPMENT CO.,LTD
Introduction
Thank you for having chosen our company's haze machine. For your own safety, please
read this user manual carefully before installing the device. By following the suggestions
found in this manual, you can look forward to the reliable and satisfactory performance
of your haze machine for years to come.

Specifications
Model: H-1600
Voltage : 220V-240V, 50Hz / 60Hz
Power : 1600W
Warm-up time : 2 mins
Output(approx) : 400M3 /min
Tank capacity : 2.50L
Gross weight: 12.5 Kgs
Packaging Volume (mm): 630*350*330
CAUTION
Danger of electric shock:
·Keep this device dry. For indoor use only.
·Prior to use take care to determine that the unit is installed at the rated voltage.
·Always unplug your haze machine before filling its tank. Keep haze machine upright.
·Turn off or unplug when not in use. This machine is not water or splash proof. If
moisture, water, or haze liquid gets inside the housing, immediately unplug the unit and
contact a service technician or your dealer before using it again. No user serviceable
parts inside. Refer to your dealer or other qualified service personnel.
Danger of buns:
·For adult use only. Haze machine must be installed out of the reach of children. Never
leave the unit running unattended. Never aim the output nozzle directly at people.
·Haze machine output is very hot. Avoid coming within 60cm of the output nozzle during
operation. Locate the haze machine in a well-ventilated area. Never cover the unit's vents.
In order to guarantee adequate ventilation, allow a free air space of at least 20cm around
the sides and top of the unit. Never aim the output nozzle at open flame.
·The output nozzle becomes very hot during operation (300 degrees C). Keep
flammable materials at least 50cm away from the nozzle.
·Always allow your haze machine to cool down before attempting to clean or service it.
Danger of explosion:
·Never add flammable liquid of any kind (oil, gas, perfume) to the haze liquid. Pay attention
to all warning labels and instructions printed on the exterior of your haze machine.
·Use only the high-quality, water-based haze liquid that your dealer recommends. Other haze
liquid may cause clogging or“ spitting”. Always make sure there is sufficient liquid in the haze
liquid tank. Operating this unit without liquid will cause damage to the pump as well as
over-heating of the heater.
·If your haze machine fails to work properly, discontinue use immediately. Drain all fog
liquid from the tank, pack the unit securely (preferably in the original packing material),
and return it to your dealer for service. Always drain tank before mailing or transporting
this unit.

·Never drink haze liquid. If it is ingested, call a doctor immediately. If haze liquid comes in
contact with skin or eyes, rinse thoroughly with water.
UNPACKING & INSPECTION
Open the shipping carton and verify that all equipment necessary to operate the system has
arrived intact. Included with your H-1600 haze machine should be the following items:
1. This user manual.
2. Power cord.
3. LCD Multi function remote control Attached cord. R-10
*Haze fluid sold separately.
If any equipment is missing, contact your dealer immediately. Before beginning initial setup of
your haze machine, make sure that there is no evident damage caused by transpiration. In the
event that the unit's housing or cable is damaged, do not plug it in and do not attempt to use it
until after contacting tour dealer for assistance.
SETUP
·Remove all packing materials from shipping box, check that all foam and plastic is removed,
especially in the nozzle area.
·Place haze machine on a flat surface and remove haze liquid tank cap. Fill with haze liquid or
other high-quality water-based haze liquid. Any other types of liquid can damage the unit.
When filled, place cap back on liquid tank.
OPERATION
1. Plug power cord into a grounded electrical outlet.
2. Firmly attach the remote control cable to the proper input on the rear of the machine.
3. Turn on the power switch located on the back of the machine, now the machine started
preheating. It’s take about 2 minutes for the first preheating. The unit can be operated by
connecting the R-12 digital LCD control, please refer to the operation instruction in the next
section.
·If your model includes a mounting bracket designed for overhead installation, it may be
installed at floor level or suspended overhead. If the unit is to be mounted using the bracket, it
is important that the fog does not shoot directly at any one's face. Whatever installation method
you choose, do not allow the unit to have more than a 15 degree angle of inclination.
Important: Always monitor tank fluid level as you are fogging. Running a haze machine
with no fluid can permanently damage the unit.
·If your experiences low output, pump noise or not output at all, unplug the power
immediately. Check fluid level, the external fuse, remote connection, and power from the
wall, if all of the above appears to be O.K., Plug the unit in again. If fog does not come out after
holding the controller's button down for 30 seconds, check the hose attached to the tank to
make sure there is fluid going through the hose, If you are unable to determine the
cause of the problem, do not simply continue pushing the controller's button, as this may
damage the unit. Return the machine to your dealer.

R-10 Remote Control Operation
Feature
1. With 10M signal cable.
2. The digital LCD is a multi-function controller, including Interval Set; Duration
Set;Output Volume Set;Timer Set;Output automatic; output manual; Wind
Set; DMX 512 Add. and so on.
Operation
1. Please connect the 10 M LCD wired multi-function remote control with 5-pin XLR
connector for Seany Haze Machine, then the LCD display of controller will show
"warming up! ”, the heating time keep moving any time, here the fog machine is in
warming status.
2. The haze machine heating is completed after 2 minutes, the digital LCD display
will show "Ready To fazer!", It denotes the machine begin to work.
Instructions for digital LCD Display to operation
1. Via the "Function" button, you can adjust the desired settings in the sub-
menus.After pressing the Function button once,the display shows"Man Vol Out",
Adjust the output volume with the Up/Down buttons. Pressing the "Function"
button twice, the display shows "Interval Set",Adjust the interval between each
fog emission (within the range of 1 to 200 seconds) with the Up/Down buttons.
Press Function button again to enter the next menu,"Duration Set".Adjust the
duration of each fog emission (within the range of 1 to 200 seconds) with the
Up/Down buttons.Press Function button again you enter to the menu "Volume
Out".You can set the fog output in % for the "Volume"function. Press the
Function button again to enter the next menu,"Wind Set".You can set the wind
output in % for "Wind" function with the Up/Dowen buttons.Press the Function
button to enter the last Sub-Menu "DMX 512 Add.". Adjust the desired DMX
-Add. With the Up/Down buttons.Setting the DMX 512 Add.should be
synchronization with the DMX 512 Address on the fog machine.
2.Press the "Timer" button to activate the timer function according to the
parameters set in the "Function" sub-menus. The display shows the adjusted
interval and the device counts the seconds down to "0". After that,the fog
emission is triggered at the main "Timer".If you wish to deactivate the timer
function, press the main "Timer"button once more.
3.Press the "Volume" button for immediate triggering of the fog emission at the
volume adjusted under menu"Volume Out".Press the "Volume"button once more
in order to stop the fog emission.
4.The "Manual" main menu only adjust the wind output with Up/Down button.
With power-down memory function
The digital LCD wired remote control has the power out memory of function, but the
power-down memory just memory the data of last time. Pull out the plug, whenever
you open the machine again, all data of inside the function status are unchanged.
(Note: It have no the work state memory.) It needs to set the various parameters again.
CONNECT DMX:
Pull down in the arrow direction to turn on. The address switch shown on the diagram is preset

as 1.
· The machine of set DMX512 signal , the connection can be finished by means of input and
output
of the triple XLR socket. The output of the control signal line must be corresponding to the
grounding wire of the LXR socket, and the lengths of the 2(-) and 3(+) signal lines should be
within
100M, prevent them might disturb other electric appliances.
Note: Some consoles can't work well unless pin2 and pin3 are exchanged welding.
MAINTENANCE
Cleaning your haze machine regularly will help reduce costly parts replacement and repair
charges. Do not allow the haze liquid to become contaminated. Always replace the caps on the
haze liquid container and the haze machine liquid tank immediately after filling.
After every 40 hours of continuous operation. It is recommended to run a cleaning solution
composed of 80% distilled water 20% white vinegar through the system to prevent the
accumulation of particulate matter in the heating element. The recommend-cleaning regimen is
as follows:
·White unit is unplugged and cool, unscrew nozzle at very front of unit and clean out
debris white vinegar and a pipe cleaner, making sure that the hole is free of clogs.
·Empty all haze fluid from machine. Add cleaning solution to tank. Plug unit in and begin
warm up.
·Run unit in a well-ventilated area until tank is empty.
·Replace nozzle connected with sebific duct.
·Cleaning is now complete, refill with haze liquid.
Table of contents


