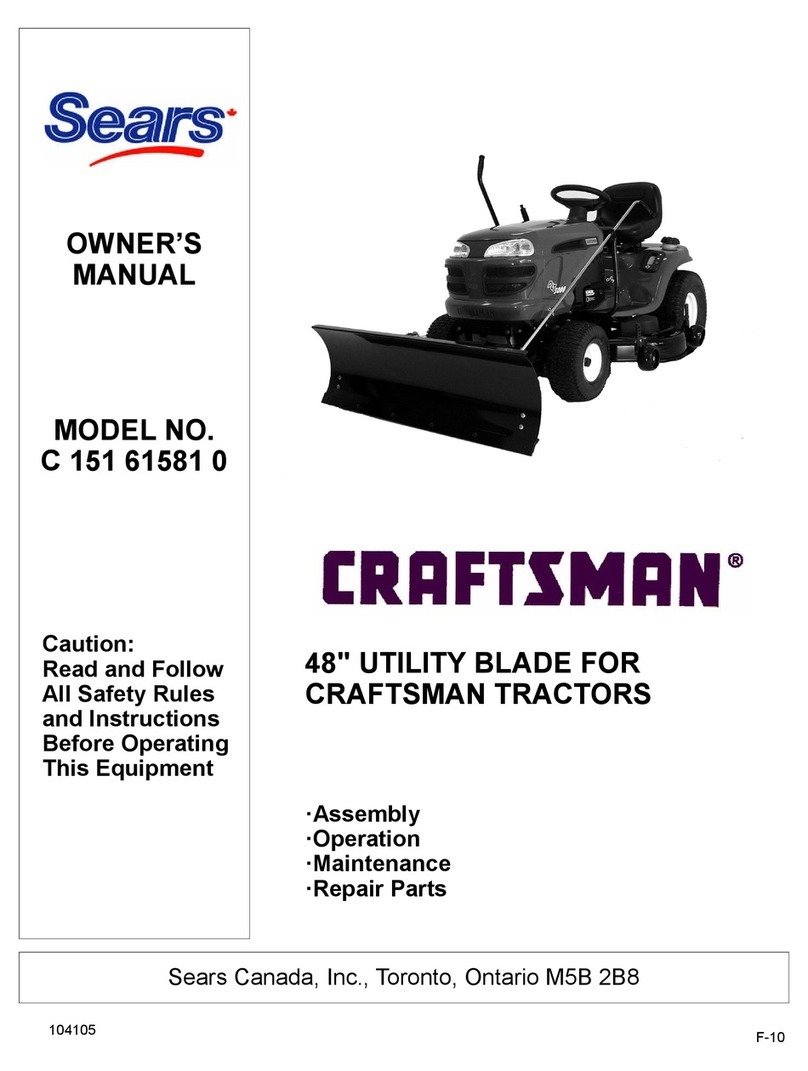
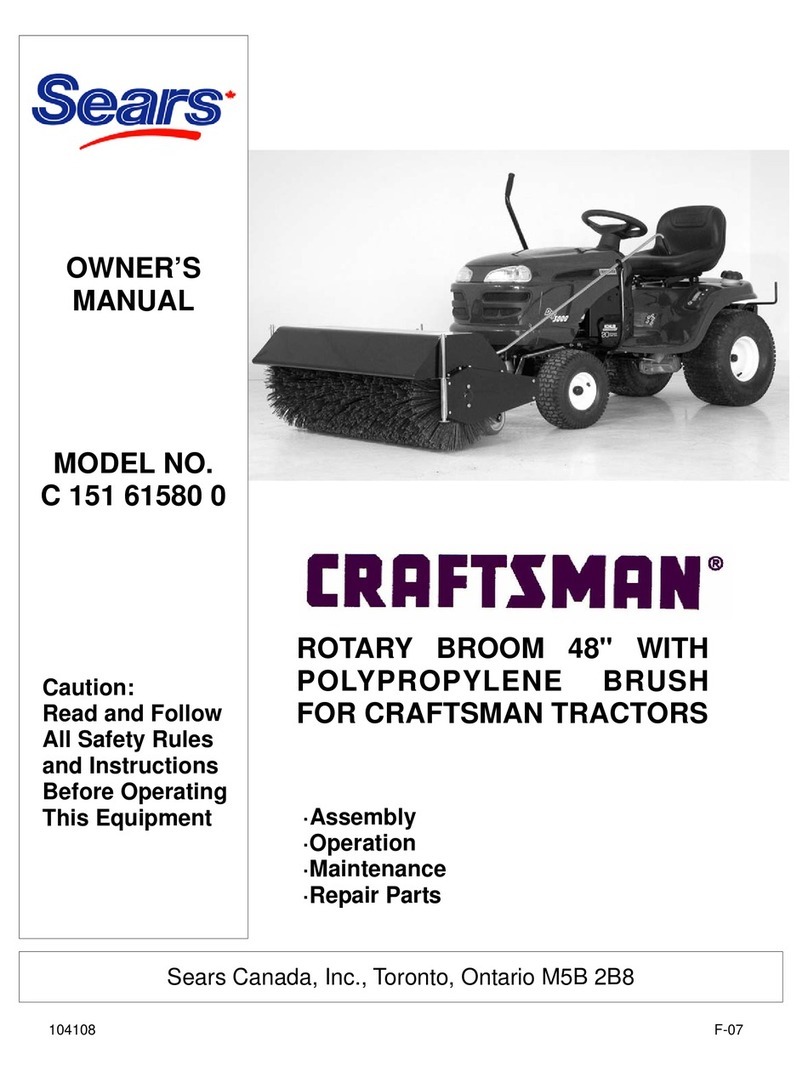
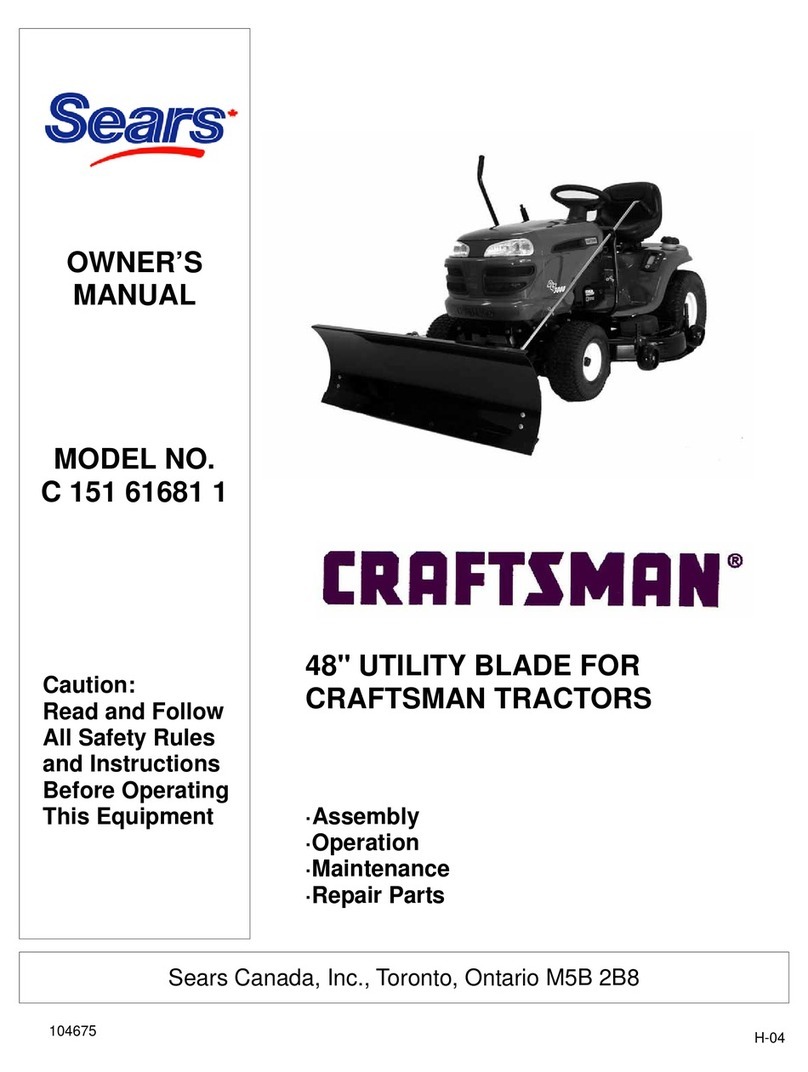
Sears CRAFTSMAN C 151 61680 3 User manual

OWNER’S
MANUAL
MODEL NO.
C 151 61680 3
Caution:
Read and Follow
All Safety Rules
and Instructions
Before Operating
This Equipment
ROTARY BROOM 48" WITH
POLYPROPYLENE BRUSH
FOR CRAFTSMAN TRACTORS
·Assembly
·Operation
·Maintenance
·Repair Parts
Sears Canada, Inc., Toronto, Ontario M5B 2B8
104674 H-04

2
LIMITED ONE (1) YEAR WARRANTY ON CRAFTSMAN
TRACTOR ATTACHMENTS "ROTARY BROOM"
For one (1) year from date of purchase, Sears Canada Inc. will repair or replace free of charge at Sears option any
parts which are defective as a result of defective material or faulty workmanship.
COMMERCIAL OR RENTAL USE:
Warranty on Tractor Attachments "Rotary Broom" used for commercial or rental purposes is limited to 90 days.
This warranty does NOT cover:
* Wear items, such as shear pins and shear bolts, belts
* Repairs due to customer abuse or neglect
* Pre-delivery set-up
* In Home service
Warranty service is available by returning the Craftsman Tractor Attachment to the nearest Sears Service Centre /
Department in Canada. This warranty applies only while this product is in use in Canada.
This warranty is in addition to any statutory warranty and does not exclude or limit legal rights you may have but shall
run concurrently with applicable provincial legislation. Furthermore, some provinces do NOT allow limitation on how
long an implied warranty will last so the above limitations may not apply to you.
SEARS CANADA INC., TORONTO, ONTARIO, M5B 2B8
FOR SERVICE PLEASE CALL
SEARS HOME CENTRAL
1-800-4-MY-HOME®
WARRANTY

TABLE OF CONTENTS
INTRODUCTION ................................................................................................................................................... 2
SAFETY PRECAUTIONS ..................................................................................................................................... 3
SAFETY DECALS ................................................................................................................................................. 5
ASSEMBLY
Step 1: Tractor Preparation ..................................................................................................................... 6
Step 2: Subframe Installation ................................................................................................................. 7
Step 3: Drive Mechanism Preparation ................................................................................................... 13
Step 4: Drive Mechanism Installation ..................................................................................................... 17
Step 5: Rotary Broom Preparation ......................................................................................................... 19
Step 6: Adaptor Installation .................................................................................................................... 20
Step 7: Rotary Broom Installation .......................................................................................................... 20
OPERATION
Rotary Broom Angle Adjustment ............................................................................................................. 22
Pressure on the Brush Adjustment ......................................................................................................... 22
General Sweeping ................................................................................................................................... 22
Snow Sweeping ....................................................................................................................................... 22
Lawn Dethatching and Leaf Raking ........................................................................................................ 22
MAINTENANCE
Maintenance ............................................................................................................................................. 23
Brush Replacement ................................................................................................................................. 23
Belt Replacement ..................................................................................................................................... 23
DISMOUNTING
Rotary Broom Dismounting ..................................................................................................................... 24
Drive Mechanism Dismounting ............................................................................................................... 24
End of Season Storage ........................................................................................................................... 24
TROUBLESHOOTING .......................................................................................................................................... 25
PARTS BREAKDOWN AND LISTS
Compact Rotary Broom Adaptor ............................................................................................................. 26
Drive Mechanism Compact ..................................................................................................................... 28
Subframe .................................................................................................................................................. 30
Rotary Broom ........................................................................................................................................... 33
TORQUE SPECIFICATION TABLE ..................................................................................................................... 37
ATTACHMENTS & OPTIONS .............................................................................................................................. 38
CONSUMER INFORMATION ............................................................................................................................... 39
PAGE
1

2
INTRODUCTION
TO THE PURCHASER
This new accessory was carefully designed to give years of dependable service. This manual has been provided to
assist in the safe operation and servicing of your accessory.
NOTE: All photographs and illustrations in the manual may not necessarily depict the actual models or aaccessory, but
are intended for reference only and are based on the latest product information available at the time of publication.
Familiarize yourself fully with the safety recommendations and operating procedures before putting the machine to use.
Carefully read, understand and follow these recommendations and insist that they be followed by those who will use
this attachment.
THIS SAFETY ALERT SYMBOL IDENTIFIES AN IMPORTANT SAFETY MESSAGE IN THIS MANUAL
THAT HELPS YOU AND OTHERS AVOID PERSONAL INJURY OR EVEN DEATH. DANGER,
WARNING, AND CAUTION ARE SIGNAL WORDS USED TO IDENTIFY THE LEVEL OF HAZARD.
HOWEVER, REGARDLESS OF THE HAZARD, BE EXTREMELY CAREFUL.
DANGER: Signals an extreme hazard that will cause serious injury or death if recommended precautions are
not followed.
WARNING: Signals a hazard that may cause serious injury or death if the recommended precautions are not
followed.
CAUTION: Signals a hazard that may cause minor or moderate injury if the recommended precautions are not
followed.
Record your attachment serial number and purchase date in the section reserved below (there is no serial number on
the subframe). Your dealer requires this information to give you prompt, efficient service when ordering replacement
parts. Use only genuine parts when replacements are required.
If warranty repairs are required please present this registration booklet and original sales invoice to your selling dealer
for warranty service.
This manual should be kept for future reference.
Please check if you have received all the parts for your kit with the list of the
bag and the list of the box.
SERIAL NUMBER : ___________________________
PURCHASE DATE : ___________________________

3
SAFETY PRECAUTIONS
Careful operation is your best insurance against an accident. Read this section carefully before operating the vehicle
and accessory. This accessory is capable of amputating hands and feet and throwing objects. Failure to observe the
following safety instructions could result in serious injury. All operators, no matter how experienced they may be,
should read this and other manuals related to the vehicle and accessory before operating. It is the owner's legal
obligation to instruct all operators in safe operation of the accessory.
GLOSSARY:
In this manual, right and left sides are determined by
sitting on the seat of the vehicle facing forward.
In this manual, "accessories" means attachments
(snowblower, rotary broom, blade etc.) that you install
on the vehicle (lawn tractors, A.T.V. s etc).
TRAINING:
This symbol, "Safety Alert Symbol", is used
throughout this manual and on the accessory’s
safety labels to warn of the possibility of serious
injury. Please take special care in reading and
understanding the safety precautions before
operating the vehicle and accessory.
1. Read this owner's manual carefully. Be thoroughly
familiar with the controls and proper use of the
vehicle and accessory. Know how to stop the unit
and disengage the controls quickly.
2. Never allow children to operate the vehicle nor the
accessory. Never allow adults to operate the vehicle
nor the accessory without proper instructions.
3. No one should operate the vehicle nor the
accessory while intoxicated or while taking
medication that impairs the senses or reactions.
4. Keep the area of operation clear of all people,
particularly small children and pets.
PREPARATION:
1. Thoroughly inspect the area where the accessory
is to be used and remove door mats, all foreign
objects and the like.
2. For motorized accessories, disengage all clutches
and shift into neutral before starting engine.
3. Do not operate the accessory without wearing
adequate winter outer garments. Avoid loose fitting
clothing that can get caught in moving parts. Wear
footwear that will improve footing on slippery
surfaces.
4. Handle fuel with care, it is highly flammable.
a) Use approved fuel container.
b) Never add fuel to a running engine or hot engine.
c) Fill fuel tank outdoors with extreme care. Never fill
fuel tank indoors.
d) Never fill containers inside a vehicle, or on a
truck or a trailer bed with a plastic liner. Always
place containers on the ground, away from your
vehicle, before filling.
e) When practical, remove gas-powered
equipment from the truck or trailer and refuel it
on the ground. If this is not possible, then refuel
such equipment on a trailer with a portable
container, rather than from a gasoline
dispenser nozzle.
f) Keep the nozzle in contact with the rim of the
fuel tank or container opening at all times, until
refueling is complete. Do not use a nozzle lock-
open device.
g) Replace fuel cap securely and wipe up spilled
fuel.
h) If fuel is spilled on clothing, change clothing
immediately.
5. Never attempt to make any adjustments while the
engine (motor) is running (except when specifically
recommended by manufacturer).
6. Let the vehicle and accessory adjust to outdoor
temperatures before starting to clear snow.
7. Always wear safety glasses or eye shields during
operation or while performing an adjustment or
repairs to protect the eyes from foreign objects that
may be thrown from the accessory.
8. Never modify the accessory or any part without
the written consent from the manufacturer.
Table of contents
Other Sears Tractor Accessories manuals