manuals.online logo
Brands
  1. Home
  2. •
  3. Brands
  4. •
  5. Security Brands
  6. •
  7. Keypad
  8. •
  9. Security Brands RIDGE RESKEY 14-RK10 User manual

Security Brands RIDGE RESKEY 14-RK10 User manual

1 of 2
Model 14-RK10
QUICK START GUIDE
1 2
WARNING

5
7
3 4
Pull away and down on unit to
release mounting plate hook
from unit groove (circled).
Slip mounting plate hook
(circled) into unit groove before
pressing unit into place.
6
Place unit on a sturdy surface
to make this step easier.
IMPORTANT!
This unit is IP44-rated and has
some protection from the
elements, but it should be
mounted in a covered location.
Make sure to mount the unit
away from metal objects and
anything that will interfere
with or block RF transmission.
Unpack box and make sure you have all items shown here.
(Mounting screws and wall anchors not shown.)
Remove single screw from bottom of
unit and remove unit from mounting
plate, pulling away from bottom end.
AUTOMATIC GATES AND DOORS CAN CAUSE
SERIOUS INJURY OR DEATH!
ALWAYS CHECK THAT THE GATE/DOOR PATH
IS CLEAR BEFORE OPERATING!
REVERSING OR OTHER SAFETY DEVICES
SHOULD ALWAYS BE USED!
Replace back cover of unit and secure
with screws.
Attach unit and secure with screw.
(Can be done after programming.)
Remove screws from back of unit
housing and carefully remove back
cover to get access to battery holders.
Hold circuit board in place and insert
batteries into battery holders, making
sure to place in correct orientation.
Ridge ResKey
Unit
AAA Battery
( 2x )
Install mounting plate where desired
using included hardware or other.
(Can be done after programming.)
Receiver
(Security Brands 14-REC20
or 14-REC300 not included)
© 2021 Security Brands, Inc. All rights reserved.
2 of 2
QSG-14RK10-EN Rev. B (12/2021)
Model 14-RK10
QUICK START GUIDE
A B
Call (972) 474-6390
Email [email protected]
We are available Mon–Fri / 8am–5pm Central
433-MHz Programming
(For the Ridge 2.0 Transceiver 14-REC20 only)
300-MHz Programming
(For 300-MHz receivers including the Receiver 300 14-REC300)
IMPORTANT! For security reasons we recommend using custom DIP switch positions.
11 12 5 _ _ _ _
Access Code to Be Added
(4 digits; numbers only)
Master Code
(1251 is default)
Channel
(1 for A, 7 for B)
Add 433-MHz Access Code
Pair Keypad Unit with Ridge 2.0 Receiver (14-REC20)
On Ridge 2.0 Transceiver, press and hold programming button for 3 seconds and let go.
LED will light. Perform procedure below, and LED will go out if pairing is successful.
21 12 5 _ _ _ _
Access Code to Be Deleted
(4 digits; numbers only)
Master Code
(1251 is default)
Sub Mode
Sub Mode
Delete 433-MHz Access Code
31 12 5 _ _ _ _
New Master Code
(4 digits; numbers only)
Master Code
(1251 is default)
Sub Mode
Change 433-MHz Master Code
81 12 5 _ _ _ _
Code to Be Added
(4 digits; numbers only)
Master Code
(1251 is default)
Sub Mode
Add 433-MHz Limited-Use Code (Channel A Only)
_
# of Uses
(1–9)
01 12 5 1 12 5
Master Code Again
(1251 is default)
Unit will beep and flash
and sound good tone
when complete.
Master Code
(1251 is default)
Sub Mode
Delete All 433-MHz Codes
91 12 5 _
Master Code
(1251 is default)
Channel
(1 for A, 2 for B)
Signifies a good tone
_ _ _ _
_
Access Code to Be Added
(4 digits; numbers only)
19 99 9
Master Code
(9999 is default)
Receiver DIP Switch Positions
(0 for off, 1 for on; 0101010101 is default)
Sub Mode
Add 300-MHz Access Code
2_ _ _ _
Access Code to Be Deleted
(4 digits; numbers only)
Sub Mode
Delete 300-MHz Access Code
3_ _ _ _
New Master Code
(4 digits; numbers only)
Sub Mode
Change 300-MHz Master Code
0
Master Code Again
(9999 is default)
Unit will beep and flash
and sound good tone
when complete.
Sub Mode
Delete All 300-MHz Codes
9 99 9
Master Code
(9999 is default)
9 99 9
Master Code
(9999 is default)
9 99 9 9 99 9
Master Code
(9999 is default)
_________
Additional information can be found at securitybrandsinc.com/ridge/

Other Security Brands Keypad manuals

Security Brands Advantage DKE User manual

Security Brands

Security Brands Advantage DKE User manual

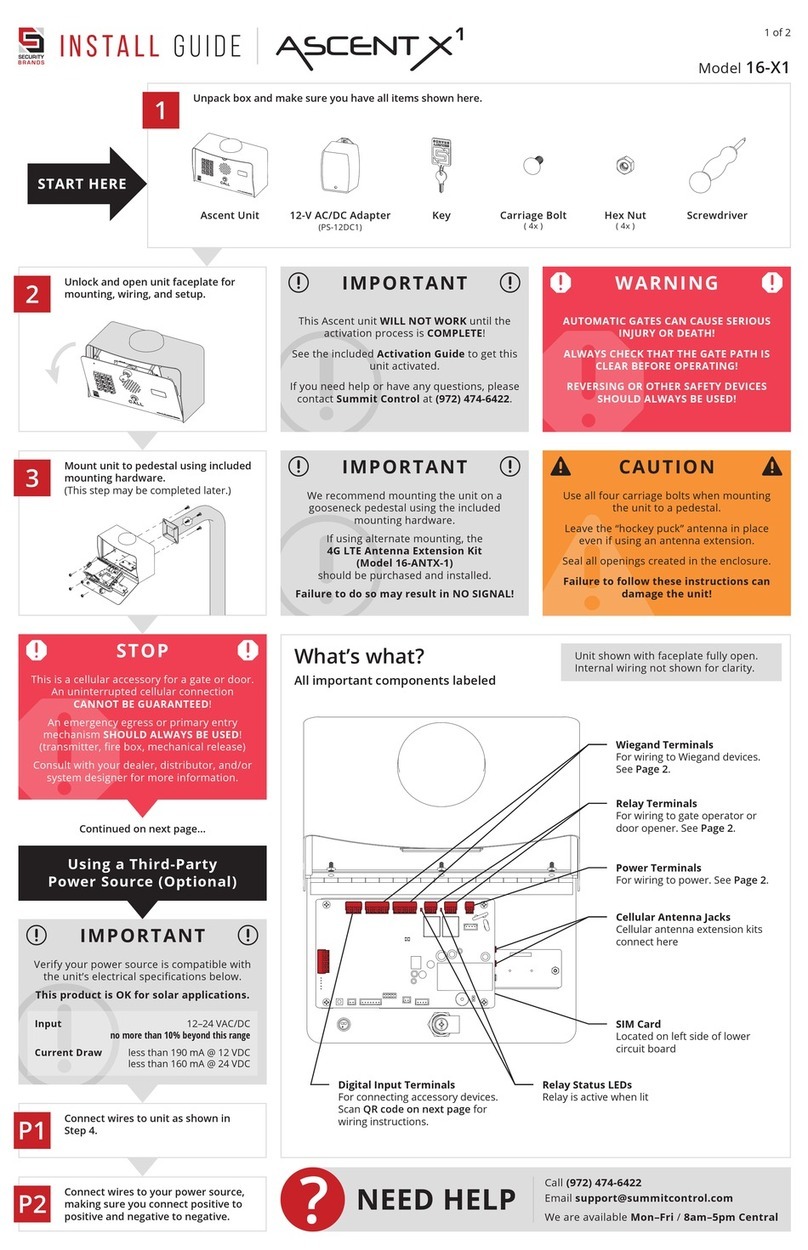
Security Brands ASCENT X1 User manual

Security Brands

Security Brands ASCENT X1 User manual

Security Brands ADVANTAGE DKLP Economy 19-100E User manual

Security Brands

Security Brands ADVANTAGE DKLP Economy 19-100E User manual

Popular Keypad manuals by other brands

Logitech MX Keys quick start guide

Logitech

Logitech MX Keys quick start guide

Vanderbilt SPCK420 manual

Vanderbilt

Vanderbilt SPCK420 manual

Transmitter Solutions DOL1000-MF Programming & installation manual

Transmitter Solutions

Transmitter Solutions DOL1000-MF Programming & installation manual

Bentel Security Absoluta M-touch installation instructions

Bentel Security

Bentel Security Absoluta M-touch installation instructions

Ksenia ergo M User's manual guide

Ksenia

Ksenia ergo M User's manual guide

SOREX Door Phone & Code Quick starting guide

SOREX

SOREX Door Phone & Code Quick starting guide

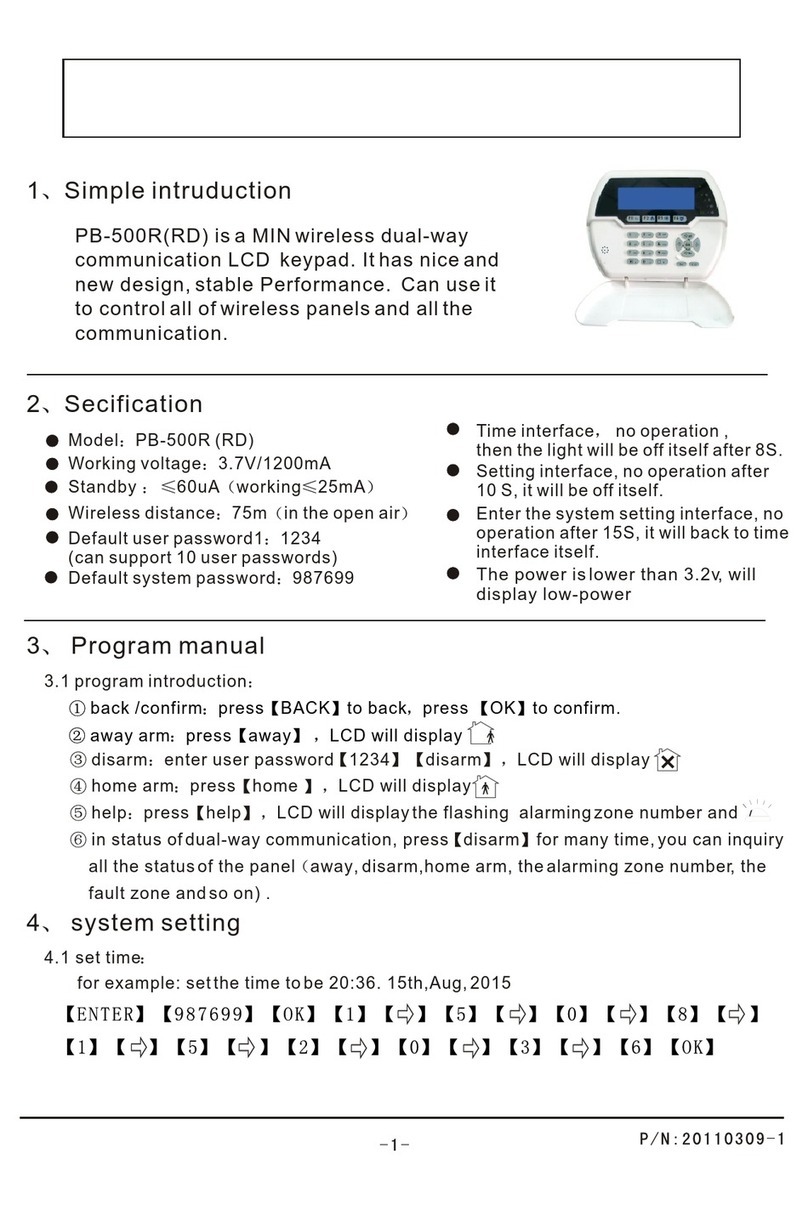
Skynet PB-500R Program manual

Skynet

Skynet PB-500R Program manual

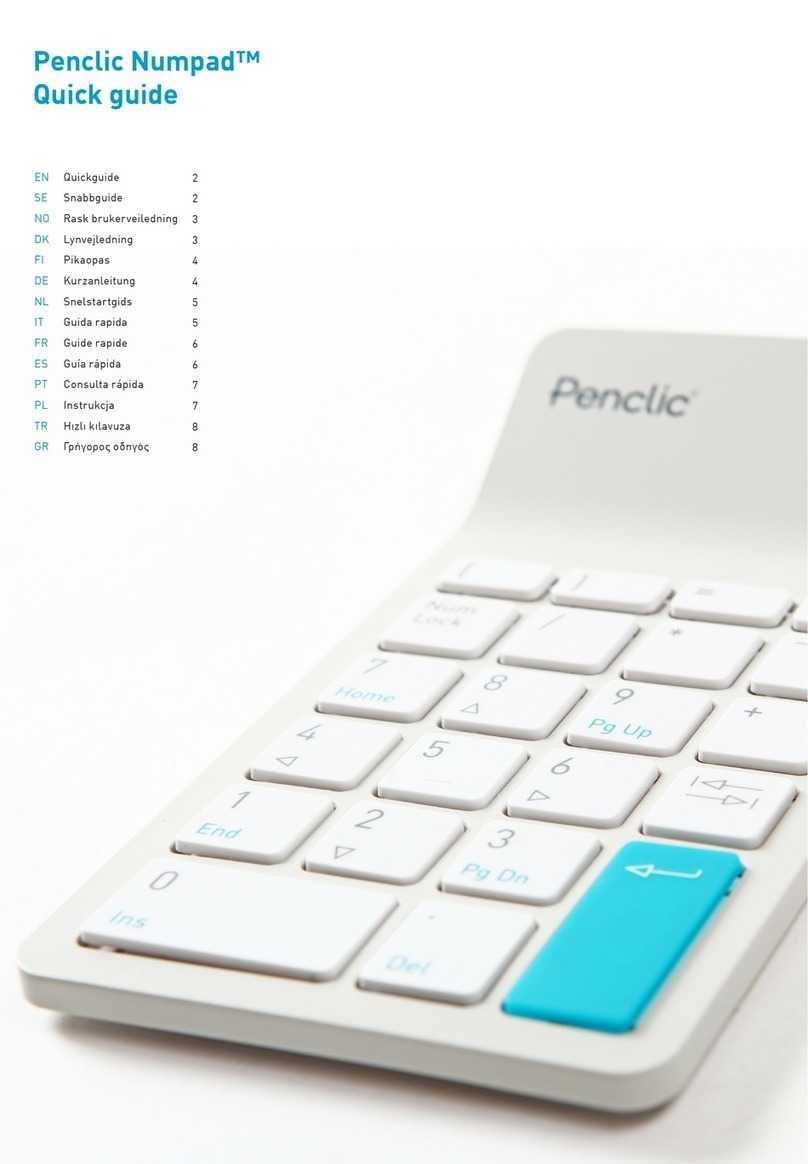
Penclic Numpad quick guide

Penclic

Penclic Numpad quick guide

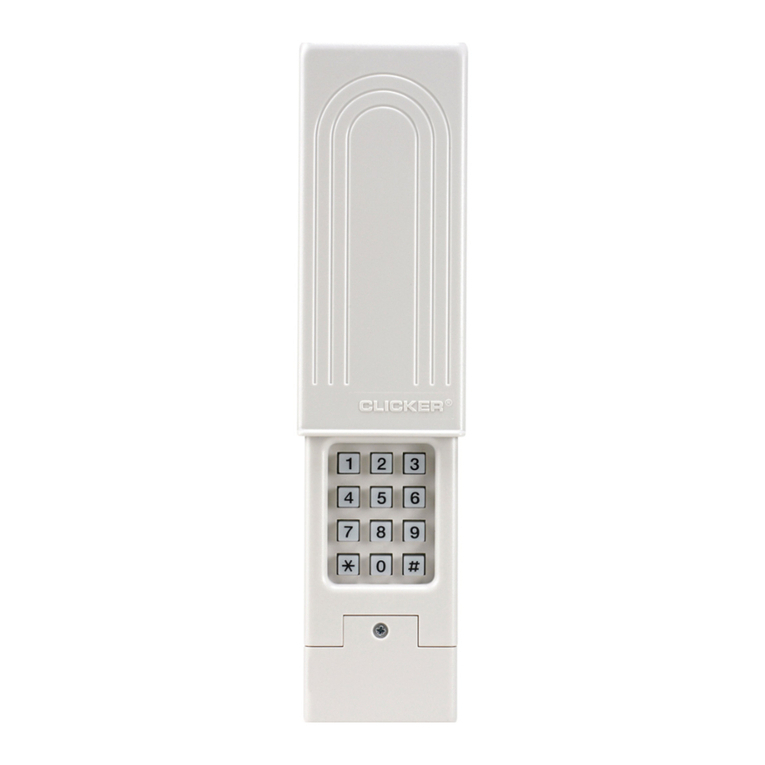
Clicker CLK1CD user manual

Clicker

Clicker CLK1CD user manual

ABB PSTEK 1SFC 132015M0201 installation instructions

ABB

ABB PSTEK 1SFC 132015M0201 installation instructions

EAST COAST KPX7 Coding Instructions

EAST COAST

EAST COAST KPX7 Coding Instructions

Hama SK130 Operating	 instruction

Hama

Hama SK130 Operating instruction

C Prox Ltd GO-KEY user manual

C Prox Ltd

C Prox Ltd GO-KEY user manual

Arrowhead SK1L owner's manual

Arrowhead

Arrowhead SK1L owner's manual

Visonic MKP 150 user guide

Visonic

Visonic MKP 150 user guide

ENFORCER SK-1123-SPQ manual

ENFORCER

ENFORCER SK-1123-SPQ manual

APO DK-9823 MK-II Programming & installation manual

APO

APO DK-9823 MK-II Programming & installation manual

Visonic MKP-160 user guide

Visonic

Visonic MKP-160 user guide

manuals.online logo
manuals.online logoBrands
  • About & Mission
  • Contact us
  • Privacy Policy
  • Terms and Conditions

Copyright 2025 Manuals.Online. All Rights Reserved.