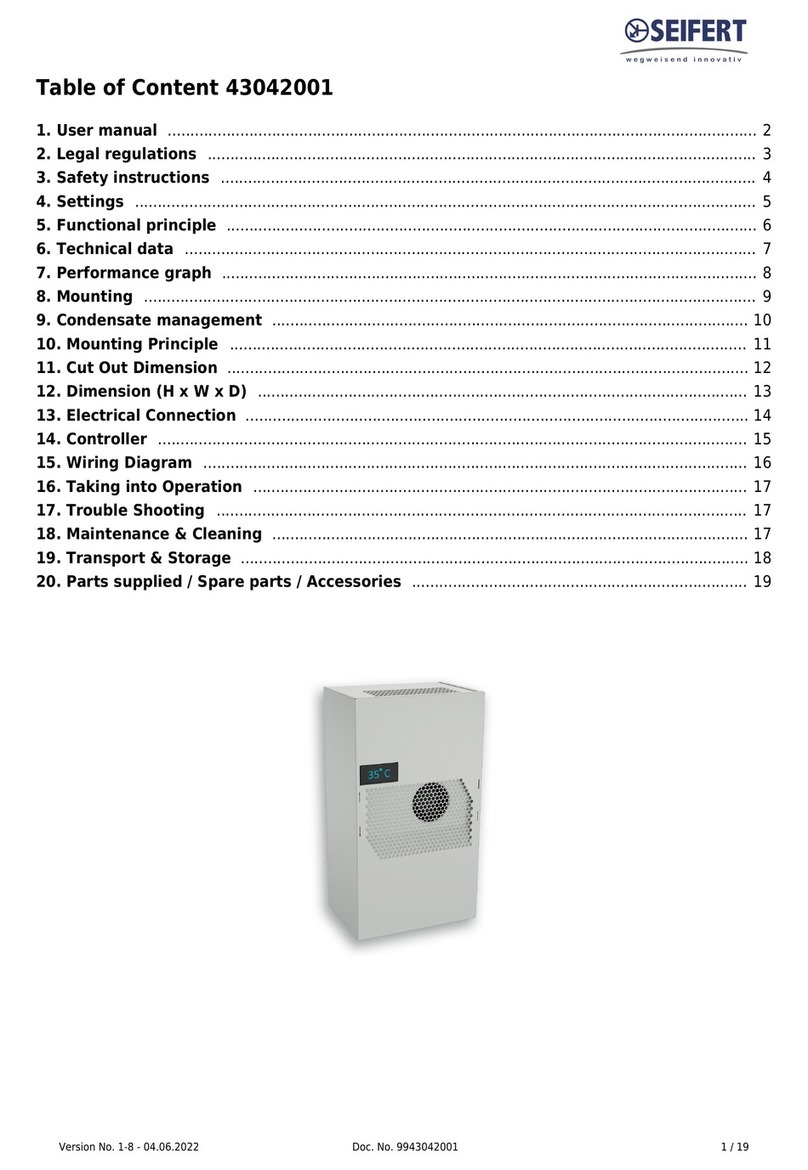
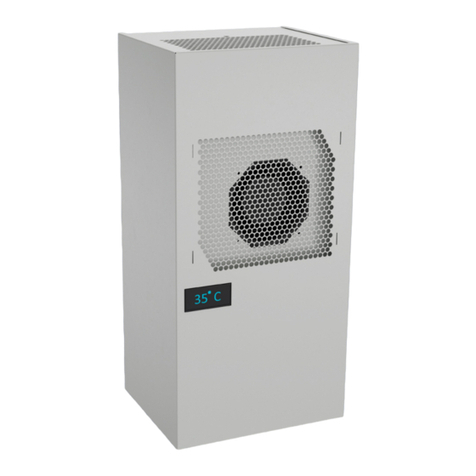
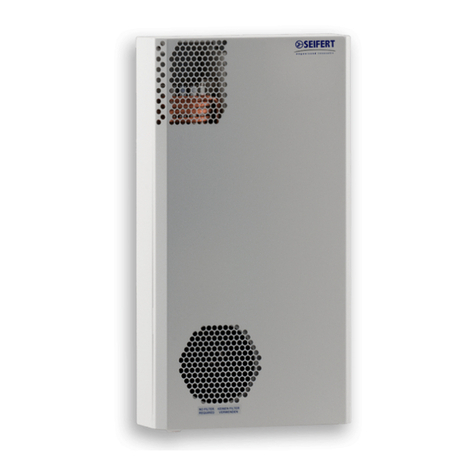
Seifert 730650B001 User manual

Version No. 1-1 - 01.11.2022 Doc. No. 99730650B001 1 / 25
Table of Content 730650B001
1. User manual 2 ..................................................................................................................................
2. Legal regulations 3 .........................................................................................................................
3. Safety instructions 4 ......................................................................................................................
4. Settings 5 .........................................................................................................................................
5. Functional principle 6 .....................................................................................................................
6. Technical data 7 ..............................................................................................................................
7. Performance graph 8 ......................................................................................................................
8. Mounting 9 .......................................................................................................................................
9. Condensate management 10 .........................................................................................................
10. Mounting Principle 12 ..................................................................................................................
11. Cut Out Dimension 17 ...................................................................................................................
12. Dimension (H x W x D) 18 ............................................................................................................
13. Electrical Connection 19 ...............................................................................................................
14. Wiring Diagram 20 ........................................................................................................................
15. Taking into Operation 21 .............................................................................................................
16. Maintenance & Cleaning 22 .........................................................................................................
17. Maintenance 22 .............................................................................................................................
18. Transport & Storage 23 ................................................................................................................
19. Parts supplied / Spare parts / Accessories 24 ..........................................................................

Version No. 1-1 - 01.11.2022 Doc. No. 99730650B001 2 / 25
1. User manual
This instruction manual contains information and instructions to enable the user to work safely, correctly and
economically on the unit. Understanding and adhering to the manual can help one:
Avoid any dangers.
Reduce repair costs and stoppages.
Extend and improve the reliability and working life of the unit.
PLEASE ENSURE TO USE THE RIGHT VERSION OF THE INSTRUCTION MANUAL SUITABLE FOR YOUR
UNIT.
Intended use
The unit is to be used exclusively for the dissipation of heat from control cabinets and enclosures (stationary,
not moving) in order to protect temperature sensitive components in an industrial environment. To meet the
conditions of use, all the information and instructions in the instruction manual must be adhered to.
General danger
Indicates compulsory safety regulations which are not covered by a specific
pictogram such as one of the following.
High electric voltage
Indicates electric shock danger.
Important safety instruction
Indicates instructions for safe maintenance and operation of the unit.
Attention
Indicates possible burns from hot components.
Attention
Indicates possible damage to the unit.
Instruction
Indicates possible danger to the environment.

Version No. 1-1 - 01.11.2022 Doc. No. 99730650B001 3 / 25
2. Legal regulations
Liability
The information, data and instructions contained in this instruction manual are current at the time of going to
press. We reserve the right to make technical changes to the unit in the course of its development. Therefore,
no claims can be accepted for previously delivered units based on the information, diagrams or descriptions
contained in this manual. No liability can be accepted for damage and production caused by:
Disregarding the instruction manual
Operating error
Inappropriate work on or with the unit
The use of non-specified spare parts and accessories
Unauthorised modifications or changes to the unit by the user or his personnel
The supplier is only liable for errors and omissions as outlined in the guarantee conditions contained in the main
contractual agreement. Claims for damages on any grounds are excluded.

Version No. 1-1 - 01.11.2022 Doc. No. 99730650B001 4 / 25
3. Safety instructions
Upon delivery the unit is already meeting current technical standards and can therefore be safely taken into
operation. Only authorised personnel is allowed to work on the unit. Unauthorised personnel must be prohibited
from working on the unit. Operating personnel must inform their superiors immediately of any malfunction of
the unit.
Please note that before starting to work on or with the unit, a procedure must be carried out inside the cabinet
on which the unit is to be mounted.
Before commencing work inside the cabinet, the control cabinet manufacturer's instruction must be read with
regards to:
Safety instructions.
Instructions on taking the cabinet out of operation.
Instructions on the prevention of unauthorised cabinet reconnection.
The electric equipment meets the valid safety regulations. One can find dangerous voltages (above 50 V AC or
above 100 V DC)
Behind the control cabinet doors.
On the power supply in the unit housing.
The unit has to be operated according to the type plate and the wiring diagram, and must be protected
externally from overloading and electrical faults via suitable protective devices.
Danger through incorrect work on the unit
The unit can only be installed and maintained by technical competent and qualified
personnel, using only supplied material according to the supplied instructions.
Danger from electrical voltage
Only specialised personnel are allowed to maintain and clean the unit. The personnel must
ensure that for the duration of the maintenance and cleaning, the unit is disconnected from
the electrical supply.
Attention
Damage to the unit through the use of inappropriate cleaning materials. Please do not use
aggressive cleaning material.
Instruction
Damage to the environment through unauthorised disposal. All spare parts and associated
material must be disposed according to the environmental laws.

Version No. 1-1 - 01.11.2022 Doc. No. 99730650B001 5 / 25
4. Settings
Air - water heat exchangers are intended as complementary accessories to large industrial equipment which
include a motor-operated fan or blower together with a cooling heat exchanger. These may also include an
electric heater. The fan or blower is intended to recirculate air and allow heat exchange. The heat exchanger is
designed for chilled water or anti-freeze/corrosion inhibitor mixed water from a separate source.
The cooling function may be controlled by an on-board or remote controller or thermostat, a thermostatically
controlled valve or an electrically controlled valve. Heating function, when installed is provided by an electrical
heating element. The unit seals the cabinet which ensures that the clean air inside does not come into contact
with the ambient air which may well be dirty or polluted. The unit is fit for purpose within the rated/declared
ambient conditions (e.g. dusty and oily air or high air temperatures between 1°C and 72°C), also indicating the
rated allowable ingress and environment.
Water quality
To ensure the maximum lifetime of an air-water heat exchangers, it is important to supply cooling water in
conformity with the VGB Cooling Water Guidelines (VGB-R 455 P). The cooling water used must be soft enough
to avoid scale deposits, but should not be too soft as this would corrode the heat exchanger. Where the cooling
water is cooled for reuse, part of the water has to be changed with fresh water to prevent the concentration of
hardness and salt content which makes the water more corrosive.
The main impurities and possible methods of eliminating them are given in the table below:
Pollution of the water Method of elimination
Mechanical impurities (dp > 2mm) Filtration of the water
Excessive hardness Softening of the water by ion
exchange
Moderate content of mechanical impurities
and hardness formers Addition of dispersants or stabilisers
Moderate content of chemical impurities Addition of passivators and inhibitors
Biological impurities (bacteria and algae) Addition of biocides
When the water is re-cooled, it is recommended that the water condition is maintained as close as possible to
the following list of hydrological data:
Hydrological data
pH-values 7 - 8.5
Carbonate hardness >3 <8 °dH
Free carbon dioxide 8 - 15 mg/dm³
Associated carbon dioxide 8 - 15 mg/dm³
Aggressive carbon dioxide 0mg/dm³
Sulphides free mg/dm³
Oxygen < 10 mg/dm³
Chloride ions < 50 mg/dm³
Sulphate ions < 250 mg/dm³
Nitrates and nitrites < 10 mg/dm³
COB < 7 mg/dm³
Ammonia < 5 mg/dm³
Iron < 0.2 mg/dm³
Manganese < 0.2 mg/dm³
Conductivity < 2200 µS/cm
Solid residue from evaporation < 500 mg/dm³
Potassium manganate consumption < 25 mg/dm³
Suspended matter < 3 mg/dm³
(part flow cleaning recommended) > 3 < 15 mg/dm³
(continuous cleaning) > 15 mg/dm³
Version No. 1-1 - 01.11.2022 Doc. No. 99730650B001 6 / 25
5. Functional principle
The air inside the control cabinet is moved over a laminar heat exchanger through which a coolant medium
runs, making use of the counter-flow principle. The fan blows the warm air along the aluminium fins of the heat
exchanger; it cools down and is then returned into the cabinet. The heat exchanger fan runs constantly,
providing continuous circulation of the air in the cabinet. This circulation prevents hot spots within the control
cabinet. During this process, the coolant heats up and is returned to the coolant supply system at an increased
temperature.
In order to save operating costs, and in the interests of environmental protection, the water temperature can be
reduced by re-cooling systems or cold water sets so that it can be reused in the heat exchanger. This process
involves the water circulating in a closed circuit.
1. Air intake cabinet side
2. Radial fan cabinet side
3. Heat exchanger
4. Air outlet cabinet side
5. Water in
6. Water out

Version No. 1-1 - 01.11.2022 Doc. No. 99730650B001 7 / 25
6. Technical data
Order Number 730650B001
Cooling capacity L35W10 (200 l/h) 700 W
Coolant Water, light oils or similar
Operating Temperature Range 1˚C - 60˚C
Air flow volume (system / unimpeded) 110 / 220 m³/h
Mounting Wall mounted / recessed
Housing Material Mild steel, powder coated
Dimensions A x B x C (D+E) 370 x 520 x 131 (37+94) mm
Weight 7.5 kg
Voltage / Frequency 24 V DC
Starting current 0.3 A
Max. current 0.3 A
Max. power 7 W
Pressure water circuit 10 bar
Water connection Rp 3/8” - inside thread (with optional connectors for pipe
internal diameter of 10 mm)
Fuse 1 A (T)
Connection 5 - pole terminal for signals
4 - pole terminal for power
Ingress Protection IP 55 / Type 12, 3, 3R, 4, 4X
Approvals CE, cURus, cULus

Version No. 1-1 - 01.11.2022 Doc. No. 99730650B001 8 / 25
7. Performance graph

Version No. 1-1 - 01.11.2022 Doc. No. 99730650B001 9 / 25
8. Mounting
The power supply rating on unit rating plate must comply with mains rating.
Always disconnect the power supply before opening the unit.
SLIMLINE HEX air/ water heat exchangers have an extremely compact design and construction, giving them the
advantage of occupying very little space. In addition, the SLIMLINE HEX models can be wall mounted or semi
recessed, as required.
To achieve a good seal between the control cabinet and the heat exchanger, the unit's mounting surface on the
control cabinet may need to be reinforced. The air intake and outlet must not be obstructed by equipment
inside the control cabinet, so that the air is mixed thoroughly and thermal stratification is avoided.
For the heat exchanger to work perfectly, the cabinet must be completely sealed from its surroundings. An
imperfectly sealed control cabinet will result in an increased level of condensation. The control cabinet should
have a minimum of IP54 protection, in accordance with IEC 60 529.
Cooling medium connection
There are two pipe connection points in the bottom or in the top of the unit to connect the coolant supply. The
pipe connectors have a G3/8” or G1/2" female thread depending on version. Before connecting the coolant
circuit, note the flow direction of the coolant medium. Next to the pipe connectors, there are labels to identify
the inlet and outlet of the coolant medium. A small indent is also present in the housing next to the inlet port.
To empty the unit connect the water inlet pipe to a compressed air supply and route the water outlet pipe to a
location where the water can be drained. If a solenoid valve is installed on the unit this will be open if the unit is
turned off. Slowly open the compressed air supply till all the water in the heat exchanger is flushed out. Ensure
that the pressure of the system is below the rated pressure of the unit and fitting.

Version No. 1-1 - 01.11.2022 Doc. No. 99730650B001 10 / 25
9. Condensate management
High humidity and low temperatures inside the enclosure can lead to condensation on the evaporator.
Condensate that flows back into the enclosure can damage sensitive control electronics.
If too much condensation forms, the condensation is drained out of the cooling unit from outlets in the front
bottom cover (Position 1, 3 and 4) or directly through the bottom of the unit (Position 2). The drain pipe must
be connected wherever is most suitable for the customer application.
To install the drain pipe directly through the bottom of the unit (Position 2) please follow below steps:
Remove the top cover, middle cover, and bottom cover. The top cover does not need to be removed on1.
the RK-7525 and RK-7555. The louver blanks that are marked with an arrow need to be removed carefully
with a flat blade screwdriver. Then a torx screwdriver is to be used to loosen the screws behind the
removed louver blanks. There is no need to completely remove the screws.

Version No. 1-1 - 01.11.2022 Doc. No. 99730650B001 11 / 25
Remove the sealing panel. Remove only the lower sealing panel on the RK-7525 and RK-7555.1.
Take the grommet supplied in the packing bag and insert in the bottom panel.2.
Insert the drain hose from the bottom of the unit and keep pushing until it is fully inserted in the drain3.
fitting.
Re-install the sealing panel.4.
Re-install the covers and the louver blanks.5.
To install the drain pipe through the front bottom cover (Positions 1 and 3) please follow below steps:
Remove the top cover, middle cover, and bottom cover. The top cover does not need to be removed on1.
the RK-7525 and RK-7555. The louver blanks that are marked with an arrow need to be removed carefully
with a flat blade screwdriver. Then a torx screwdriver is to be used to loosen the screws behind the
removed louver blanks. There is no need to completely remove the screws.
Remove the sealing panel. Remove only the lower sealing panel on the RK-7525 and RK-7555.2.
Install the M5 silicon washer and the condensate drain elbow fully into the drain fitting.3.
Take a section of drain pipe supplied in the packing bag and insert over the condensate drain elbow.4.
Insert the barbed POM elbow fully into the drain pipe.5.
Insert the remaining drain pipe over the barbed POM elbow and route outside of the unit.6.
1 - M5 silicon washer
2 - Condensate drain elbow
3 - Drain hose
4 - Barbed POM elbow
5 - Drain hose
Re-install the sealing panel.7.
Re-install the covers and the louver blanks.8.
Take the grommet supplied in the packing bag and insert in the bottom panel.9.
If this drain pipe is not used, then the drain point in the bottom of the unit MUST be open. A grommet is
supplied in the packing bag to be installed in the bottom of the unit if an alternate drain location is used.
In order to prevent the formation of excessive condensate, you should nevertheless:
- check the seals on regular intervals
- consider installing a door contact switch (order no. 3100001). This will prevent condensation forming when
enclosure door is left open.

Version No. 1-1 - 01.11.2022 Doc. No. 99730650B001 12 / 25
10. Mounting Principle
Unpacking unit:
Please follow the below steps to unpack the unit.
STEP 1:
Stand the cooling unit upright with the pre-cut packaging opening facing up.
STEP 2:
Pull off the packaging opening.
STEP 3:
Hang the transport loop of the unit in the transport hook and lift it slightly.
STEP 4:
Pull off the packaging and slide out the tray with installation material and the short version of the operating
manual.
STEP 5:
Pull off the remaining packaging.
STEP 6:

Version No. 1-1 - 01.11.2022 Doc. No. 99730650B001 13 / 25
The cooling unit can now be attached to the enclosure.
Mounting:
The power supply rating on unit rating plate must comply with mains rating.
Always disconnect the power supply before opening the unit.
The heat load to be dissipated from enclosure should not exceed specific cooling output of the unit at any
condition. At cooling unit selection always cater for a safety margin of at least 15% extra cooling output in the
worst conditions.
Air inlets and outlets must be completely free from obstruction. Ensure that flows of air leaving and entering the
cooling unit, internal and external, are not obstructed. It must also be ensured in accordance with UL, that the
air outlet is not blowing air directly at an equipment operator. Should this be the case a barrier or duct shall be
provided to redirect the airflow.
Cooling unit enclosure air suction hole must be installed in the highest possible point.
When installing the unit on a door ensure it can take the weight. Before drilling the enclosure ensure the fixing
elements and couplings will not interfere with the equipment inside the enclosure itself. Disconnect power
before starting any work inside the enclosure.

Version No. 1-1 - 01.11.2022 Doc. No. 99730650B001 14 / 25
Cold air outlet duct:
When using a cold air outlet duct please follow the steps below.

Version No. 1-1 - 01.11.2022 Doc. No. 99730650B001 15 / 25
Applying supplied mounting gasket or tight tape.
For external mount units the mounting gasket is used. This consists of 4 pieces. Top section (1), sides (2), and
bottom section (3). Attach the gasket to the unit making sure to align the holes in the gasket with the mounting
popnuts. Also make sure not to leave any gaps between the pieces of gasket.
For recess mount units apply the supplied foam tape as shown in the below image. At the bottom overlap the
tight tape to ensure there are no air leaks.

Version No. 1-1 - 01.11.2022 Doc. No. 99730650B001 16 / 25
NOTES:
• Use only the supplied mounting hardware.
• Tighten Screws to 4.5 Nm.
• Ensure the mounting surface does not warp after assembly and reinforce it if necessary.
1 M6 screws
2 M6 toothed washers
3 M6 flat washers
4 Enclosure
5 Mounting gasket
6 Lifting sling
7 Cover
8 M4 screws
Fig. 1Recessed
Fig. 2External

Version No. 1-1 - 01.11.2022 Doc. No. 99730650B001 17 / 25
11. Cut Out Dimension

Version No. 1-1 - 01.11.2022 Doc. No. 99730650B001 18 / 25
12. Dimension (H x W x D)

Version No. 1-1 - 01.11.2022 Doc. No. 99730650B001 19 / 25
13. Electrical Connection
Caution, risk of death
Unconnected and / or faulty protective conductor systems can lead to dangerous voltages and electric shocks
which can cause serious accidents.
Work on electrical connections may only be carried out by trained electrical engineers.
Door Switch
The unit can be switched ON and OFF via a door contact switch. When delivered the door contact terminals are
bridged on the female connector. To connect the door contact switch remove the bridge and connect door
contact switch. The contact must be closed when the cabinet door is closed.
Alarm Contacts
Alarm contacts rated according to:
EN60730-1 8(4)A, 10(10)A @ 250Vac 100000 cycles
UL 873 8A 2FLA 12LRA, 12A 12FLA 72LRA @ 250Vac 30000 cycles
These contacts are not suitable for fluorescent loads (neon lights, etc.) that use starters (ballasts) with phase
shifting capacitors. Fluorescent lamps with electronic controllers or without phase shifting capacitors can be
used, depending on the operating limits specified for each type of relay.
SCCR
Refer to UL508A Supplement SB and Seifert Systems’ document Short Circuit Current Rating (SCCR) on methods
how to modify the available short circuit current within a circuit in the panel.

Version No. 1-1 - 01.11.2022 Doc. No. 99730650B001 20 / 25
14. Wiring Diagram
Power connector
PE
0V DC
-
+24V DC
Table of contents
Other Seifert Cooling Box manuals

Seifert
Seifert 42681001 User manual

Seifert
Seifert 43042001 User manual

Seifert
Seifert 46122001 User manual

Seifert
Seifert 43302101 User manual

Seifert
Seifert 43253001 User manual

Seifert
Seifert ComPact Series User manual

Seifert
Seifert KG 4305 User manual

Seifert
Seifert 42700001 User manual

Seifert
Seifert 43100001 User manual

Seifert
Seifert KG 4305 User manual