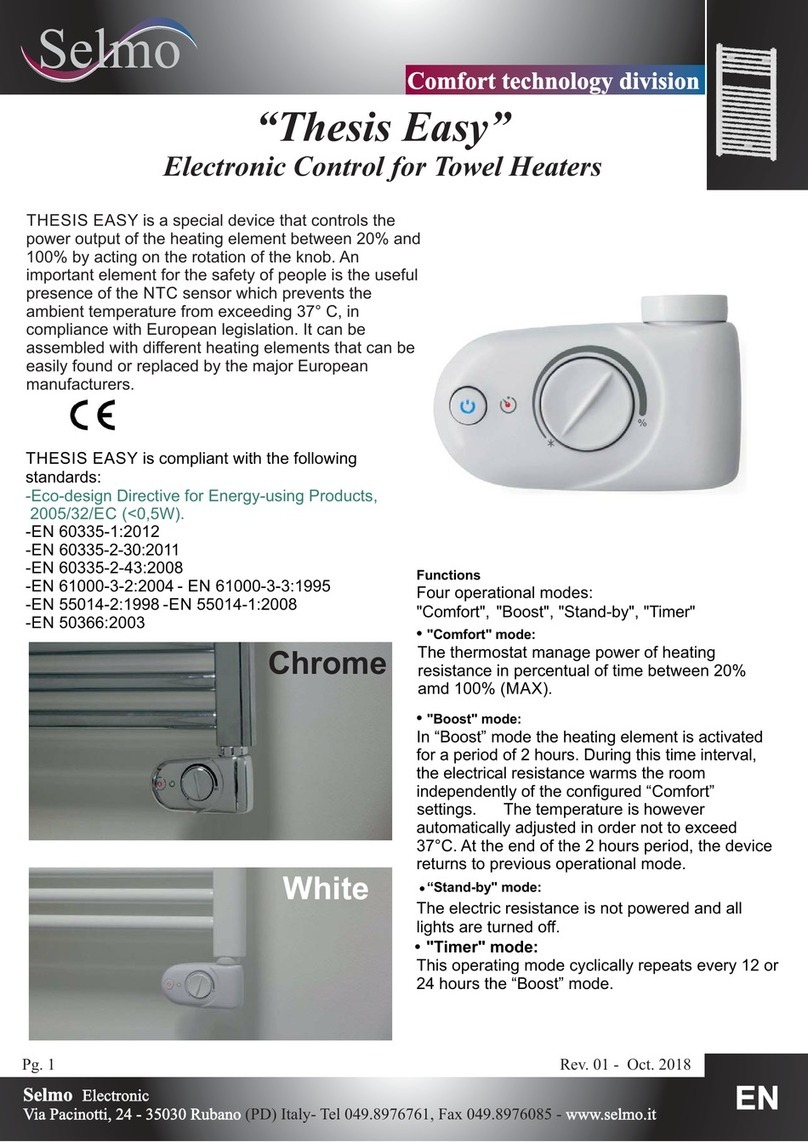
Selmo Thesis Plus User manual

Comfort technology divisio
n
“THESIS PLUS”
E
lectronic control for towel radiator
s
Selmo Electronic
Via Pacinotti, 24 - 35030 Rubano (PD) Italy- Tel +39.049.8976761, Fax +39.049.8976085 - www.selmo.it E
N
Rev.13 November 2015
White The electric resistance is not powered and all
lights are turned off.
x"Timer" mode:
This operating mode cyclically repeats every 12 or
24 hours the “Boost” mode.
Chrome
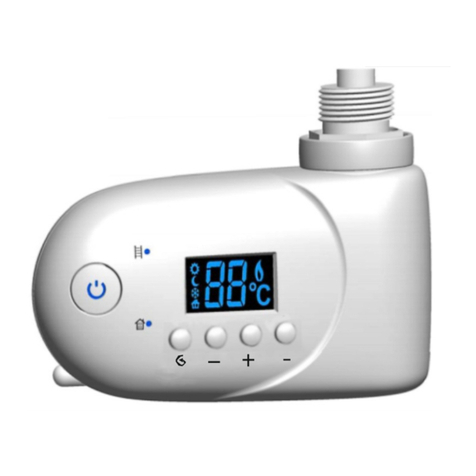
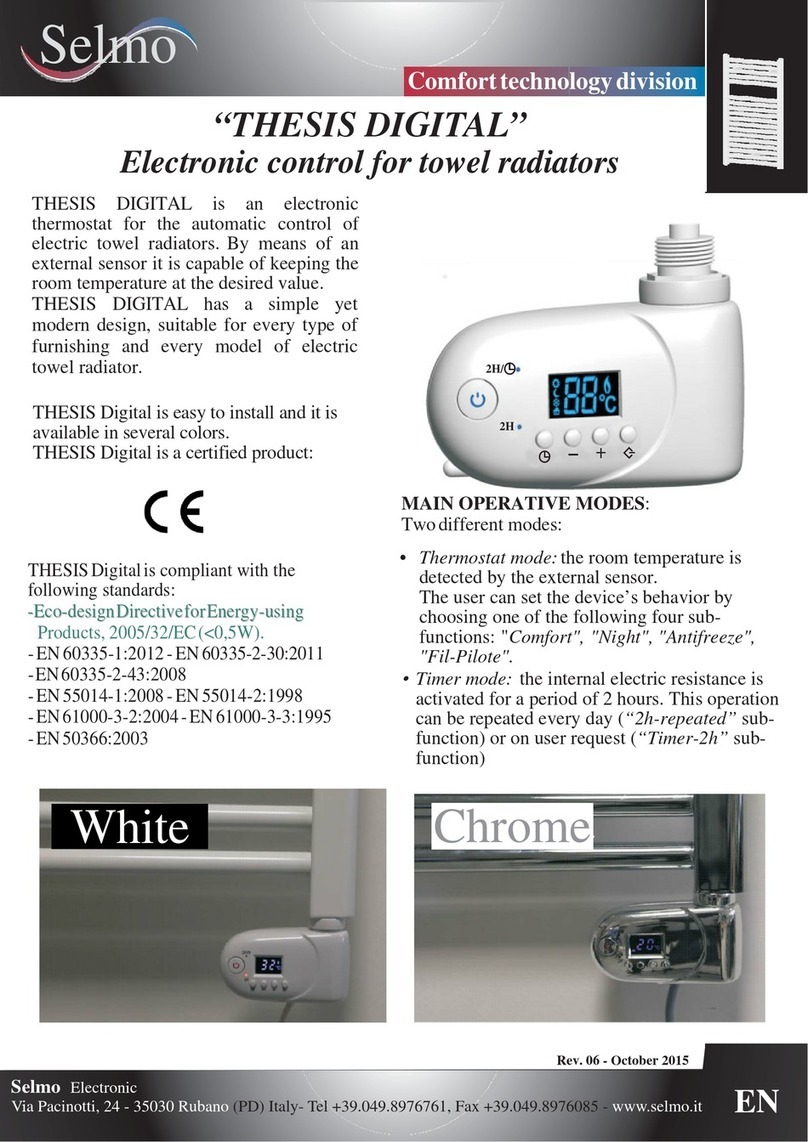
THESIS Plus is an electronic thermostat for the control electric towel radiators.
By means of an external sensor it is capable of
keeping the room temperature at the desired value.
THESIS Plus has a simple yet modern design,
suitable for every type of furnishing and every
model of electric towel radiator.
THESIS Plus is easy to install and it is available in
several colors.
THESIS Plus is a certified product.
THESIS Plus is compliant with the following
standards:
-Eco-design Directive for Energy-using Products,
2005/32/EC (<0,5W).
-EN 60335-1:2012
-EN 60335-2-30:2011
-EN 60335-2-43:2008
-EN 61000-3-2:2004 - EN 61000-3-3:1995
-EN 55014-2:1998 -EN 55014-1:2008
-EN 50366:2003
Functions
Four operational modes:
"Comfort", "Boost", "Stand-by", "Timer"
• "Comfort" mode:
The thermostat keeps the room temperature at
the value set by the user (through the knob). In
this modality the device can be remotely
controlled through the "Fil-Pilote" system.
• "Boost" mode:
In “Boost” mode the heating element is activated
for a period of 2 hours. During this time interval,
the electrical resistance warms the room
independently of the configured “Comfort”
temperature. The temperature is however
automatically adjusted in order not to exceed
32°C. At the end of the 2 hours period, the device
returns to previous operational mode.
• "Stand-by" mode:

Comfort technology divisio
n
“THESIS PLUS”
E
lectronic control for towel radiator
s
Selmo Electronic
Via Pacinotti, 24 - 35030 Rubano (PD) Italy- Tel +39.049.8976761, Fax +39.049.8976085 - www.selmo.it E
N
Rev.13 November 2015
Technical specifications
Adjustment example of the thesis Plus with a set temperature of 20 ° C and a cold wall of -5 ° C
Supply voltage 230VAC - 50Hz
Maximal power 2000W - 230VAC
Electrical characteristics
7°C ÷ 32°C
Operational temperature -10°C ÷ +40°C
Performance
IP degree IP44
Insulation class Class I, Class II
Certification mark CE
Environmen
t
WEEE, RoHS
Safety
Size 113x73x39mm (plastic case)
Product Electronic control for electric towel radiators
Control type Electronic control
Type of applications Towel radiators
Temperature setting Analog through rotating knob
Fil-Pilote control “Fil-Pilote” standard with 6 commands
Signaling Led /
operational modes
-Red/Blue backlit button "On/Stand-by”.
-Amber/green/red Led.
-Operational modes: Comfort, Stand-by, Boost 2h, Timer.
Connector of the heating element 6,3x0.8mm Faston: Neutral, Live, Earth (Class I)
Temperature sensor 10KOhm a 25°C, Type NTC
Compliant standards EN55014-1, EN55014-2, EN61000-3-2, EN61000-3-3,
EN60335-1, EN60335-2-30, EN60335-2-43, EN50336.
Warranty 2 years
Plastic box / knobs / buttons ABS-V0 Silver, ABS-V0 White RAL9003
Power cable H05VVF <HAR> L=900mm; 3x1mmq - Class I; 2x1mmq - Class II;
3x1mmq - Class II + Fil-Pilote
Available electric plugs IT-UK-Shucko-CH (Cable length =1200mm)
White White cable RAL 9003
Available colors
Chrome Gray cable RAL 7001

Comfort technology divisio
n
“THESIS PLUS”
E
lectronic control for towel radiator
s
Selmo Electronic
Via Pacinotti, 24 - 35030 Rubano (PD) Italy- Tel +39.049.8976761, Fax +39.049.8976085 - www.selmo.it E
N
Rev.13 November 2015
WARNING
Preserve with care the present instruction sheet and read carefully before using the device.
• The present device has been designed for exclusive use on a towel radiator.
• The thermostat is designed for heating the liquid contained inside a towel radiator in
combination with a heating element. Any other use is forbidden.
• Before using, carefully ensure that the line voltage is the same as that specified for
the device (see technical specifications).
• Only use heating elements compatible with the type of used towel radiator.
• Disconnect power supply before cleaning or performing maintenance of the product.
• In case of damage of the power supply cable shut down the device and do not tamper
with it. The damaged power supply cables can be replaced exclusively by the
manufacturer or by an authorized service center. Failure to comply with the above
rules could lead to compromised system safety and void the warranty.
• Store and transport the heating element exclusively in the protecting packaging.
• Replacement of the heating element can be done exclusively by the product manufacturer.
RISK OF ELECTRIC SHOCK!
Disconnect power supply before proceeding with installation.

Comfort technology divisio
n
“THESIS PLUS”
E
lectronic control for towel radiator
s
Selmo Electronic
Via Pacinotti, 24 - 35030 Rubano (PD) Italy- Tel +39.049.8976761, Fax +39.049.8976085 - www.selmo.it E
N
Rev.13 November 2015
YES
N
O
Installation instructions
"Thesis plus" is an electronically controlled thermostat compatible with the
heating element types showed in the picture below.
IMPORTANT: Pay attention to the maximal length of the
19mm connector (see picture on the left). Longer
connectors could damage the device.
Puls
.
.
CLEANING
• Disconnect the device from the electrical power supply before cleaning or performing maintenance
operations.
• Use only gentle cleaning agents and no abrasive cleaning tools.
WARNING:
Disconnect the power supply before proceeding with installation.
The installation has to be performed only by authorized personnel.
Threa
d
Fastening
area
Insulation
Connector 2 Faston 6,3x0,8mm.
Backlit "On/Stand-by" button
Temperature Sensor
Power supply cable
“Boost” and “Timer” LED
Button for “Boost 2h” and
“Timer” modes
Temperature setting knob
(Range 7°C – 32°C)
Wrench
Back fastening screw
Heating element connector
Earth connection (only Class I)
Ring
“O-Ring”
Heating Element

Comfort technology divisio
n
“THESIS PLUS”
E
lectronic control for towel radiator
s
Selmo Electronic
Via Pacinotti, 24 - 35030 Rubano (PD) Italy- Tel +39.049.8976761, Fax +39.049.8976085 - www.selmo.it E
N
Rev.13 November 2015
1. Make sure that the towel radiator does not have leakage or air lock.
2. The device shall not be positioned directly in front of an electric plug.
3. Prevent water jets from hitting the equipment.
4. Connect the temperature controller only to a suitable heating element.
5. Ensure that the mains voltage is the same as indicated in the technical specifications.
6. Make sure that the type of electric resistance is compatible with the model of towel radiator
being used (check the product specifications provided by the manufacturer). The usage of a
heating element with higher power:
- Does not increase the actual power of the towel radiator;
- Might shorten life of the heating element;
- Could damage the equipment.
7. Make sure that the power of the electric resistance does not exceed the maximum power
of the towel radiator (check the label on the heating element).
8. When installed in a room with bathtub or shower, respect the “Protection Zones” according to
IP44 insulation class (in UK according to IEE cabling directives). Furthermore, make sure to
respect all local safety directives.
9. The device has to be protected by a 30mA circuit breaker (RCD).
10. Power the device with the recommended voltage (see technical specifications).
11. If a device is directly connected to a fixed electric installation, install an isolating switch
compliant with local directives for power supply disconnection.
12. Place the "O-Ring" before the fastening area.
13. After ensuring that the "O-Ring" is correctly positioned, screw the electric resistance in the
relevant threaded hole of the towel radiator, properly secure it and insert the cover ring.
14. Extract the connecting cables from the device. The two Faston connectors and the Class I
ground connector.
15. Insert the 2 Faston into the relevant connectors of the heating element.
16. Connect the female Faston connector to Earth (only Class I).
17. Insert the lower part of the heating element into the ready connected thermostat.
18. Align the device to the towel radiator. Warning! Do not rotate the device more than 30
degrees on both directions.
19. Push the device against the base of the heating element to compress the “O-Ring”, properly
fix the related fastener so that the device remains well secured and does not rotate around
the heating element.
20. Connect the power supply cable.
DISPOSAL
This product may not be treated as ordinary household waste. It has to be disposed in proper waste
collection sites. In case of replacement it shall be returned to the distributor.
Such an end-of-life treatment of the product will preserve the environment and will reduce
consumption of natural resources.
This symbol applied to the present product indicates the obligation to bring it to a proper waste
collection site, in order to let it be disposed according to 2002/96 / CE (RAEE - WEEE) directives.
• Disconnect power supply before installation.
• Only qualified personnel can connect the electronic device to the heating element.
• Make sure that the power of the electric resistance does not exceed the maximum power allowed
by the electronic control device.

Comfort technology divisio
n
“THESIS PLUS”
E
lectronic control for towel radiator
s
Selmo Electronic
Via Pacinotti, 24 - 35030 Rubano (PD) Italy- Tel +39.049.8976761, Fax +39.049.8976085 - www.selmo.it E
N
Rev.13 November 2015
Connection to Fil-Pilote system
(Only for product versions equipped with "Fil-Pilote")
Example
1. A control unit supporting the "Fil-Pilote" system can remotely control a Thesis Plus
device with "Fil-Pilote" functionality (Class II). The brown wire is the Live wire (L), the
gray wire is the Neutral wire (N) and the black wire is used for receiving the Fil-Pilote
signal.
Do not connect the black wire to the ground.
2. A Thesis Plus device without "Fil-Pilote" functionality (Class I) cannot be
remotely controlled. The brown wire is the Live wire (L), the blue wire is the
Neutral wire (N) and the yellow/green wire has to be connected to Earth.
Fil-Pilote
The "Fil-Pilote" system handles 6 different types of signal.
1. Standby: Shut down the heating element but the device remains enabled.
2. Comfort: Maintains the "Comfort" temperature set by the user.
3. ECO: Maintains the temperature 3,5°C below the "Comfort" temperature.
4. Anti-freeze: Avoids that the temperature falls below 7°C.
5. Eco-1: Maintains the temperature 1°C below the "Comfort" temperature.
6. Eco-2: Maintains the temperature 2°C below the "Comfort" temperature.
Fil-Pilote
Fil-Pilote
Statio
n

Comfort technology divisio
n
“THESIS PLUS”
E
lectronic control for towel radiator
s
Selmo Electronic
Via Pacinotti, 24 - 35030 Rubano (PD) Italy- Tel +39.049.8976761, Fax +39.049.8976085 - www.selmo.it E
N
Rev.13 November 2015
Water protection:
The IP44 protection level is
guaranteed by a special
design of the connection
parts.
Cable locking system:
According to the IEC
directives and fulfilling the
IP44 requirements, this
mechanism extends life of
the power cable.
Small dimensions:
Reduced device volume and thickness.
Internal buzzer:
For acoustic
warnings
according to
EN60335-1
directive.
External sensor:
Guarantees a stable room temperature and a prompt reaction in case of strong temperature
variation.
Plastic cover: The
connecting part to the
heating element is kept
hidden by this special
layout, so that the device
fits perfectly to the towel
radiator
.
Blue / red backlit button: The
backlight indicates the status of
the system.
Thermostat knob with button:
For easily setting the desired
“Comfort” temperature and for
activating the “Boost” and “Timer”
modes.
Red / green / amber Boost Led:
A small light indication informs the user
when “Boost” and “Timer” modes are
active.
Quick Guide

Comfort technology divisio
n
“THESIS PLUS”
E
lectronic control for towel radiator
s
Selmo Electronic
Via Pacinotti, 24 - 35030 Rubano (PD) Italy- Tel +39.049.8976761, Fax +39.049.8976085 - www.selmo.it E
N
Rev.13 November 2015
• “On/Stand-by” button: Pressing the “On/Stand-by” button it is possible to switch between “Stand-by”
mode and “Comfort” mode.
NOTE: When the device goes into “Stand-by” mode it beeps twice for 0.5s.
When the device is activated it beeps once for 1s.
“Stand-by” mode.
“Comfort” mode: Heating element is ON (red light).
“Comfort” mode: Heating element is OFF (blue light).
• Knob rotation:
The rotation of the knob sets the desired room temperature. A clockwise rotation
increases the set temperature value (max 32°C). An anticlockwise rotation decreases the
set temperature value (min 7°C).
• Knob button:
- “Boost” mode (2h). Press once the knob button in order to activate this operating mode (the
heating element will be activated at maximum power for 2h). To deactivate this operating mode,
press again the button.
“Boost” mode: “Boost” for 2h (blinking red light).
- “Timer-24h” mode: Press the knob for 3 seconds to activate this function. The control
system activates the heating element for 2 hours regardless of the set temperature
value (the maximal reachable temperature is 32°C), after that it returns into “Comfort”
mode and after 22 hours the “Boost” mode is started again for 2 hours. This sequence
will repeat endlessly. During the first cycle the duration of the “Comfort” mode is of 21
hours.
“Timer-24h” mode: - “Boost” for 2h (blinking green light).
- “Comfort” for 22h (permanent green light).
- “Timer-12h” mode: Press the knob for 5 seconds to activate this function.
The control system activates the heating element for 2 hours regardless of the set
temperature value (the maximal reachable temperature is 32°C), after that it returns into
“Comfort” mode and after 10 hours the “Boost” mode is started again for 2 hours. This
sequence will repeat endlessly. During the first cycle the duration of the “Comfort” mode
is of 9 hours.
“Timer-12h” mode: - “Boost” for 2h (blinking amber light).
- “Comfort” for 10h (permanent amber light).
Operating mode deactivation: To exit any time from the operating modes “Boost”, “Timer-12h”,
“Timer-24h”, press the knob button or the “On/Stand-by” button.
NOTE. The maximal reachable temperature in “Boost” mode is of 32°C.

Comfort technology divisio
n
“THESIS PLUS”
E
lectronic control for towel radiator
s
Selmo Electronic
Via Pacinotti, 24 - 35030 Rubano (PD) Italy- Tel +39.049.8976761, Fax +39.049.8976085 - www.selmo.it E
N
Rev.13 November 2015
S
tand-B
y
Com
f
or
t
BOOST 2
h
BOOST 24
h
BOOST 12
h
Backlit on/off button
STATUS
Red led ON Heating element turned on.
Blue led ON Room temperature reached,
heating element turned off.
Switched off "Stand-by" mode active.
Blinking
Red/Blue
Error message. The
heating element is
turned off. Contact
assistance
.
press 1 time
press for 3s
press for 5s
* The duration of the first "Comfort" cycle is of 21h.
** The duration of the first "Comfort" cycle is of 9h.
Repairs carried out by unauthorized personnel invalidate warranty.
The manufacturer reserves the right to make any changes to the product described in this
manual, at any time, and without prior warning.
Blinking red "Boost" mode active. The heating
element remains active for 2h. For
safety reasons, the maximum
temperature is of 32°C.
Control Led
Functio
n
a
l
dia
g
ra
m
Blinking
gree
n
"Boost" mode active (Timer 24). The
heating element remains active for
2h. For safety reasons, the
maximum temperature is of 32°C.
Permanent
gree
n
Back to "Comfort" mode for 22h.
*
Blinking
amber
"Boost" mode active (Timer 12). The
heating element remains active for
2h. For safety reasons, the
maximum temperature is of 32°C.
Permanent
ambe
r
Back to "Comfort" mode for 10h.
**
Table of contents
Other Selmo Controllers manuals
