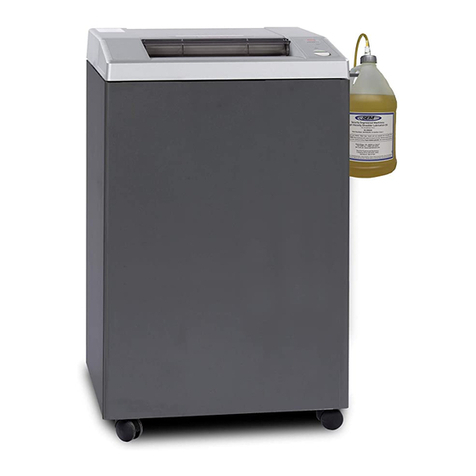
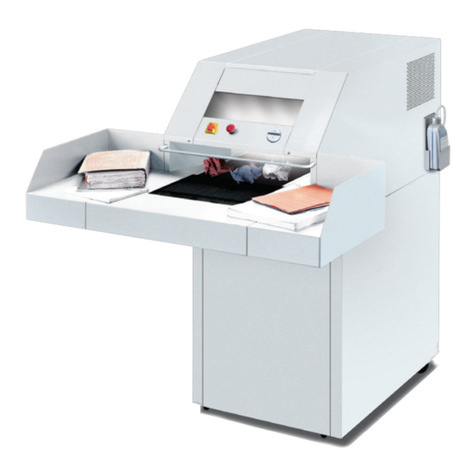
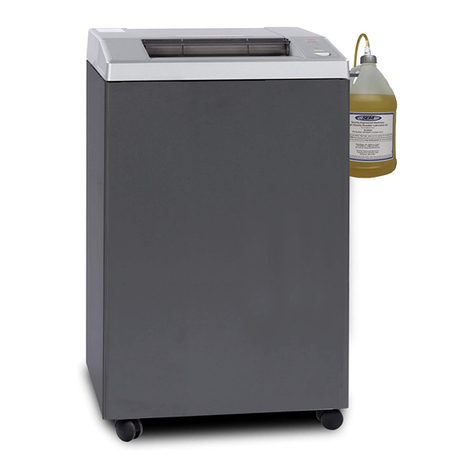
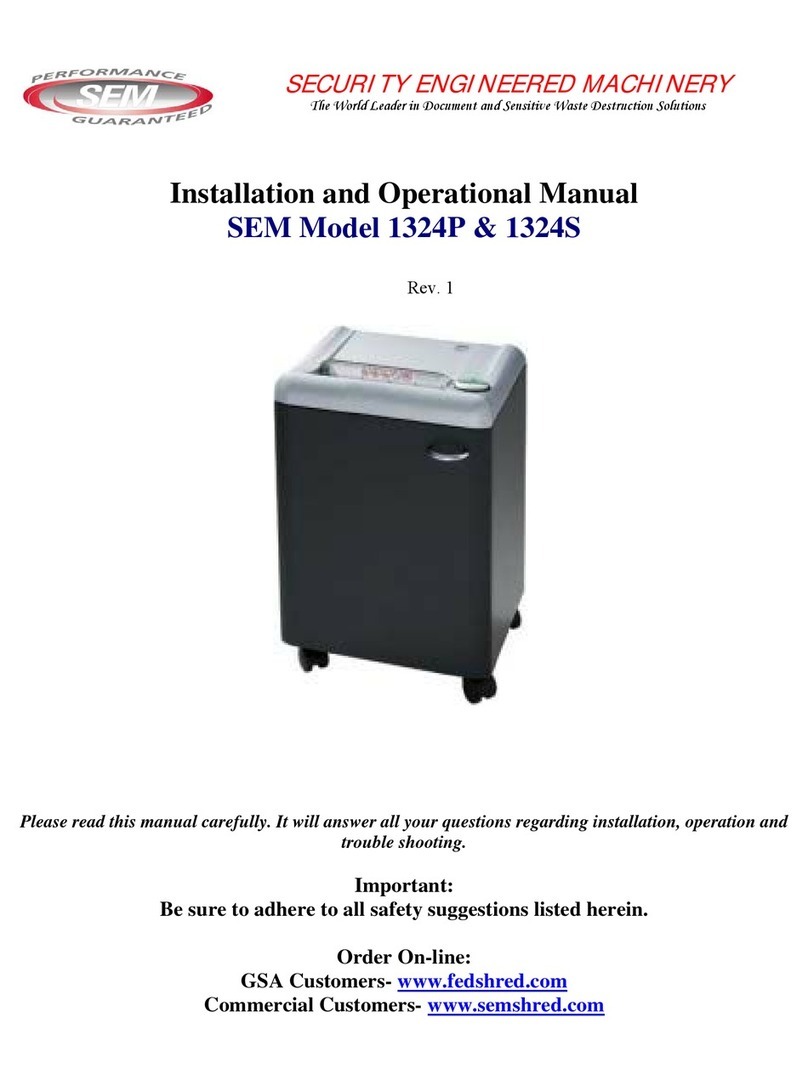
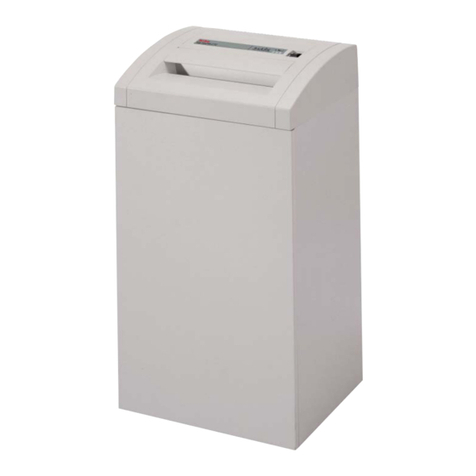
SEM 0300 Quick start guide

Security Engineered Machinery Co., Inc
OPERATIONAL MANUAL
For
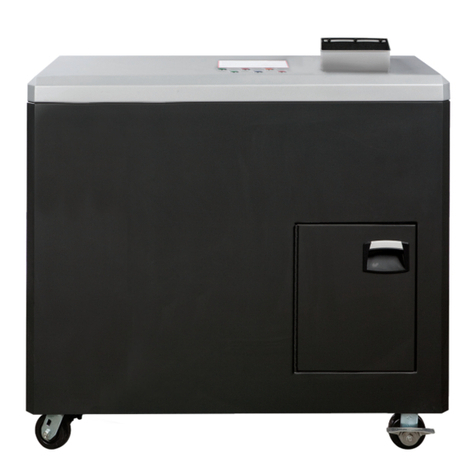
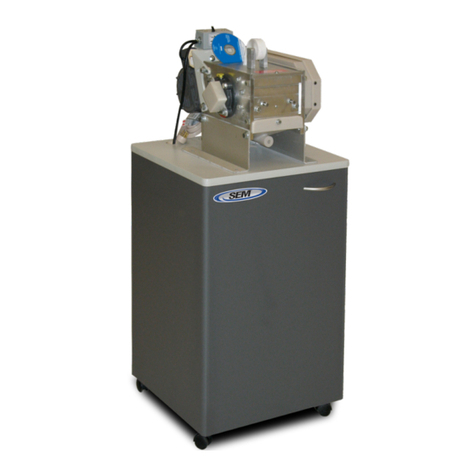
SEM Model 0300 Hard Drive Shredder
S/N: 2405061-Aand Up
POP-0008 Rev. 8
Revised: 08/05/2016
Security Engineered Machinery Co., Inc.
NATIONWIDE SERVICE
Phone Toll Free: 1(800)225-9293
Email:[email protected]
Fax: (508)366-6814
Website: WWW.SEMSHRED.COM

2For NATIONWIDE SERVICE Call 1(800)225-9293 | SEM‐SecurityEngineeredMachinery
Table of Contents
Index 2
Important Safety Processes 3
General Assembly Drawings 4-5
Power Supply Requirements 6
Plug and Receptacle Information 7
Unpacking Instructions 8
InstallationInstructions 9
Startup and Operation 10-11
Important Feed Information (See also label on top of machine) 11-12
MaterialsTested 13
Maintenance 14-15
Trouble Shooting 16-17
ElectricalSchematics 18-19
Cutting Head Exploded Assembly 20-21
Cutting Head Bill of Materials 22

Y
m
I
W
W
3F
o
***I
M
Y
our new S
E
m
echanisms
.
I
mportan
t
If you ov
e
pushbutto
n
W
arnin
g
:
Wait for t
h
pushbutt
o
W
arnin
g
:
Wait for t
h
o
r NATION
W
M
PO
R
E
M Model
0
.
Serious a
n
t
:
e
r feed the S
h
n
or open th
e
h
e Input ch
u
o
n to preven
t
h
e Input ch
u
W
IDE SERVIC
R
TAN
0
300 Hard
D
n
d permane
n
1. This e
q
are un
t
2. Do no
t
hands,
openi
n
3. Do no
t
loose
c
entan
g
4. Maint
e
traine
d
5. Alwa
y
any c
o
h
redde
r
or ha
v
e
collection b
u
te to empty
t
the shredd
e
u
te to empty
E Call 1(800
)
T SA
F
D
rive Shredd
e
n
t in
j
ur
y
m
q
uipment s
h
t
rained or i
n
t
reach into
t
other extre
m
n
g!
t
operate or
c
c
lothing, ne
c
g
led in the c
r
e
nance or re
p
d
, authorize
d
y
s disconnec
t
o
ver or other
v
e
a
n Emerg
e
in access do
o
itself of all
e
r from jam
m
itself of all
)
225-9293 |
S
F
ET
Y
er
incorpor
a
m
a
y
result if
h
ould never
b
n
capable of
u
t
he feed ope
m
ities, or o
b
c
ome into c
l
c
kties, dang
l
r
ushing cha
m
p
air of this
e
d
service pe
r
t
electric po
w
panels pro
v
e
ncy and ne
e
or
.
shredded m
a
m
ing.
shredded m
a
EM‐Securit
y
Y
PR
O
a
tes powerfu
l
proper prec
a
b
e operated
b
u
nderstandi
n
ning for an
y
b
jects not m
e
l
ose proxim
i
l
ing jewelry
,
m
ber.
e
quipment s
h
r
sonnel.
w
er (unplu
g
v
iding acces
s
e
d to shut do
w
a
terial befor
a
terial befor
y
Engineered
O
CED
U
l
, heavy dut
y
a
utions are
n
b
y children
o
n
g these safe
t
y
reason! N
e
e
ant to be cr
u
i
ty to this e
q
,
or long hai
r
h
oul
d
b
e pe
r
g
) before re
m
s
to the inte
r
w
n the mach
i
e pressing t
h
e feeding a
n
Machinery
U
RE
S
y
cutting
n
ot followe
d
o
r individu
a
t
y precautio
n
e
ver insert f
i
u
shed into t
h
q
uipment we
r
which ma
y
r
formed onl
y
m
oving or o
p
r
nal mechan
i
i
ne, press th
e
h
e red STO
P
n
other drive.
S
***
d
.
a
ls that
n
s!
i
ngers,
h
e feed
aring
y
become
y
by
p
ening
i
sms.
e
red “Stop”
P

4For NATIONWIDE SERVICE Call 1(800)225-9293 | SEM‐SecurityEngineeredMachinery
General Assembly Drawing
Shredder Cabinet
Collection Bin Access Door
Drop Chute
Control Panel Top cover

5For NATIONWIDE SERVICE Call 1(800)225-9293 | SEM‐SecurityEngineeredMachinery
Collection Bin
PLC
Serial Number Tag
Location
Back Panel
Power Cord
Shredding Chamber
Electrical Box
Filter Contactor
Forward Contactor
Reverse Contactor
Overload

6For NATIONWIDE SERVICE Call 1(800)225-9293 | SEM‐SecurityEngineeredMachinery
Power Supply Requirements
MODEL 0300 Hard Drive Shredder
For Connecting to Single Phase Power
FOR 120 VOLT/1 PH / 60 HZ
Note to Installer:
The Model 0300 Hard Drive Shredder has been supplied with a power cord and male plug for 20
amp service.
The male plug is a NEMA #5-20P and requires a NEMA #5-20R receptacle connection as noted on
page 5.
Important 120V Note:
The Model 0300 Hard Drive Shredder requires a dedicated 20 amp circuit SEM recommends that no
more than a 3% voltage drop on the receptacle for optimal performance. (Minimum of 117 volts)
FOR 220 VOLT / 1 PH / 60 HZ
Note to Installer:
SEM has provided a power cord with male plug for 15 amp service.
The male plug is a NEMA # 6-15P and requires a NEMA # 6-15R receptacle connection as noted on
page 5.
Important 220V Note:
The Model 0300 Hard Drive Shredder requires a dedicated 15 amp circuit SEM recommends that no
more than a 3% voltage drop on the receptacle for optimal performance. (Minimum of 214 volts)
OPTIONS for Either 120 or 220V:
A) If the supplied NEMA Plug is NOT compatible with your at-site power receptacle,
simply cut off and replace the plug to conform to local electrical requirements.
B) You can connect the Model 0300 directly to the Power Disconnect Switch by cutting off the
supplied plug and hardwiring directly to Power Disconnect Switch.
It is recommended that a Licensed Electrician perform either of the Options listed above

7For NATIONWIDE SERVICE Call 1(800)225-9293 | SEM‐SecurityEngineeredMachinery
Plug and Receptacle Information
SEM normally supplies a male plug and cord prewired to the shredder unit for single phase.
The NEMA Configurations are as followed:
Model 0300 Hard Drive Shredder
Note:
Outside USA or European shipments at 220 volts/ 50 Cycle, single phase must supply their own
plug unless otherwise specified at time of the order.
115 volts – 125 volts single phase SEM supplies a NEMA #5-20P
the customer needs to supply a
NEMA #5
-
20R
receptacle. 20 amps
220 volts – 250 volts single phase SEM supplies a NEMA #6-15P the
customer needs to supply a NEMA #6-15R receptacle. 15 amps

8For NATIONWIDE SERVICE Call 1(800)225-9293 | SEM‐SecurityEngineeredMachinery
Unpacking Instructions
The Model 0300 Hard Drive Shredder has been secured to a pallet for shipping. Please inspect
equipment immediately of any shipping damage.
Important Note: Prior to unpacking, if there is any visible damage to the Model 0300 Hard Drive
Shredder or to the crate during shipping, the receiver must note what is damaged on the Bill of Lading
and contact the shipping party immediately.
Tools needed:
Lift truck with a minimum lifting capacity of 1500
Hammer
Pry bar
Strap Cutters
Unpacking:
1) Remove sides of create
Tools needed: Hammer and Pry Bar
2) Cut straps holding Model 0300 Hard Drive Shredder
Tools needed: Strap Cutters
3) Remove the model 0300 Hard Drive Shredder from the pallet.
Tools needed: Lift Truck
Note: It is recommended to lift the 0300 Hard Drive Shredder from the front with the forks 30”
apart. The majority of the weight will be on the right side of the 0300 Hard Drive Shredder.
The Model 0300 Hard Drive Shredder is equipped with casters for ease of handling after shredder is
lifted off of the pallet.

9For NATIONWIDE SERVICE Call 1(800)225-9293 | SEM‐SecurityEngineeredMachinery
Installation Instructions
SHREDDER LOCATION:
The Model 0300 Hard Drive Shredder can be located in an office or warehousing area within 6 feet of a
wall receptacle. It is recommended that the machine be 3 to 4 inches away from the wall for proper
ventilation.
A) The machine includes an appropriate power cord and 20-amp male plug. The unit is activated by
a top mounted selector switch with indicator light.
B) Access to the shredder chamber for service is by opening the Top Cover and/or removing the back
panel of the cabinet. Both have safety switches that activate when either are open or off that
prohibits operation of the shredder.
Note: Motors are normally dual voltages, 120/230 but can only be operated at the specific voltage as
wired at the factory. If a voltage change is required in the field, contact the factory for proper
instructions.
Note: Power required 120 volt /1 PH / 60 CY 20 amps Shredder motor 16 amps.
C) 220 volt /1 PH / 60 CY -15 amps Shredder motor 8 amps.
F) The Model 0300 Hard Drive Shredder is supplied with a power cord and plug.

10 For NATIONWIDE SERVICE Call 1(800)225-9293 | SEM‐SecurityEngineeredMachinery
Startup and Operation
Please read this section carefully.
Most problems occur during the first hours of operation. These can be eliminated by careful review
of the operating, maintenance and recommended service instructions.
Pre-start-up procedure:
Familiarize yourself with all controls and button locations.
Ensure that all guards and covers are in place.
Ensure that the area is clean.
Check input area for debris, discarded tools, etc.
Controls on top cover
Startup and Operation:
1) Plug power cable into standard 20 amp outlet.
Important Note: For 120 volts: Shredder must be plugged into a dedicated 20 amp circuit.
SEM recommends that no more than a 3% voltage drop on the outlet for optimal performance.
(Minimum of 117 volts)
For 220 volts: Shredder must be plugged into a dedicated 15 amp circuit. SEM recommends
that no more than a 3% voltage drop on the outlet for optimal performance.
(Minimum of 214 volts)
2) Turn “key-switch” located on the left side of the shredder cabinet to the ON position.
Once the switch is in the ON position, the red STOP pushbutton will illuminate indicating power
to the unit.

11 For NATIONWIDE SERVICE Call 1(800)225-9293 | SEM‐SecurityEngineeredMachinery
Startup and Operation Continued
3) Press the green FILTER pushbutton to turn on the filter.
Note: SEM recommends that the filter be on while destroying hard drives.
4) Press the green START pushbutton to start shredder. Once the green START pushbutton is
pressed, it will illuminate and the red STOP light will extinguish.
Note: Once the “key-switch” is turned to the ON position, there is a 5 second delay before the
START pushbutton can be pressed.
5) Press the red STOP pushbutton to stop the shredder.
The green START light will go out and the red STOP light will illuminate.
Note: Wait for the Input chute to empty itself of all shredded material before pressing the red
STOP pushbutton to prevent jamming.
Important Note: If there is an emergency the red STOP pushbutton can be pressed at any time
to stop the shredder.
6) Press the red STOP pushbutton to stop shredder. The green START light will go out and the red
STOP light will illuminate.
Important Note: If there is an EMERGENCY the red STOP pushbutton can be pressed at any
time to stop the shredder.
7) Turn “key-switch” located on the left side of the shredder cabinet to the OFF position.
Important Feeding Information
Before introducing any destruction material into feed chute of the shredder, the Model 0300 Hard
Drive Shredder must be turned on and operating. It is recommended that the material collection bin be
checked and emptied before operating.
1) Begin feeding Hard Drives by opening and inserting the drives into the Drop Chute. Lower the
Drop Chute so that Hard Drive falls into shredder chamber.
Note: Allow the shredder chamber to clear before inserting another hard drive into the Drop Chute.
Warning: If multiple drives are put into the chamber at once, damage to the Drop Chute may occur.
2) When the Collection Bin is full, the BIN FULL light will illuminate and the shredder will stop.
Open the Collection Bin Door and empty the contents of the Collection Bin. Re-insert the Bin to
start the shredder again.
Note: When BIN FULL light is illuminated the collection bin will weigh approximately 17 lbs

12 For NATIONWIDE SERVICE Call 1(800)225-9293 | SEM‐SecurityEngineeredMachinery
Important Feeding Information Continued
3) If shredder jams, unit will automatically reverse up to five times. If jam is not “automatically’
cleared, the system will shut down and the red RESET pushbutton will illuminate. To release the
jam, lift the top cover to gain access to the shredder chamber. Remove the hard drive and/or
remaining particles. If the drive is shredded to satisfaction, place it in collection bin. If not, re-
shred the drive and/or particles through another shredding cycle.
4) To restart the shredder, press the red RESET button. The red RESET pushbutton will go out
indicating the shredder is ready to run.
Warning: Not all 1” Hard Drive are alike some jamming may arise when shredding especially with hard
drive seen on page 13.
Important Note: If shredder jams and does not automatically go into reverse the Current Relay may
need a small adjustment. See below for directions on adjusting the Current Relay.
Current Relay Adjustment:
Note: Press the STOP button before making any changes to the Current Relay. The power does not need
to be off for this adjustment.
1) Remove cover on left side of machine to expose Current Relay
2) Turn knob labeled “Threshold” clockwise to the next tick mark
3) Test by running drive thru
Note: If the 0300 does not automatically reverse after three adjustments check the incoming power and
voltage drop, this may require an electrician to verify. For power requirements refer to page 6.
Warning: Over adjustment can cause the Overload to trip which will not allow the 0300 to start until
the Overload is reset. The Overload will automatically rest once it has cooled down this may take
several minutes.
Current Relay

13 For NATIONWIDE SERVICE Call 1(800)225-9293 | SEM‐SecurityEngineeredMachinery
Material Tested
1” Hard Drives: 1 per feed approximately every 20 seconds
Notebook Drive: 3 per feed approximately every 20 seconds
DLT Tapes 1 per feed approximately every 20 seconds
Listed below are some 1” Hard Drives that may cause jamming.
1) Drives that have thick steel parts. These steel parts may need to be removed prior to shredding in
order to prevent jamming.
2) Drives with multiple steel plates covering platters.
These plates may need to be removed prior to shredding to prevent jamming.

14 For NATIONWIDE SERVICE Call 1(800)225-9293 | SEM‐SecurityEngineeredMachinery
Maintenance
Important / Caution: Unplug power cord from receptacle!
ALWAYS unplug power cord from receptacle before cleaning, lubricating, maintaining, removal of any
guards and after shredding operation is complete.
Warning: Shredded material can be sharp, SEM recommends wearing gloves.
Tools Needed: Gloves, Pliers and other hand tools
Cleaning: For optimal performance, regular cleaning is recommended:
Daily - After approximately 8 hours of operation.
Open the Top Cover to gain access to the shredder chamber.
Remove debris and any magnets that may have built up on cutters and combers.
Visually inspect cutters for damage.
Weekly - After approximately every 32 hours of operation.
Repeat all daily cleaning steps.
Open the Collection Bin Access Door on the front of the shredder cabinet and remove the
back cover to gain access to the bottom of the shredder chamber and base.
Remove debris buildup from base.
Wipe entire machine clean and observe any evidence of oil leaks. Should leakage be
observed, request the attention of the appropriate maintenance personnel
Remove all tools, rags, solvents from machine.
Under Top Cove
r
Below the Shredde
r
Chambe
r
Remove Shredded Material

15 For NATIONWIDE SERVICE Call 1(800)225-9293 | SEM‐SecurityEngineeredMachinery
Maintenance Continued
Lubrication: For optimal performance, regular lubrication is recommended. To lubricate, open the top
cover and remove the back cover to gain access to the shredder chamber and gears.
When to Lubricate:
After approximately every 32 hours of operation:
Apply light machine oil to cutters.
After approximately each 160 hours of operation:
Repeat steps from weekly lubrication.
Grease spur gears using an aerosol wire and rope lubricant; apply coating so that gears
are completely covered. Spray-On # S00201 – 12 oz. can.
Filter Replacement:
The HEPA and charcoal filter of this unit require periodic changes depending on use.
The charcoal filter should be changed three times as often as the HEPA filter is changed
The charcoal filter is located behind the HEPA filter, and should be compressed for
maximum efficiency
FILTER PANEL
HEPA FILTER CHARCOAL FILTER UNIT CABINET

16 For NATIONWIDE SERVICE Call 1(800)225-9293 | SEM‐SecurityEngineeredMachinery
Troubleshooting
Warning: LOCK OUT POWER before performing any cleaning, oiling, maintenance, or trouble
shooting.
PROBLEM POSSIBLE CAUSE REMEDY
Machine will not
turn off using stop
buttons.
Defective stop button.
Contacts burned together in
reversing contactor.
Check continuity (N.C.).
If bad, replace.
Check each leg of forward side of
contactor for continuity. There should be
no continuity. If there is, consult factory
for replacement part.
Machine will not
run in forward or
reverse.
If power light is not illuminated,
proceed to possible cause seven.
1) No power.
2) Key switch off.
3) Overload tripped in panel.
4) Control transformer fuse blown.
5) Stop button stuck “in”.
6) Loose wire in panel.
7) Defective contact block on stop
button
Check power supply.
Turn on.
Reset.
Remove fuse and check for continuity. If
bad, replace.
Check buttons.
Check terminal strip for disconnected or
loose wires. Reconnect and tighten loose
wires to proper location on strip.
Check block for continuity. If bad,
replace.

17 For NATIONWIDE SERVICE Call 1(800)225-9293 | SEM‐SecurityEngineeredMachinery
Troubleshooting Continued
PROBLEM POSSIBLE CAUSE REMEDY
Machine will not
run in forward or
reverse.
(continued)
8) Stop button stuck “in”.
9) Loose wire in panel.
10)Defective contact block on stop
button.
Check buttons.
Check terminal strip for disconnected or
loose wires. Reconnect and tighten loose
wires to proper location on strip.
Check block for continuity. If bad,
replace.
Overload tripping.
Motor overheating.
Dirty or un-lubricated cutter head.
Defective motor.
Check motor cooling fan for objects
obstructing air flow.
Clean and lube.
Conduct amperage test. Consult factory
for replacement motor.
Shredding capacity
is low.
Un-lubricated cutter head.
Low voltage.
Current relay set too low.
Clean and oil cutter head.
Check voltage at power supply.
Consult factory before making any
adjustments.

18 For NATIONWIDE SERVICE Call 1(800)225-9293 | SEM‐SecurityEngineeredMachinery
MODEL 0300 ELECTRICAL SCHEMATIC (SHEET 1)

19 For NATIONWIDE SERVICE Call 1(800)225-9293 | SEM‐SecurityEngineeredMachinery
MODEL 0300 ELECTRICAL SCHEMATIC (SHEET 2)

20 For NATIONWIDE SERVICE Call 1(800)225-9293 | SEM‐SecurityEngineeredMachinery
SEM MODEL 0300 CUTTING HEAD ASSEMBLY
SEM MODEL 0300 MOTOR ASSEMBLY
Other manuals for 0300
1
Table of contents
Other SEM Paper Shredder manuals
