manuals.online logo
Brands
  1. Home
  2. •
  3. Brands
  4. •
  5. semble
  6. •
  7. Indoor Furnishing
  8. •
  9. semble Aventos HK-XS Lift-up TIPON COMPACT User manual

semble Aventos HK-XS Lift-up TIPON COMPACT User manual

Idenfy the back: insert dowels into the holes—then
join this back with one of the gables… Be sure to secure
this join by inserng screws in the small holes from the
outside.
4
Now place carcass on end. Insert dowels into the
top & boom … and insert these into the gable.
You are now ready to assemble the LIFT mechanism:
Before proceeding to this stage you can install your handle—
having the door correctly weighted will assist us in adjusng the
mechanism for smooth operaon.
Don’t clip on the door yet unl the mounng hardware is xed in the
next step.
The top & boom of your carcass are dowelled into the back &
the gable so ensure these are correctly located.
LUCT:
Aventos HK-XS Lift-up TIPON COMPACT (632mm)
The Semble COMPACT range is
an excing range of small height cabi-
nets from li-up door soluons
through to open shelf units.
With AVENTOS HK-XS, the door swings up and
stays out of the way no maer where stopped
making it ideal for all sorts of applicaons...
1
5
Assemble the Carcass:
Idenfy the two gables.
Each gable has two locang holes
drilled on the front forward face: this
will allow you to t the li mechanism.
2
3
Insert the mounng plates: Idenfy
the two gables into the top of the cabinet
and then insert the hinge bosses into the
door. Ensure both a screwed home rmly.
Almost there: place the last gable on to the carcass
ensuring the dowels are aligned. Then secure with screws
in the remaining holes.
6
7
Before installing the LIFT arm be sure to leave this in
the open posion unl it is mounted correctly to avoid
accidental harm.
Mount the LIFT arm. Click the arm onto the mounng
peg with a rm push.
Then, by pushing the lower part of the arm inwards, click the connecng
hook onto the mounng plate in the door with a rm click.
Adjust the Door posion. The door should sit in a
natural posion as shown below. Use a cordless drill to
change the spring tension so the acon opens nicely.
LUCT:
Aventos HK-XS Lift-up TIPON COMPACT (632mm)
5
You are now nished: Remember, you sll use the Door
Hinges to conduct normal panel adjustment for that perfect
t in your design!
6
2
1
Open the HK-XS pack: Locate the
mounng bracket and x to the sup-
plied holes in the Gable.
Install the Fixing hardware on the door! Idenfy the mounng plate for the
door and x this to the pre-drilled holes in the door panel.
You can now clip the door onto the carcass.
Be sure to have the unit so the mounng peg is
at the boom…
4
3
Fix the Mounng Plate: Take the Cruciform Mounng plate and x this to carcass mid point along the cabinet length using the sup-
plied screws. You can then insert the TIPON mechanism.
(NOTE: it is crical the TIPON is xed correctly within 1.5mm of the front edge of the carcass—note the xing posions marked below)
Adjust the Door moon. Tool-free depth adjustment!
Use the adjustment so that the door res open nicely and posively with a rm touch. The adjustment (+4/ -1mm) is integrated
into the TIP-ON unit and can also be used with drilled in TIP-ON. To adjust gap, turn the ejector pin. The click-stop posions allow
you to easily nd the right seng. The Blum Aventos TIPON is a high quality product so take your me to adjust it perfect ly. Test
and adjust unl you are happy with the acon.
LUCT:
Aventos HK-XS Lift-up TIPON COMPACT (632mm)
2
Blum TIPON for Aventos: Handle-less fronts open at a single touch with the TIP-ON mechanical opening system by Blum. To close, simply press shut. Relia-
ble handle-less opening. Whether it's stay lis, doors, drawers, or pull-outs: handle-less furniture can be used throughout the home thanks to the TIP-ON mechanical
opening system.
Supplied with this cabinet is the White Blum TIPON mechanism with the White cruciform mounng plate. The mounng plate is designed to be xed to the inside boom of the
carcass and the TIPON mechanism is the press t inside this.
As an alternate xing method, you may choose to do without the cruciform mounng plate and drill a 10mm seang hole directly into the carcass . Be aware if choosing this
method that accuracy is crical and with 16mm Carcass whiteboard you do not have a lot of tolerance.
Our recommendaon is to t with the supplied cruciform mounng plate.
3
1

Other semble Indoor Furnishing manuals

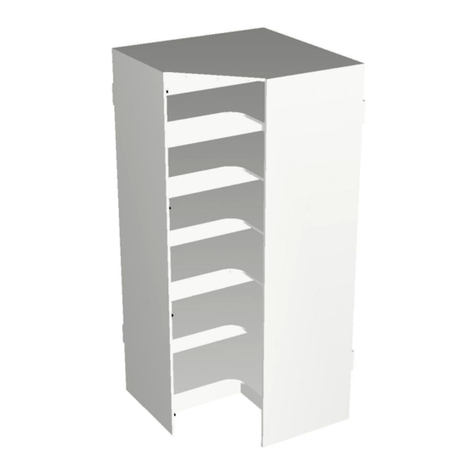
semble SCPA1D User manual

semble

semble SCPA1D User manual

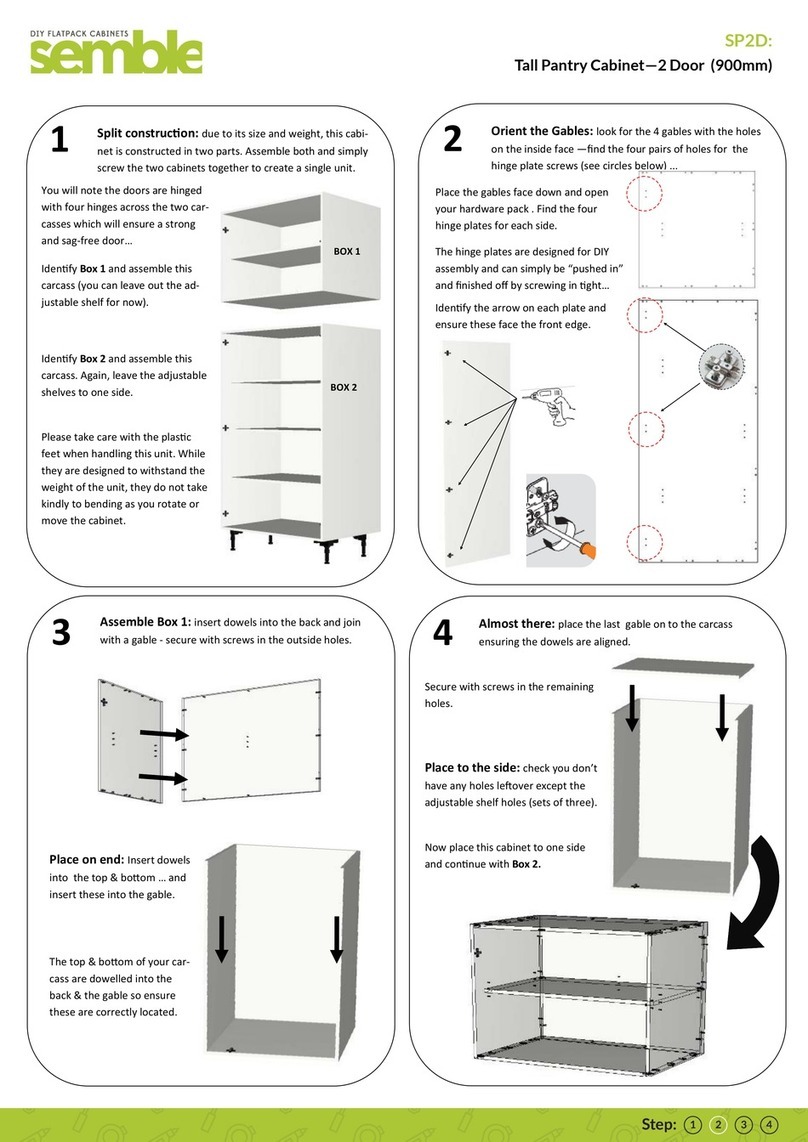
semble SP2D User manual

semble

semble SP2D User manual

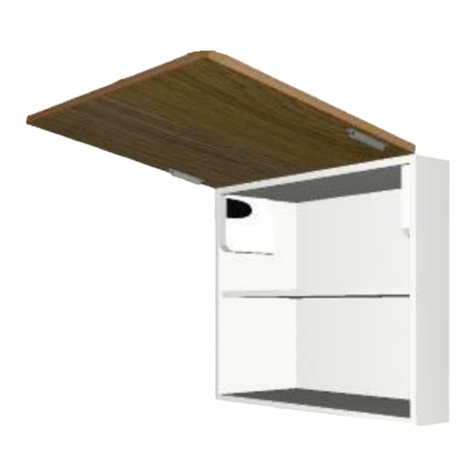
semble Aventos HK User manual

semble

semble Aventos HK User manual

Popular Indoor Furnishing manuals by other brands
Noble House Home Furnishings LANTERN Assembly instructions
Noble House Home Furnishings

Noble House Home Furnishings LANTERN Assembly instructions

BUT BXGAMING ARGT253B Assembling Instruction
BUT

BUT BXGAMING ARGT253B Assembling Instruction

Officient OMEGA 24/7 STOOL Assembly instructions
Officient

Officient OMEGA 24/7 STOOL Assembly instructions

ERBA 06755 instruction manual

ERBA

ERBA 06755 instruction manual

Vivo DESK-V000KL instruction manual

Vivo

Vivo DESK-V000KL instruction manual
FIAM. SIGMY 818/T/N/X/B Product information
FIAM.

FIAM. SIGMY 818/T/N/X/B Product information

Global REST 2604C Specifications

Global

Global REST 2604C Specifications

Vivo DESK-TOP72-30B instruction manual

Vivo

Vivo DESK-TOP72-30B instruction manual

Neo Chair CPS Assembly instruction

Neo Chair

Neo Chair CPS Assembly instruction

Trust RIYE Assembly guide

Trust

Trust RIYE Assembly guide

AFi HB-POR Assembly instructions

AFi

AFi HB-POR Assembly instructions

OfficeSource PL213 Assembly instructions

OfficeSource

OfficeSource PL213 Assembly instructions

Bensons for Beds Sandra STK778201 Sandra STK778204 Assembly instructions
Bensons for Beds

Bensons for Beds Sandra STK778201 Sandra STK778204 Assembly instructions

HABYS SONOMA instruction manual

HABYS

HABYS SONOMA instruction manual

Coaster Dresser Assembly instructions

Coaster

Coaster Dresser Assembly instructions
Kangaroo II Assembly instructions

Kangaroo

Kangaroo II Assembly instructions

Furniture of America CM3626T Assembly instructions
Furniture of America

Furniture of America CM3626T Assembly instructions

Gigant Flex 150 operating instructions

Gigant

Gigant Flex 150 operating instructions

manuals.online logo
manuals.online logoBrands
  • About & Mission
  • Contact us
  • Privacy Policy
  • Terms and Conditions

Copyright 2025 Manuals.Online. All Rights Reserved.