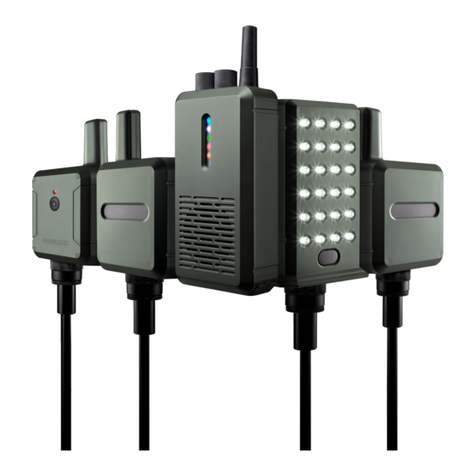
GSMOutdoorAlert3 Quick Setup Guide
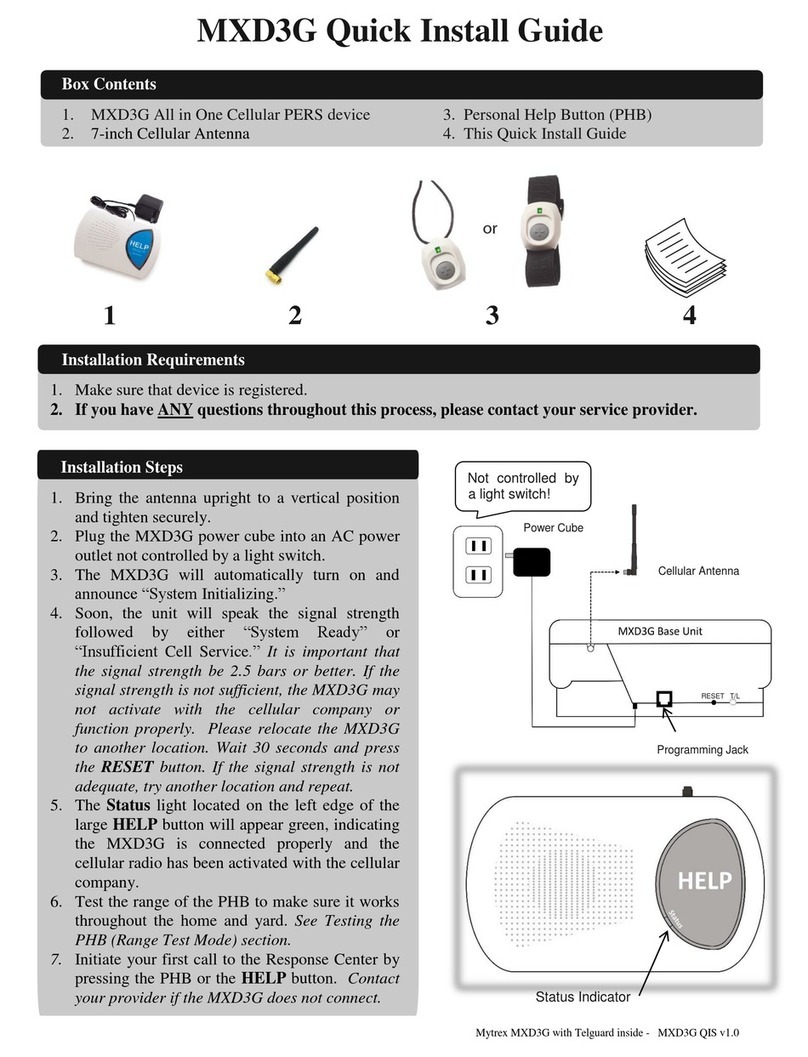
Step 1: SIM Card and Antenna
Grab a registered Nano size SIM card and make sure it has credit. Make a note of the phone number as you will
need to configure the GSMOutdoorAlert3. There is a shiny new SIM in the box in case you need one. Open the
lid and screw on the antenna. If you are mounting the unit in a metal enclosure or a weak signal area, ask us
about external antenna options. Register, add credit and slide in the SIM card then fit two CR123a batteries.
Step 2: Batteries, wiring and layout
Your input trigger devices should be volt free –e.g. a float switch or reed switch and are wired between IN(x)
and COM
Step 3: Start Configuration mode
To configure your device, hold the CONFIG button for 1 second. The network LED will illuminate. It will blink
quickly while it is registering to the network, then slowly when it’s connected and ready to go. You now have 2
minutes to configure, press again if you need more time.
Step 4: Configuration by sending SMS messages to the number of the SIM in GSMOutdoorAlert3
Send SMS commands in the format shown below to add recipients, customise the alert messages and many
more settings as shown in the full command table overleaf.
Format: PASSWORD[space]COMMAND:YOURDATA
Examples:
1111 PASS:1234 - Changes password to 1234 (remember this if you change it!)
1111 ADDA:+447812345678 - Adds this number as an admin (who will get the alert SMS messages and can
configure the GSMOutdoorAlert3 –You can have up to 3 admin/alert recipients)
1111 PAT1:Water Level Low# -Customises the message that will be sent when IN1 closes
1111 PAT9:Water Level OK# -Customises the message that will be sent when IN1 opens
(change the numeral to 2 and 10 for IN2 close and open message, to 3 and 11 for IN3 etc..)
1111 KA:24 -Set the Keep Alive heartbeat SMS interval to every 24 hours
1111 STATUS -Get a full Status SMS (I/O state, Signal 0-31, etc)
If a sent command SMS is correct, you will receive a reply with the suffix Process Done
