Senonics Minnow 2.0TD User manual

Minnow 2.0TD & Minnow 2.0THD
User Guide
Senonics LLC www.senonics.com support@senonics.com sales@senonics.com
Revision 1.0.3
Senonics LLC ©
1/11
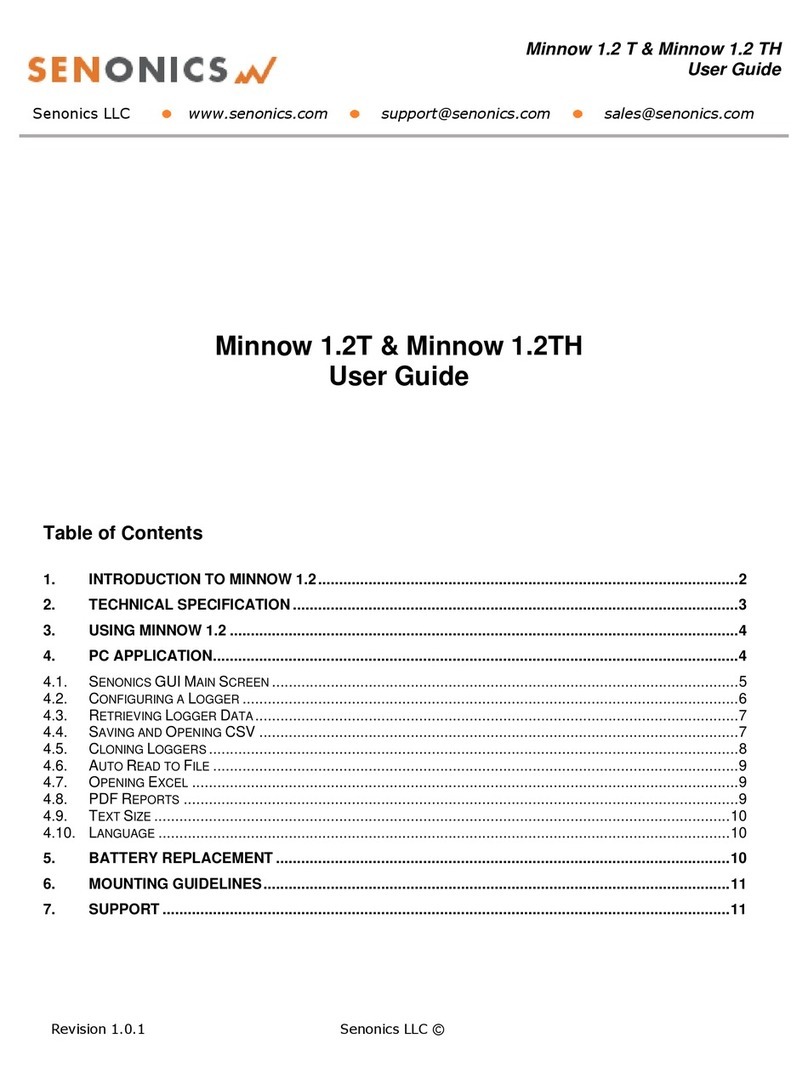
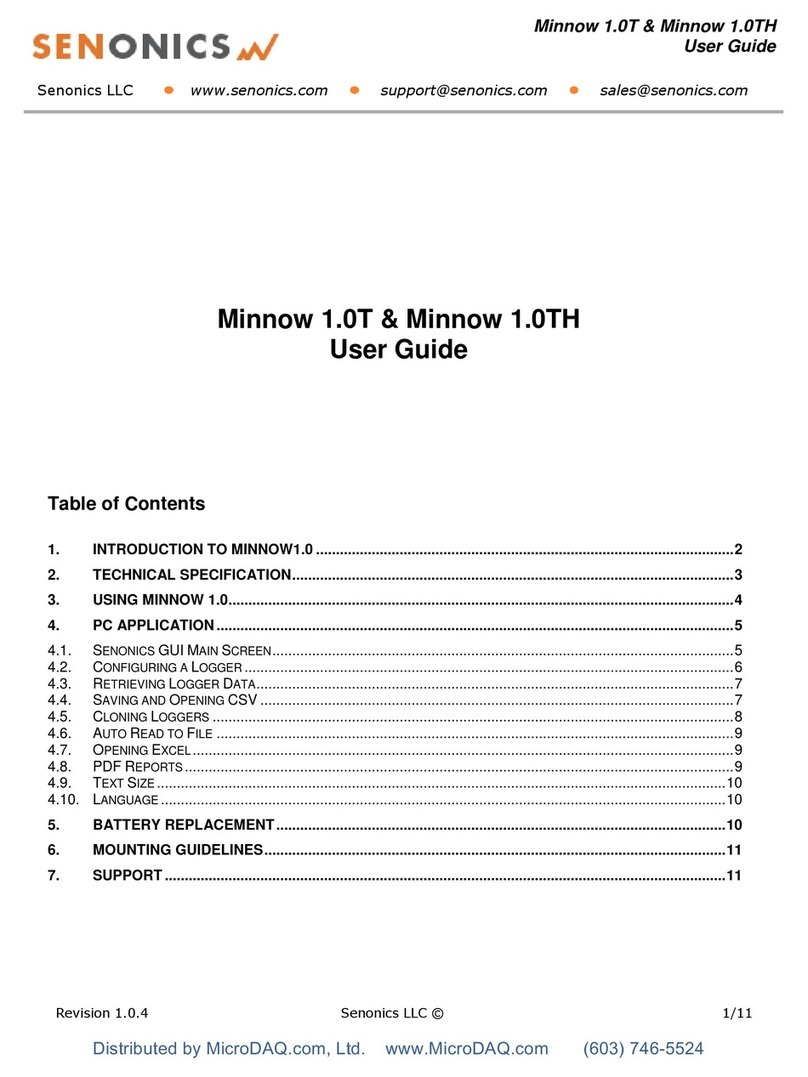
Minnow 2.0TD & Minnow 2.0THD
User Guide
Table of Contents
1. INTRODUCTION TO MINNOW 2.0 ........................................................................................................2
2. TECHNICAL SPECIFICATION...............................................................................................................3
3. USING MINNOW 2.0...............................................................................................................................4
4. PC APPLICATION..................................................................................................................................6
4.1. SENONICS GUI MAIN SCREEN....................................................................................................................6
4.2. CONFIGURING A LOGGER...........................................................................................................................7
4.3. RETRIEVING LOGGER DATA........................................................................................................................8
4.4. SAVING AND OPENING CSV.......................................................................................................................8
4.5. CLONING LOGGERS ...................................................................................................................................9
4.6. AUTO READ TO FILE ................................................................................................................................10
4.7. OPENING EXCEL......................................................................................................................................10
4.8. PDF REPORTS........................................................................................................................................10
5. BATTERY REPLACEMENT.................................................................................................................11
6. SUPPORT.............................................................................................................................................11

Minnow 2.0TD & Minnow 2.0THD
User Guide
Senonics LLC www.senonics.com support@senonics.com sales@senonics.com
Revision 1.0.3
Senonics LLC ©
2/11
1. INTRODUCTION TO MINNOW 2.0
The Minnow 2.0 logger is a high accuracy, water
resistant, compact, temperature and humidity data
logger. The logger features a compact LCD display. The
logger comes with a free Windows and MAC application.
This user guide provides basic information about how to
use the logger and Windows/MAC applications. Both the
logger and the applications have been designed to be
intuitive so that you will be up and running with the
logger in a matter of minutes.
The Minnow 2.0 comes in two versions; Minnow
2.0TD is a temperature only version and Minnow
2.0THD is a temperature and humidity logger. This user
guide applies for both versions.
Figure 1: Senonics Minnow 2.0

Minnow 2.0TD & Minnow 2.0THD
User Guide
Senonics LLC www.senonics.com support@senonics.com sales@senonics.com
Revision 1.0.3
Senonics LLC ©
3/11
2. TECHNICAL SPECIFICATION
Sensors:
Temperature (T and TH model)
Range: -25°C to 75°C
Resolution: 0.01 °C
Accuracy: +0.17°C (from 0°C to 50°C )
Cal Accuracy +0.07°C (+20°C of Cal Temp)
Humidity (TH model)
Range 0% to 100% RH
Resolution 0.016% RH
Accuracy +3% (20% to 80%), +5% else
Cal Accuracy +1.8% (+25% of Cal Humidity)
LCD Display
Temperature resolution of 0.01C
Humidity resolution of 0.1 %
min, max, average for all channels accessed by
dedicated display button
LEDs
Two dedicated LED indicators
Two color for operation
Single color for alarms
Alarms:
High and Low alarms for all channels
Ability to enable or disable any alarm
Dedicated Alarm LED and LCD indicator
Data Storage:
65,000 samples of two channels
(65K Temp + 65K Humidity)
Start Modes:
Push button start
Scheduled start
Start on disconnect from PC
Real time logging (stream to PC)
Connections:
USB-A male located under protective cap
3.5mm for external sensors
Gasket sealed end cap covers both
IP: Ingress Protection
IP67 in both the T and TH models
Power:
User replaceable 2 x CR2032 batteries
Over 2 years battery life while logging
Bypass mode: Unit is powered from USB when
connected to PC to conserve the battery
Real Time Clock:
Time automatically synced to PC
Battery backup. Keeps time even when off
High accuracy: 0.50 sec/day (~3 min/year)
Holder
Optional wall bracket for logger
Spaces logger off wall for accurate measurements
Dimensions:
79 mm x 43 mm x 12 mm
+0.10oC
+0.20oC
+0.30oC
+0.40oC
+0.50oC
+0.60oC
+0.70oC
+0.80oC
-25oC 0oC 20oC 40oC 60oC 75oC 0% 20% 40% 60% 80% 100%
+1.0%
+2.0%
+3.0%
+4.0%
+5.0%
+6.0%
+7.0%
+8.0%
Worst Case
Worst Case
Temperature Accuracy Humidity Accuracy (at 25oC)
Figure 2: Temperature/Humidity Accuracy

Minnow 2.0TD & Minnow 2.0THD
User Guide
Senonics LLC www.senonics.com support@senonics.com sales@senonics.com
Revision 1.0.3
Senonics LLC ©
4/11
3. USING MINNOW 2.0
Minnow 2.0 logger includes two buttons:
START button:
When configured for "Button Press" logger start, this
button starts and stops logging. In other
configurations, this button is inactive.
DISPLAY button:
This button allows the user to cycle through all LCD
views.
Figure 3: Buttons, LEDs and LCD
Minnow 2.0 includes two LEDs:
Status LED:
When the logger starts logging then this LED pulses
green once for 1 second.
When logging this LED flashes green for 7
milliseconds and off for 6 seconds.
When the logger stops then this LED pulses red for
1 second then off.
If the logger becomes full this LED flashes red for 7
milliseconds and off for 6 seconds.
Alarm LED:
When a temperature and/or humidity alarm is
triggered this LED flashes red for 7 milliseconds and
off for 6 seconds.
A number of display screens can be stepped through by
pressing the "display" button.
The current screen shows current temperature and
humidity.
A further screen shows the maximum readings during a
logging period.
The third screen shows the minimum readings during a
logging period.
There is also a screen to show the average temperature
and humidity during logging (from last configuration).
Alarm LED
Status LED

Minnow 2.0TD & Minnow 2.0THD
User Guide
Senonics LLC www.senonics.com support@senonics.com sales@senonics.com
Revision 1.0.3
Senonics LLC ©
5/11
A screen shows upper alarm settings.
A further screen shows the lower alarm settings.
When the logger is logging the star-like logging
indicator is displayed.
When alarms has been triggered, the alarm
indication is displayed.

Minnow 2.0TD & Minnow 2.0THD
User Guide
Senonics LLC www.senonics.com support@senonics.com sales@senonics.com
Revision 1.0.3
Senonics LLC ©
6/11
4. PC APPLICATION
Your logger may be controlled from a Windows PC or Mac
from USB using a simple application.
To install for Windows download:
http://senonics.com/bin/SenonicsPCApplication_Installer.zip
To install for Mac navigate to:
http://senonics.com/mac-installer.html
4.1. Senonics GUI Main Screen
The Senonics GUI includes a configuration pane, a
graphical pane and a spreadsheet pane. Included also is
a connection indication to signify connection or
otherwise of a Senonics logger.
Connection
Indication
Configure
Logger Read Data
Configuration Pane
Graphical Pane
Spreadsheet Pane
Figure 4: Senonics GUI

Minnow 2.0TD & Minnow 2.0THD
User Guide
Senonics LLC www.senonics.com support@senonics.com sales@senonics.com
Revision 1.0.3
Senonics LLC ©
7/11
4.2. Configuring a Logger
Configuration of the logger is performed with the logger
connected.
Update all settings on the configuration pane such as
logger name, logger start option (on disconnection,
button press or at specified time), logging interval (1
second, 10 seconds, 30 seconds, 1 minute, 10 minutes,
30 minutes or 1 hour), temperature and humidity logging
enables, temperature and humidity alarm levels.
When complete press the configure button.
Wait for the logger to finish configuration (indicated by
the busy indication disappearing).
Figure 5: Configuration

Minnow 2.0TD & Minnow 2.0THD
User Guide
Senonics LLC www.senonics.com support@senonics.com sales@senonics.com
Revision 1.0.3
Senonics LLC ©
8/11
4.3. Retrieving Logger Data
Data can be retrieved from the logger by connecting to
the logger and then pressing the read button at the
bottom left of the GUI. Both the device configuration and
logged data will become uploaded and viewable in the
configuration, graphical and spreadsheet views.
Figure 6: Retrieving Logger Data
4.4. Saving and Opening CSV
Logger data and configuration may be exported to file in
Comma Separated Value (CSV) format. This format can
be edited by third party software such as Microsoft Excel
or read back into the Logger PC application at a later
point.
To write a CSV file navigate File>Save CSV.
To read a CSV file back select File>Open CSV, and
then navigate to the CSV file.

Minnow 2.0TD & Minnow 2.0THD
User Guide
Senonics LLC www.senonics.com support@senonics.com sales@senonics.com
Revision 1.0.3
Senonics LLC ©
9/11
4.5. Cloning Loggers
For customers that expect to configure multiple loggers
with the same configuration, Senonics offer the clone
feature.
First, press the clone icon or navigate
File>Clone Logger.
You are then presented with two copies of the
configuration pane. Enter your configuration in the left-
most pane. When you are complete press the "Clone
Settings" button. This will copy all settings across to the
right-most pane. When you are satisfied press the "Lock
Settings" tick-box.
You can then connect loggers to your PC. When you
press "Configure” the new logger is programmed each
time with the same cloned settings.
Be aware that the Device ID is not cloned, in order to
preserve the logger identification. At any time, you can
unlock, change settings and then lock again.
Figure 7: Logger Cloning

Minnow 2.0TD & Minnow 2.0THD
User Guide
Senonics LLC www.senonics.com support@senonics.com sales@senonics.com
Revision 1.0.3
Senonics LLC ©
10/11
4.6. Auto Read to File
Some customers like the ability to be able to connect a
logger and automatically download and save data to file.
Select Options>Read and Save Options.
You are then presented with three options:
a) to disable auto-reading of the logger (default)
b) to automatically read the logger data on connection
to the Senonics GUI
c) to automatically read the logger data on connection
to the GUI and save to file
In saving to file you can change the order of the date,
time and logger ID as they appear in the file name.
Figure 8: Read and Save Options
4.7. Opening Excel
It is possible to press the Excel button or navigate
Export>Open Excel to show the data in Microsoft
Excel. During this process the user needs to select if
your version of Excel is expecting and "." or "," to
represent the number decimal point.
This capability assumes that Microsoft excel is installed
on your PC. If not, then the option will not work. This
option is not available on the Mac version of the GUI.
Figure 9: Opening Excel
4.8. PDF Reports
Open a one-page PDF report by pressing the PDF
icon or navigating Export>Save PDF. A PDF is written
to summarize the data in the logger by way of statistics
and as a graph. The PDF can be written either in US
Letter page size of A4 page size.
The user can enter one’s own notes at the footer of the
PDF. PDFs are written to file and can be opened by any
standard PDF reader –like Adobe Acrobat.
Figure 10: Writing PDF Reports

Minnow 2.0TD & Minnow 2.0THD
User Guide
Senonics LLC www.senonics.com support@senonics.com sales@senonics.com
Revision 1.0.3
Senonics LLC ©
11/11
5. BATTERY REPLACEMENT
The Minnow 2.0 logger runs from two standard coin cell
batteries. We recommend a CR2032 240mAH coin cell
battery. There are different manufacturers but a good
one is Panasonic CR-2032. You can find it easily on the
web from different places such as www.digikey.com,
www2.mouser.com and probably in your local
supermarket. The key thing is to choose a CR2450
battery with high capacity since this will translate into a
longer logger battery life.
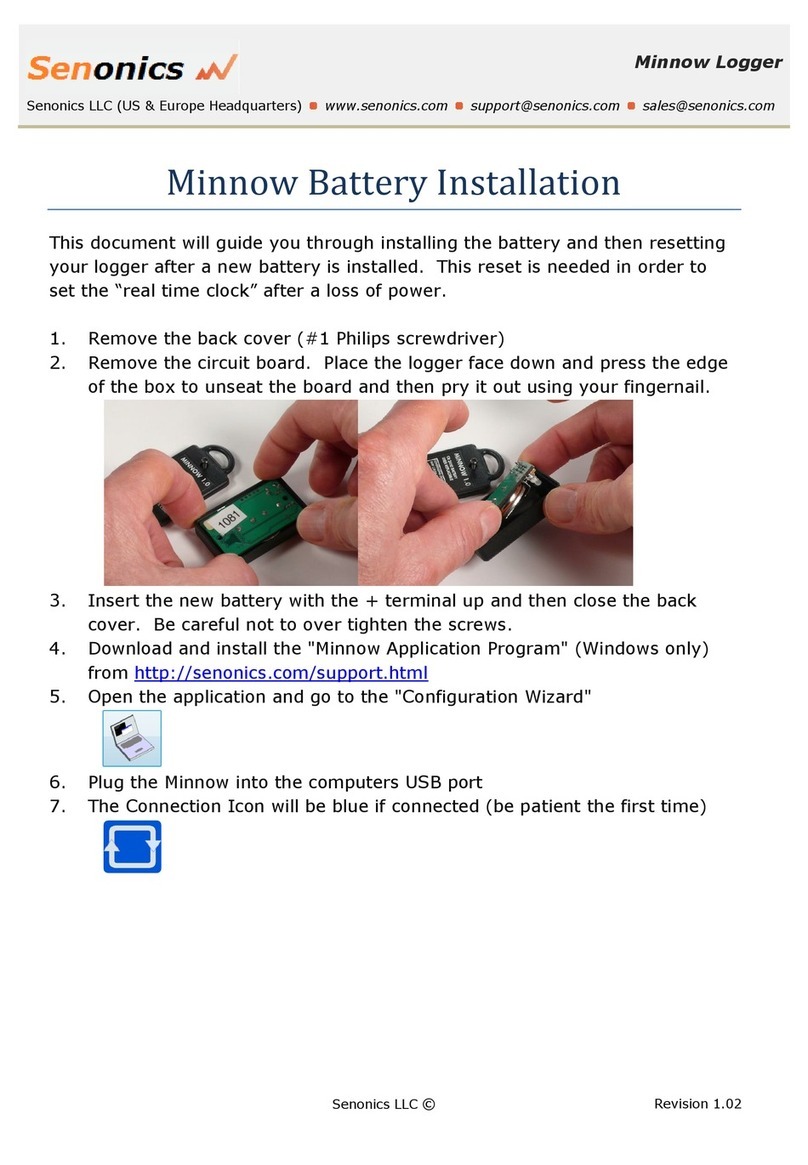
First remove the Minnow cover by unscrewing the four
fastener screws (#1 Philips) at the rear of the logger.
Insert two new batteries as shown being careful not to
touch any exposed electronics in the process. Be careful
also to connect the batteries in the correct orientation.
Finally re-attach the cover and tighten the fastener
screws again (be careful not to over tighten).
6. SUPPORT
For technical support regarding your Senonics logger
please contact:
This manual suits for next models
1
Table of contents
Other Senonics Data Logger manuals
Popular Data Logger manuals by other brands

ThermoWorks
ThermoWorks ThermaData Lite operating instructions
Dwyer Instruments
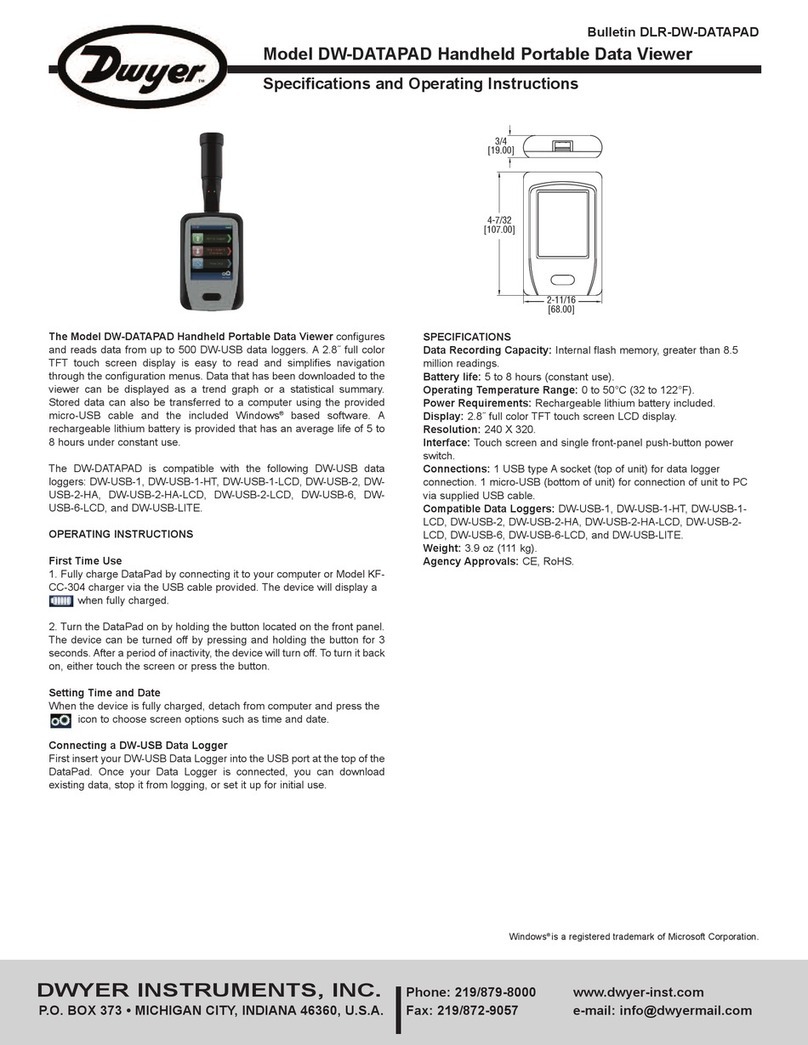
Dwyer Instruments DW-DATAPAD Specification and operating instructions
Hioki
Hioki LR8432-20 instruction manual
Primayer
Primayer PrimeLog user manual
Solinst
Solinst LevelVent quick start guide
KYORITSU
KYORITSU 5000 instruction manual

