manuals.online logo
Brands
  1. Home
  2. •
  3. Brands
  4. •
  5. Sentiotec
  6. •
  7. Plumbing Product
  8. •
  9. Sentiotec LAVA Configuration guide

Sentiotec LAVA Configuration guide

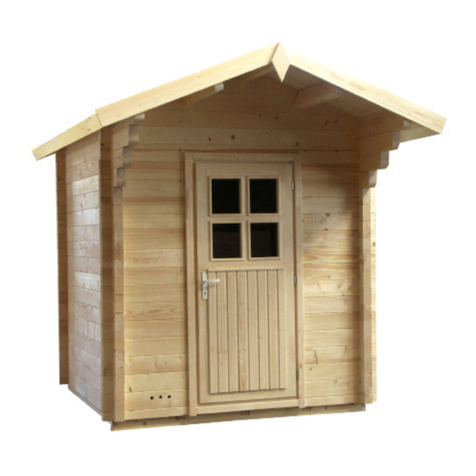
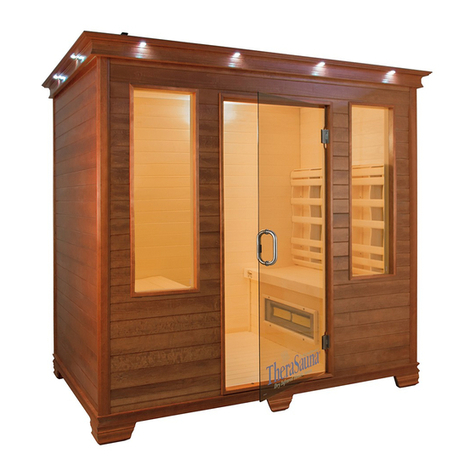
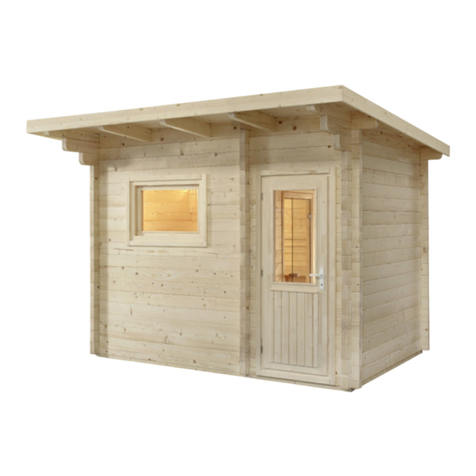
Garden sauna LAVA
375 x 319 x 270 cm
Assembly Instruction
DE
EN
Version 10/17
Assembly instructions
EN
Garden sauna
LAVA
Exterior dimension:
375 x 319 x 270 cm
Interior dimension:
200 x 200 x 210 cm
200 x 104 x ~260 cm
Wall thickness:
70 mm
There may be slight deviations in the dimensions.
Subject to technical modifications and misprints.
Dear customer,
Before you begin with the work, check that all the individual parts have been delivered against the parts list.
Ifyou discover any missing parts, notify your dealer within 14 days of receiving the sauna cabin.
Keep the delivery note, the invoice and the assembly instructions in a safe
place in case of any questions.
You require the following tools:
1 hammer with a wooden head or a rubber hammer
1 cordless screwdriver with bits for cross-head screws and Torx
1 roller tape measure
1 drill bit Ø10 mm; 1 drill bit Ø3 mm
1 spirit level
1 pencil
You need an assistant for the assembly. We also advise you to pre-drill the holes for
thescrews.
02
The electrical connection may only be performed by a qualified electrician or similarly
qualified person.
!
Front face with doors
1 block plank 341 x 7 x 7 cm
with recess for door
3 block planks 341 x 14.6 x 7 cm
1 block plank 375 x 16.5 x 7 cm
14 block planks 26.5 x 14.6 x 7 cm
10 block planks 232.5 x 14.6 x 7 cm
4 block planks 55 x 14.6 x 7 cm
4 block planks 58 x 14.6 x 7 cm
1 door frame incl. door 198 x 80 cm
1 window 119 x 69 x 7 cm
2 interior door panels 76 x 5.5 x 2 cm
2 interior door panels 205 x 5.5 x 2 cm
Right and left sides
32 block planks 230 x 14.6 x 7 cm
2 block planks 254.5 x 14.6 x 7 cm
2 block planks 295 x 14.6 x 7 cm
2 block planks 210 x 14.6 x 7 cm
Rear face
1 block plank 375 x 16.5 x 7 cm
1 block plank 341 x 6.5 x 7 cm
1 block plank 341 x 14.6 x 7 cm
with ventilation recess
15 block planks 341 x 14.6 x 7 cm
Wall elements
28 block planks 81 x 14.6 x 7 cm
1 block plank 230 x 14.6 x 7 cm
with recess for door
3 block planks 230 x 14.6 x 7 cm
Roof
34 roof boards 375 x 10 x 1.9 cm
3 block planks for roof 319 x 14.6 x 7 cm
2 weather boards 378.5 x 13.5 x 2 cm
2 weather boards 317.5 x 13.5 x 2 cm
2 roof support slats 200 x 4 x 4 cm
2 roof support slats 192 x 4 x 4 cm
2 roof elements 199 x 99 x 6.5 cm
Floor
2 oor frames 206 x 12 x 4 cm
4 oor frames 206 x 8 x 4 cm
1 oor frames 206 x 16 x 4 cm
2 oor frames 325 x 8 x 4 cm
21 oor boards 199.5 x 9.5 x 1.9 cm
21 oor boards 103.5 x 10 x 1.9 cm
2 skirting boards 103.5 x 2.5 x 2.5 cm
6 skirting boards 200 x 2.5 x 2.5 cm
5 bench support slats 4 x 4 cm
(3 pcs. 58 cm; 2 pcs. 116 cm)
1 bench 137.5 x 62 cm
2 benches 199 x 62 cm
2 back rests
2 head rests
1 bench screen 199 cm
1 door frame 202 x 72 cm
1 interior light
1 light screen
1 oor grid 70 x 50 cm
1 heater safety guard, 2 parts
1 ventilation shutter
1 assembly material set
1 assembly instructions
6 threaded rods 224 x 8 mm incl. nuts
3 silicon cables 5 x 1.5 mm²
20 m² roong felt
LAVA parts list
The parts list can also be used as a claims sheet.
03
04
LAVA GARDEN SAUNA
Notes for the planning permission, foundation,
anchorage, delivery and unloading
Planning permission
Before installing the garden sauna, make sure you enquire about whether planning
permission is required at your local planning authority (municipal oce, magistrate).
Youmay need this as permission is required above a certain room volume. This depends
on where you live exactly and is therefore handled dierently from country to country.
Check with your local planning authority (municipal oce, magistrate)
with respect to the building regulations and load standards.
Concrete foundation:
A solid concrete foundation is important for the durability as well as the safety of your
garden sauna.
We recommend having the foundation laid by a specialist.
It is the basis for a proper anchorage of your garden sauna. Only then can you ensure
that there will be no diculties with assembly and use.
There are several ways that you can lay the foundation for your garden sauna.
Assembly instructions
EN
05
However, the two options below have proven to be the best in practice:
• Foundation slab (base plate)
• Strip foundation
Forbothtypes,afoundationthatisabsolutelyatandload-bearingmustbeensured.Onlythen
cantheassemblyoftheindividualmodulesbeensuredwithoutdicultiesandwithapreciset.
Once the concrete slab has been completed and dried out, we recommend torching it
with roong felt or torch-on felt in order to seal it completely.
Foundation slab (base plate)
A base plate ensures a frost-proof foundation for the garden sauna. Note that structural
steel mesh mats must be laid in the concrete (reinforced) in order to achieve maximum
stability and protect the slab from cracking.
Ground Concrete 15 cm thick
Gravel 15 cm thick PE-lm
06
Strip foundation
Depending on the structural requirements and local conditions, strip foundations can be
laid in dierent ways. There are two types of strip foundations:
• strip foundation - not reinforced
• strip foundation - reinforced
To make a frost-proof strip foundation, you must dig at least 80 cm deep into the ground.
The supporting walls of the garden sauna are then laid on the foundation strips.
This construction has the advantage that the base plate can be thinner and less
reinforcement is necessary.
The foundation should be about 10 to 15 mm smaller than your garden sauna so
that water can run o the outer walls of the garden sauna and the outer sides of
thefoundation.
Assembly instructions
EN
80 cm
30 cm
Gravel 10 cm thick
PE-lm
Concrete 10 cm thick
Ground
07
Note:
Thefoundationsmustbeabsolutelyattoensuretheload-bearing capacityofthe sauna.Ifthe
foundation slab is larger than the oor space of the garden sauna, rainwater can start to collect
around the garden sauna. This means that the wooden wall elements would be constantly
standing on wet ground.This could result in the wood absorbing the water and starting to rot.
We point out that we do not accept any liability for the resulting damage.
Anchoring the garden sauna:
It is essential that the garden sauna is rmly anchored on the base plate or the strip
foundation. Strong winds can exert a powerful force on the garden sauna. To prevent
damage to your property or third-party, property proper anchoring is essential.
We point out that anchoring the garden sauna is the responsibility of
the customer and we do not accept any liability for accidental damage.
Wood protection outside:
The wood of the garden sauna is untreated. If you want to increase the life of your garden
sauna, we recommend painting with a suitable protective painting.
Roong:
The included roong felt serves as an initial cover. We also recommend to cover the roof
with bitumen shingles, sheet metal or a suitable foil.
Delivery of the garden sauna:
The garden sauna is delivered by lorry (also possible by semi-trailer truck).
Access to the unloading area must be ensured.
For the unloading and assembly of the garden house at least two persons are necessary.
Screws 5 x 100 mm
08
Assembly instructions
EN
Fig. 1.3
Fig. 1.1
Fig. 1.2
Screws 5 x 100 mm
Base frame for
outer sauna
09
1 block plank 341 x 7 x 7 cm with door recess
1 block plank 341 x 14.6 x 7 cm with ventilation recess
Fig. 1.4
Fig. 1.5
1 block plank 230 x 14.6 x 7 cm with door recess
10
Assembly instructions
EN
Fig. 1.6
Fig. 1.7
10
01
11
Fig. 1.8
Fig. 1.9
12
Ventilation shutter 4 screws 3 x 40 mm
Assembly instructions
EN
Fig. 1.12
Threaded rods
Screw joints at bottom
Fig. 1.11
Threaded rods
Screw joints at top
Fig.1.10
13
Skirting board - screws 3.2 x 40 mm
Screws 5 x 100 mm
Fig. 1.13
Fig. 1.14
Floor - screws 3.5 x 50 mm
14
Measure from the oor to the upper edge of the roof support slat 206 cm.
Assembly instructions
EN
Screws 4 x 70 mm
Fig. 1.15
Fig. 1.16
206 cm
Screw the roof elements from above with the support slats
Screws 5 x 80 mm
Fig. 1.17
15
Fig. 1.19
Fig. 1.18
17
01
17
16
Assembly instructions
EN
Fig. 1.20
Fig. 1.21
18
17
18
19
17
Fig. 1.22
Fig. 1.23
Fig. 1.24
Place the door element in the
doorway from the inside, take
the top slat (1), place it so that
left and right is the same and
screw the slat to the window
from the outside.
Next, screw on the side mount-
ing slats. (2). Finally, screw on
the bottom slat.
Screws 3.2 x 40 mm
1.
2.
18
Fig. 1.26
Screws 5 x 70 mm
Fig. 1.25
Assembly instructions
EN
41 cm
87 cm
19
Fig. 1.27
Screws 3.5 x 50 mm
Fig. 1.28
Bench screen
- view from rear
Bench screen
20
Assembly instructions
EN
Fig. 1.29
Fig. 1.30 Fig. 1.31 Fig. 1.32
Screws 3.5 x 50 mm
25 cm
4 screws 3 x 40 mm

Other manuals for LAVA

1

Other Sentiotec Plumbing Product manuals
Sentiotec 1-030-313 User manual

Sentiotec

Sentiotec 1-030-313 User manual

Sentiotec COUNTRY Installation instructions
Sentiotec

Sentiotec COUNTRY Installation instructions

Sentiotec Onni 1-053-080 User manual

Sentiotec

Sentiotec Onni 1-053-080 User manual

Sentiotec Concept R Emotion CPR-EMO-L1 User manual

Sentiotec

Sentiotec Concept R Emotion CPR-EMO-L1 User manual

Sentiotec KASKI 180 VIEW User manual

Sentiotec

Sentiotec KASKI 180 VIEW User manual

Sentiotec PHONIX-S User manual

Sentiotec

Sentiotec PHONIX-S User manual

Sentiotec VitaMy 164 User manual

Sentiotec

Sentiotec VitaMy 164 User manual

Sentiotec Karibu Modern Bio User manual

Sentiotec

Sentiotec Karibu Modern Bio User manual

Sentiotec VitaMy 164 User manual

Sentiotec

Sentiotec VitaMy 164 User manual

Sentiotec COUNTRY User manual

Sentiotec

Sentiotec COUNTRY User manual
Sentiotec COUNTRY User manual

Sentiotec

Sentiotec COUNTRY User manual

Sentiotec SCALA Medium User manual

Sentiotec

Sentiotec SCALA Medium User manual

Sentiotec PHONIX-S User manual

Sentiotec

Sentiotec PHONIX-S User manual

Sentiotec Komfort Small User manual

Sentiotec

Sentiotec Komfort Small User manual

Sentiotec ARKTIS INFRA + User manual

Sentiotec

Sentiotec ARKTIS INFRA + User manual

Sentiotec KASKI 220 VIEW User manual

Sentiotec

Sentiotec KASKI 220 VIEW User manual

Sentiotec VENUS VITAL User manual

Sentiotec

Sentiotec VENUS VITAL User manual

Sentiotec Onni Small User manual

Sentiotec

Sentiotec Onni Small User manual

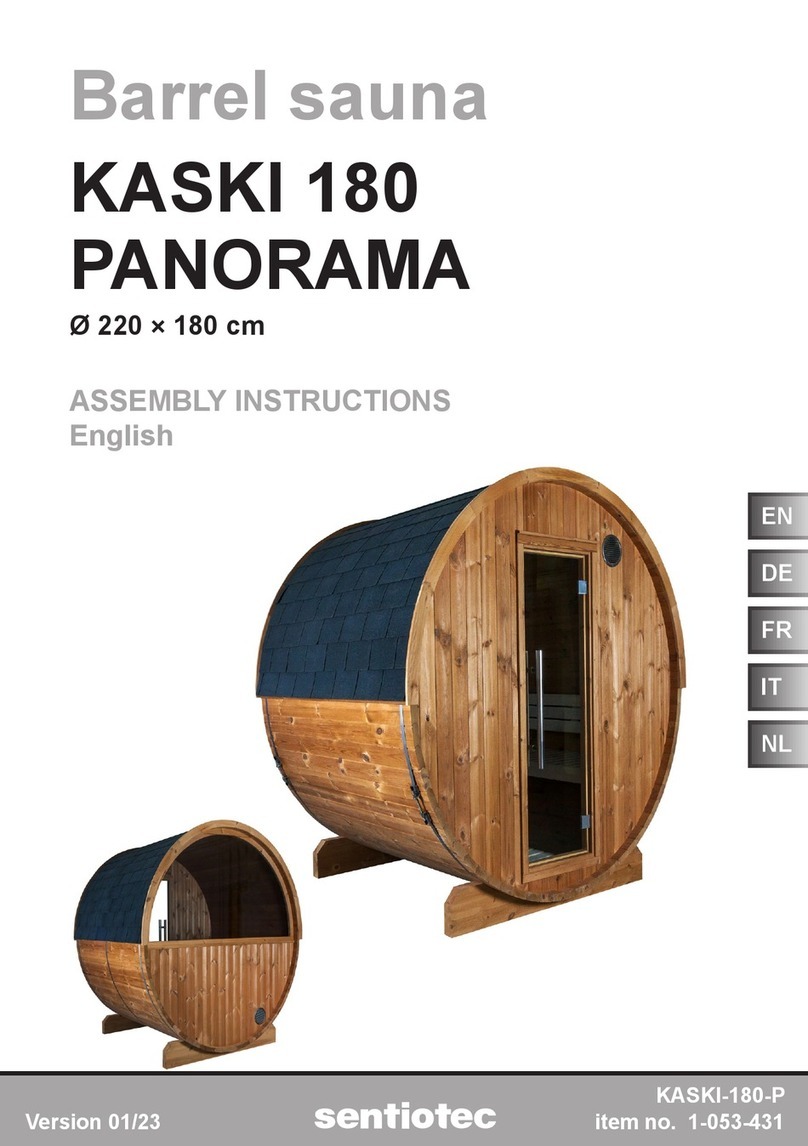
Sentiotec KASKI 220 PANORAMA User manual

Sentiotec

Sentiotec KASKI 220 PANORAMA User manual

Sentiotec KASKI 180 PANORAMA User manual

Sentiotec

Sentiotec KASKI 180 PANORAMA User manual

Sentiotec WELLFUN CORNER User manual

Sentiotec

Sentiotec WELLFUN CORNER User manual

Sentiotec Home combi Series User manual

Sentiotec

Sentiotec Home combi Series User manual

Sentiotec SCALA Large User manual

Sentiotec

Sentiotec SCALA Large User manual

Sentiotec LAVA User manual

Sentiotec

Sentiotec LAVA User manual

Popular Plumbing Product manuals by other brands
Sloan Regal 110 installation instructions

Sloan

Sloan Regal 110 installation instructions

baliv WT-5083 manual

baliv

baliv WT-5083 manual

ProFlo PFXC5150CP installation instructions

ProFlo

ProFlo PFXC5150CP installation instructions

Hans Grohe Talis Select S 300 Instructions for use/assembly instructions
Hans Grohe

Hans Grohe Talis Select S 300 Instructions for use/assembly instructions

wellness saunas IR65 operating manual

wellness saunas

wellness saunas IR65 operating manual

Blanco BlancoPrecision 513-691 Specification sheet

Blanco

Blanco BlancoPrecision 513-691 Specification sheet

Chore-Time TURBO-COOL MV1697B instruction manual

Chore-Time

Chore-Time TURBO-COOL MV1697B instruction manual

Borg & Overstrom Porpoise user guide

Borg & Overstrom

Borg & Overstrom Porpoise user guide

Waterway HANDHELD JET Installation

Waterway

Waterway HANDHELD JET Installation

agape VIEQUES ACER798F quick start guide

agape

agape VIEQUES ACER798F quick start guide

Spectrum Brands Pfister Pasadena 8P8WS-PDS Quick installation guide

Spectrum Brands

Spectrum Brands Pfister Pasadena 8P8WS-PDS Quick installation guide

CRISTINA ELEVATION CRIEL257 installation instructions

CRISTINA

CRISTINA ELEVATION CRIEL257 installation instructions

Gessi 30985 installation instructions

Gessi

Gessi 30985 installation instructions

Franke UNL-FW-304 installation manual

Franke

Franke UNL-FW-304 installation manual

BETTE BetteSolid B597 installation instructions

BETTE

BETTE BetteSolid B597 installation instructions

JIKA TIGO installation instructions

JIKA

JIKA TIGO installation instructions

Dallmer ORIO installation instructions

Dallmer

Dallmer ORIO installation instructions

JABSCO 37055 Series quick start guide

JABSCO

JABSCO 37055 Series quick start guide

manuals.online logo
manuals.online logoBrands
  • About & Mission
  • Contact us
  • Privacy Policy
  • Terms and Conditions

Copyright 2025 Manuals.Online. All Rights Reserved.