manuals.online logo
Brands
  1. Home
  2. •
  3. Brands
  4. •
  5. SET
  6. •
  7. Cables And Connectors
  8. •
  9. SET Lynx-CustomFit LYNX2-MPO User manual

SET Lynx-CustomFit LYNX2-MPO User manual

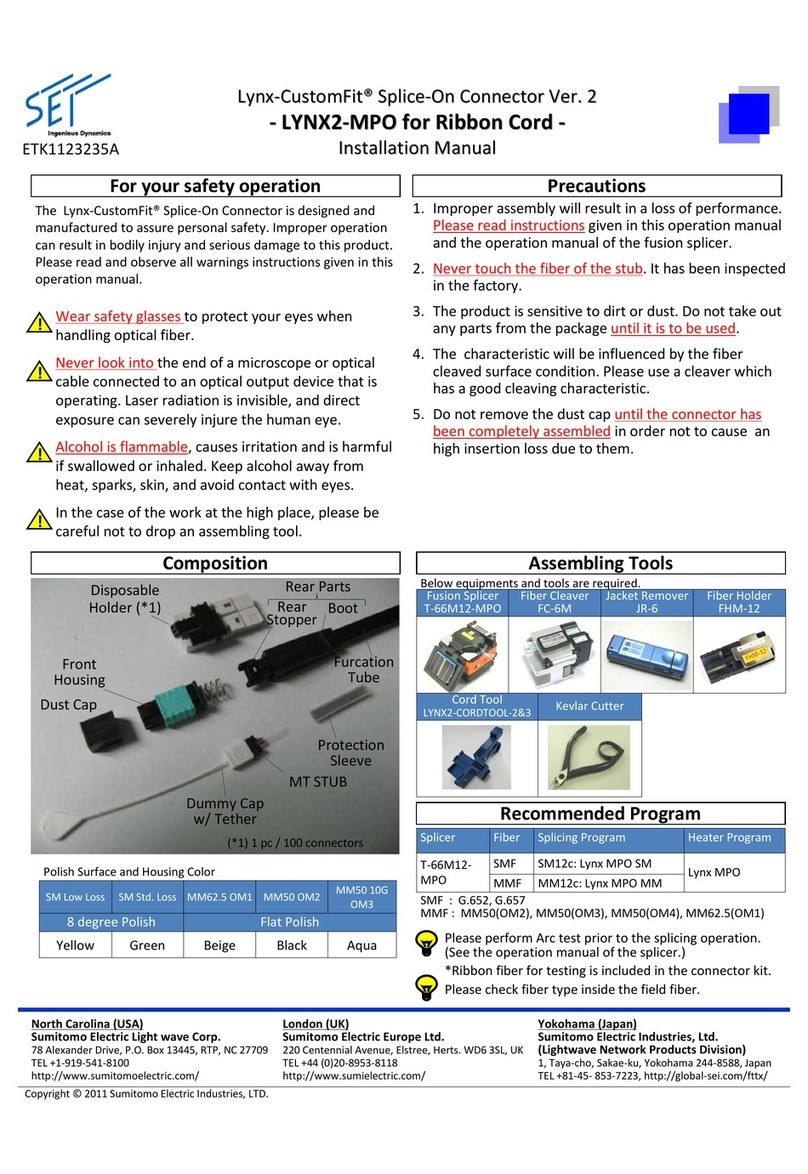
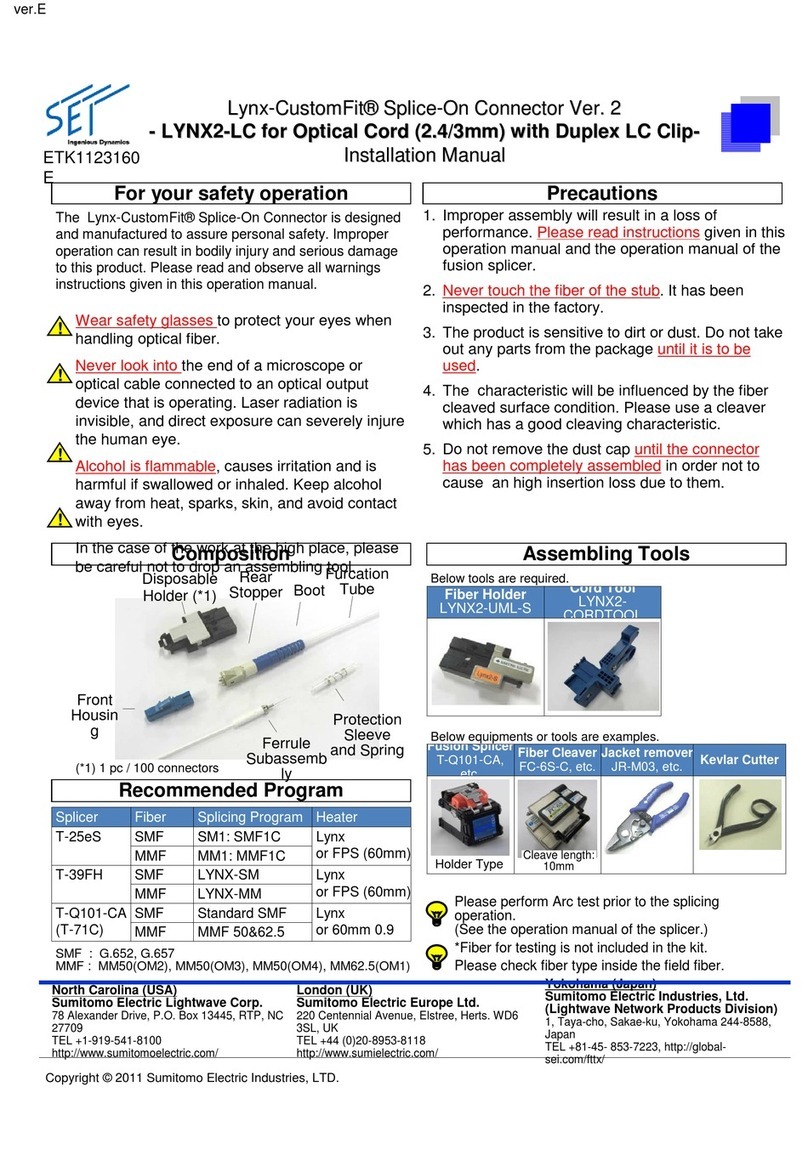
Lynx‐CustomFit® Splice‐On Connector Ver.2
‐LYNX2‐MPO for Bare Ribbon Fiber ‐
Installation Manual
Foryoursafetyoperation Precautions
ETK1123091A
TheLynx‐CustomFit® Splice‐On Connectoris designedand
manufacturedtoassurepersonalsafety.Improperoperation
canresultinbodilyinjuryandseriousdamagetothisproduct.
Pleasereadandobserveallwarningsinstructionsgiveninthis
operationmanual.
Wearsafetyglassestoprotectyoureyeswhen
hdli ti l fib
!
1. Improperassemblywillresultinalossofperformance.
Pleasereadinstructions giveninthisoperationmanual
and the operation manual of the fusion splicer.
2. Never touch the fiber of the stub. It has been inspected
in the factory.
3. Theproductissensitivetodirtordust.Donottakeout
any
parts from the package
until it is to be used
h
an
dli
ngop
ti
ca
l

fib
er.
Neverlookintotheendofamicroscopeoroptical
cableconnectedtoanopticaloutputdevicethatis
operating.Laserradiationisinvisible,anddirect
exposurecanseverelyinjurethehumaneye.
Alcoholisflammable,causesirritationandisharmful
!
!
any
parts

from

the

package

until

it

is

to

be

used
.
4. Thecharacteristicwillbeinfluencedbythefiber
cleavedsurfacecondition.Pleaseuseacleaverwhich
hasagoodcleavingcharacteristic.
5. Donotremovethedustcapuntiltheconnectorhas
beencompletelyassembled inordernottocausean
highinsertionlossduetothem.
ifswallowedorinhaled.Keepalcoholawayfrom
heat,sparks,skin,andavoidcontactwitheyes.
Inthecaseoftheworkatthehighplace,pleasebe
carefulnottodropanassemblingtool.
!
!
Composition
Disposable
Assembling Tools
Below
equipments
and
tools
are
required
Rear Parts
FusionSplicer
T‐66M12‐MPO
FiberCleaver
FC‐6M
Jacketremover
JR‐6
Fiber Holder
FHM‐12
Disposable
Holder(*1)
Front
Housing
Rear
Stopper Boot
Below
equipments
and
tools
are
required
.
Rear

Parts
DustCap
MT STUB
Protection
Sleeve
(*1) 1 pc / 100 connectors
Recommended Program
Splicer Fiber SplicingProgram HeaterProgram
T‐66M12‐SMF SM12c: Lynx MPO SM
Lynx
MPO
Dummy Cap
w/ Tether
SMF:G.652,G.657
MMF:MM50(OM2),MM50(OM3),MM50(OM4),MM62.5(OM1)
MPO
Lynx
MPO
MMF MM12c: Lynx MPO MM
PleaseperformArctestpriortothesplicingoperation.
(Seethe operation manual of the splicer.)
*Ribbon fiberfortestingisincludedintheconnector kit.
Please check fiber type inside the field fiber.
SM Low Loss SM Std. Loss MM62.5 OM1 MM50 OM2 MM5010GOM3
8 degree Polish Flat Polish
Yellow Green Beige Black Aqua
PolishSurfaceandHousingColor
Copyright©2011SumitomoElectricIndustries,LTD.
Please

check

fiber

type

inside

the

field

fiber.
North Carolina (USA)
SumitomoElectricLightwaveCorp.
78 Alexander Drive, P.O. Box 13445, RTP, NC 27709
TEL+1‐919‐541‐8100
http://www.sumitomoelectric.com/
Yokohama (Japan)
SumitomoElectricIndustries,Ltd.
(LightwaveNetworkProductsDivision)
1, Taya‐cho, Sakae‐ku, Yokohama 244‐8588, Japan
TEL+81‐45‐853‐7223, http://global‐sei.com/fttx/
London (UK)
SumitomoElectricEuropeLtd.
220 Centennial Avenue, Elstree, Herts. WD6 3SL, UK
TEL+44 (0)20‐8953‐8118
http://www.sumielectric.com/
LYNX2‐MPOforBare Ribbon Fiber
Assembly Procedure ETK1123091A
(A) Set Fusion Condition (B) Perform Arc Test
Then perform the arc test
according to the instruction.
*Fiberfortestingisincluded
inthekit.
Please check fiber type
(1) Slide Rear Parts, Spring and Protection
Sleeve onto the ribbon fiber.
(2) Set ribbon fiber on FHM‐12 holder.
Push “power key” for more
than 1 sec, then “splice” scene Arc Test “ON”.
Please

check

fiber

type

insidethefieldfiber.
Select
“Condition Change”
Select
Fiber Type
SeetheoperationmanualofT‐66M12‐MPO.
Spring
(Remove from
Front Parts)
Make sure the orientation
25to30mm
Push . Select
Sleeve Type Push .
(3) Remove Coating (JR‐6)
1. Place
(5) Cleave the fiber (FC‐6M) (6) Setfiberholderonthesplicer
(leftside).
2. Close
RearParts Protection
Sleeve
CH1 (Blue Fiber)
FrontSide
StainlessSteel
BottomSide
CH1 (Blue Fiber)
FrontSide
(4) FiberCleaning.
3. Slide
Cleanrubberclamp
andbladeregularly
Nogap
(7) Pick up MT STUB and set the stub on the plastic holder. (8) Setstubholderonthesplicer
(rightside).
(9) Fusion Splice.
Placefiberon
V‐groovegently
Moistened
withalcohol
Push to
close
UP should be
upper side
UP
Grasp here
Donottouchbarefiber
Placefiberon
V‐groovegently If the position of the fiber is wrong,
set the fiber or stub again.
(10) Slide the sleeve to the
holder.
(12) Pick up the spliced fiber. (13) Slide Protection Sleeve to
MT STUB.
Left
side
first
Buttonto
startsplicing
(11) Open the cover of the holder.
Then right side
Notwisting
(14) Set Sleeve into the heater. (15) Confirm the position before heating.
Buttonto
hi
(16) Heat Protection Sleeve.
Right side first Then left side
Notwisting
Left
side
first
Lightlymaintainingtension
topreventbending
Lightlymaintainingtension
topreventbending
Notwisting Nogap
start
h
eat
i
ng
Lynxheaterprogram runsafanto
coolthesleeveafterheating
(17) RemoveDummyCap. (18) Put Front Housing.
Lightlymaintaining
tensiononfiber
li
id
d
id
Rear
Spring
Copyright©2011SumitomoElectricIndustries,LTD.
Window Complete
Ridge
A
li
gn W
i
n
d
ow an
d
R
id
ge
RearParts
Front Parts
Parts
Spring
MT STUB DummyCAP

Other SET Cables And Connectors manuals

SET Lynx-CustomFit LYNX2-MPO User manual

SET

SET Lynx-CustomFit LYNX2-MPO User manual

SET Lynx-CustomFit LYNX2-LC User manual

SET

SET Lynx-CustomFit LYNX2-LC User manual

SET Lynx-CustomFit LYNX2-LC User manual

SET

SET Lynx-CustomFit LYNX2-LC User manual

Popular Cables And Connectors manuals by other brands

NCR 7403-K112 Kit instructions

NCR

NCR 7403-K112 Kit instructions

Anritsu K Connector K102F manual

Anritsu

Anritsu K Connector K102F manual

Xantech 789-44D installation instructions

Xantech

Xantech 789-44D installation instructions

KVM Discovery SP-116R user manual

KVM Discovery

KVM Discovery SP-116R user manual

Tait T02-00034-ABAA installation instructions

Tait

Tait T02-00034-ABAA installation instructions

Goobay 60174 quick start guide

Goobay

Goobay 60174 quick start guide

Kramer C-FODM/FODM-33 user manual

Kramer

Kramer C-FODM/FODM-33 user manual

Philips SWV3441 Specifications

Philips

Philips SWV3441 Specifications

Festo NEBC-M8G4-ES-S1G9-RS2 Series Instructions & assembly

Festo

Festo NEBC-M8G4-ES-S1G9-RS2 Series Instructions & assembly

Monoprice MP-SP07D operating instructions

Monoprice

Monoprice MP-SP07D operating instructions

Masimo LNOP MP Series manual

Masimo

Masimo LNOP MP Series manual

molex IP67 installation instructions

molex

molex IP67 installation instructions

StarTech.com ICUSBCPLLD25 quick start guide

StarTech.com

StarTech.com ICUSBCPLLD25 quick start guide

Extron electronics MHRVGA Specification sheet

Extron electronics

Extron electronics MHRVGA Specification sheet

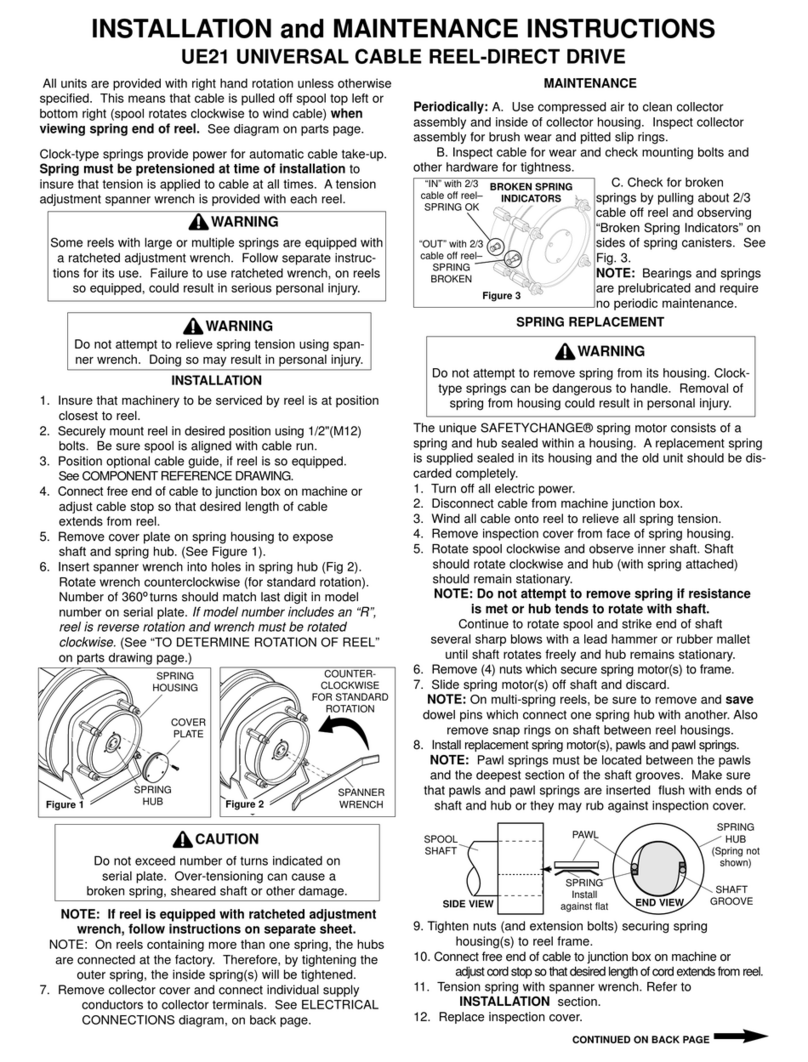
Gleason Reel Universal Cable Reel-Direct Drive UE21 Installation and maintenance instructions

Gleason Reel

Gleason Reel Universal Cable Reel-Direct Drive UE21 Installation and maintenance instructions

Lippert Components ToyLok Installation and owner's manual

Lippert Components

Lippert Components ToyLok Installation and owner's manual

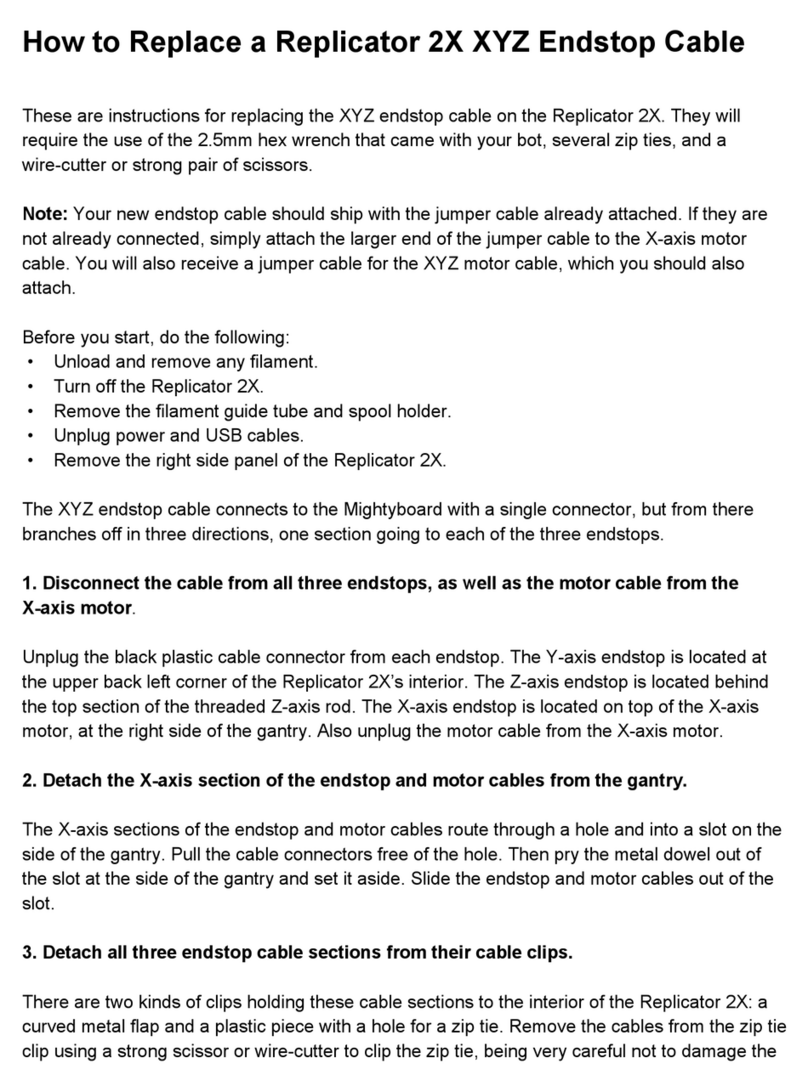
MakerBot Replicator 2X How to replace

MakerBot

MakerBot Replicator 2X How to replace

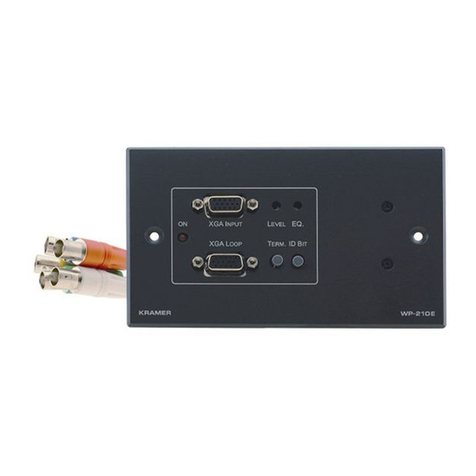
Kramer WP-210E user manual

Kramer

Kramer WP-210E user manual

manuals.online logo
manuals.online logoBrands
  • About & Mission
  • Contact us
  • Privacy Policy
  • Terms and Conditions

Copyright 2025 Manuals.Online. All Rights Reserved.