7
142 x 208 mm
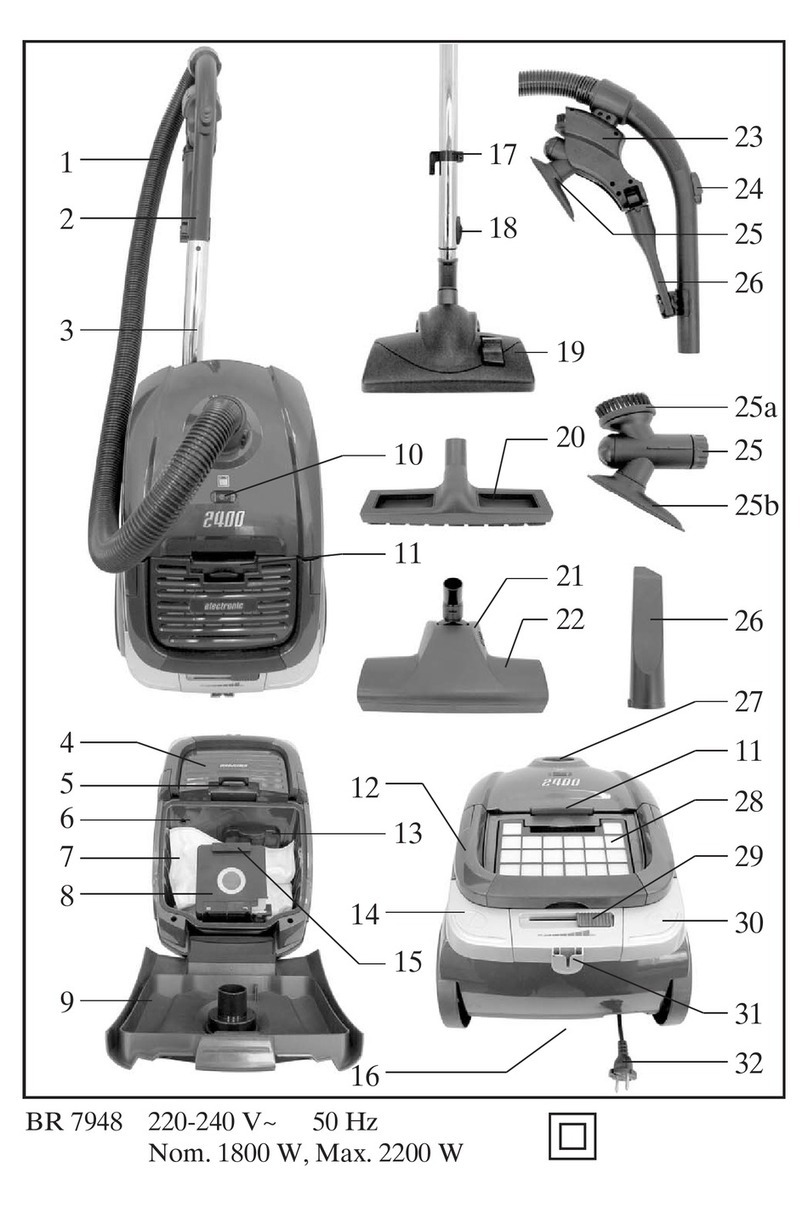
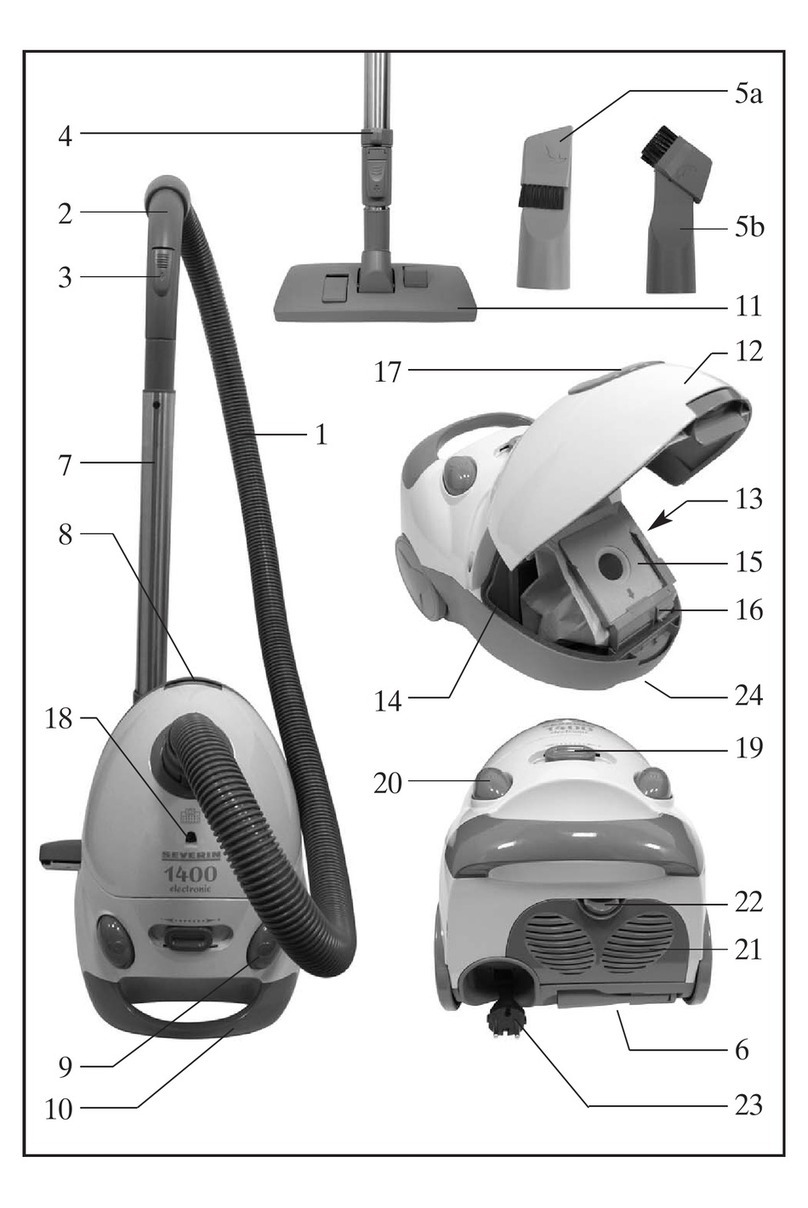
Das 2in1-Tool ist mit eingeklappter Bürste perfekt für Sofaritzen und andere,
schwer zugängliche Zwischenräume geeignet.
Mit herausgeklappter Bürste ist es ideal zum Absaugen von Möbeln.
∙Nur unbeschädigte Düsen einsetzen. Beschädigte Düsen können Oberächen zerkratzen.
Staubsaugen
∙Insbesondere beim Saugen von Treppen darauf achten, dass sich das Gerät stets unterhalb bendet. Anderenfalls kann
das Gerät herabfallen und Verletzungen hervorrufen.
∙Bei Verwendung einer Bürste mit rotierenden Borsten diese unbedingt von Menschen, Tieren und Panzen sowie von
Kabeln und Leitungen fernhalten.
∙Gerät nur verwenden, wenn der Staubbehälter und die Filter korrekt eingesetzt sind.
∙Das Gerät montieren, den Netzstecker einstecken und das Gerät einschalten.
∙Reinigungs- und Pegehinweise der Bodenbelag-, Teppich- oder Möbelhersteller einhalten!
∙Wenn Gardinen, Vorhänge oder andere Gegenstände versehentlich eingesaugt wurden,
schnell den Nebenluftregler öffnen um diese Gegenstände wieder freizugeben.
∙Zusätzlich stets darauf achten, dass die zum Untergrund passende Saugleistung eingestellt ist
(siehe „Saugleistung einstellen“).
∙Nach dem Gebrauch das Gerät ausschalten und den Netzstecker ziehen.
∙Die Taste zum Einziehen des Stromkabels drücken und das Stromkabel einziehen. Dabei den Stecker in der Hand halten
und Richtung Kabelaufwicklung mitführen. Anderenfalls kann das Stromkabel umherschlingern, umstehende Personen
verletzen, zur Stolperfalle werden oder Gegenstände umreißen.
Saugleistung einstellen
∙Der Leistungsregler ist stufenlos verstellbar. Je nach zu saugendem Untergrund sollte die Stellung des Leistungsreglers
angepasst werden:
∙maximale Leistung: für Hartböden mit Ritzen, stark verschmutzte Bodenbeläge
∙hohe Leistung: für Teppiche, Läufer und dergleichen
∙geringe Leistung: für Polstermöbel, Polster und Matratzen
∙minimale Leistung: für Gardinen, Vorhänge und dergleichen
Gerät warten und reinigen
Vor allen Wartungs- und Reinigungsarbeiten Gerät ausschalten und Stecker aus der Steckdose ziehen!
Staubbehälter leeren5 Gerät warten und reinigen
∙Staubbehälter spätestens dann leeren:
∙wenn die Saugleistung nachlässt
∙vor längerer Lagerung oder
∙vor einemg Versand zum Kundendienst.
∙Die Taste drücken und den Staubbehälter abnehmen.
∙Die Taste am Boden des Saugbehälters drücken, die Klappe öffnen und den Inhalt des Staubbehälters ausleeren.
∙Der Inhalt des Staubbehälters kann im normalen Hausmüll entsorgt werden, sofern kein für den Hausmüll verbotener
Schmutz enthalten ist.
∙Staubbehälter schließen und so ins Gerät einsetzen, dass es hörbar klickt.

