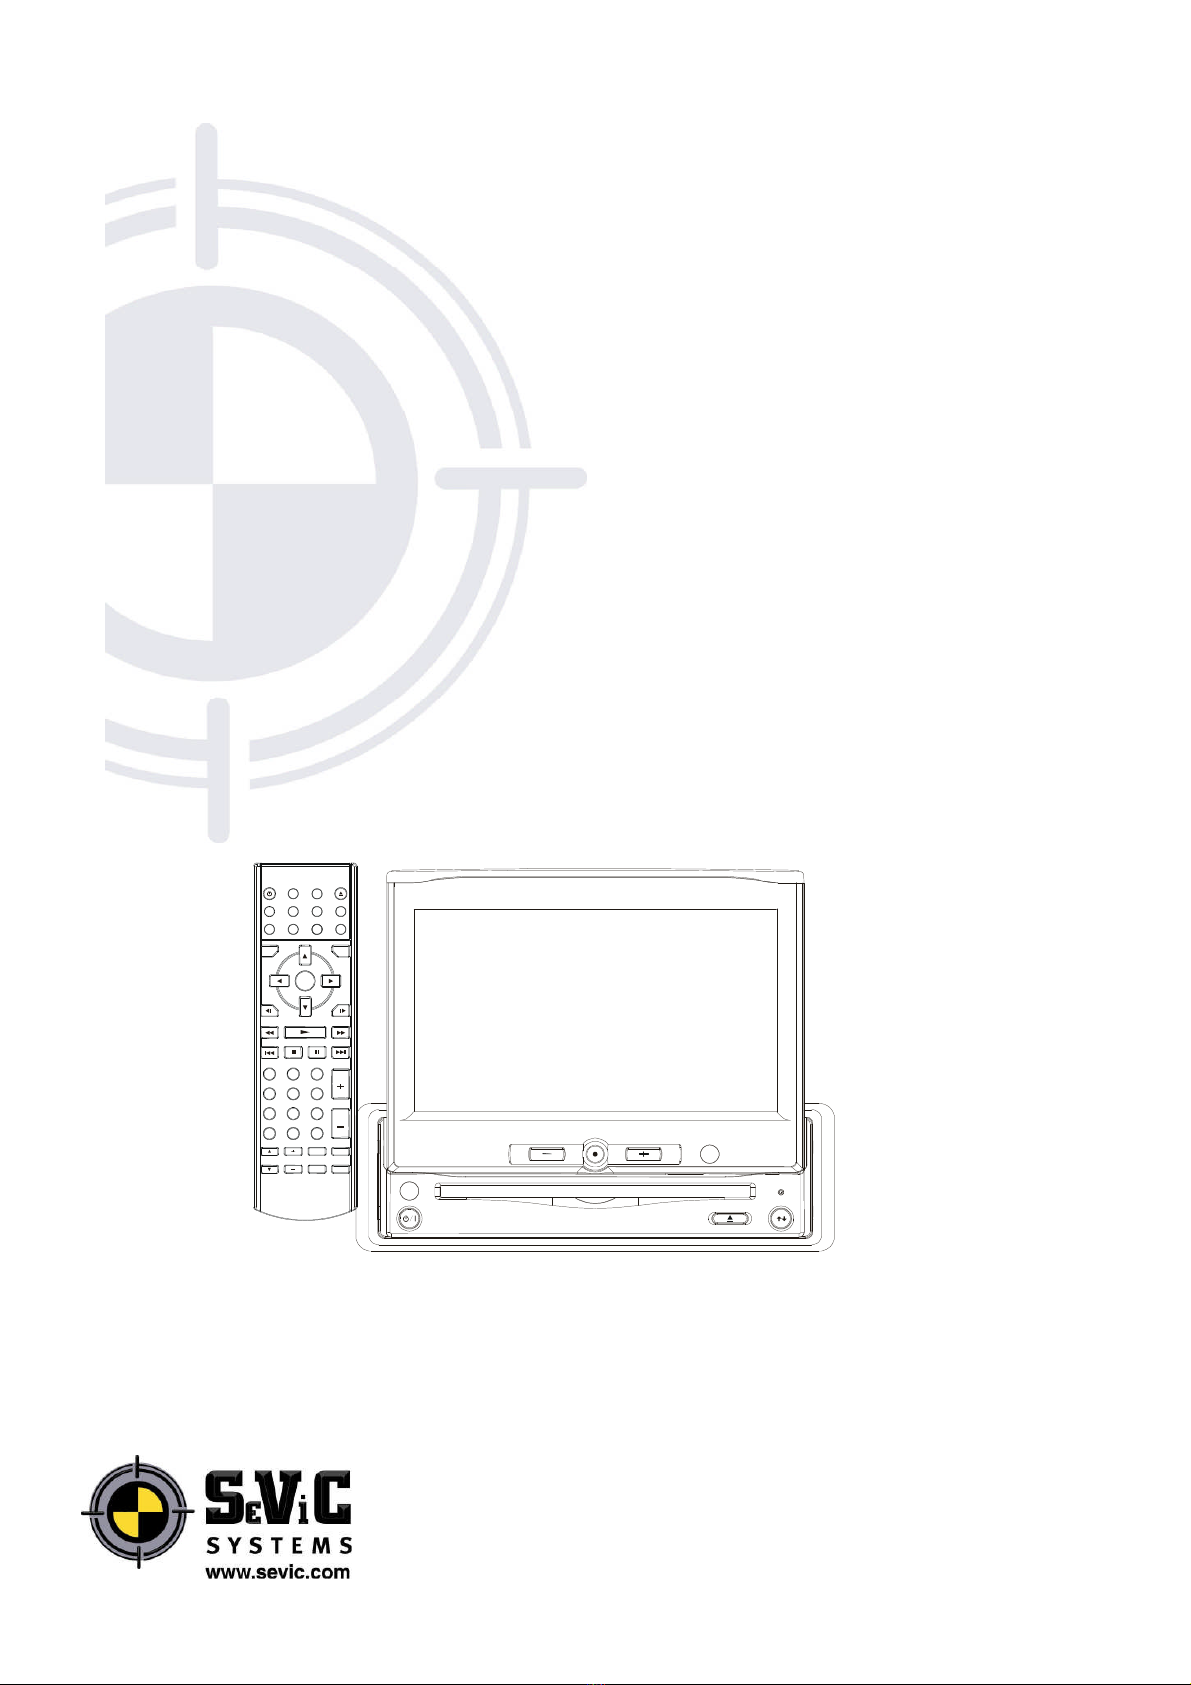
SEVIC SV071101 User manual

1
USER MANUAL
CLEAR
VOLUME
ZOOM
PROGRAM
/
EQ
MUTE
CH
CH
MO/ST
LOUD
ALL IN 1 IN DASH
MONITOR 6.5”
SV071101 (Pal BG + SecamL)
SV071101-BG (Pal BG)
SV071101-I (Pal I)

2
Features
Compatible with PAL DVD (Video CD)
This player can play discs recorded in
either PAL or NTSC format.
A single LSI chip now integrates all
major DVD playback circuit
functions including MPEG2 decoder,
video D/A converter, and audio
decoders.
L/R stereo analog audio outputs for
connection to existing head unit aux
inputs. Video output is composite
video.
Supplied remote handles
multi-function software
(multi-language audio-track/subtitle,
multi-angle, multi-story, etc.), plus
all basic functions.
Use This Product Safely
This set has been designed and
manufactured to assure personal safety.
Improper use can result in electric
shock or fire hazard. The safeguards
incorporated in this unit protect you if
you observe the following procedures
for installation, use and servicing. This
unit doesn’t contain any parts that can
be repaired by the user.
When Driving
Keep the volume level low enough to be
aware of road and traffic conditions.
When Car Washing
Do not expose the product to water or
excessive moisture. This could cause
electrical shorts, fire or other damage.
When Parked
Parking in direct sunlight can produce
very high temperatures inside your
vehicle. Give the interior a chance to
cool down before starting playback.
Use the Proper Power Supply
This product is designed to operate with
a 12 volt DC, negative ground battery
system the regular system in a North
American car).
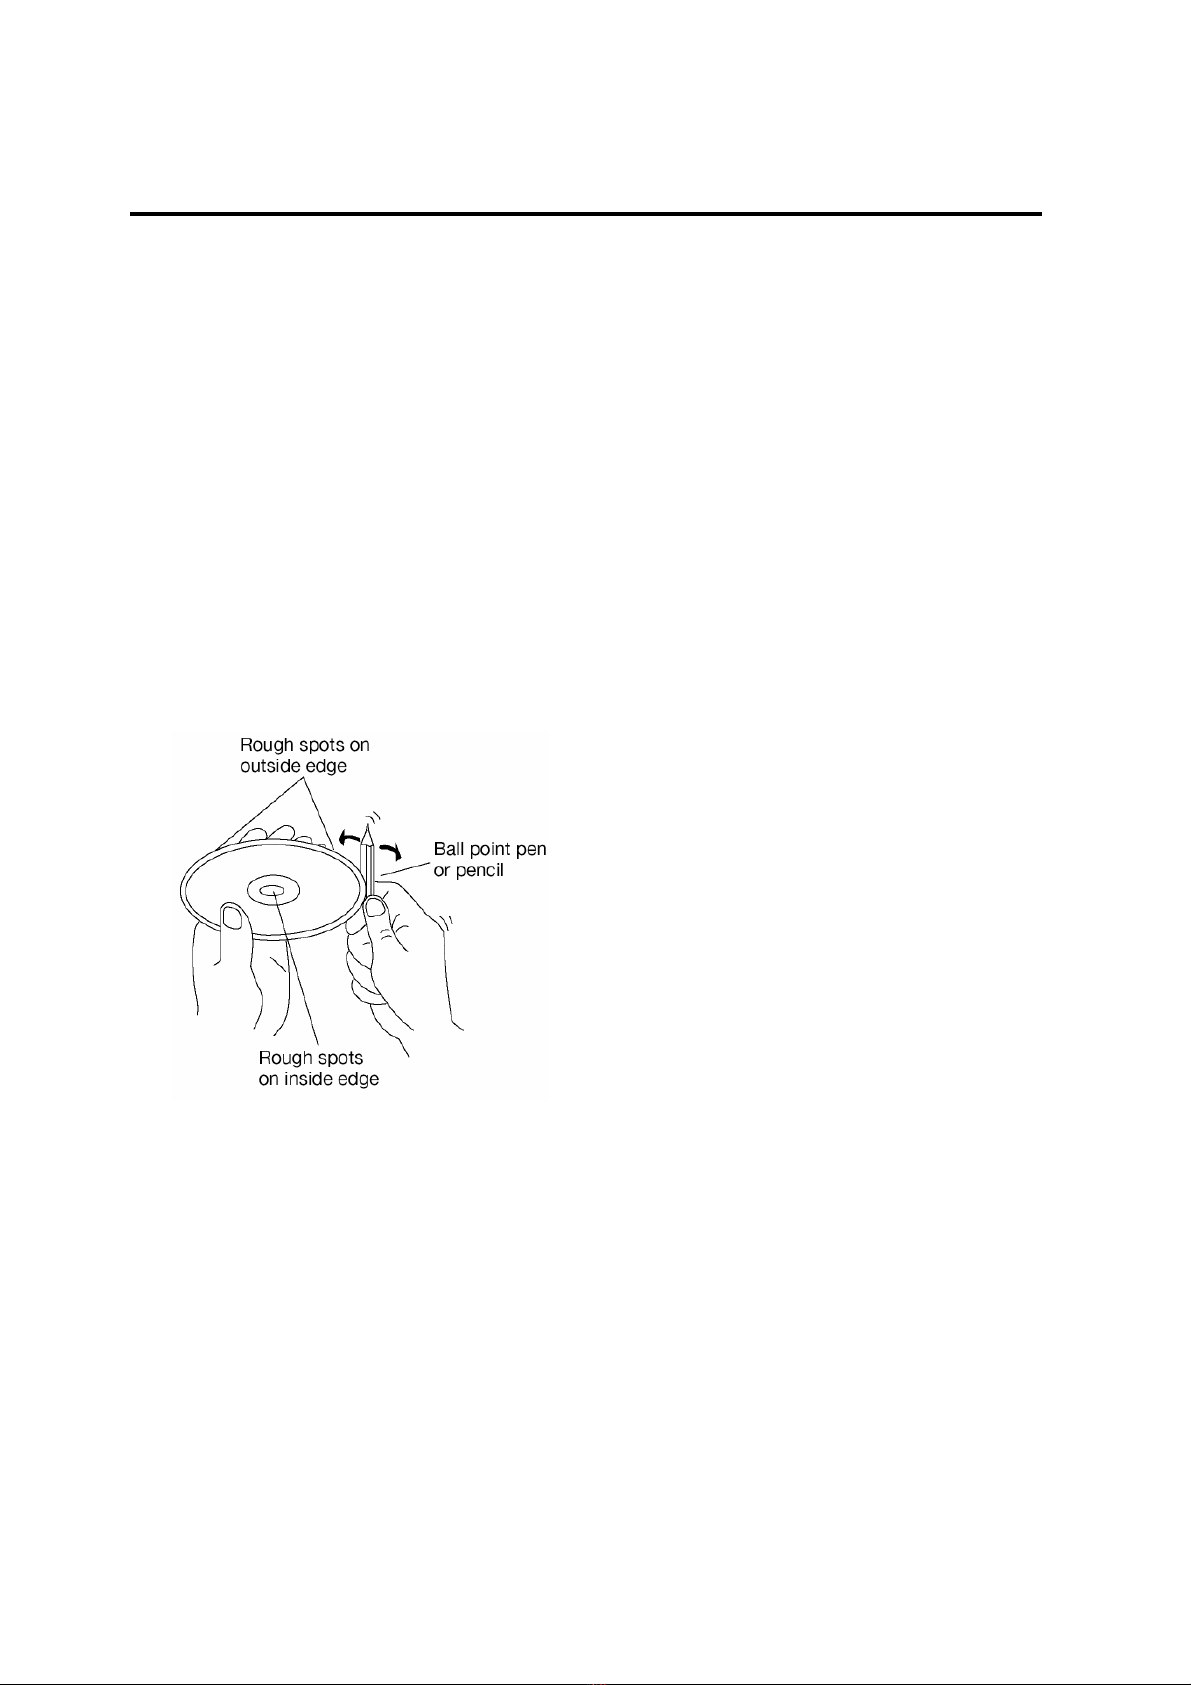
Protect the Disc Mechanism
Avoid inserting any foreign objects into
the slot of this player.
Failure to observe this may cause
malfunction due to the precise
mechanism of this unit.
Use Authorized Service Centers
Do not attempt to disassemble or adjust
this precision product. Please refer to
the Warranty Terms and Conditions for
more details on after sales servic.
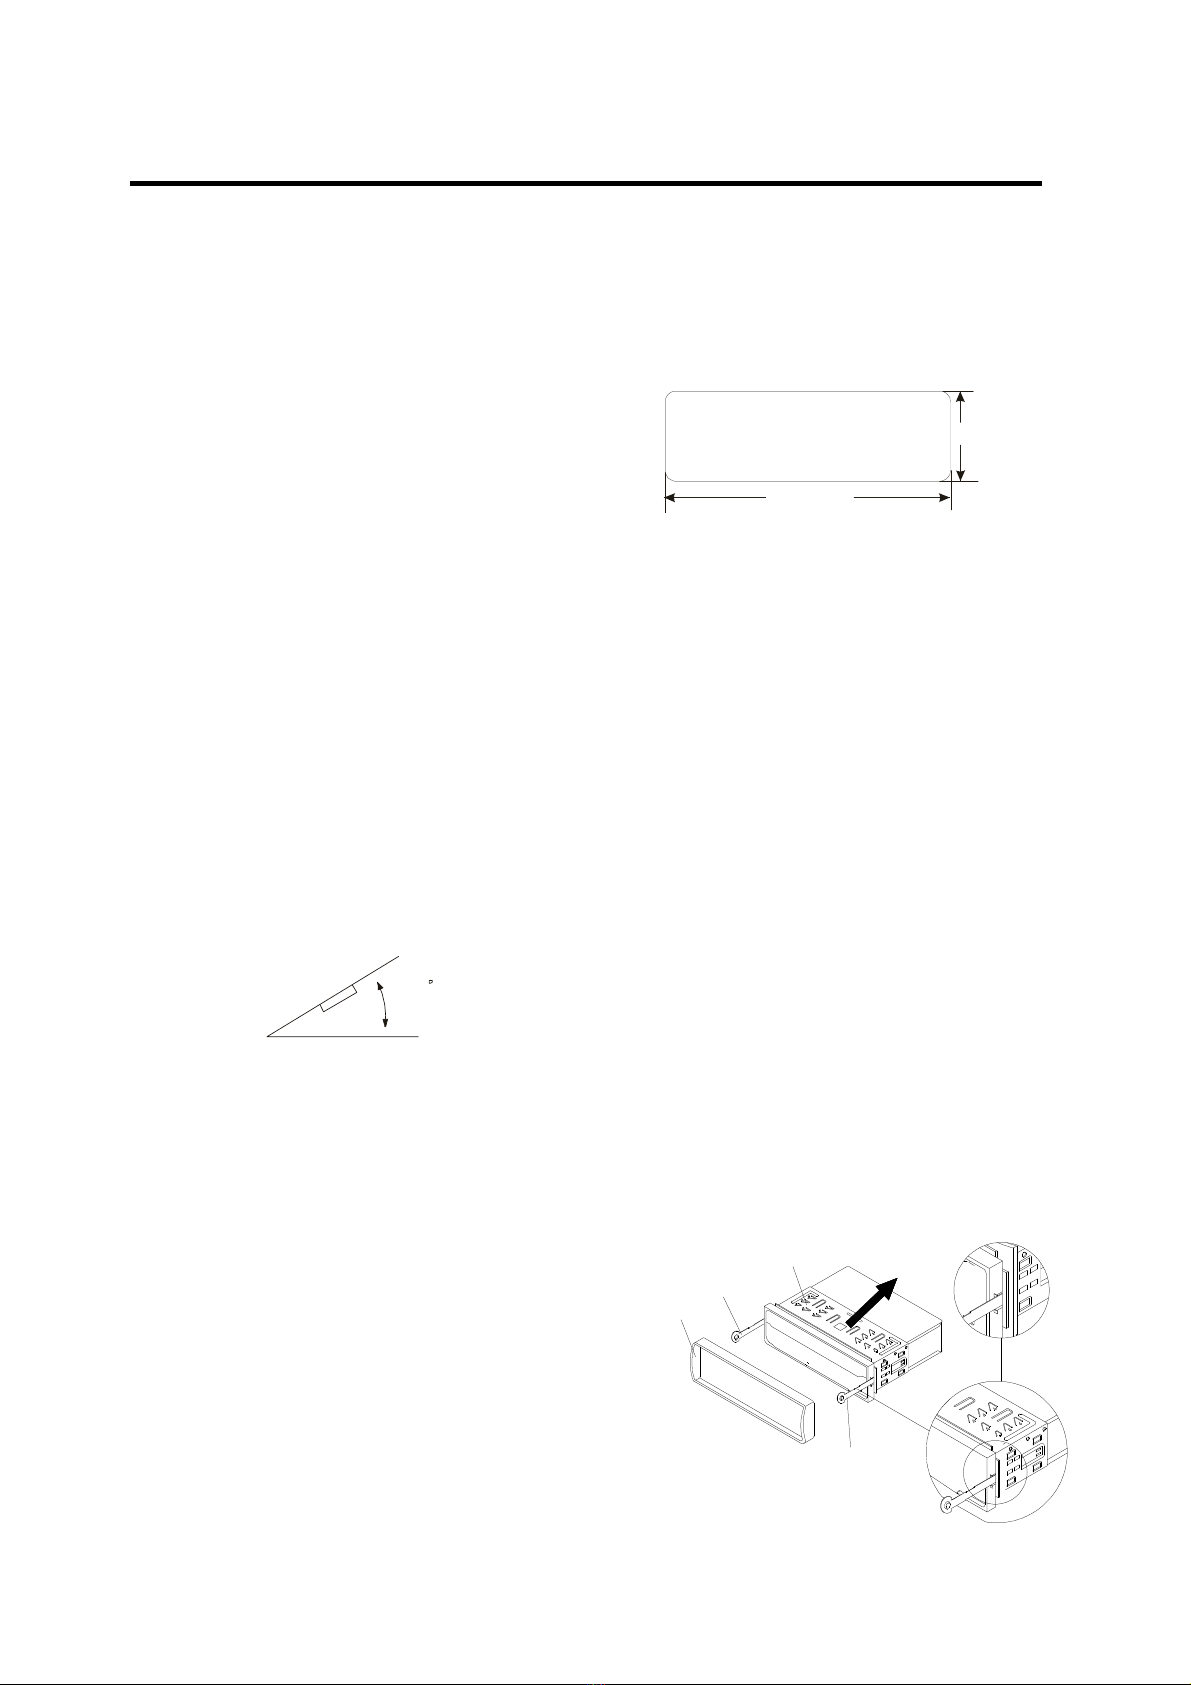
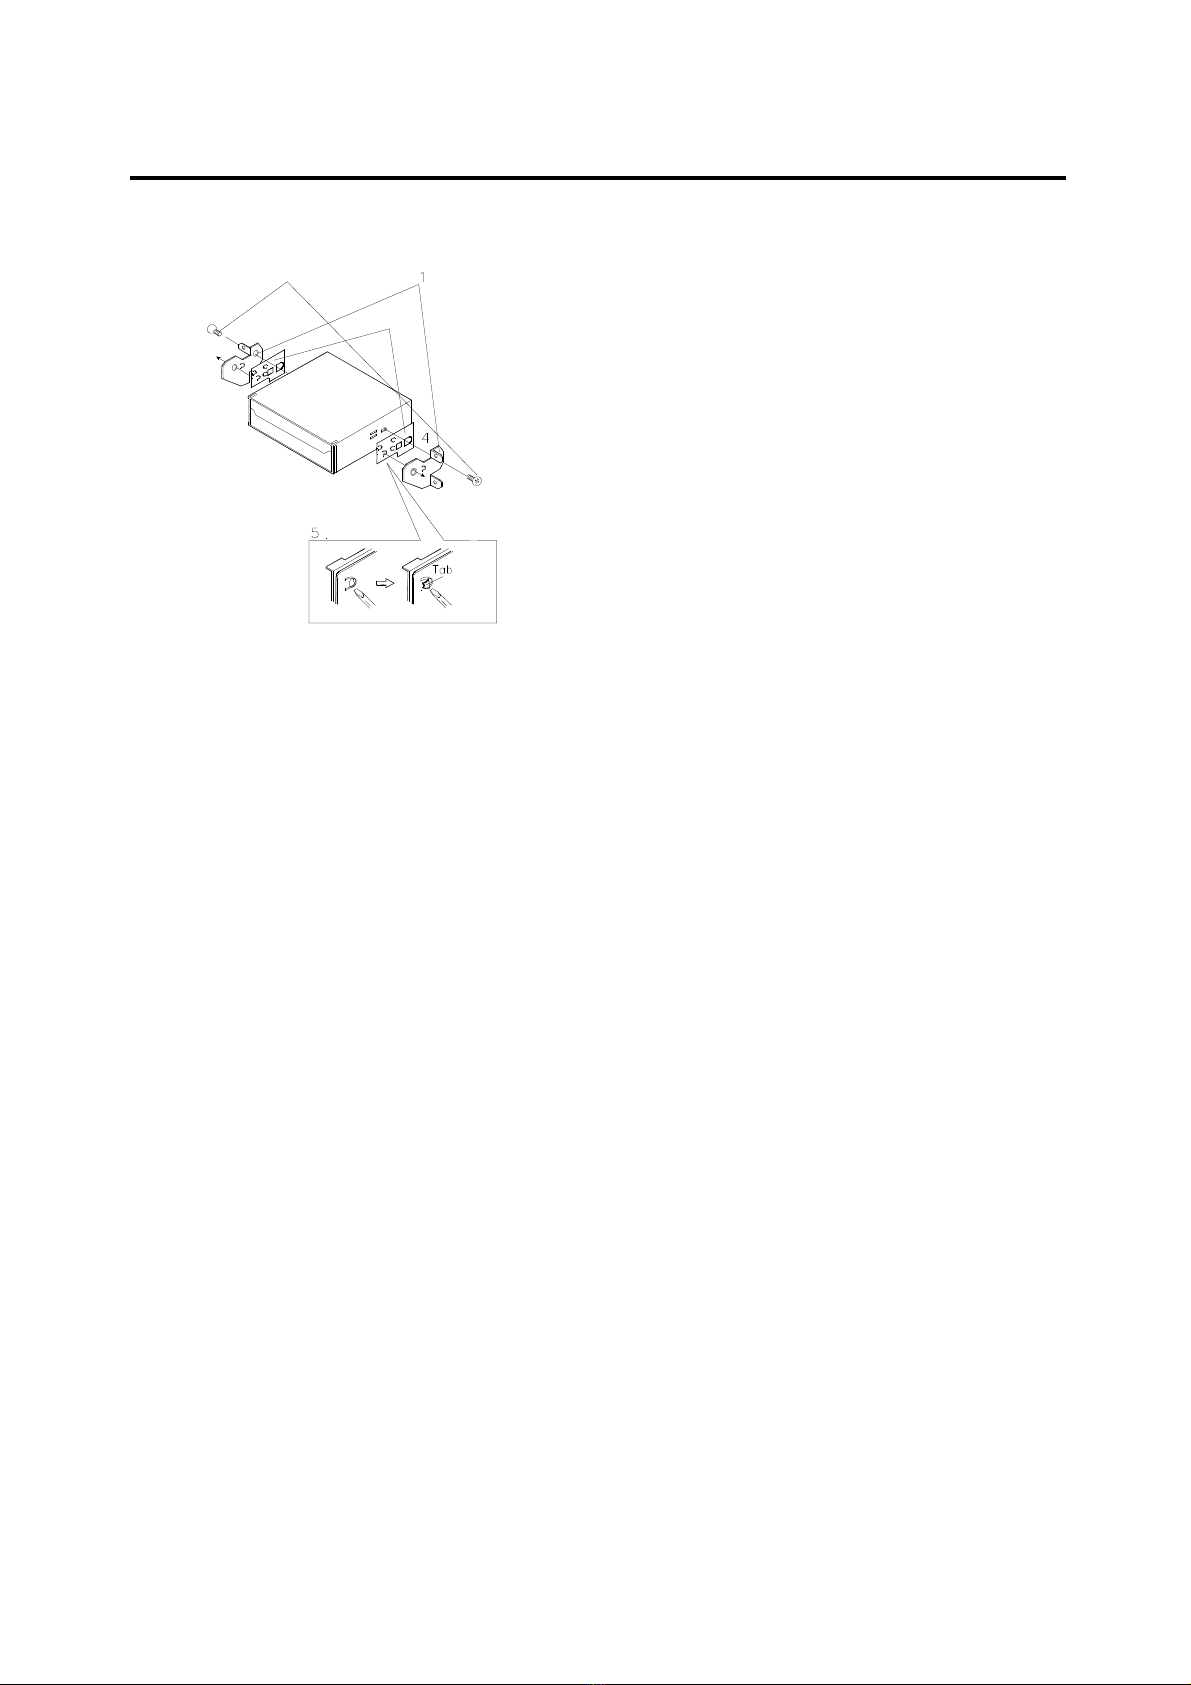
For Installation
The unit should be installed in a
horizontal position with the front end up
at a convenient angle, but not more
than 300.
Protect the Monitor Mechanism
The monitor is operated
automatically. Do not draw the
monitor out or turn it upward or
downward manually. Otherwise, the
mechanism construction may be
harmed to some degree.
When you operate the monitor with
the remote handset, do not touch
the monitor by your hands. It may
harm your fingers.

3
CONTENTS
Safety Information ...............................................................................4
Disc Notes ............................................................................................5
Installation.............................................................................................7
The Player ..........................................................................................10
Front View ..........................................................................................................10
Back View...........................................................................................................11
The Radio Box ...................................................................................12
Electrical Connection .........................................................................13
Remote Control ...................................................................................16
Location and Function of Keys...........................................................................16
Preparing the Remote Control............................................................................19
Loading/Ejecting a disc......................................................................20
Loading a disc....................................................................................................20
Ejecting a disc....................................................................................................20
Operation.............................................................................................21
Basic Operation..................................................................................................21
Disc ( DVD, VCD, CD, MP3) Operation..............................................................23
Radio Operation .................................................................................................27
TV Operation......................................................................................................28
AV Operation ......................................................................................................30
RGB Operation...................................................................................................31
Setup....................................................................................................32
Initial Setup.........................................................................................................32
General Setup....................................................................................................32
Speaker Setup....................................................................................................34
Audio Setup........................................................................................................34
Preferences Setup..............................................................................................35
Defaults Table.....................................................................................................37
Trouble Shooting.................................................................................38
Specifications......................................................................................40

4
SAFETY INFORMATION
CAUTION:
MOBILE DVD PLAYER IS A CLASS I
LASER PRODUCT. HOWEVER THIS
MOBILE DVD PLAYER USES A
VISIBLE/INVISIBLE LASER BEAM
WHICH COULD CAUSE HAZARDOUS
RADIATION EXPOSURE IF DIRECTED.
BE SURE TO OPERATE THE MOBILE
DVD PLAYER CORRECTLYAS
INSTRUCTED.
USE OF CONTROLS OR
ADJUSTMENTS OR PERFORMANCE
OF PROCEDURES OTHER THAN
THOSE SPECIFIED HEREIN MAY
RESULT IN HAZARDOUS RADIATION
EXPOSURE.
DO NOT OPEN COVERS AND - DO
NOT REPAIR YOURSELF. REFER
SERVICING TO QUALIFIED
PERSONNEL.
WARNING:
TO REDUCE THE RISK OF FIRE OR
ELECTRIC SHOCK, DO NOT
EXPOSE THIS EQUIPMENT TO
RAIN OR MOISTURE.
TO REDUCE THE RISK OF FIRE OR
ELECTRIC SHOCK, AND ANNOYING
INTERFERENCE, USE ONLY THE
RECOMMENDED ACCESSORIES.
THIS DEVICE IS INTENDED FOR
CONTINUOUS OPERATION.
This product incorporates copyright
protection technology that is protected by
method claims of certain U.S. patents
and other intellectual property rights
owned by Macrovision Corporation and
other rights owners. Use of this copyright
protection technology must be
authorized by Macrovision Corporation,
and is intended for home and other
limited viewing uses only unless
otherwise authorized by Macrovision
Corporation. Reverse engineering or
disassembly is prohibited.
Region Management Information
Region Management Information: This
Mobile DVD Player is designed and
manufactured to respond to the Region
Management Information that is
recorded on a DVD disc. If the Region
number described on the DVD disc does
not correspond to the Region number of
this Mobile DVD Player, this Mobile DVD
Player cannot play this disc.

5
DISC NOTES
Disc formats supported by this player
DVD
12 cm disc
(Single-sided disc only)
Video CD
12 cm disc
CD
12 cm disc
MP3
12 cm disc
Discs which cannot be played with
this player
DVD-ROM
DVD-R/ DVD-RAM
CDV
CD-G
Handling and Cleaning
Dirt, dust, scratches and warping
discs will cause misoperation.
Do not place stickers ormake
scratches on discs.
Do not warp discs.
A disc should always be kept in its
case when not in use to prevent from
damage.
Do not place discs in the following
places:
1. Direct sunlight.
2. Dirty, dusty and damp areas.
3. Near car heaters.
4. On the seats or dashboard.
Disc Cleaning
Use a dry soft cloth to wipe the surface.
If the disc is quite dirty, use a soft cloth
slightly moistured with isopropyl
(rubbing) alcohol. Never use solvents
such as benzine, thinner or
conventional record cleaners as they
may mar the surface of the disc.
Note:
A disc may become somewhat
scratched (although not enough to
make it unusable) depending on the
way it is handled and conditions in the
usage environment. Note these
scratches are not an indication of any
problem with the player.

6
DISC NOTES
Preparing New Discs with
Rough Spots
A new disc may have rough edges on
its inside and outside edges. If a disc
with rough edges is used, the proper
setting will not be performed and the
player will not play the disc.
Therefore, remove the rough edges
in advance by using a ballpoint pen
or pencil as shown on the right. To
remove the rough edges, press the
side of the pen or pencil against the
inside and outside edges of the disc.

7
INSTALLATION
Notes:
Choose the mounting location where
the unit will not interfere with the
normal driving function of the driver.
Before finally installing the unit,
connect the wiring temporarily and
make sure it is all connected up
properly and the unit and the system
work properly.
Use only the parts included with the
unit to ensure proper installation. The
use of unauthorized parts can cause
malfunctions.
Consult with your nearest dealer if
installation requires the drilling of
holes or other modifications of the
vehicle.
Install the unit where it does not get
in the driver’s way and cannot injure
the passenger if there is a sudden
stop, like an emergency stop.
If installation angel exceeds 30°from
horizontal, the unit might not give its
optimum performance.
Avoid installing the unit where it
would be subject to high temperature,
such as from direct sunlight, or from
hot air, from the heater, or where it
would be subject to dust, dirt or
excessive vibration.
DIN FRONT/REAR-MOUNT
This unit be can properly installed either
from “Front”(conventional DIN
Front-mount) or “Rear”(DIN Rear-mount
installation, utilizing threaded screw holes
at the sidesof the unit chassis). For
details, refer to the following illustrated
installation methods.
DIN FRONT-MOUNT (Method A)
Installation Opening
This unit can be installed in any
dashboard having an opening as shown
below:
Installing the unit
Be sure you test all connections first, and
then follow these steps to install the unit.
1. Make sure the ignition is turned off,
and then disconnect the cable from
the vehicle battery’s negative (-)
terminal.
2. Disconnect the wire harness and the
antenna.
3. Lift the top of the outer trim ring then
pull it out to remove it.
4. The two supplied keys release tabs
inside the unit’s sleeve so you can
remove it. One key is for the right side
and the other is for the left side. Insert
the keys as far as they will go (with
the notches facing up) into the
appropriate slots at the middle left and
right sides of the unit. Then slide the
sleeve off the back of the unit.
30
53mm
182mm
Outer Trim Ring
L Key Sleeve
R Key

8
INSTALLATION
5. Mount the sleeve by inserting the
sleeve into the opening of the
dashboard and bend open the tabs
located around the sleeve with a
screwdriver. Not all tabs will be able to
make contact, so examine which ones
will be most effective. Bending open
the appropriate tabs behind the
dashboard to secure the sleeve in
place.
Tabs
Screwdriver
Sleeve
Dashboard
6. Reconnect the wire harness and the
antenna and be careful not to pinch
any wires or cables.
7. Slide the unit into the sleeve until it
locks into place.
8. To further secure the unit, use the
supplied metal strap to secure the
back of the unit in place.Use the
supplied hardware (Hex Nut (M5mm)
and Spring Washer) to attach one end
of the strap to the mounting bolt on
the back of the unit. If necessary,
bend the metal strap to fit your
vehicle’s mounting area. Then use the
supplied hardware (Tapping Screw
(5x25mm) and Plain Washer) to
attach the other end of metal strap to
a solid metal part of the vehicle under
the dashboard. This strap also helps
ensure proper electrical grounding of
the unit.
Note to install the short threading
terminal of the mounting bolt to the
back of the unit and the other long
threading terminal to the dashboard.
Mounting Bolt
Plain Washer
Tapping Screw
Metal Strap
Spring Washer Hex Nut
9. Reconnect the cable to the vehicle
battery’s negative (-) terminal. Then
replace the out trim ring.
Removing the unit
1.Make sure the ignition is turned off,
then disconnect the cable from the
vehicle battery’s negative (-) terminal.
2.Remove the metal strap attached the
back of the unit (if attached).
3.Lift the top of the outer trim ring then
pull it out to remove it.
4.Insert both of the supplied keys into the
slots at the middle left and right sides
of the unit, then pull the unit out of the
dashboard.

9
INSTALLATION
DIN REAR-MOUNT (Method B)
3
2
1. Factory radio mounting bracket
2. Car radio mounting bracket
3. Screw
4. After aligning the car radio mounting
bracket with the factory radio
mounting bracket, tighten the screws
(5x5mm) at 2 places on each side.
5. When fixing factory radio mounting
bracket with the screws, use a
standard-tipped screwdriver to bend
open the tabs of the car radio
mounting bracket to make them fit into
the holes in the factory radio mounting
bracket.

10
THE PLAYER
FRONT VIEW Open Position
Closed Position
1. POWER
2. IR (on the front panel)
3. OPEN/CLOSE
4. (EJECT button)
5. Disc Slot
6. Reset button
7. PICTURE CONTROL
8.
9.
10. IR (on the monitor panel)
11. 6.5 INCH COLOR TFT MONITOR
1
2
5
4
3
6
12 7
4
9
10
11
35 68

11
THE PLAYER
BACK VIEW
12. 13 PIN SOCKET
13. RGB SYSTEM
14. REMOTE SOCKET
15. AUDIO/VIDEO INPUT
16. DIGITALAUDIO
17. DC 12V IN
12 13 14 15
16
17

12
THE RADIO BOX
ONE SIDE
OTHER SIDE
1. 20 PIN SOCKET
2. TO MAIN UNIT
3. VIDEO OUTPUT
4. AUDIO OUTPUT
5. ANTENNA SOCKET
6. DIVERSITYANTENNA
5
6
3
2
4
1

13
ELECTRICAL CONNECTION
METHOD A

14
ELECTRICAL CONNECTION
METHOD B

15
ELECTRICAL CONNECTION

16
REMOTE CONTROL
LOCATION AND FUNCTION OF KEYS

17
REMOTE CONTROL
1. POWER Press POWER to turn the unit ON or OFF.
2. EJECT Only in DVD mode, press to eject the disc.
3. OPEN/CLOSE Press to open/close the monitor.
4.SUBTITLE Changing of the SUBTITLE language on multi-subtitle language DVD disc.
5.ANGLE Changing of the view angle on multi-angle DVD disc.
6.DISPLAY Display statistical disc information during playback in DVD mode.
7. MODE Press to change between DVD, RADIO, TV, AV and RGB mode.
8.SETUP Display the SETUP menu in DVD mode.
9. PROGRAM Allows the track played in the order you programmed.
10. AUDIO Changing of the AUDIO soundtrack on multi-audio soundtrack DVD disc.
Changing of the sound mode of the VCD/CD discs.
11. TITLE (DSP) Display the TITLE menu that is stored in DVD disc.
In TV mode, press to display the TV channel in the screen.
12. MENU Display the root menu that is stored on the DVD disc.
13. / , / In case of MENU mode, / , / buttons served as cursor buttons to
select item left/right, ahead/back.
14. ENTER Confirm the Track/Chapter selected with the numeric buttons or selected
with the cursor buttons on screen.
15. / Changing for slow forward/ reverse playback motion on DVD disc.
16. Press to play the disc.
17. / Press to search forward rapidly & to search reverse rapidly.
18. / Press to skip to the next track & press to skip back one track.
19. Press it to stop playback.
20. Press it to pause playback.
21. 0-9 Numeric buttons
22. 10+(-/--) Tens digit select button, cooperatively used with numeric buttons.
23. SEL In DVD, RADIO, TV,AV mode, press SEL to display the corresponding
menu.
24. PANEL+/- Press to turn the monitorangle upward or downward in small steps.
25. CH In radio mode, press shortly to increase frequency by one step of
channel spacing. Hold longer for fast tuning.
In TV mode, press (CH+) shortly to select channel upward.
26. VOL+ Press VOL+ button to increase the volume level.
27. GOTO Disc search button, cooperatively used with numeric buttons.
(AS/PS) In radio mode, press for several seconds to enter into automatic memory
storing function; press shortly to scan preset station.
(AUTO) In TV mode, press it for several seconds to start search channel
automatically, press (CH-) to stop it in the course of searching.

18
REMOTE CONTROL
28. PBC
Changing between PBC ON and PBC OFF on the VCD disc.
29. CH In radio mode, press shortly to decrease frequency by one step
of channel spacing. Hold longer for fast tuning.
In TV mode, press (CH-) shortly to select channel downward.
30. VOL- Press VOL- button to decrease the volume level.
31. REPEAT Switch the Repeat mode of discs.
32. A-B (MO/ST) A-B repeat allows a passage to be repeated continuously.
In radio mode, press it to select mono or stereo mode.
33. RADIO PRESET Six preset memory buttons.
34. BAND In radio mode, press it to select desired band.
35. MUTE In radio, DVD, TV orAV mode, press to mute the sound.
36. ZOOM Allows the picture to be increased in size.

19
REMOTE CONTROL
Preparing the Remote Control
Inserting the Batteries
1.Open the battery compartment cover.
2.Insert the new batteries. Make sure
that the positive and negative
terminals of the batteries are oriented
as indicated.
3.Close the cover.
Battery: Two AAA size battery
Using the Remote Control
Point the remote control towards the
remote control signal receiver on the
player front face.
Operation angle: About ±30 degree in
each the direction of the front of the
remote sensor.

20
Loading a Disc
1.Turn the ignition on to the accessory
position.
2.Press the POWER button (1).
3.Insert the disc with printed side facing
up into the disc slot (2).
4.The player willstart playback
automatically.
1
2
3
Ejecting a Disc
Only in DVD mode, press button (3)
to eject the disc.
LOADING/EJECTING A DISC
This manual suits for next models
2
Table of contents
Other SEVIC Car Video System manuals