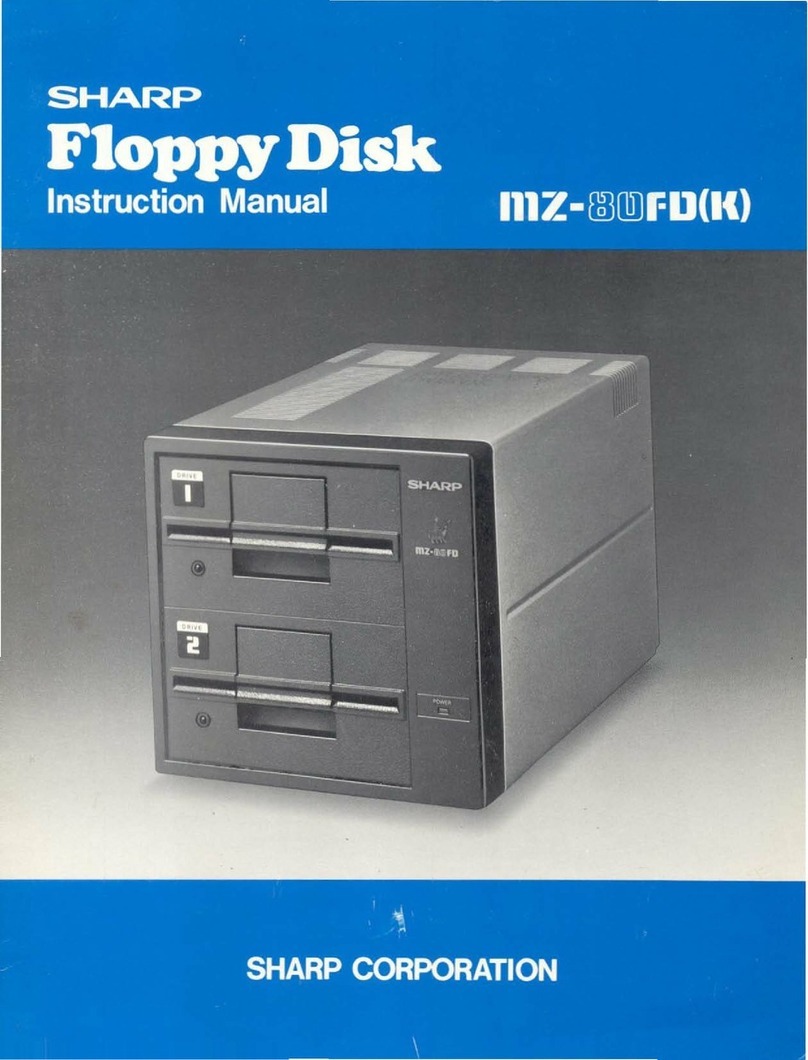
Sharp MZ-80FD(K) User manual


Note for
Users
in
U
K.
IMPORTANT
The wires in the mains
lead
of
this apparatus
are
coloured in accordance
with
the
following
code:
BLUE:
BROWN:
Neutral
Live
As the colours
of
the wires in the mains lead
of
this apparatus may
not
correspond
with
the coloured makings
identifying
the terminals in
your
plug,
proceed
as
follows:
* The
wire
which
is
coloured
BLUE
must
be
connected
to
the terminal
which
is
marked
with
the letter N
or
coloured
BLACK.
* The
wire
which
is
coloured BROWN must
be
connected
to
the terminal
which
is
marked
with
the letter L
or
coloured RED.

INTRODUCTION
Thank you very much for purchasing
SHARP
Floppy Disk
MZ-80FD
(K).
Please
read
this instruction manual carefully for the proper
use
of
this machine.
Page
• Prior
to
use
.............................................
2
• Connection with interface·. . . . . . . . . . . . . . . . . . . . . . . . . . . . . . . .
..
3
Connection
with
interface
..............................
3
Method
of
extension
..................................
4
• Operation
..............................................
5
• Operational precautions
...................................
5
• Handling the diskette
.....................................
6
• Specifications
...........................................
8

2
Extension:
The
Floppy
Disk
may
be extended
up
to
4 drives (2 units) using
the
daisy-chain
connection.
It
is
therefore
important
to
change
the
connection
of
each
unit
if
the extension
is
made. The extension
should be done according
to
"Method
of
extension"
described hereafter. A
wrong
connection
destroys
the
drive
signal
circuit.
When
extending
the disk,
an
exclusive extension
unit
MZ-80FDK
must be used.
Ambient
temperature:
The
diskette
used
as
a recording
medium
for
the
MZ-80FD
is
sensitive
to
temperature change:
easily expanding
or
contracting;
therefore,
the
ambient
temperature
should
be
kept
below
25°C
during
continuous
operation,
and
below
27°C
during
intermittent
operation.
Power
supply:
Supply
voltage should be local voltage. Excessively high
or
low
voltage could result in faults and
thus
insufficient
performance.
Do
not
connect
the
system
to
the
same
power
line
as
other
apparatus (e.g. a large-scale
motor)
which
cause noise.
If
the
system
malfunctions
due
to
the
noise
from
the
power
line, connect
the
system
to
the
power
line
that
has
been cleared
of
mixed
noise using a
power
line
filter.
Turn
on
or
off
the system
power
supply
while
the
diskette
is
out
of
the
drive, otherwise a
malfunction
occurs.
Humidity
and dust:
The
Floppy
Disk, a precision machine,
is
easi
Iy
damaged
by
excessively high
humidity.
Do
not
use
this
unit
in a
location
that
is
high in
humidity
or
is
dusty.
(Working
ambient
humidity
range: 20%
to
80%)
Water and foreign
matter:
It
is
dangerous
to
use
this
unit
with
water
or
other
liquid
or
metallic
objects such
as
a needle, pin
or
the
like
remaining therein. Take care
not
to
allow
any
extraneous
matter
to
get
into
the
unit.
Especially
if
any
liquid
(including
water)
or
powdery
matter
gets
into
the
unit,
be sure
to
contact
the
dealer
from
which
you
have purchased
the
unit.
The same
caution
is
required
for
the
diskette.
Do
not
operate
the
Floppy
Disk
while
smoking
or
drinking.
Installing
conditions
and shock:
The
Floppy
Disk consists
of
precision mechanism and
electronic
parts.
Do
not
use
it
in a location
that
is
subjected
to
too
!.igh
or
too
low
temperatures, radical
temperature
changes, much
vibration
or
dust.
Do
not
give
any
shock
to
the
unit
by
violently
putting
or
dropping
object(s) on
it.
Keep
this
unit
away
from
loudspeakers, televisions, tape recorders
or
other
magnetism-generating apparatus,
otherwise
it
may
cause a
malfunction,
or
data
or
text
recorded on
the
diskette
may
be
erased.
Only
operate
the
unit
on a level surface. Locate
the
signal cables
(flat
cable, etc.)
as
far
as
possible
from
other
apparatus and
power
cords.

1.
Connection with interface
Insert the interface card
(option:
MZ-80FI/O)
into
the
Interface
Unit
(option:
MZ-8011O)
with
its
parts-fitted
side
up
-
any
of
five card connectors in
the
interface can
be
used. Then
connect
the
flat
cable
(option:
MZ-80F15)
with
the interface card:
pass
one
of
the connectors
of
the
flat
cable
into
the interface
unit
at its rear part, and
connect
it
to
the
connector
on
the
interface card
with
their
polarity
marks aligned. A
polarity
key
is
attached
to
the
connector,
so
take care
not
to
connect
the
connector
the
wrong
way,
otherwise
the
polarity
key
is
damaged.
(See
Figure 2.)
Then connect
the
flat
cable
to
the
input
connector
(printed
with
"IN")
at
the
rear side
of
the
Floppy
Disk
with
the
polarity
aligned.
Last
of
all,
connect
the
accessory braided
wire
between
the
MZ-80K
and
the
FG
terminal
of
the
MZ-80FD.
To
connect
to
the
MZ-80K,
fasten
the
braided
wire
with
the screw
to
the
left
threaded
hole on
the
rear. Refer
to
Fig. 3.
I
nput
connector
Polarity
mark
=
=
=
=
=
=
=
=
Power
connector
Power
switch
--------t---......
c=J
~
FG
terminal
o ..
Rear
Side
Appearance
Front
door
Drive
1
(.
Drive
3)
Drive
2
(.
Drive
4)
Asterisk
stands
for
extension
unit.
Action
indicator
LED
Fig. 1 Floppy Disk
MZ-80K
Floppy
I
nterface
unit
Parts-fitted
D side
DoDo
DD
D
Floppy
interface
card
Fig.2
Insertion
of
interface
card
MZ-80FD
001
8
\ j
s.!w
~
Braided
wire
for
MZ-80FD
FG
terminal
-------------------------------------
_____
----.J
Fig.3
3

4
2.
Method
of
extension
It
is
possible
with
Disk BASIC
to
drive
two
Floppy
Disk units
(four
drives).
Use
the extension
unit
MZ-80FDK
(drives 3 & 4) when making the extension.
(Please
order the extension-use
unit
from
the
dealer specifying
it
as
"an
exclusive
unit
for
extension".) The
use
of
a
unit
other than the
extension-use
unit
may result in damage
to
the signal
circuit
of
the
Floppy
Disk.
Given below
is
the extension procedure. Carry
out
the task observing this procedure.
a)
Remove the
flat
cable
from
unit
1 (drives 1 & 2).
b) Connect the
flat
cable removed in
a)
above
to
the
input
connector (IN)
of
unit
2 (drives 3 & 4)
which
is
for
extension
use.
(See
Figure 4.)
c)
Connect the one connector
of
extension-use
flat
cable (MZ-80F05)
to
the
output
connector
(0
UT)
of
unit
2
[for
extension
use]
.
d) Connect another connector
of
the
said
flat
cable
to
the
input
connector (IN)
of
unit
1
to
which
the
flat
cable removed in
a)
has
been connected.
e)
Connect the accessory braided
wire
for
MZ-80FDK
between the
FG
terminal
of
the
MZ-80FD
and one
of
the
MZ-80FDK.
f)
That
is
all.
Be
sure
to
al
ign the
polarity
marks
correctly
when connecting.
MZ-80K
MZ-801/0
Flat
cable
(MZ-80F15)
(F"
,",m;o:
Braided
wire
for
MZ-80FD
\
Braided
wire
for
MZ-80FDK
~
Unit
1 (drives 1 & 2)
Floppy
disk
(rear side)
IN
MZ-80FD
\\'-"'>I---Extension-use
flat
cable
(MZ-80F05)
Floppy
disk
(rear side)
Unit
2 (drives 3 & 4)
(for
extension
use)
MZ-80FDK
Connections
before
extensior.l
~~~~~
Connections
after
extension
Fig. 4 How to Extend the Floppy Disk

All
the
physical operations needed are
to
turn
the
power
on
or
off,
and
to
insert
or
remove the
diskette: every
other
is
carried
out
through
the
computer.
For
the Disk BASI
C,
refer
to
the
Instruction
Manual
of
MZ-80FMD
(option).
Insertion
of
diskette:
1.
Take the
diskette
out
of
the envelope.
2. Open the
front
door
of
the
Floppy
Disk
with
your
finger
(See
Figure 5).
3. Insert the diskette:
put
it
with
its label up
into
the
drive and push
it
till
it
will
go no more. For
the
inserting
direction,
see
Figure 6.
Removal
of
diskette:
1.
Open the
front
door
gently
and take
the
diskette
out.
2.
Put the removed
diskette
into
the envelope, and
put
it
back in its
case.
SHARP
Fig. 5 Operation 1
Fig.6
Operation 2
1.
Since
an
anti-crunch mechanism
is
used
in
the
front
door,
the
front
door
won't
close unless the
diskette
is
fully
inserted.
If
not
perfectly
inserted, take
the
diskette
out
and insert
it
again
properly.
2.
The
Floppy
Disk
is
provided
with
write-protection
(which
prevents the machine
from
wrongly
writing
to
it). When
the
write-protection
notch
of
the
diskette
jacket
is
covered
with
the
write-protection
label,
improper
writing
to
it
is
prevented. In
normal
use,
do
not
cover the
write-protection
notch
with
label
or
the
like.
5

. 6
Handling the diskette
1.
As
a recording medium:
As a recording medium
for
the
Floppy
Disk, a
5.25-inch diskette stored in
an
exclusive jacket
is
used.
Use
the SHARP
option
diskette
(option:
14---
133.3mm
---.I
LJ
Write-protection
notch
/
MZ-80FBD):
the
use
of
an
inferior-quality
diskette
may damage the
Floppy
Disk
unit.
E
~
@=
_---'-"-
Center
hole
M
M 0
2.
Notes
on
the
use
of
diskette
o ©
o
Index
hole
+-
___
+-_
Head
window
Fig. 7 5.25-inch Diskette
Do
not
touch the recording surface
of
the diskette
with
fingers
as
this
can
cause
reading and
writing
errors.
Storage temperature:
4°C
to
50°C (ambient temperature)
Do
not
expose
it
to
the
direct
sunlight,
nor
put
it
in a
place where the temperature
is
over 50°C, otherwise the
jacket
is
likely
to
warp and
distort.
Insert the diskette straight
into
the
unit
till
it
stops. Then
close the
front
door
carefully. Rough handling
can
damage
the diskette.
Do
not
bend
or
fold
the diskette. A deformed diskette
makes reading and
writing
impossible.

3. Notes on the storage
of
diskette:
Envelope
The index label should
be
filled in before
it
is
attached
to
the jacket.
If
it
is
filled in
after
it
has
been attached
to
the
jacket,
use
a
soft-point
pen.
Do
not
use
a ball-point pen,
pencil.
Do
not
handle the diskette
or
Floppy
Disk
while
you
smoke
or
drink.
If
the diskette
is
soiled, the data
or
programs
stored on the diskette may
be
spoiled.
Never
put
a magnet near the diskette. A magnet ring
or
magnet necklace may also
affect
the stored data.
Be
sure
not
to
use
magnetic objects when the diskette
is
handled.
Any
apparatus
that
generates magnetism should
be
also kept
from
the diskette:
for
example, a
monitor
screen
of
a
computer, cassette tape recorder, home television set, etc.
When
not
in
use,
be
sure
to
keep the diskette in the
evelope. Form a
habit
of
putting
the diskette
into
the
envelope
immediately
after
it
is
taken
out
of
the drive. Such
a
habit
will
prevent nearly all the problems resulting
from
wrong diskette handling. The master diskette should
be
loaded on the
Floppy
Disk
only
when
it
is
used; and when
not
in
use,
keep
it
in the envelope.
The envelope
is
made
of
special material which works
against static
electricity,
humidity,
etc. So, make sure again
all
the
diskettes are kept in the envelopes.
For
keeping,
put
the diskette-containing envelope in the
container box, and
put
it
up in
an
erect position. Do
not
keep
it
in
an
inclined position,
or
in·
a position
that
may
make the diskette warp.
7

8
Memory capacity
No.
of
tracks
No.
of
sectors
Working conditions
Rated voltage
Power consumption
Outer dimensions
Weight
Accessories:
Power cord
Braided wire
Instruction manual
Option:
Floppy
interface card
Disk BASIC
Flat cable
for
connection
Do
not
use
a paper holder
or
paper
clip
in a way
as
shown
in the figure.
Do
not
put
heavy object(s) on the diskette.
Keep
the
diskette in its specified place whenever
it
is
not
in
use.
Specifications
143K
bytes/drive (286K bytes/unit)
70
16 (per track)
4
to
25°C
28
to
80% (relative
humidity)
Local Voltage 50Hz
40W
205mm(W) x
320mm(D)
x
200mm(H)
7.9kg
1 pc.
1 pc.
1 copy
MZ-80FI/O
MZ-80FMD
MZ-80F15, MZ-80F05
Specifications subject
to
change
without
prior
notice
for
improvement.

Sharp Corporation has
all
rights
of
MZ-80 series.
No
part of this publication may be reproduced or transmitted
in
any form
or
by any means, without the
permission of Sharp Corporation.

Other manuals for MZ-80FD(K)
1
Table of contents
Other Sharp Computer Hardware manuals

Sharp
Sharp PN-ZB01 User manual

Sharp
Sharp MZ1F10 User manual

Sharp
Sharp CE-E User manual

Sharp
Sharp MZ-801/0 User manual

Sharp
Sharp MZ-1F19 User manual
Sharp
Sharp PN-ZB02 User manual

Sharp
Sharp MZ-80FD(K) User manual
Sharp
Sharp MZ-1R12 User manual

Sharp
Sharp MZ-8BI03 User manual

Sharp
Sharp PN-E471R User manual