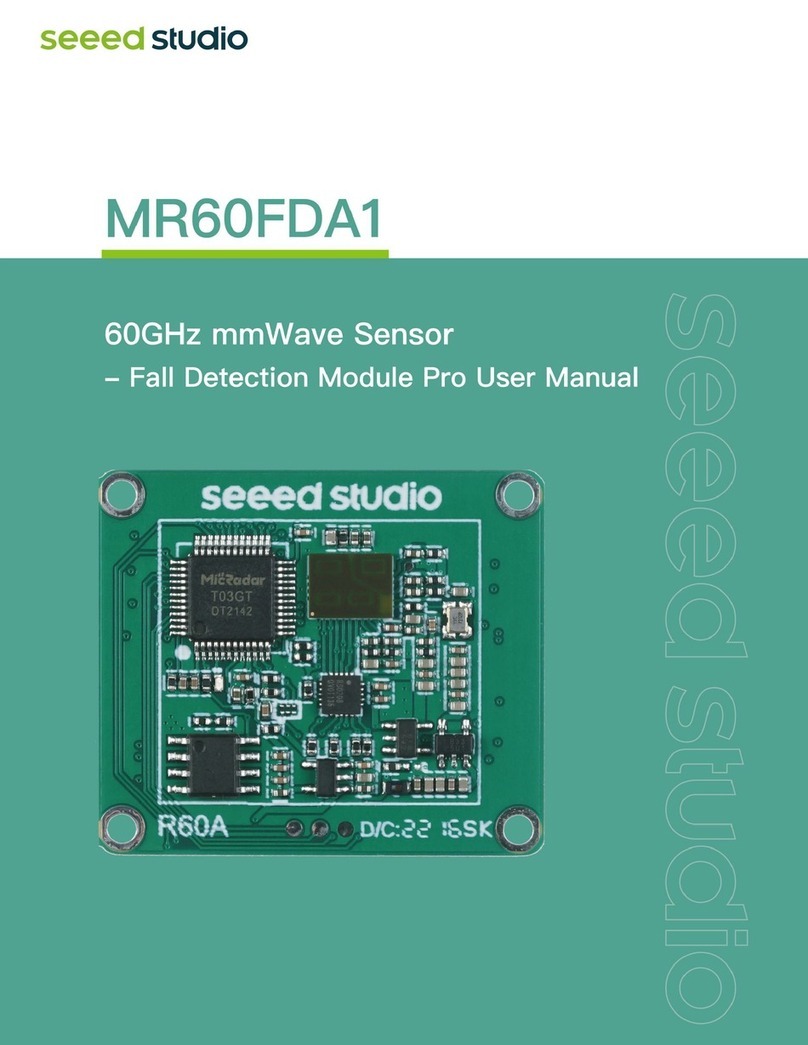
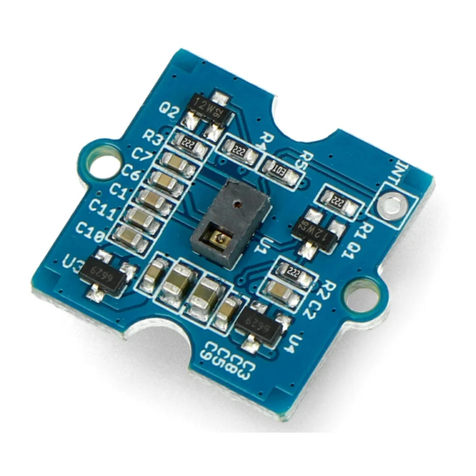
seeed studio ReSpeaker 2-Mics Pi HAT User manual

3/4/2019 ReSpeaker 2-Mics Pi HAT - Seeed Wiki
http://wiki.seeedstudio.com/ReSpeaker_2_Mics_Pi_HAT/ 1/18
ReSpeaker 2-Mics Pi HAT
ReSpeaker 2-Mics Pi HAT is a dual-microphone expansion board for Raspberry Pi
designed for AI and voice applications. This means that you can build a more
powerful and exible voice product that integrates Amazon Alexa Voice Service,
Google Assistant, and so on.
The board is developed based on WM8960, a low power stereo codec. There are 2
microphones on both sides of the board for collecting sounds and it also provides 3
APA102 RGB LEDs, 1 User Button and 2 on-board Grove interfaces for expanding
your applications. What is more, 3.5mm Audio Jack or JST 2.0 Speaker Out are both
available for audio output.

3/4/2019 ReSpeaker 2-Mics Pi HAT - Seeed Wiki
http://wiki.seeedstudio.com/ReSpeaker_2_Mics_Pi_HAT/ 2/18
[https://www.seeedstudio.com/ReSpeaker-2-Mics-Pi-HAT-p-2874.html]
Features
Raspberry Pi compatible(Support Raspberry Pi Zero and Zero W, Raspberry Pi
B+, Raspberry Pi 2 B, Raspberry Pi 3 B, Raspberry Pi 3 B+ and Raspberry Pi 3 A+)
2 Microphones
2 Grove Interfaces
1 User Button
3.5mm Audio Jack
JST2.0 Speaker Out

3/4/2019 ReSpeaker 2-Mics Pi HAT - Seeed Wiki
http://wiki.seeedstudio.com/ReSpeaker_2_Mics_Pi_HAT/ 3/18
Max Sample Rate: 48Khz
Application Ideas
Voice Interaction Application
AI Assistant
Hardware Overview
BUTTON: a User Button, connected to GPIO17
MIC_Land MIC_R: 2 Microphones on both sides of the board
RGB LED: 3 APA102 RGB LEDs, connected to SPI interface
WM8960: a low power stereo codec
Raspberry Pi 40-Pin Headers: support Raspberry Pi Zero, Raspberry Pi 1 B+,
Raspberry Pi 2 B , Raspberry Pi 3 B and Raspberry Pi 3 B+

3/4/2019 ReSpeaker 2-Mics Pi HAT - Seeed Wiki
http://wiki.seeedstudio.com/ReSpeaker_2_Mics_Pi_HAT/ 4/18
POWER: Micro USB port for powering the ReSpeaker 2-Mics Pi HAT, please
power the board for providing enough current when using the speaker.
I2C: Grove I2C port, connected to I2C-1
GPIO12: Grove digital port, connected to GPIO12 & GPIO13
JST 2.0 SPEAKER OUT: for connecting speaker with JST 2.0 connector
3.5mm AUDIO JACK: for connecting headphone or speaker with 3.5mm Audio
Plug
Getting Started
1. Connect ReSpeaker 2-Mics Pi HAT to Raspberry Pi
Mount ReSpeaker 2-Mics Pi HAT on your Raspberry Pi, make sure that the pins are
properly aligned when stacking the ReSpeaker 2-Mics Pi HAT.
Raspberry Pi Connection

3/4/2019 ReSpeaker 2-Mics Pi HAT - Seeed Wiki
http://wiki.seeedstudio.com/ReSpeaker_2_Mics_Pi_HAT/ 5/18
Raspberry Pi zero Connection
2. Setup the driver on Raspberry Pi
While the upstream wm8960 codec is not currently supported by current Pi kernel
builds, upstream wm8960 has some bugs, we had xed it. We must build it
manually.
Make sure that you are running the lastest Raspbian Operating System(debian 9)
[https://www.raspberrypi.org/downloads/raspbian/] on your Pi. (updated at
2018.11.13)
Step 1. Get the seeed voice card source code, install and reboot.
1
2
3
sudo apt-get update
sudo apt-get upgrade
git clone https://github.com/respeaker/seeed-voicecard.git

3/4/2019 ReSpeaker 2-Mics Pi HAT - Seeed Wiki
http://wiki.seeedstudio.com/ReSpeaker_2_Mics_Pi_HAT/ 6/18
Step 2. Check that the sound card name matches the source code seeed-
voicecard by command aplay -l and arecord -l.
Step 3. Test, you will hear what you say to the microphones(don't forget to plug
in an earphone or a speaker):
3. Congure sound settings and adjust the volume with alsamixer
4
5
6
cd seeed-voicecard
sudo ./install.sh
reboot
1
2
3
4
5
6
7
8
9
10
11
12
13
14
15
16
17
18
19
20
21
22
23
24
25
pi@raspberrypi:~/seeed-voicecard $ aplay -l
**** List of PLAYBACK Hardware Devices ****
card 0: ALSA [bcm2835 ALSA], device 0: bcm2835 ALSA [bcm2835 ALSA]
Subdevices: 8/8
Subdevice #0: subdevice #0
Subdevice #1: subdevice #1
Subdevice #2: subdevice #2
Subdevice #3: subdevice #3
Subdevice #4: subdevice #4
Subdevice #5: subdevice #5
Subdevice #6: subdevice #6
Subdevice #7: subdevice #7
card 0: ALSA [bcm2835 ALSA], device 1: bcm2835 ALSA [bcm2835 IEC958
Subdevices: 1/1
Subdevice #0: subdevice #0
card 1: seeed2micvoicec [seeed-2mic-voicecard], device 0: bcm2835-i
Subdevices: 1/1
Subdevice #0: subdevice #0
pi@raspberrypi:~/seeed-voicecard $ arecord -l
**** List of CAPTURE Hardware Devices ****
card 1: seeed2micvoicec [seeed-2mic-voicecard], device 0: bcm2835-i
Subdevices: 1/1
Subdevice #0: subdevice #0
pi@raspberrypi:~/seeed-voicecard $
1
arecord -f cd -Dhw:1 | aplay -Dhw:1

3/4/2019 ReSpeaker 2-Mics Pi HAT - Seeed Wiki
http://wiki.seeedstudio.com/ReSpeaker_2_Mics_Pi_HAT/ 7/18
alsamixer is a graphical mixer program for the Advanced Linux Sound Architecture
(ALSA) that is used to congure sound settings and adjust the volume.
1
pi@raspberrypi:~ $ alsamixer

3/4/2019 ReSpeaker 2-Mics Pi HAT - Seeed Wiki
http://wiki.seeedstudio.com/ReSpeaker_2_Mics_Pi_HAT/ 8/18
The Left and right arrow keys are used to select the channel or device and the Up
and Down Arrows control the volume for the currently selected device. Quit the

3/4/2019 ReSpeaker 2-Mics Pi HAT - Seeed Wiki
http://wiki.seeedstudio.com/ReSpeaker_2_Mics_Pi_HAT/ 9/18
program with ALT+Q, or by hitting the Esc key. More information
[https://en.wikipedia.org/wiki/Alsamixer]
4. Use the on-board APA102 LEDs
Each on-board APA102 LED has an additional driver chip. The driver chip takes care
of receiving the desired color via its input lines, and then holding this color until a
new command is received.
5. How to use User Button
Warning
Please use the F6 to select seeed-2mic-voicecard device rst.
1
2
3
4
5
sudo pip install spidev
cd ~/
git clone https://github.com/respeaker/mic_hat.git
cd mic_hat
python pixels.py
0:00 / 0:11

3/4/2019 ReSpeaker 2-Mics Pi HAT - Seeed Wiki
http://wiki.seeedstudio.com/ReSpeaker_2_Mics_Pi_HAT/ 10/18
There is an on-board User Button, which is connected to GPIO17. Now we will try to
detect it with python and RPi.GPIO.
Save the code as button.py, then run it. It should display "on" when you press the
button:
Google Assistant SDK
To get started with Google Assistant(what is Google Assistant
[https://assistant.google.com/]), the rst is that you should integrate the Google
Assistant Library into your raspberry pi system. Here is the link to Google ocial
1
2
sudo pip install rpi.gpio // install RPi.GPIO library
nano button.py // copy the following code in button.py
1
2
3
4
5
6
7
8
9
10
11
12
13
14
15
import RPi.GPIO as GPIO
import time
BUTTON = 17
GPIO.setmode(GPIO.BCM)
GPIO.setup(BUTTON, GPIO.IN)
while True:
state = GPIO.input(BUTTON)
if state:
print("off")
else:
print("on")
time.sleep(1)
1
2
3
4
5
6
pi@raspberrypi:~ $ python button.py
off
off
on
on
off

3/4/2019 ReSpeaker 2-Mics Pi HAT - Seeed Wiki
http://wiki.seeedstudio.com/ReSpeaker_2_Mics_Pi_HAT/ 11/18
guidance [https://developers.google.com/assistant/sdk/prototype/getting-started-
pi-python/run-sample].
And the following guide will also show you how to get started with Google
Assistant.
1. Congure a Developer Project and get JSON le
Follow step 1. 2. 3. 4. in the guide
[https://developers.google.com/assistant/sdk/prototype/getting-started-pi-
python/cong-dev-project-and-account#cong-dev-project] to congure a project on
Google Cloud Platform and create an OAuth Client ID JSON le. Don't forget to copy
the JSON le to your Raspberry Pi.
2. Use a Python virtual environment to isolate the SDK and its dependencies from
the system Python packages.
3. Install google-assistant-library
The Google Assistant SDK package contains all the code required to get the Google
Assistant running on the device, including the library and sample code. Use pip to
install the latest version of the Python package in the virtual environment:
4. Authorize the Google Assistant SDK
Authorize the Google Assistant SDK sample to make Google Assistant queries for
the given Google Account. Reference the JSON le you copied over to the device in
Step 1.
1
2
3
4
5
sudo apt-get update
sudo apt-get install python3-dev python3-venv # Use python3.4-venv i
python3 -m venv env
env/bin/python -m pip install --upgrade pip setuptools
source env/bin/activate
1
(env) $ python -m pip install --upgrade google-assistant-library
1
pi@raspberrypi:~ $ google-oauthlib-tool --client-secrets /home/pi/cl

3/4/2019 ReSpeaker 2-Mics Pi HAT - Seeed Wiki
http://wiki.seeedstudio.com/ReSpeaker_2_Mics_Pi_HAT/ 12/18
should be the path of your JSON
le, your should modify the commmand above
After running the command, it should display as shown below. Copy the URL
and paste it into a browser (this can be done on your development machine, or
any other machine). After you approve, a code will appear in your browser, such
as "4/XXXX". Copy this and paste this code into the terminal.
It should then display: OAuth credentials initialized.
If instead it displays: InvalidGrantError then an invalid code was entered. Try
again, taking care to copy and paste the entire code.
5. Start the Google Assistant demo
6. Play with Google Assistant
Say Ok Google or Hey Google, followed by your query. The Assistant should respond.
If the Assistant does not respond, follow the troubleshooting instructions
[https://developers.google.com/assistant/sdk/prototype/getting-started-pi-
python/troubleshooting#hotword].
/home/pi/client_secret_client-id.json
1
2
Please go to this URL: https://...
Enter the authorization code:
1
2
3
pi@raspberrypi:~ $ alsamixer // To adjust the volume
pi@raspberrypi:~ $ source env/bin/activate
(env) pi@raspberrypi:~ $ env/bin/google-assistant-demo

3/4/2019 ReSpeaker 2-Mics Pi HAT - Seeed Wiki
http://wiki.seeedstudio.com/ReSpeaker_2_Mics_Pi_HAT/ 13/18
7. Troubleshooting
See the Troubleshooting
[https://developers.google.com/assistant/sdk/prototype/getting-started-pi-
python/troubleshooting] page if you run into issues.
8. Raspbian image
As Raspbian Operating System is updated to Debian 9, we won't provide our
Raspbian image anymore. Click here
[https://www.raspberrypi.org/downloads/raspbian/] to get the lastest Raspbian
Operating System.

3/4/2019 ReSpeaker 2-Mics Pi HAT - Seeed Wiki
http://wiki.seeedstudio.com/ReSpeaker_2_Mics_Pi_HAT/ 14/18
How to install the image
[https://www.raspberrypi.org/documentation/installation/installing-images/]
STT(Speech to Text) SDK
This part will introduce Baidu STT(Speech to Text) functions together with GPIO
control. Here is the GPIOs conguration. If you do not have a fan, You can connect 2
LEDs on GPIO12/GPIO13 to demonstrate.
GPIO Turn On Faster Slower Turn Off
GPIO12 1 0 1 0
GPIO13 0 1 0 0
Step 1. Install dependiencies
Step 2. Get Baidu key from Here [https://console.bce.baidu.com/ai/?
fromai=1#/ai/speech/overview/index].
Step 3. Download the Smart_Fan.py
[https://github.com/SeeedDocument/MIC_HATv1.0_for_raspberrypi/raw/maste
r/src/baidu_STT/Smart_fan.py]
1
2
sudo apt install mpg123
pip install baidu-aip monotonic pyaudio
1
2
3
4
5
cd ~
wget https://github.com/SeeedDocument/MIC_HATv1.0_for_raspberrypi/ra
unzip baidu_STT.zip
cd baidu_STT
python Smart_Fan.py
Warning

3/4/2019 ReSpeaker 2-Mics Pi HAT - Seeed Wiki
http://wiki.seeedstudio.com/ReSpeaker_2_Mics_Pi_HAT/ 15/18
Step 4. Let's say '
开
风
扇
'.
Step 5. You will see the fan moving.
Step 6. Let's try '
快
一
点
', '
慢
一
点
' and '
关
风
扇
'.
FAQ
Q1: #include "portaudio.h" Error when run "sudo pip install pyaudio".
A1: Please run below command to solve the issue.
Q2: How to change the Raspbian Mirrors source?
A2: Please refer to Raspbian Mirrors [http://www.raspbian.org/RaspbianMirrors] and
follow below instructions to modify the source at begining.
For example, we suggest use the tsinghua source for China users. So please modify
the sources.list as below.
Resources
[Eagle] Respeaker_2_Mics_Pi_HAT_SCH
[https://github.com/SeeedDocument/MIC_HATv1.0_for_raspberrypi/raw/maste
r/src/ReSpeaker%202-Mics%20Pi%20HAT_SCH.zip]
Please add baidu key @ line 36,37,38 before running python Smart_Fan.py. You also can
generate your owner voice by running the synthesis_wav.py. Please do add baidu keys at line
6,7,8 and modify string to what you want to generate.
1
sudo apt-get install portaudio19-dev
1
pi@raspberrypi ~ $ sudo nano /etc/apt/sources.list
1
2
deb http://mirrors.tuna.tsinghua.edu.cn/raspbian/raspbian/ stretch m
deb-src http://mirrors.tuna.tsinghua.edu.cn/raspbian/raspbian/ stret

3/4/2019 ReSpeaker 2-Mics Pi HAT - Seeed Wiki
http://wiki.seeedstudio.com/ReSpeaker_2_Mics_Pi_HAT/ 16/18
[Eagle] Respeaker_2_Mics_Pi_HAT_PCB
[https://github.com/SeeedDocument/MIC_HATv1.0_for_raspberrypi/raw/maste
r/src/ReSpeaker%202-Mics%20Pi%20HAT_PCB.zip]
[PDF] Respeaker_2_Mics_Pi_HAT_SCH
[https://github.com/SeeedDocument/MIC_HATv1.0_for_raspberrypi/raw/maste
r/src/ReSpeaker%202-Mics%20Pi%20HAT_SCH.pdf]
[PDF] Respeaker_2_Mics_Pi_HAT_PCB
[https://github.com/SeeedDocument/MIC_HATv1.0_for_raspberrypi/raw/maste
r/src/ReSpeaker%202-Mics%20Pi%20HAT_PCB.pdf]
[3D] ReSpeaker 2 Mics Pi HAT 3D
[https://github.com/SeeedDocument/MIC_HATv1.0_for_raspberrypi/raw/maste
r/src/ReSpeaker%202-Mics%20Pi%20HAT.zip]
[Driver] Seeed-Voice Driver [https://github.com/respeaker/seeed-voicecard]
[Algorithms] Algorithms includes DOA, VAD, NS
[https://github.com/respeaker/mic_array]
[Voice Engine Voice Engine project, provides building blocks to create voice
enabled objects [https://github.com/voice-engine/voice-engine]
[Algorithms] AEC [https://github.com/voice-engine/ec]
Projects
Build Your Own Amazon Echo Using a RPI and ReSpeaker HAT: How to build your
own Amazon Echo using a Raspberry Pi and ReSpeaker 2-Mics HAT.

3/4/2019 ReSpeaker 2-Mics Pi HAT - Seeed Wiki
http://wiki.seeedstudio.com/ReSpeaker_2_Mics_Pi_HAT/ 17/18
Your personal home barista comes to life with this voice-enabled coffee machine:
An open-source, private-by-design coffee machine that keeps your favorite coffee
and caffeination schedule private.
(https://www.hackster.io/idreams/build-your-
own-amazon-echo-using-a-rpi-and-
respeaker-hat-7f44a0)
Table of contents
Other seeed studio Computer Hardware manuals
Popular Computer Hardware manuals by other brands

BE QUIET!
BE QUIET! PURE BASE 600 quick start guide

ekwb
ekwb 3831109891452 user guide

Thermo King
Thermo King Smart Reefer 2 Driver guide

Digital Equipment
Digital Equipment DECbridge 90 owner's manual

evertz
evertz X0400 Series instruction manual

Cypress Semiconductor
Cypress Semiconductor CY62148EV30 Specification sheet