Sharp FO-1460 User manual

OPERATION MANUAL
FACSIMILE
MODEL
1. Installation
2. Initial Settings
3. Sending Documents
4. Receiving Documents
5. Making Copies
6. Making Telephone Calls
7. Answering Machine Connection
8. Special Functions
9. Optional Settings
10. Printing Reports and Lists
11. Maintenance
12. Troubleshooting
FO-1460
FO-1460 FACSIMILE

FO1460H-CLASS-1
MAINS PLUG WIRING INSTRUCTIONS
This equipment is fitted with a moulded type mains plug which incorporates a detachable fuse
cover, under no circumstances should the plug be used without the fuse cover fitted.
In the unlikely event of the socket outlet in your home not being compatible with the plug
supplied, cut off the mains plug and fit an appropriate type observing the wiring code below.
DANGER: The fuse from the cut-off plug should be removed and the plug should be disposed
of in a safe manner. Under no circumstances should the cut-off plug be inserted into a socket
outlet as a serious electric shock may occur.
If you are not sure how to do this, get help from a qualified electrician.
IMPORTANT
The wires in this mains lead are coloured in accordance with the following code:
GREEN-AND-YELLOW: Earth
BLUE: Neutral
BROWN: Live
As the colours of the wires in the mains lead of this apparatus may not correspond with the
coloured markings identifying the terminals in your plug, proceed as follows:
The wire which is coloured GREEN-AND-YELLOW must be connected to the terminal in the
plug which is marked by the letter E, or by the safety earth symbol , or coloured green or
green-and-yellow.
The wire which is coloured BLUE must be connected to the terminal which is marked with
the letter Nor coloured black.
The wire which is coloured BROWN must be connected to the terminal which is marked with
the letter Lor coloured red.
This apparatus must be protected by a 13A fuse in the mains plug or distribution board.
"WARNING: THIS APPARATUS MUST BE EARTHED"
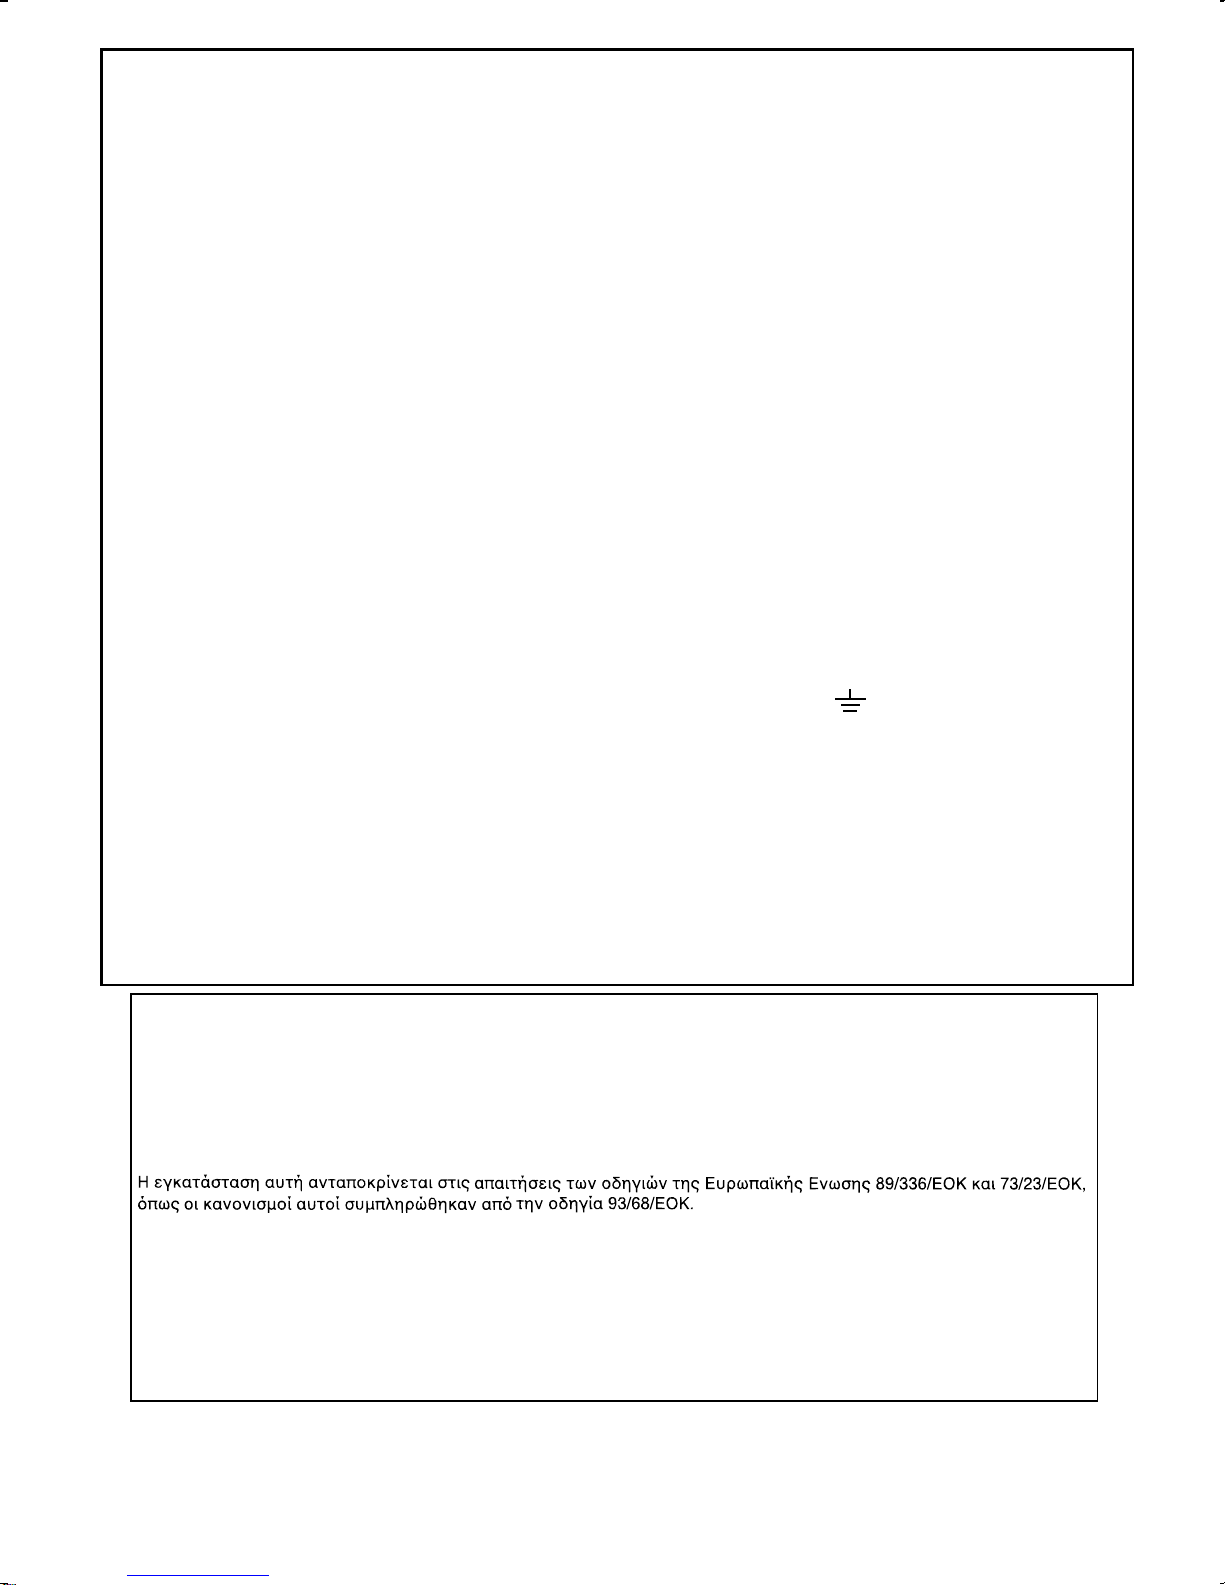
This equipment complies with the requirements of Directives 89/336/EEC and 73/23/EEC as amended by 93/68/EEC.
DiesesGerätentsprichtdenAnforderungenderEG-Richtlinien89/336/EWGund73/23/EWGmitÄnderung93/68/EWG.
Ce matériel répond aux exigences contenues dans les directives 89/336/CEE et 73/23/CEE modifiées par la directive
93/68/CEE.
Dit apparaat voldoet aan de eisen van de richtlijnen 89/336/EEG en 73/23/EEG, gewijzigd door 93/68/EEG.
Dette udstyr overholder kravene i direktiv nr. 89/336/EEC og 73/23/EEC med tillæg nr. 93/68/EEC.
Quest’ apparecchio è conforme ai requisiti delle direttive 89/336/EEC e 73/23/EEC, come emendata dalla direttiva
93/68/EEC.
Este equipamento obedece às exigências das directivas 89/336/CEE e 73/23/CEE, na sua versão corrigida pela
directiva 93/68/CEE.
Este aparato satisface las exigencias de las Directivas 89/336/CEE y 73/23/CEE, modificadas por medio de la
93/68/CEE.
Denna utrustning uppfyller kraven enligt riktlinjerna 89/336/EEC och 73/23/EEC så som kompletteras av 93/68/EEC.
Dette produktet oppfyller betingelsene i direktivene 89/336/EEC og 73/23/EEC i endringen 93/68/EEC.
Tämä laite täyttää direktiivien 89/336/EEC ja 73/23/EEC vaatimukset, joita on muutettu direktiivillä 93/68/EEC.
89/336/EEC : EMC directive 73/23/EEC : Low voltade directive 93/68/EEC : CE Mark regulation
This equipment is not designed for making emergency telephony
calls when the power fails. Alternative arrangements should be
made for access to emergency services.

FO1460H-QRQR
YF <P=001>
Note: Steps which are optional are enclosed in a dotted frame:
Transmitting documents
Normal Dialling
Direct Keypad
Dialling
Rapid Key Dialling
Speed Dialling
Redialling
SPEED DIAL
REDIAL
START
START
START
START
→→
→→
→
→
→
→
→
→
→
→
→
→
→
→
→
→
→
Load
document Lift handset
or
press SPEAKER Dial (press
numeric keys)
Wait for
reception tone Hang up
Load
document Dial (press
numeric keys)
Load
document Press Rapid
Key
Load
document Enter Speed Dial
number (press 2
numeric keys)
Load
document Wait for
reception tone
RESOLUTION
RESOLUTION
RESOLUTION
RESOLUTION
RESOLUTION
→
SHIFT
Quick Reference Guide

<P=002>
FUNCTION key menu
The following chart shows the layout of the functions and settings accessed by pressing the
FUNCTION key. First press the FUNCTION key, the appropriate numeric key as shown, and
then "#" or "*" until the desired setting appears.
Instructions for making each setting appear in the display. If you have any difficulty, refer to the de-
tailed instructions on the page shown below the setting.
FUNCTION
2
1
Timer Mode
Send Mode
(61)
Poll Mode
(61)
Listing Mode
Activity Report
(73)
Timer List (75)
Telephone
Number List (76)
Passcode List
(76)
Option Setting List
(76)
Anti Junk Fax
Number List (77)
Program/Group
List (77)
Print Setup List
(78)
Entry Mode
Fax/Tel
Numbers for
Auto Dialling
(21)
Own Number
and Name Set
(16)
Polling Security
Select (59)
Passcode
Numbers for
Polling (60)
Date and Time
Set (19)
Store Junk Fax
Number (52)
3
4
Optional Settings
Fine Resolution
Priority (68)
Number of Rings in
FAX Mode (68)
Recall Interval (69)
Recall Times (69)
Telephone/Fax
Remote Number
(69)
Remote Reception
Select (69)
Transaction Report
Print Select (69)
Dial Mode (69)
Pseudo Ringing
Duration (70)
Quiet Detect Time
(70)
Quiet Detect Start
Timing (70)
Off-Hook Hold (71)
Select Auto
Receive (71)
PBX Recall (71)
Fax Signal Receive
(71)
Junk Number
Check (71)
Polling (71)
Auto Cover
Sheet (72)
Activity Report
(72)
ECM (72 )
Quick Reference Guide

7
6
Cover Sheet
Cover Sheet
Header (29)
Print Set-up
Initialize Film (5)
Reception Ratio
(39)
2 in 1 Print (39)
Paper Type Set
(12)
Copy Cut-off (42)
Program/Group
Program Entry
Mode (63)
Group Entry
Mode (24)
Page Count
(30)
5
Quick Reference Guide

FO1460H-INBU
<P=001>
Introduction
Welcome to the FO-1460 and thank you for choosing Sharp! In addition to pro-
viding you with the ease and convenience of plain-paper printing, the FO-1460
features a variety of special functions designed to increase the range and power
of your communications.
This manual gives you easy-to-follow instructions for installing and using the
FO-1460. The Table of Contents will show you where instructions for using
each feature are located. Whilst you may not need to read every section in detail
at first, we recommend you at least review them briefly.
If you have any questions or problems which cannot be solved by reading this
manual, please contact your Sharp dealer.
♦Keys, switches, and labels on the machine are indicated in BOLD print.
♦Messages appearing in the display are indicated in CAPITAL LETTERS.
Important safety information
•If any of your telephone equipment is not operating properly, you should
immediately remove it from your telephone line, as it may cause harm to the
telephone network.
•Never install telephone wiring during a lightning storm.
•Never install telephone jacks in wet locations unless the jack is specifically
designed for wet locations.
•Never touch uninsulated telephone wires or terminals unless the telephone line
has been disconnected at the network interface.
•Use caution when installing or modifying telephone lines.
•Avoid using a telephone (other than a cordless type) during an electrical storm.
There may be a remote risk of electric shock from lightning.
•Do not use a telephone to report a gas leak in the vicinity of the leak.
•Do not install or use the machine near water, or when you are wet. Take care
not to spill any liquids on the machine.

<P=002>
Regulatory information
This facsimile machine is only designed to operate in the country where approved.
Your Sharp FO-1460 Facsimile Transceiver is approved for connection to the Public
Switched Telephone Network (PSTN), it is also approved for connection via a Private
Branch Exchange (PBX), and can be used with either Loop Disconnect (LD) or Dual
Tone Multi-Frequency (DTMF) signalling.
Your facsimile machine is not suitable as an extension to some payphones or for use on
shared service lines.
REN
The Ringer Equivalence Number (REN) of your fax machine is 1.
The total number of instruments that can be connected to an exclusive line is determined
by adding the REN values of each instrument. The total should not exceed 4.0. A
telephone provided by BT is assumed to have a REN of 1 unless otherwise marked.
Satisfactory ringer operation can not be guaranteed in installations consisting of mixed
apparatus types, even if the REN value does not exceed 4.
Emergency services
Emergency services (999) can be called from this apparatus. Please display on the
telephone the number required to access that service, together with the number of the
telephone, using the label provided.
Private branch exchange (PBX) connection
Your facsimile machine is approved for connection to the Public Telephone Network
(PSTN) via compatible PBX systems. Consult your supplier for a list of suitable PBX
systems. It cannot be guaranteed that this facsimile machine will operate correctly under
all possible conditions of connection to compatible PBX systems.
This facsimile machine has been approved for use of the following facilities:
Simple telephone
Tone dialling (DTMF)
Loop disconnect (Pulse dialling)
Memory dialling
Loudspeaking (Call Progress Monitor)
On-hook dialling

<P=003>
Automatic answering
Automatic dialling
Automatic clearing
Last number redial
Time break or Earth recall
Series connection of extension telephone(s)
Any other usage will invalidate the approval of the facsimile if as a result it then ceases
to comply with the standards against which approval was granted.
Series connection
When connected via series apparatus, difficulties may occasionally be experienced when
making calls to the PSTN and by both parties during telephone conversations. If
difficulties are experienced, contact the supplier or maintainer of the series apparatus in
the first instance.
While operation may be possible initially, changes to or modernisation of the network
taking place in the normal course of events may result in the facsimile equipment being
connected to a network service with which it was not designed to be compatible. Failure
of the facsimile / series apparatus to work under these circumstances may not be the
fault of the network operator.
The voltage drop introduced by your facsimile between the PSTN and the associated
apparatus at a current of 40mA d.c. is 2 volts, therefore no additional series equipment
may be connected.

FO1460H-TCTC
Table of Contents
1 Installation 1
Unpacking Checklist. . . . . . . . . . . . . . . . . . . . . . . . . . . . . . . . . . . . . . . . 1
Loading the Imaging Film . . . . . . . . . . . . . . . . . . . . . . . . . . . . . . . . . . . 2
Connections. . . . . . . . . . . . . . . . . . . . . . . . . . . . . . . . . . . . . . . . . . . . . . . 6
Attachments. . . . . . . . . . . . . . . . . . . . . . . . . . . . . . . . . . . . . . . . . . . . . . . 9
Loading Printing Paper . . . . . . . . . . . . . . . . . . . . . . . . . . . . . . . . . . . . . 10
2 Initial Settings 13
Setup Guide. . . . . . . . . . . . . . . . . . . . . . . . . . . . . . . . . . . . . . . . . . . . . . 13
A Look at the Operation Panel . . . . . . . . . . . . . . . . . . . . . . . . . . . . . . . 14
Entering Your Name and Fax Number. . . . . . . . . . . . . . . . . . . . . . . . . 16
Entering Letters for Names. . . . . . . . . . . . . . . . . . . . . . . . . . . . . . . . . . 17
Setting the Date and Time. . . . . . . . . . . . . . . . . . . . . . . . . . . . . . . . . . . 19
Selecting the Reception Mode . . . . . . . . . . . . . . . . . . . . . . . . . . . . . . . 20
Storing Numbers for Automatic Dialling . . . . . . . . . . . . . . . . . . . . . . . 21
Volume Adjustment . . . . . . . . . . . . . . . . . . . . . . . . . . . . . . . . . . . . . . . 25
3 Sending Documents 26
Transmittable Documents. . . . . . . . . . . . . . . . . . . . . . . . . . . . . . . . . . . 26
Loading the Document . . . . . . . . . . . . . . . . . . . . . . . . . . . . . . . . . . . . . 27
Optional Transmission Settings . . . . . . . . . . . . . . . . . . . . . . . . . . . . . . 28
Dialling and Transmission . . . . . . . . . . . . . . . . . . . . . . . . . . . . . . . . . . 31
4 Receiving Documents 36
5 Making Copies 40
6 Making Telephone Calls 43
7 Answering Machine Connection 46
Preparations. . . . . . . . . . . . . . . . . . . . . . . . . . . . . . . . . . . . . . . . . . . . . . 46
Using the Connection . . . . . . . . . . . . . . . . . . . . . . . . . . . . . . . . . . . . . . 47
Optional A.M. Connection Settings . . . . . . . . . . . . . . . . . . . . . . . . . . . 50

8 Special Functions 52
Blocking Reception of Unwanted Faxes . . . . . . . . . . . . . . . . . . . . . . . 52
Memory. . . . . . . . . . . . . . . . . . . . . . . . . . . . . . . . . . . . . . . . . . . . . . . . . 54
Broadcasting . . . . . . . . . . . . . . . . . . . . . . . . . . . . . . . . . . . . . . . . . . . . . 56
Polling (Requesting a Fax Transmission). . . . . . . . . . . . . . . . . . . . . . . 58
Timer Operations . . . . . . . . . . . . . . . . . . . . . . . . . . . . . . . . . . . . . . . . . 61
Entering and Using Programs. . . . . . . . . . . . . . . . . . . . . . . . . . . . . . . . 63
9 Optional Settings 68
10 Printing Reports and Lists 73
11 Maintenance 79
12 Troubleshooting 81
Problems and Solutions. . . . . . . . . . . . . . . . . . . . . . . . . . . . . . . . . . . . . 81
Messages and Signals . . . . . . . . . . . . . . . . . . . . . . . . . . . . . . . . . . . . . . 84
Clearing Paper Jams . . . . . . . . . . . . . . . . . . . . . . . . . . . . . . . . . . . . . . . 86
Specifications 88
Index 90

FO1460H-ISUN
RT <P=001>
Chapter
1Installation
Unpacking Checklist
After unpacking your fax, make sure you have all the items shown below. If any
are missing, contact your dealer.
Handset Handset lead
Telephone
line cord
Rapid key
labels
Operation
manual
Paper tray
cover
Paper tray
3 gears and
1 flange
Sample
imaging film Original document
support (located
between box and
packing case)
British Telecom
fax book card
Extension telephone
socket adapter
Emergency labels
Points to keep in mind when setting up
♦The fax must be installed on a level surface.
♦Keep the fax away from air conditioners, heaters, direct sunlight, and dust.
♦Provide easy access to the front, back, and sides of the fax. In particular, keep
the area in front of the fax clear, or the original document may jam as it
comes out after scanning.
♦If the machine is moved from a cold to a warm place, it is possible that con-
densation may form on the scanning glass, preventing proper scanning of
documents for transmission. To remove the condensation, turn on the power
and wait approximately two hours before using the machine.
♦If your area experiences a high incidence of lightning or power surges, we rec-
ommend that you install surge protectors for the power and telephone lines.
Surge protectors can be purchased at most telephone specialty stores.
1

FO1460H-ISIF
YF <P=001>
Loading the Imaging Film
The printer unit in your fax creates printed text and images by applying heat to
the imaging film, which causes ink to be transferred from the film to the page.
Follow the steps below to install or replace the imaging film.
1Press the release button marked OPEN
and open the print compartment cover.
•
••
•Caution! The printing head (the strip
of metal on the underside of the cover)
applies heat to the imaging film. It
may be hot if a document has just been
printed.
2If you are replacing the imaging film,
take the old film out of the printing com-
partment and remove the three (3) green
gears and the green flange from the ends
of the spools.
DO NOT DISCARD THE GREEN
GEARS AND THE GREEN
FLANGE!
Chapter 1 Installation
2

<P=002>
3Take the new film out of its package,
and insert two of the gears provided with
the fax into the ends of the spool with
film. Make sure that the two tabs on the
gears fit properly into the slots in the
ends of the spool.
•
••
•Do not yet remove the band which
holds the spools together.
4Hold the empty spool so that the end
with only one slot is on the left, and
lower the spools into the front of the
printing compartment. The gears in the
ends of the spool with film should fit into
the slots on each side of the printing com-
partment.
5Cut the band which holds the spools
together with scissors, and remove it.
Insert the remaining gear into the
right end of the empty spool and the
flange into the left end of the empty
spool. Make sure the tabs on the gear
and the flange fit into the slots in the
ends of the spool (the gear has two
tabs and the flange has one tab).
2 tabs
1 tab
Flange Gear
2 tabs
Chapter 1 Installation
3

<P=003>
6Pull the empty spool toward the back of
the compartment, unwinding the film as
you pull.
7Insert the empty spool into the back of
the compartment so that the gear and the
flange fit into the slots on the sides of the
compartment.
•
••
•Make sure that the green gear engages
with the white gear below it.
8Wind the film slightly (rotate the gear on
the right side of the empty spool) so that
there is no slack in the film. Make sure
that both edges of the film wind onto the
spool evenly.
Chapter 1 Installation
4

<P=004>
9Close the print compartment cover, mak-
ing sure it clicks into place.
•
••
•Caution! Close the cover slowly to
make sure it doesn’t pinch your fingers.
10 If you replaced the film, initialize the
new film by pressing the FUNCTION
key, the "6" key, and the "#" key on the
operation panel. Make sure that INITIAL-
IZE FILM appears in the display, and
then press the START key. (Do not per-
form this step if you installed the initial
sample roll of film.)
FUNCTION
6
START
When to replace the imaging film
The sample roll of imaging film provided with your fax is capable of printing ap-
proximately 60 pages of A4 size paper. When it is used up, FILM END will ap-
pear in the display. Replace it with the following imaging film which is
available at your dealer.
FO-15CR Imaging Film
One roll of FO-15CR imaging film is capable of printing approximately 470
pages of A4 size paper when printed continuously.
Caution!
The text of documents printed with the imaging film is visible on the
used film. If confidential information has been printed, dispose of the
film appropriately.
Chapter 1 Installation
5

FO1460H-ISCO
DD <P=001>
Connections
Power lead
Plug the power lead into a 230 V, earthed (3-prong) AC outlet.
♦The fax does not have a power on/off switch, so the power is turned on and
off by simply plugging or unplugging the power lead.
♦Important: Whenever you unplug the power lead, disconnect the fax ma-
chine from the telephone network first.
♦Caution: The mains outlet (socket-outlet) shall be installed near the equip-
ment and shall be easily accessible.
Telephone line cord
Plug one end of the telephone line into the socket on the fax marked "TEL.
LINE". Plug the other end into a new plan telephone wall socket.
♦If you do not have a new plan telephone socket, contact your local tele-
phone supplier. Connection to the telephone network must not be hard
wired.
♦Eire: Only the supplied cord should be used. If a longer cord is required,
please consult your supplier or servicing agent.
TEL.
SET TEL.
LINE
Chapter 1 Installation
6

<P=002>
Comments:
•
••
•Your fax is set for tone dialling. If you are on a pulse dial line, you must reset
the fax for pulse dialling. This is done by resetting Option Setting 8 as
described in Chapter 9, "Optional Settings".
•
••
•If you are connecting the fax to a PBX, you may need to reset the fax to the
appropriate recall mode for the PBX. This is done by setting Option Setting
14 as described in Chapter 9
•
••
•If you intend to use a computer fax modem on the same phone line, you must
reset Option Setting 15 to NO in order to prevent transmission and reception
errors. This procedure is described in Chapter 9, "Optional Settings".
•
••
•Extension phones can be used to make and receive calls as normal with the
fax connected. For details on receiving faxes from an extension phone, see
Chapter 4, "Receiving Documents".
•
••
•The facsimile machine will not ring in response to incoming calls and
cannot be used to make outgoing calls in the absence of mains power to
the machine. For this reason it is recommended that the fax is not left as
the only telephone instrument on line when in this state.
•
••
•Your fax cannot be used on a key system without the necessary adaptation of
the system. Please consult the installers of the system if this is required.
Handset
Connect the handset lead to the handset and the fax as shown.
♦The ends of the handset lead are identical, so they will go into either socket.
Place the handset on the handset rest.
Use the handset to make ordinary
phone calls, or to transmit and
receive documents manually.
Chapter 1 Installation
7

<P=003>
Connecting an answering machine
If desired, you can connect an answering machine to your fax. This will allow
you to receive both voice and fax messages on the same line while you are out.
For details on using this feature, see Chapter 7.
To connect an answering machine, remove the seal covering the socket marked
TEL. SET on the fax. Insert the modular plug of the socket adaptor into the
TEL. SET socket, and then insert the plug of the answering machine line into
the U.K. style socket of the adaptor.
♦Important: If the answering machine is not connected to the extension tele-
phone socket on the fax as shown, the set-up will not operate properly.
♦Eire: Remove the seal covering the socket marked TEL. SET on the fax.
Insert the plug of the answering machine line directly into the TEL.SET
socket.
Comments:
•
••
•The safety status of this socket is TNV, and is provided for the connection of
approved telephone equipment only. To ensure continued safety compliance,
do not connect any other equipment to this socket.
•
••
•More than one extension telephone may be connected to the same line as the
fax, provided that the total REN value does not exceed 4. This includes an
answering machine if connected as shown above.
Important: When connecting an
answering machine, make sure the
line plug is inserted into the
answering machine’s telephone line
socket, not its telephone socket.
TEL.
SET TEL.
LINE
tel
line
telephone
Chapter 1 Installation
8

FO1460H-ISLP
DD <P=001>
Attachments
Insert the paper tray into the back of the fax as shown.
If desired, attach the original document support by inserting the ends into the
holes in the bottom of the fax as shown.
Chapter 1 Installation
9

<P=002>
Loading Printing Paper
The paper tray holds the paper on which received documents and copies are
printed. Up to 200 sheets of A4-size paper from 60 to 80 g/m2can be loaded in
the tray. Less sheets can be loaded when using heavier paper. The maximum al-
lowed paper weight is 90 g/m2.
Note: When receiving or copying documents, do not allow more than 100
pages to collect in the received document outlet. Otherwise, the outlet
may become obstructed, causing paper jams.
1Remove the paper cover if it is on the pa-
per tray.
2Fan the paper, and then tap the edge
against a flat surface to even the stack.
Chapter 1 Installation
10
Other manuals for FO-1460
1
Table of contents
Other Sharp Fax Machine manuals

Sharp
Sharp FO-6700 User manual

Sharp
Sharp UX-S10 User manual

Sharp
Sharp FO-2950M - B/W Laser - All-in-One User manual

Sharp
Sharp UX-84 User manual

Sharp
Sharp UX-465L User manual

Sharp
Sharp FO-2150CM User manual

Sharp
Sharp FO-DC600 User manual

Sharp
Sharp UX-300 User manual

Sharp
Sharp FO-5800 User manual

Sharp
Sharp FO-1460 User manual