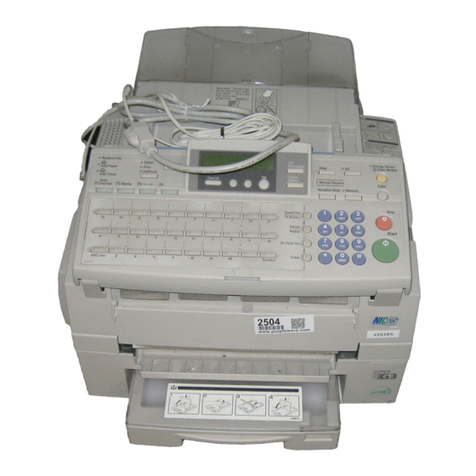
FO-DC500U
FO-DC600U
–4 –
: Change/Addition
[2] Diagnostics and service soft switches
1. Operating procedure
Two kinds of diagnoses are supported.
1-1. Fax diagnosis
This diagnosis is concerned with the main body of fax which is used for
production and service support.
Entering the diagnostic mode
MENU
9 8 7
STARTA SOFT SWITCH MODE
START
B PRINT AREA
START
C ROM & RAM CHECK
START
D AUTO FEEDER MODE
START
E AGING MODE
START
F PANEL CHECK MODE
START
G OPTICAL ADJUST MODE
START
H PRODUCT CHECK
START
ISIGNAL SEND MODE
START
JCOMM. CHECK MODE
START
KMEMORY CLEAR MODE
START
LFLASH MEMORY CHECK
START
MALL FAX/TEL. ENTRY MODE
START
START
N
O CONF. PASSCODE
START
PSIGNAL SEND MODE 2
START
Q
TA69 or TA70
START
DEPT. PASSCODE
MENU 9 8 7
Press , and the following
display will appear.
START
Then press the key. Select the desired item with the key
and the key or select with the rapid key.
Enter the mode with the START key.
(Diag
•
specifications)
MEMORY SET MODE
START
RSTAMP AGING MODE
START
SDIAL TEST MODE
START
T
U
COPY DIAG MODE
LCD CHECK MODE
VPERSONAL BOOK LIST
START
WFONT LIST PRINT MODE(*)
START
START
XNO FUNCTION
START
1
st
Line
2
nd
Line
3
rd
Line F/W version
4
th
Line NIC board version
5
th
Line PCL board version
6
th
Line
7
th
Line Memory size
8
th
Line GATE arrayA/B version
9
th
Line
FAX
: TA69 or TA70
NIC
:
x.xxx
PRN
:
xxxx
PRN
MEMORY
SIZE
=
16(MB)
GAA
:
ESx
GAB
:
ESx
*: FONT LIST PRINT MODE can be used only when the
network function is effective.
YNO FUNCTION
START
ZUPGRADE SETTING
START
S) Dial test mode
The mode is used to inspect whether dialing is accurate in two kinds of
dial modes . All data which can be dialed in this mode are automatically
called up in both PB mode and DP mode.
[In case that 2 line optional is not mounted.]
1
Turn on CML, and dial the following in the PB mode.
1, 2, 3, 4, 5, 6, 7, 8, 9, , 0, #
2
Dial the following in the DP mode.
1, 5, 9, 0
3
After dialing, turn off CML.
NOTE:
This mode uses the ordinary auto dial. (Accordingly, the signal sending
time and minimum pause are all the same as ordinary.
The measurement result in this mode is completely all the same as in
the ordinary dial mode.)
T) Copy diag mode
This mode is for automatic mode selection of copy to reduce the time for
treatment at the time of production.
1
Set 2 sheets of document. (No problem if there are 2 sheets or
more.)
2
3 sheet continuous copy: 1st sheet in the FINE AUTO
2nd sheet and after that are copied in the
H-TONE DARK.
NOTE: Input of the image quality and the darkness keys is invalid in this
mode.
U) LCD check mode
This is an item to check that the LCD acts normally.
1
The screen for selecting the contrast adjustment mode and the “H”
display mode appears.
2
Select the mode using the “←”or “→”keys or otherwise dial keys “1”
or “2”.
[When the contrast adjustment mode is selected]
3
Adjust with the “←”or “→”keys so that both right and left halves of
the “A”can be recognized.
[When the “H” display mode is selected]
3
Turn on the backlight so that the whole screen shows “H”.
(26 letters x 9 lines)
V) Personal book list
The PASSCODE of the personal book 00 to 10 are output.
W) Font list print mode
[Only when network function is mounted]
The font list that can be used in the network function is printed.
X) No function
Y) No function
Z) Upgrade setting
After upgrading from version TA69D or earlier to TA69F or later on
FO-DC500U, or after upgrading from version TA70C or earlier to TA70E
(Sep. version) or later on FO-DC600U, enter this mode to use new
functions.


