5Turn on your system
Conexión de la alimentación de su
sistema
The first time the unit is plugged in, the unit will enter the dem-
onstration mode. You will see words scroll.
Cuando se enchufe por primera vez el aparato, se estableceráen
el modo de demostración. Veráun desplazamiento de palabras.
1Press the X-BASS/DEMO button to cancel the demonstration mode.
Pulse el botón X-BASS/DEMO para cancelar el modo de
demostración.
2Press the ON/STAND-BY button to turn the power on.
Pulse el botón ON/STAND-BY para conectar la alimentación.
Listening to the radio
Audición de la radio
1Press the TUNER (BAND) button repeatedly to select the desired
frequency band (FM or AM).
Pulserepetidamenteelbotón TUNER(BAND) paraseleccionar labanda
de frecuencias deseada (FM o AM).
2Press the TUNING ( or ) button to tune in to the desired sta-
tion.
When the TUNING button is pressed for more than 0.5 seconds, scan-
ning will start automatically and the tuner will stop at the first re-
ceivable broadcast station.
Pulse el botón TUNING ( o ) para sintonizar la emisora deseada.
Cuando se pulse el botón
TUNING durante más de 0,5 segundos, la
exploración se iniciaráautomáticamente y el sintonizador se pararáen
la primera emisora difusora que pueda recibirse.
To receive an FM stereo transmission:
Press the TUNER (BAND) button to display the “ST” indicator.
●“” will appear when an FM broadcast is in stereo.
Para recibir una transmisión de FM en estéreo:
Pulse el botón TUNER (BAND) para que se visualice el indicador “ST”.
●
“”aparecerácuando una difusión de FM sea en estéreo.
FM stereo mode indicator
Indicador del modo de FM
en estéreo
FM stereo receiving indicator
Indicador de recepción de FM
en estéreo
Playing a disc
Reproducción de un disco
TINSEA047SJZZ
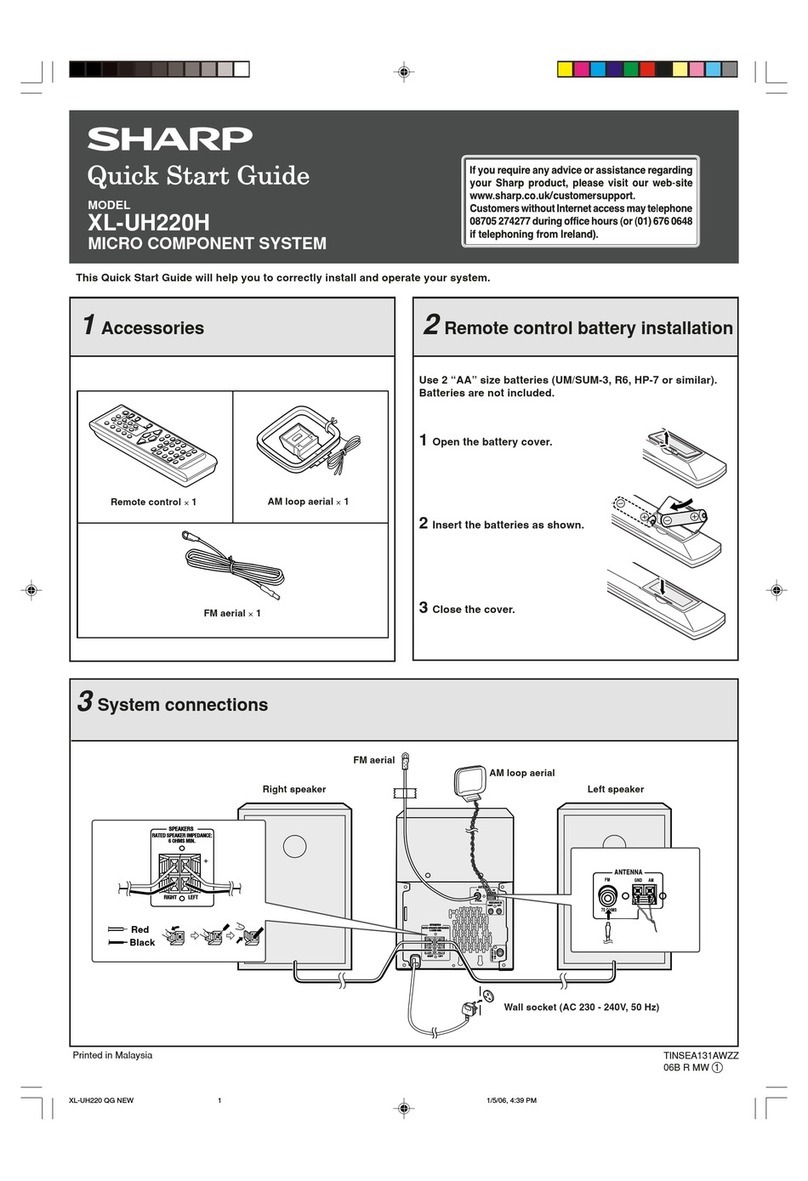
4Remote control battery installation
Instalacióndelaspilasdelcontrolador
remoto
1Remove the battery cover.
Extraiga la cubierta de las pilas.
2Insert the batteries as shown.
Inserte las pilas como se muestra.
3Replace the cover.
Vuelva a colocar la cubierta.
Use 2 “AA” size batteries (UM/SUM-3, R6, HP-7 or similar).
Batteries are not included.
Use dos pilas del tamaño “AA”(UM/SUM-3, R6, HP-7 o
equivalentes).
Las pilas no están incluidas.
1Press the DVD/CD button.
Pulse el botón DVD/CD.
2Press the OPEN/CLOSE button to open the disc compartment.
All trays open in tiers.
Pulse el botón OPEN/CLOSE para abrir el compartimiento del disco.
Todas las bandejas se abren en fila.
3Place the disc on the disc tray 1, label side up.
Coloque el disco en la bandeja de discos 1, con el lado de la etiqueta
hacia arriba.
4To place discs in the trays 2 - 5
Para poner discos en las bandejas 2 - 5
1.Slidein thetraywith adisctoward theunit.
Introduzca la bandeja con un disco
deslizándola hacia el aparato.
2.Place a disc in an empty tray.
Ponga un disco en una bandeja vacía.
5Press the OPEN/CLOSE button to close the disc compartment.
Pulse el botón OPEN/CLOSE para cerrar el compartimiento del disco.
6If playback does not start, press the (play) button.
When the menu appears on the TV screen:
On DVD, select an item by using the cursor ( , , or ) button and
press the ENTER button.
On video CD, select an item by using the direct number buttons.
Si no se inicia la reproducción, pulse el botón (seproducción).
Cuando aparezca la pantalla del menú:
En discos DVD, seleccione un elemento empleando el botón ( , , o
) del cursor y luego pulse el botón ENTER.
En discos CD vídeo, seleccione un elemento empleando los botones de
números directos.
5” (12 cm)
12 cm
3” (8 cm)
8 cm
