Sharp 29H-F200RU User manual

ЦВЕТНОЙ ТЕЛЕВИЗОР
ИНСТРУКЦИЯ ПО ЭКСПЛУАТАЦИИ
OPERATION MANUAL
COLOUR TELEVISION
TINS-B533WJZZ
04P09-MSP
Please read this operation manual
carefully before using the colour
television.
TINS-B533WJZZ
04P09-MSP
MODEL
29H-F200RU
MOДЕЛЬ
29H-F200RU
Пожалуйста, перед началом эксплуатации
цветного телевизора внимательно ознакомьтесь
с настоящей инструкцией по эксплуатации.
29H-F200RU(Front) 10/6/04, 9:02 AM1

E 2
Safety precautions
Do not place this TV set on an unstable
cart, stand, shelf, or table. The TV set
may fall, causing serious injury to a child
or adult, and serious damage to the set.
Sharp recommends securing the TV set
to a stable surface or wall to prevent the
set from falling due to sudden shocks or
impact.
Do not place a flower vase or anything
else containing liquid on the TV set, as
liquid spilt on the TV set can cause
electrical shock or failure.
Damage Turn off the power and unplug the power
cord from the wall outlet immediately if
the TV set begins to make any unusual
noises or gives off smoke or an unusual
smell. Then call your dealer for service.
Servicing To reduce the risk of electric shock, do
not remove the back of the cabinet. This
TV set contains dangerous voltage.
Unstable surface
and shocks
Liquid entry
Never insert or drop any metallic or
inflammable objects into the ventilation
openings of the TV set, as this can cause
fire, electrical shock, or electrical failure.
Object entry
Water To prevent fire or electrical shock, do not
place the TV set near a bathroom,
swimming pool or other area where it may
become wet.
29H-F200RU(02-07)EN 10/6/04, 9:03 AM2

E 3
Power cord
protection
To prevent electrical shock, do not subject
the AC power cord to damage by bending
or twisting it, or by placing heavy items on
top of it and do not place the AC power
cord under the TV set. If the AC power
cord becomes damaged, unplug it from
the wall outlet immediately and call your
dealer for service.
To prevent electrical shock, do not use
the TV set in an excessively damp place.
Moisture
Ventilation Do not place this TV set in a confined
area, such as on a bookshelf or in a built-
in case. Leave adequate space behind
the TV for proper ventilation.
TV set position Do place the TV set onto an even stand,
table or track which size is bigger than
the TV set.
If the TV set is put onto a smaller size or
uneven stand, table or track may cause
the TV cabinet distort.
Do not put or insert anything between TV
set and the stand, table or track.
Fire prevention To prevent fire, never place any type of
candle or naked flames on the top or near
the TV set.
TV set and cart
combination
Television equipment and cart
combination should be moved with care.
Quick stops, excessive force, and uneven
surfaces may cause the equipment and
cart combination to overturn.
29H-F200RU(02-07)EN 10/6/04, 9:03 AM3

E 4
Selecting menu items
Useful features
Contents
Preparation
Watching TV
Settings and adjustments
Broadcast features
Connections
Troubleshooting
Specifications
Picture in Picture (PIP) function
Channel scan function
Freeze function
Twin screen function
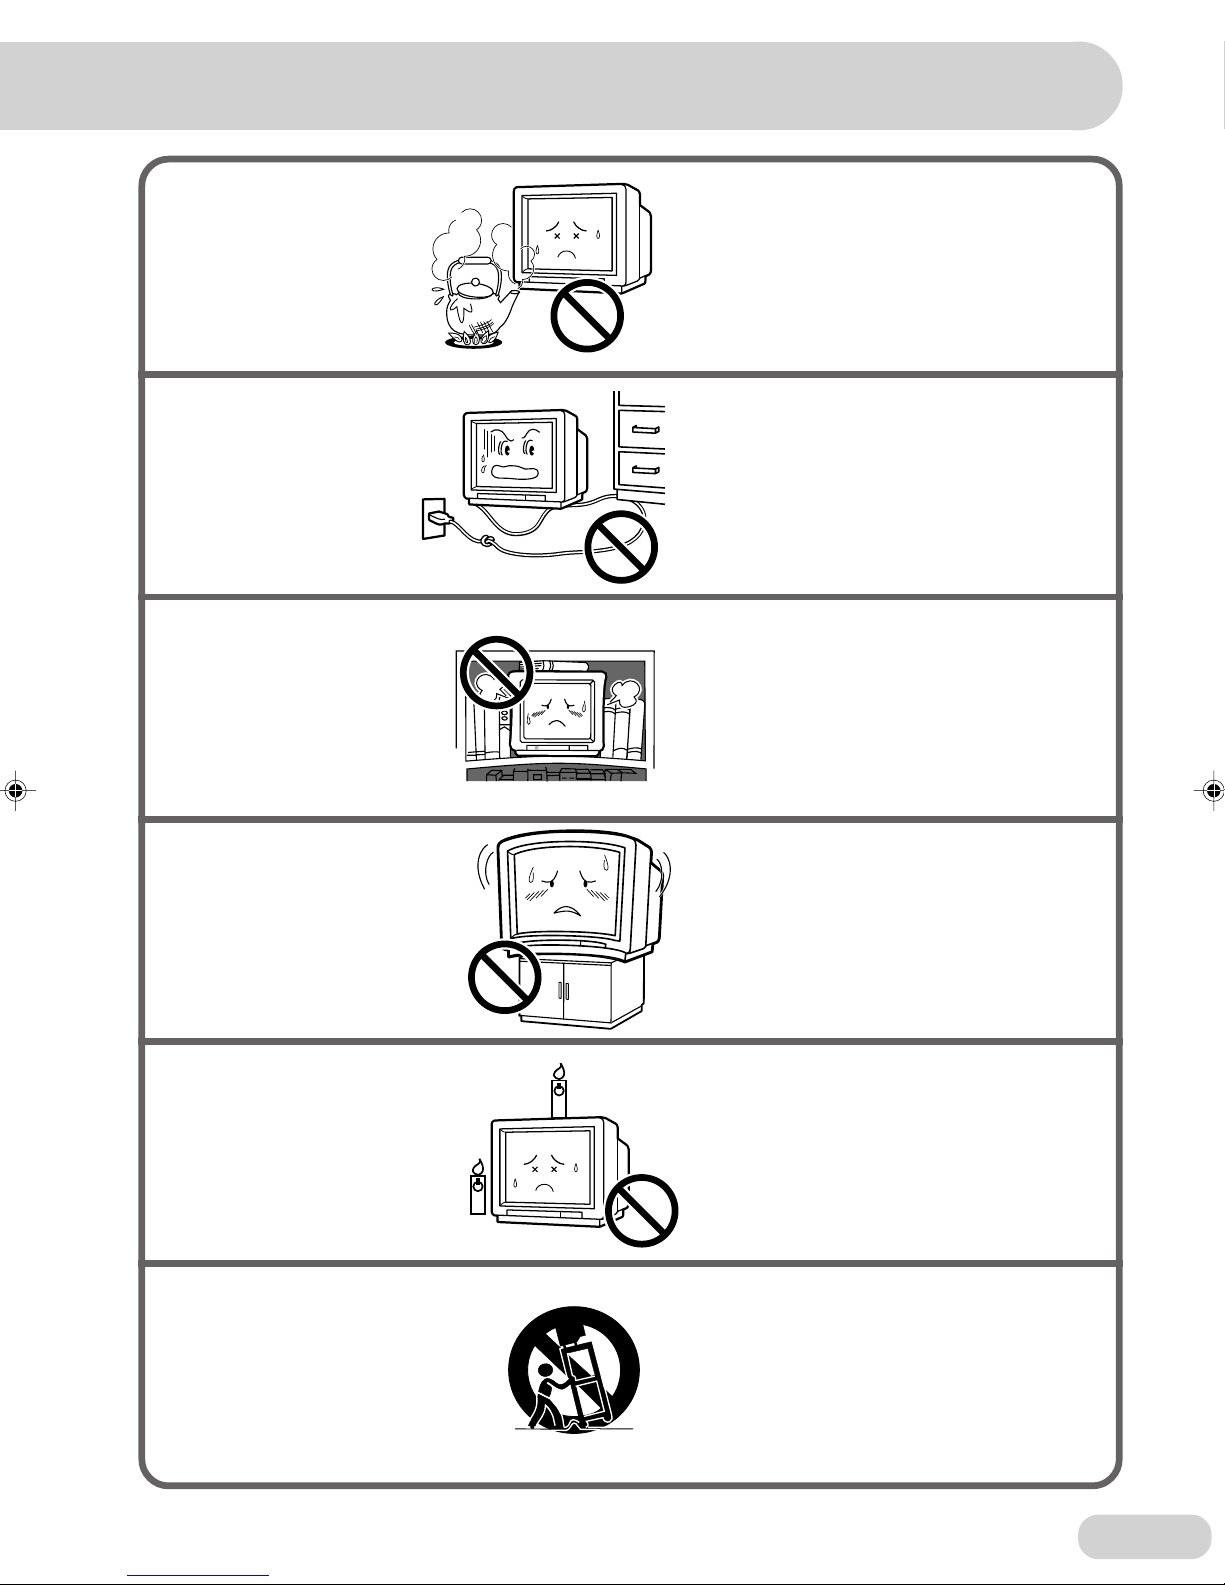
Safety precautions .............................................2
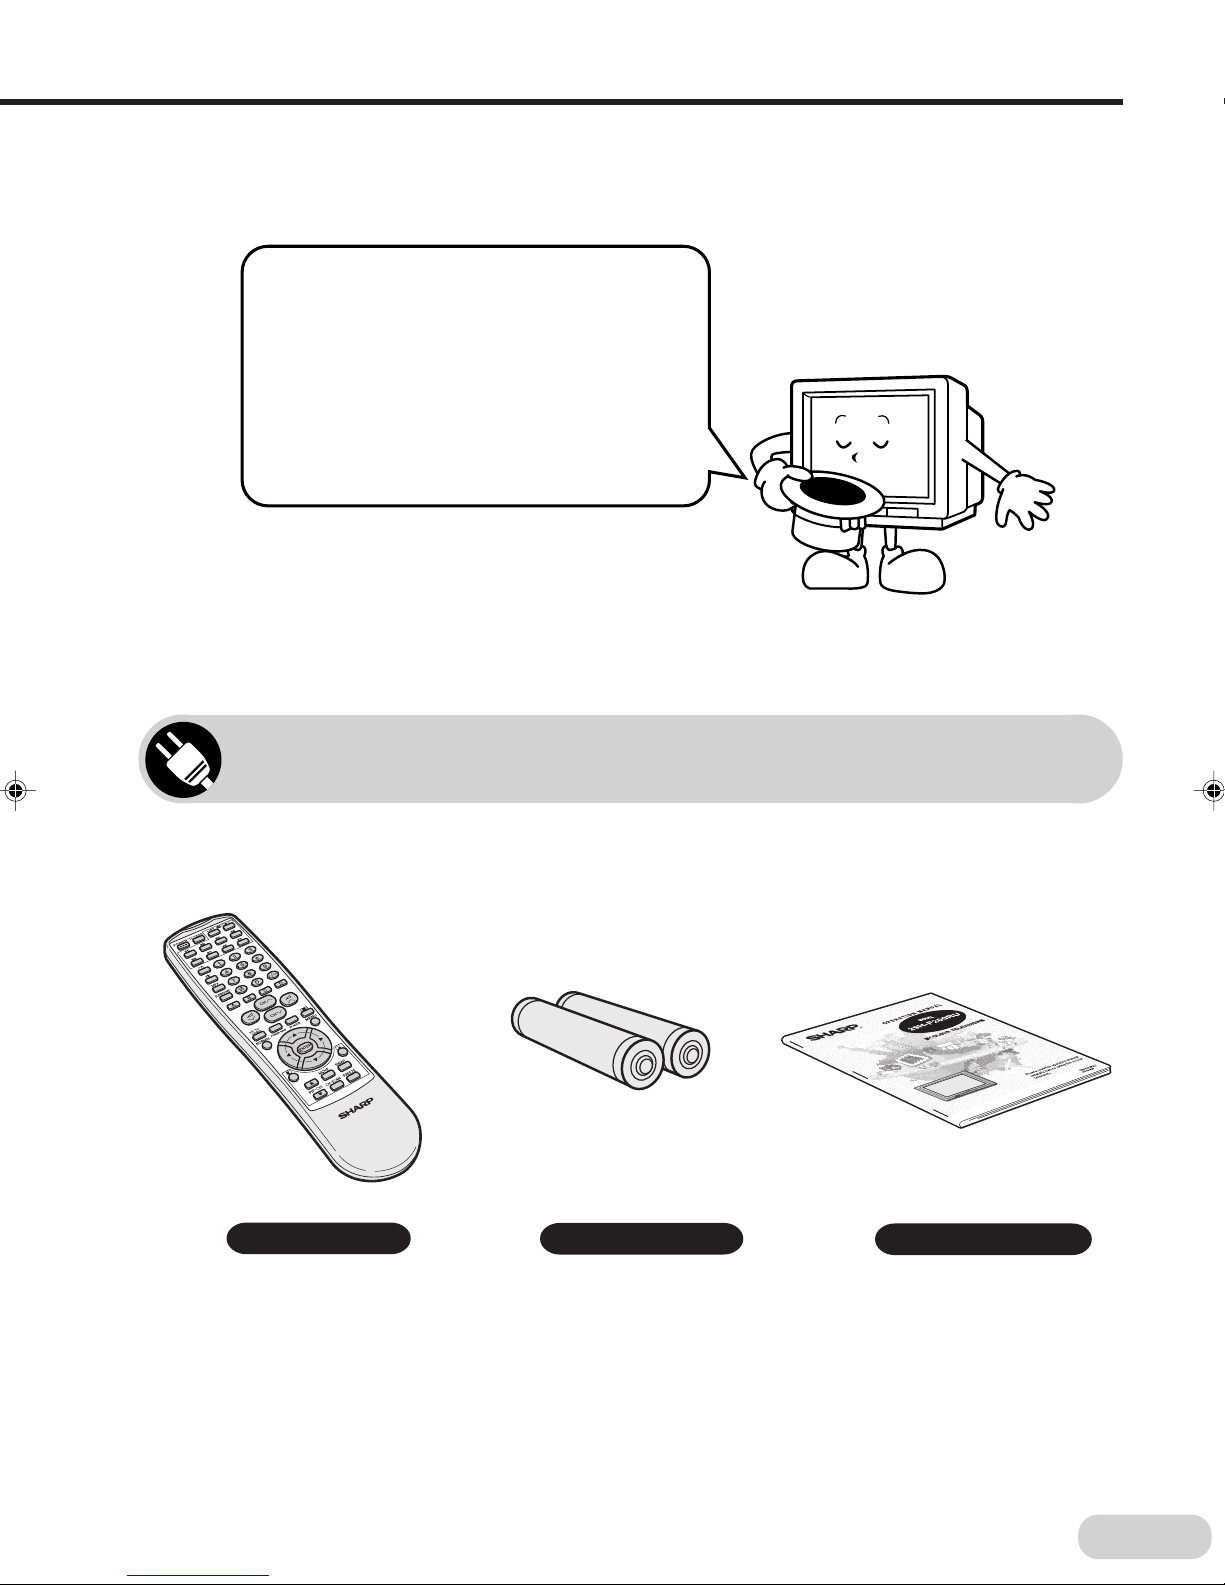
Accessories ........................................................5
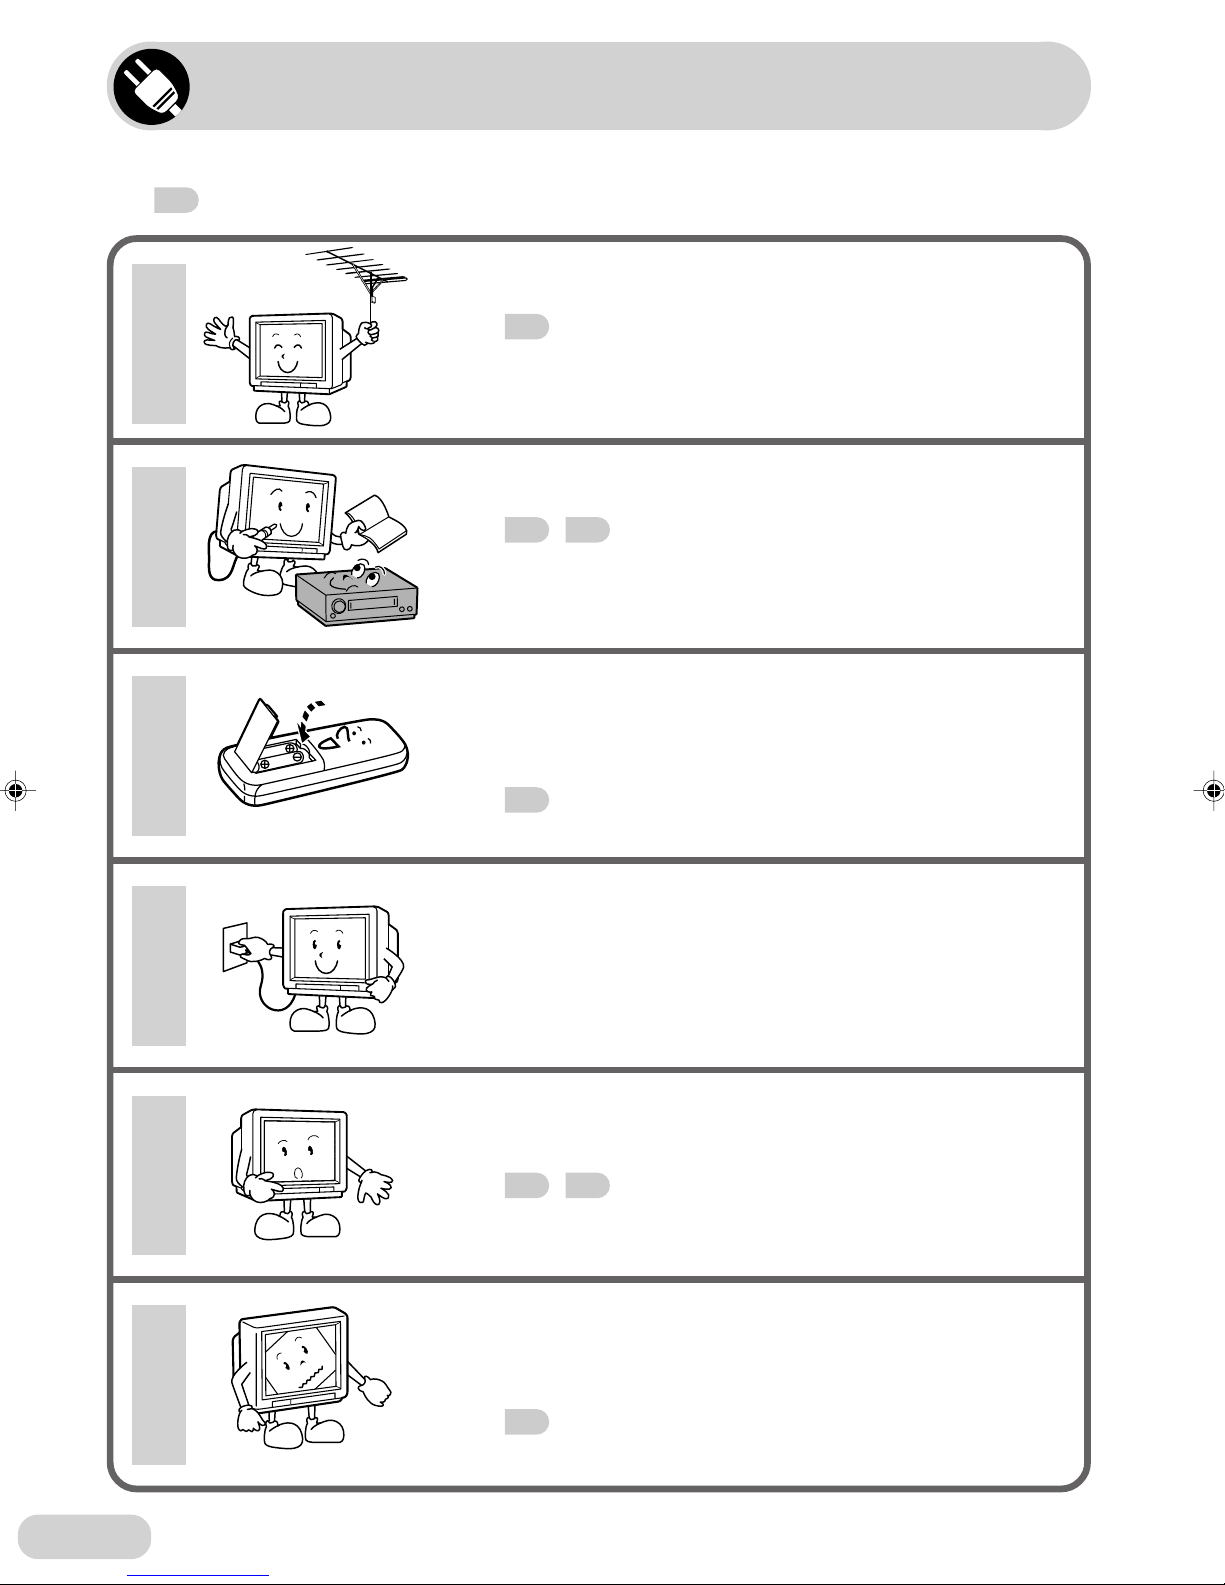
Easy setup .........................................................6
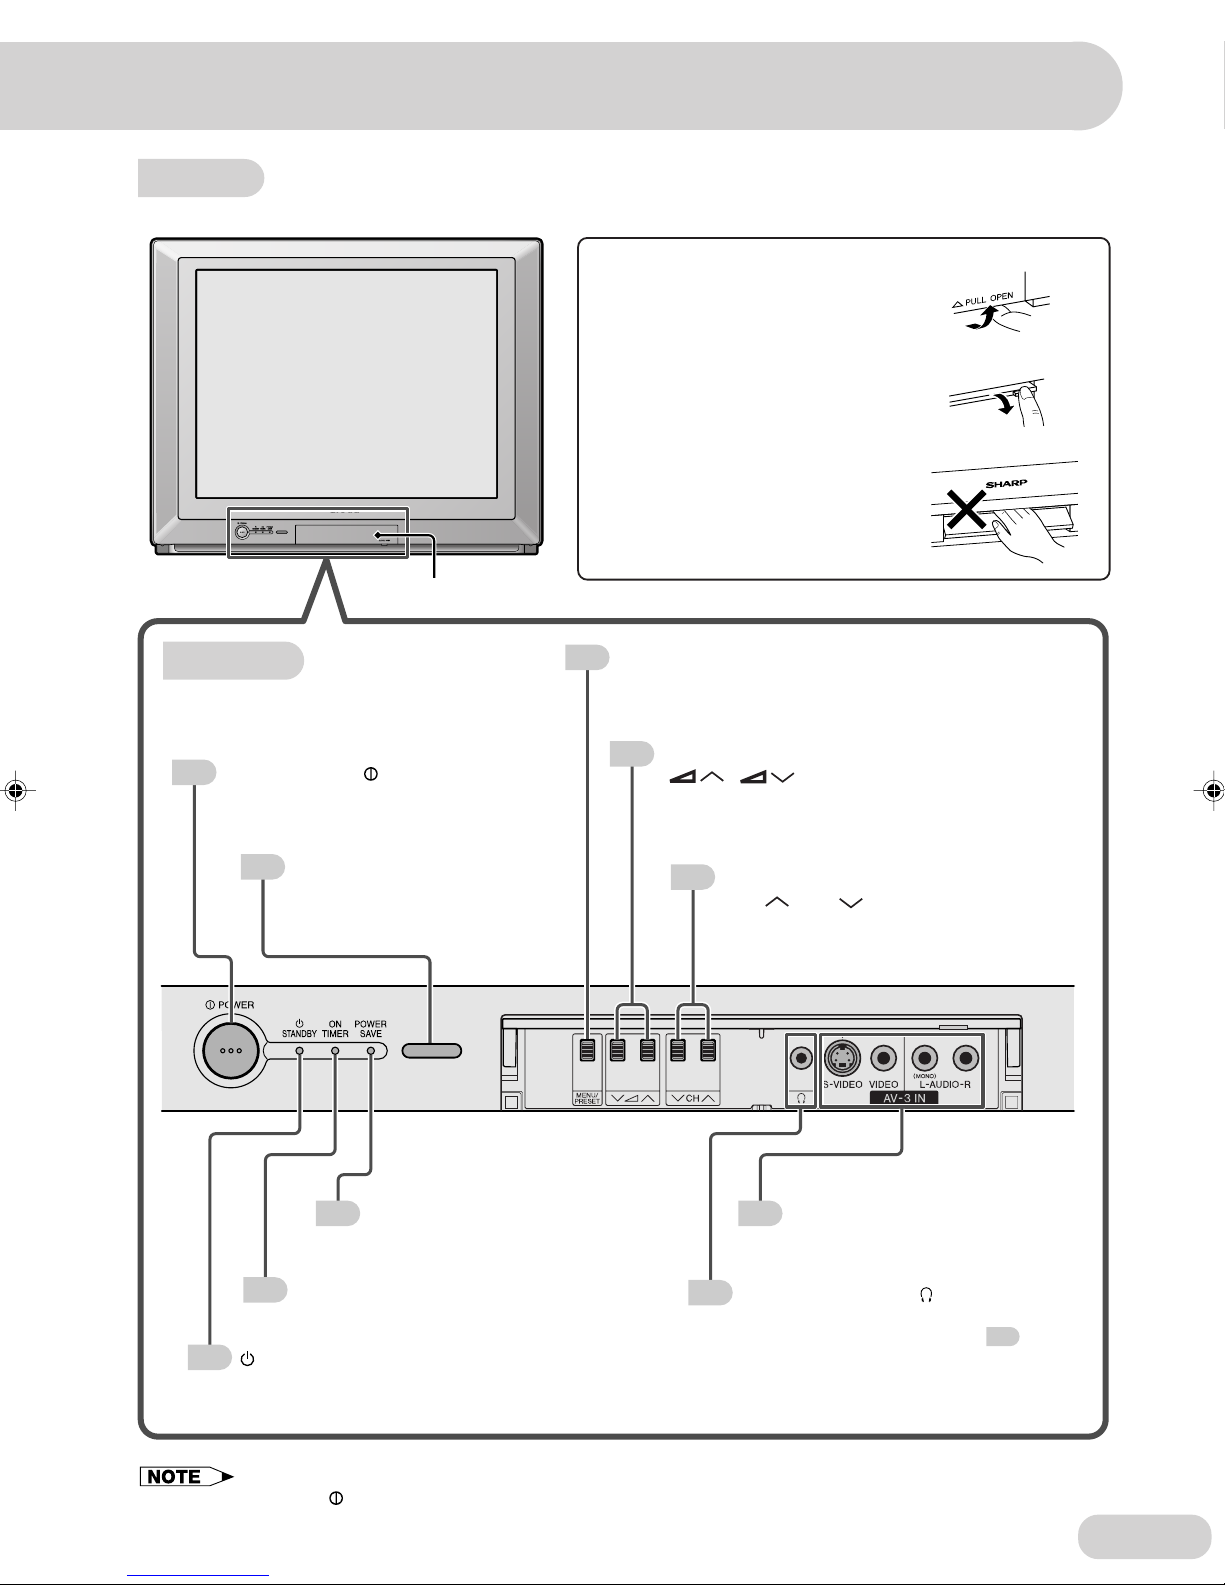
Part names .........................................................7
Installing batteries in the remote control unit......8
Antenna connections ....................................... 11
Watching a TV programme...............................12
Operating the TV buttons ................................. 13
Channel/Timer display .....................................14
Mute .................................................................14
AV mode selection ........................................... 14
Channel recall ..................................................15
TV/Video selection ...........................................15
PIP on/off and PIP size selection ..................... 16
Move ................................................................16
Input/channel selection of inset screen ............ 17
Swap/Freeze ....................................................17
Twin screen ......................................................18
Swap ................................................................18
Channel scan ...................................................19
Freeze ..............................................................20
Selecting a menu item...................................... 21
On-screen display language selection ............. 22
Auto channel tuning .........................................23
Manual channel tuning ..................................... 24
Channel setting ................................................25
Picture adjustment ...........................................26
Sound adjustment ............................................27
Surround sound................................................ 28
Favourite channels ...........................................28
Blue screen ......................................................29
Auto select .......................................................30
Save .................................................................31
Headphones volume ........................................32
Headphones audio selection ............................32
Rotation ............................................................33
IP mode ............................................................33
Off timer ...........................................................34
On timer ...........................................................35
Reminder on-screen timer................................ 36
NICAM broadcasts ...........................................37
A2 stereo system broadcasts ...........................38
Teletext broadcasts ..........................................39
Connecting to a DVD player ............................. 44
Watching DVD playback ...................................44
Connecting to video equipment........................45
Troubleshooting ................................................46
Specifications ...................................................47
29H-F200RU(02-07)EN 6/8/04, 10:19 AM4

E 5
Dear SHARP Customer
Thank you for buying SHARP’s Colour
Television. We hope you will have many
years of enjoyment from this television
set. To ensure proper operation, please
read this manual carefully, and keep it in
a safe place for future reference.
Remote control Size-AA batteries Operation manual
The following accessories are included with this television.
Accessories
29H-F200RU(02-07)EN 10/6/04, 9:03 AM5

E 6
Easy setup
To use your TV set, perform the easy setup procedure below.
The mark indicates the page number with more detailed information.
Connect the antenna.
• See
11
to connect the antenna.
1
Connect any video equipment.
• See
44
,
45
to connect video equipment.
• See the operation manual of your video equipment when
connecting it to the TV set.
Insert the batteries into the remote
control.
• Use the two batteries included with the TV.
• See
8
.
Insert the AC plug to the power outlet.
• If you will not use the TV set for a considerable length of
time, as a safety precaution, unplug the cord from the
outlet.
Tune the channels.
• Use the buttons on the TV.
• See
23
,
24
.
2
3
4
5
Adjust the picture tilt.
• If the picture is tilted, use the rotation feature to adjust the
picture tilt.
• See
33
.
6
29H-F200RU(02-07)EN 10/6/04, 9:03 AM6

E 7
Part names
Remote control
The mark indicates the page number with more detailed information.
15
12
14
14
37
28
15
31
17
26
21
21
21
14
12
12
12
12
Infrared transmitter window
Aim this window at the infrared
sensor window on your TV set.
Teletext Control buttons
Operate the Teletext functions.
TV/VIDEO Select button
Switches between TV broadcasts
and AV input programmes.
POWER On/Off button
Turns the TV on or set
it to Standby mode.
Call button ( )
Displays the channel and timer
settings on the screen.
Mute button ( )
Mutes the sound and restores
sound to previous level.
Cursor buttons ('/"/\/|)
Select MENU items.
MPX button
Switches between main and sub
sound, and stereo and monaural
sound.
SURROUND button
Produces a more spacious sound.
POWER SAVE button
Switches Power Save mode
on or off.
PIP TV/VIDEO Select button
Switches channel selection of
inset screen.
NORMAL button
Resets all settings.
Number buttons
Select the channels and input
numbers.
Digit Select button ( )
Switches between one- or
two-digit mode channel selection.
Colour buttons (A/B/C/D)
Operate the Favourite Channel
and Teletext functions.
AV MODE Select button
Changes picture and sound
settings. (STANDARD, MOVIE,
MUSIC, NEWS)
MENU button
Calls the MENU screen.
This button does not work
in this model.
ENTER button
Confirms the selected setting
or calls the next screen.
Picture in Picture/Twin
Screen Control buttons
Operate the Picture in Picture
(PIP), Twin Screen, Channel
Scan and Freeze functions.
Volume Up/Down buttons
( / )
Adjust the volume.
Channel Up/Down buttons
(CH / CH )
Select the channels.
39-43
16-20
Flashback button ( )
Returns to previously viewed
channel.
28, 39
29H-F200RU(02-07)EN 26/7/04, 3:42 PM7

E 8
Part names
• Be sure to match the battery jj
jj
j/kk
kk
kterminals with the jj
jj
j/kk
kk
kmarks inside the compartment.
• Remove the batteries if weak or if the unit is not in use for long periods.
• Do not mix old and new batteries.
• Incorrect installation of the batteries may damage the remote control.
With your thumbnail, pull
up at the slit to open the
battery cover.
Insert two batteries
(size AA).
Replace the battery cover.
Installing batteries in the remote control unit
1 2 3
29H-F200RU(08-19)EN 10/6/04, 9:04 AM8

E 9
Bottom
12
7
21
13
13
13
45
12
35
31
Volume Up/Down buttons
( / )
Adjust the volume.
Used for Preset.
Channel Up/Down buttons
(CH / CH )
Select the channels.
Tune or set the channels.
MENU/PRESET button
Used for MENU setup.
Tunes the channels.
Power switch ( )
Turns on and off
the main power.
Infrared sensor window
Receives the infrared wave from
the remote control.
STANDBY indicator
Power can be turned on by the remote
control when the indicator is lit red.
Door
13
Headphones jack ( )
Used to listen to the audio with headphones.
(When using headphones, see .)
AV-3 IN terminals
Connect to a camcorder, video game,
VCR, DVD player, etc.
ON TIMER indicator
Lights up red when the On Timer is set.
POWER SAVE indicator
Lights up red when Power
Save mode is on.
To open the door
Using the projection located under
the “PULL-OPEN”indication, pull
and lift the door open.
To close the door
Using the projection, lower the door
until closed.
Caution:
•When opening or closing the door, do
not insert your fingers into the gap
between the door and front panel.
This may result in an injury.
•Minimal electric power remains consumed even after the main power is turned off with the Power
switch ( )on the TV set.
TV Set
29H-F200RU(08-19)EN 10/6/04, 9:04 AM9

E 10
Part names
Rear terminals
11
45
45
45
44
45
COMPONENT IN/AUDIO IN
terminals
Connect to a DVD player, etc.
AV-2 IN VIDEO/AUDIO (L/R)
terminals
Connect to a VCR, etc.
AV-1 IN VIDEO/AUDIO (L/R)
terminals
Connect to a VCR, etc.
VIDEO/AUDIO (L/R) OUT terminals
Connect to a VCR, etc.
S-VIDEO (AV-1 IN) terminal
Connects to a VCR, etc.
Antenna In terminal
Connects to an antenna.
29H-F200RU(08-19)EN 10/6/04, 9:04 AM10

E 11
If your outdoor antenna uses a 75-ohm coaxial cable with a standard
DIN45325 plug (IEC 169-2), plug it into the Antenna In terminal at the
rear of the TV set.
If your outdoor antenna uses a 300-ohm twin-lead flat feeder, connect a
300-ohm to 75-ohm impedance converter and plug it into the Antenna In
terminal at the rear of the TV set.
Connecting to an antenna via a VCR
You can also connect the TV set to the tuner on a VCR using the connection shown below.
•Remove the power cord from the power outlet before connecting the antenna to the TV set.
•When using the RF terminal connection, set the TV to channel zero to make initial adjustments for the VCR.
•Turn off the power on the TV set and the VCR being connected before making the above connections.
•Be sure the cord plugs are fully inserted in the connection terminals.
•See the operation manual of your VCR for connection details.
Connecting to an antenna
To enjoy a clearer picture, use an outdoor antenna. The following is a brief explanation
of the types of connections that are used for coaxial and feeder cables.
Antenna connections
Standard DIN45325 plug (IEC169-2)
75-ohm coaxial cable (round cable) (not supplied)
300-ohm twin-lead
flat feeder
(not supplied)
75-ohm impedance
converter
(not supplied)
TV
Antenna In terminal
VCR
TV
Antenna In
terminal
To antenna in
terminal
To RF out
terminal
29H-F200RU(08-19)EN 10/6/04, 9:04 AM11

E 12
Watching TV
1Turn on power.
• When the Standby indicator (see
9
) is off, press the Power
switch ( )on the TV set.
• When the Standby indicator lights up red, press POWER on the
remote control. The Standby indicator changes to green and a
picture appears.
TV Set (Bottom)
With CH / CH (on remote control)
• Press CH , and channels change as shown below.
1 /2 / ... /98 /99 /0 /1 /2 ...
• Press CH , and channels change as shown below.
1 /0 /99 /98 /... /2 /1 /0 ...
3
Adjust volume using /
.
• The number of oval blocks “ ”
indicates the volume level.
The volume bar disappears
approximately three seconds after
the volume has been adjusted.
2Select channel.
With the Number buttons (on remote control)
• To select a one-digit channel, such as 5, press 5.
If “5-” is indicated, press the Digit Select button ( )to select one-
digit input, and then press 5again.
• To select a two-digit channel, such as 15, press the Digit Select
button ( )to select two-digit input. Press 1, and then press 5.
• When the Standby indicator lights up red, either CH /CH on the TV can be pressed to turn on the
power.
• The channel number is displayed in green for channels tuned by Auto Tuning and displayed in yellow for
channels tuned using Fine Tuning.
• When the Standby indicator lights up red, the TV is in Standby mode and power is still supplied to the
TV. If you will not watch TV for a while, turn off the main power by pressing the Power switch ( )on
the TV set. Also, if you will not be at home for a considerable length of time, unplug the cord from the
power outlet.
• The AV1 (or SAV1), AV2, AV3 (or SAV3) or COMPONENT input channels cannot be selected using
CH /CH on the remote control. Use TV/VIDEO to select these channels.
• Channels that have been skipped cannot be selected. See
25
.
• The TV set and remote control illustrations and the on-screen displays in this manual may differ from
their actual appearance.
Remote Control
Watching a TV programme
Simple operations for watching a TV programme
Power switch
-- -1
C
M
ES
51
A
D/K
VOLU
M
E15
29H-F200RU(08-19)EN 10/6/04, 10:33 AM12

E 13
•Select an appropriate volume so as not to injure your hearing.
•To avoid injuring your hearing, do not put on the headphones before plugging them into the
headphones jack and before the power is turned on.
•The proper impedance for the headphones is 32 ohms.
•Remove the headphones plug from the headphones jack when not using the headphones.
Operating the TV buttons
Simple operation of the TV set
Using /
Press to increase volume.
Press to decrease volume.
Using CH / CH
Press CH , and channels change as
shown below.
1 /2 / ... /98 /99 /AV1 (or SAV1) /
AV2 /AV3 (or SAV3) /COMPONENT /
0 /1 /2 ...
Press CH , and channels change as
shown below.
1 /0 /COMPONENT /AV3 (or SAV3) /
AV2 /AV1 (or SAV1) /99 /98 /... /
2 /1 /0 ...
Using headphones
Insert headphones plug into headphones jack ( ) to listen to audio
with headphones.
•See
32
for headphones volume adjustment and audio selection.
•The audio from the speakers is not turned off.
If you want the audio from the speakers to be turned off, press the Volume
Down button ( ).
Behind the door
Behind the door
/CH /CH
VOLU
M
E15
SE
D/K
CA
M
5
29H-F200RU(08-19)EN 10/6/04, 9:04 AM13

E 14
Channel/Timer display
Displays the current channel number, the timer, and other
settings on the screen.
2Press again.
•The timer displays disappear.
1Press .
•The time remaining on the Off
Timer, On Timer, Reminder, and
the channel number and colour/
sound system indications appear
on the screen.
•When no timer is set, the channel
number and colour/sound system
indications appear on the screen.
Press again to turn off these
indications.
Useful features
1Press .
•“ ”appears on the screen, and
the sound is silenced.
2Press again.
•The volume returns to its previous
level.
3Press once again.
•The channel number and colour/
sound system indications disappear.
Each time you press AV MODE, the
mode switches between STANDARD,
MOVIE, MUSIC and NEWS.
STANDARD: Normal mode
MOVIE: Movie mode
MUSIC: Music mode
NEWS: News mode
•Mute will be cancelled if is pressed at any time.
Mute
Silences the sound.
AV mode selection
SECA
M
D/K
0
0
0
5
OFF
ON 8:00
1:50
2:30
SE
D/K
CA
M
5
S I
(STANDARD)
(NE
W
)
(
M
OV I E )
(
M
U
S
C)
•Picture and sound can be adjusted individually for each AV mode. See
26
and
27
for details.
29H-F200RU(08-19)EN 10/6/04, 9:04 AM14

E 15
TV/Video selection
Switches between TV broadcasts and AV input programmes.
Each time you press TV/VIDEO, the
input switches between AV1 (or SAV1
when S-VIDEO terminal is used),
AV2, AV3 (or SAV3 when S-VIDEO
terminal is used), COMPONENT, and
TV programme.
Channel recall
Switches back to the channel you were watching just before
the current channel.
Press .
•The channel previously viewed returns to
the screen.
Example:
After switching from channel 5 to channel
7, is pressed, the channel will change to
channel 5. Press again to return to
channel 7.
5
7
5
7
C
M
ES A
D/K
C
M
ES A
D/K
C
M
ES A
D/K
C
M
ES A
D/K
COMPONENT
25
AVS1 AV1
AV2
or
AVS3 AV3
or
C
M
ES A
D/K
29H-F200RU(08-19)EN 10/6/04, 10:33 AM15

E 16
PIP on/off and PIP size selection
2Press to change the inset
screen size.
•The size changes in the following
order.
1Press .
•The inset screen (PIP) appears.
Picture in Picture (PIP) function
1Press to display the inset
screen.
2Press MOVE to move the inset
screen to the desired position.
Move
Large Small
Normal screen
(PIP not displayed.)
Medium
SE
D/K
(10)
CA
M
36
SE
D/K
(10)
CA
M
36
Allows you to monitor another programme on the inset screen.
~
The PIP function does not work for
video input via the COMPONENT
IN terminals.
29H-F200RU(08-19)EN 10/6/04, 10:33 AM16

E 17
Input/channel selection of inset screen
2When the inset screen (PIP) is displayed, press PIP-CH '/"
to select the desired channel for the inset screen.
1When the inset screen (PIP) is
displayed, press PIP TV/
VIDEO.
• The input for the inset screen
changes in the following order.
1When the inset screen (PIP) is
displayed, press SWAP.
• The inset screen changes over
with the main screen.
2Press FREEZE.
• The inset screen displays a still
picture.
• If SWAP is pressed during Freeze
mode, the Freeze function is
cancelled and the inset screen
changes over with the main screen.
Swap/Freeze
AV1 AV3
TV
AV2
SE
(36)
D/K
CA
M
(5)
C
M
ES A
D/K
5
36
SE
(AV1)
D/K
CA
M
5
•When the colour system is different between the main screen and
the inset screen, the aspect ratio of the inset screen might be
changed.
3Press FREEZE again to cancel Freeze mode.
•Do not keep the TV engaged in Freeze mode for a long time to prevent a possible screen burn-in.
29H-F200RU(08-19)EN 25/6/04, 3:41 PM17

E 18
2Press again to return to the normal screen.
1Press to engage the TV set
in Twin Screen mode.
•The image on the left is displayed
as the main screen, and the image
on the right as the sub screen.
(The sub screen channel is
displayed in parentheses.)
•Press Number buttons or CH /
CH to select the main screen
channel.
•Press PIP-CH '/"to select the
sub screen channel, or press PIP
TV/VIDEO to select the desired
external input.
1When the two images are displayed, press SWAP.
•The main screen changes over with the sub screen.
2Press SWAP again to return the images to their original
positions.
36 01()
Main
screen
Sub
screen
10 63()
Main
screen
Sub
screen
36 01()
36
Main
screen
Sub
screen
Sound can be
heard via TV
speakers.
Sound can be
heard via
headphones jack.
Twin screen
Allows you to monitor two separate images from a variety of
sources at the same time.
Twin screen function
Swap
Allows you to switch the main and sub screens.
~
The Twin screen function does not
work for video input via the
COMPONENT IN terminals.
29H-F200RU(08-19)EN 10/6/04, 10:33 AM18

E 19
Press Number buttons to
select the desired channel (ex.
channel 3).
1Press CH-SCAN.
•The tuned channels are
automatically displayed on sub
screens in numeric order. (If there
are more than 9 preset channels,
the 10th channel and after will be
displayed on a new screen.)
Channel scan
For fast and easy channel selection, this function displays
each tuned channel in numeric order.
Channel scan function
10
1
1
0
4
7
2
5
8 9
6
3
Normal screen (Ex. Channel 10)
Channel scan
screen
3
Ex. Channel 3
2Press CH-SCAN again to return
to the normal screen.
•Skipped channels are not displayed.
~
The Channel scan function does
not work for video input via the
COMPONENT IN terminals.
29H-F200RU(08-19)EN 10/6/04, 10:33 AM19

E 20
2Press FREEZE again to return
to the normal screen.
1Press FREEZE.
• The right half of the screen displays
a still image while the left half
displays a moving image.
Freeze
Use to temporarily freeze a video image, such as when you
want to copy down important information from the screen or
freeze an image from a sports programme.
Freeze function
• The Freeze function cannot be used with the Channel Scan function.
36
36
Moving image Still image
29H-F200RU(20-29)EN 10/6/04, 10:35 AM20
Table of contents
Other Sharp TV manuals

Sharp
Sharp LC-32CHE5100E User manual

Sharp
Sharp 27C241 User manual

Sharp
Sharp AQUOS LC-46D43U User manual

Sharp
Sharp 25LC156 User manual

Sharp
Sharp 37DM-23S User manual

Sharp
Sharp 21HT-15C User manual

Sharp
Sharp LC-65D93U User manual

Sharp
Sharp 70AS-06S User manual

Sharp
Sharp 21HT-15C User manual

Sharp
Sharp LC-40FI5242KF Technical manual

Sharp
Sharp LC-20SH3X User manual

Sharp
Sharp 14LT-45C User manual

Sharp
Sharp AQUOS LC-22DV27U User manual

Sharp
Sharp 29E-S1F User manual

Sharp
Sharp 50NP4 User manual

Sharp
Sharp 27R-FS1 User manual

Sharp
Sharp LC-26GA5X User manual

Sharp
Sharp LC-32LE240E User manual

Sharp
Sharp 21F-A30 User manual

Sharp
Sharp 21B-FX1 User manual