WEAR YOUR
FORESIGHT IS BETTER
THAN NO SIGHT
READ INSTRUCTIONS
BEFORE OPERATING
SAFETY GLASSES
SHERLINE PRODUCTS INC. •3235 Executive Ridge •Vista •California 92081-8527 •FAX: (760) 727-7857
Toll Free Order Line: (800) 541-0735 •International/Local/Tech. Assistance: (760) 727-5857 •Internet: www.sherline.com
6/14/16
Vertical Milling Column
P/N 3050 (Inch), P/N 3053 (Metric)
P/N 3480 (Inch), P/N 3485 (Metric)
with Zero Adjustable Handwheel
With this attachment the Sherline lathe can be quickly
and easily converted into a small milling machine. The
attachment consists of a dovetailed vertical column with
a solid aluminum base that attaches to the bed of the lathe
in place of the headstock. The headstock then mounts to
a dovetailed saddle on the vertical column. The saddle is
raised and lowered to control the depth of cut by turning
a handwheel. Calibrations on the handwheel enable depth
control to .001". Parts to be machined are mounted on
the lathe’s 2.75" x 6.00" crosslide. The headstock may be
locked in position by means of a screw on the back of the
saddle. (See P/N 4517 and 4033 on the exploded view.)
This is a good way to get into milling. All standard vertical
milling operations can be performed with this attachment
with size being the only limitation. Conversion from the
lathe to the mill takes less than one minute. Just about all
Sherline milling accessories may be used with this setup.
(NOTE: Due to the size and weight of the P/N 3200
indexing attachment and the P/N 3700 rotary table, it is
not recommended they be used with the lathe and vertical
milling column combination. We recommend they be used
with the Sherline vertical milling machine or XYZ base.)
NOTE: All vertical milling columns manufactured after
1995 include the modications necessary to work with
Sherline’s XY Base.
Mounting Instructions
Remove headstock from lathe by loosening set screw
(P/N 4054) located below name plate. Lift the headstock
vertically from the bed.
Mount the vertical milling column on the lathe pivot pin
(P/N 4024) on the lathe bed.
Mount the headstock on the pivot pin located on the saddle
of the vertical milling column in the same manner as it is
mounted on the lathe bed.
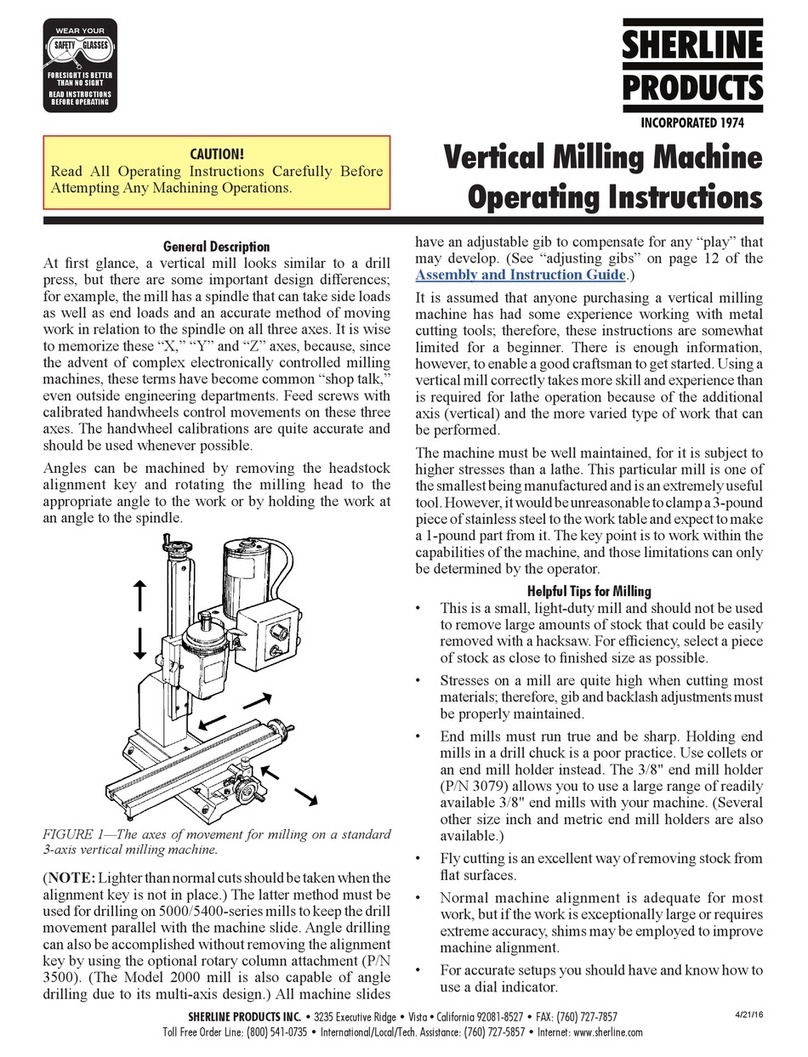
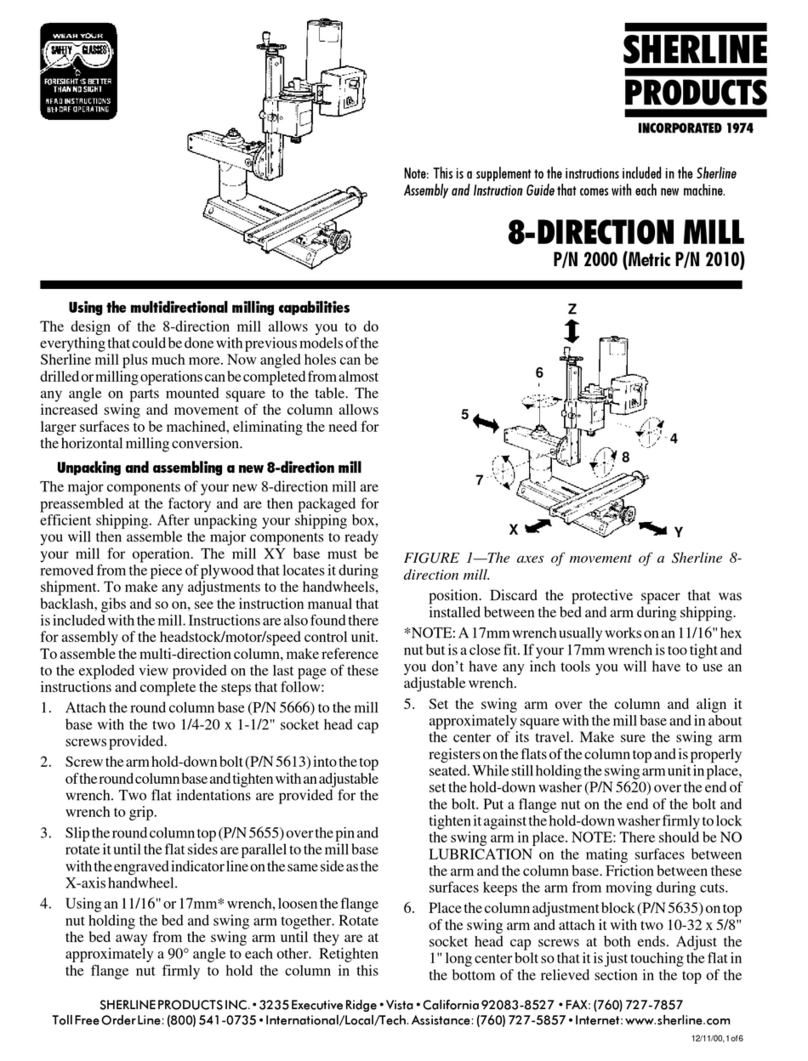
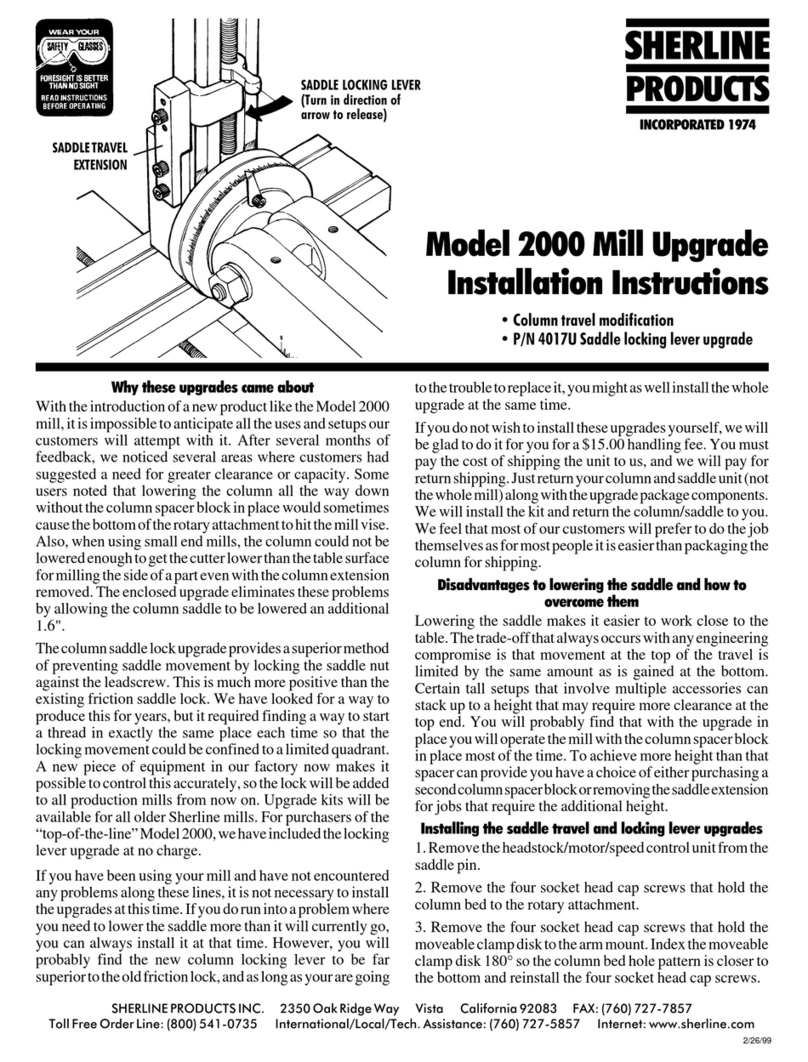
Angles can be milled by rotating the headstock with the
alignment key removed. Move headstock to desired angle
and tighten the set screw (P/N 4054).
Helpful Hints
1. This is a small, light duty mill, and should not be used
to remove vast amounts of unnecessary stock that could
be easily removed with a hacksaw. Get stock as close
to size as possible before starting.
2. Loads involved for milling are higher than for lathe
turning. The vibration level is also higher, therefore,
more attention must be paid to gib adjustments. They
should be kept snug.
3. End mills must run true and must be sharp. Holding
end mills in a drill chuck is a poor method. Use milling
collets or our end mill holders. For cutting aluminum,
run motor top speed and take light cuts.
4. Fly cutting is an excellent way of cutting stock from
at surfaces.
5. Normal machine alignment is good for most work, but
if the work is exceptionally large or has to be extremely
accurate, shims may be required to improve machine
alignment.
6. Learn to use a dial indicator.
7. A good mill vise is a must.
8. Often, more time will be spent making xtures to hold
work than doing the actual machining.
9. Always try to have one point to measure from. Don’t
machine this point o half way through the job and
leave yourself without a way of measuring the next
operation. PLAN AHEAD.
10. A good rule for all machining operations is: “If the tool
chatters, reduce speed and increase feed.”
It takes a long time to accumulate the knowledge, tools and
xtures to do the tremendous amount of dierent type of
operations involved in milling. Don’t get discouraged by
starting with a job that is too complex or by using materials
that are extremely dicult to machine.
Thank you,
Sherline Products Inc.
Refer to SHERLINE INSTRUCTION GUIDE
(P/N 5326) for milling setup and operations.
Vertical Milling
Column mounted on
a Sherline lathe
