Shimano EW-7970 Operating instructions
Other Shimano Bicycle Accessories manuals
Shimano
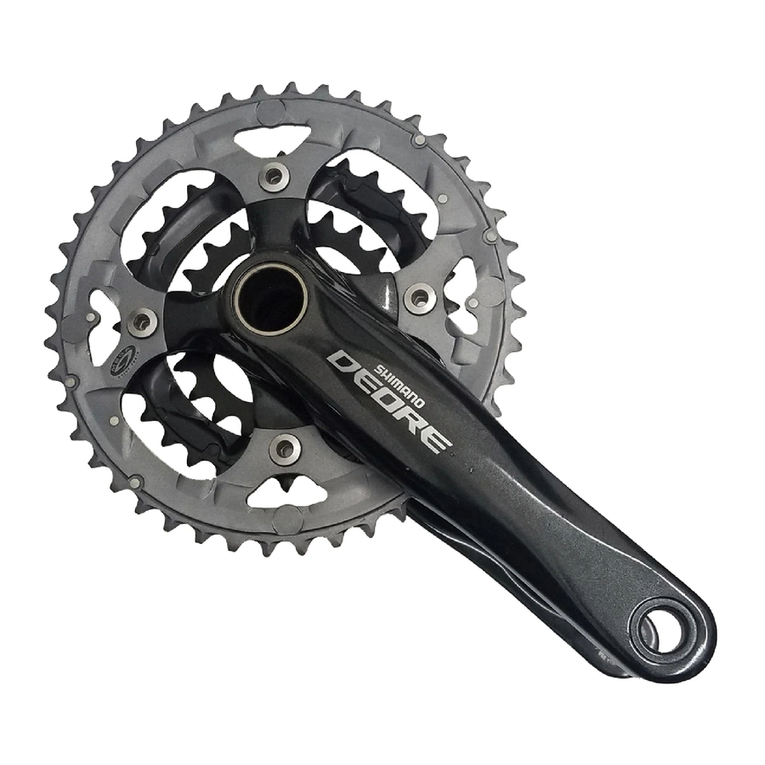
Shimano FC-M590-S User manual
Shimano
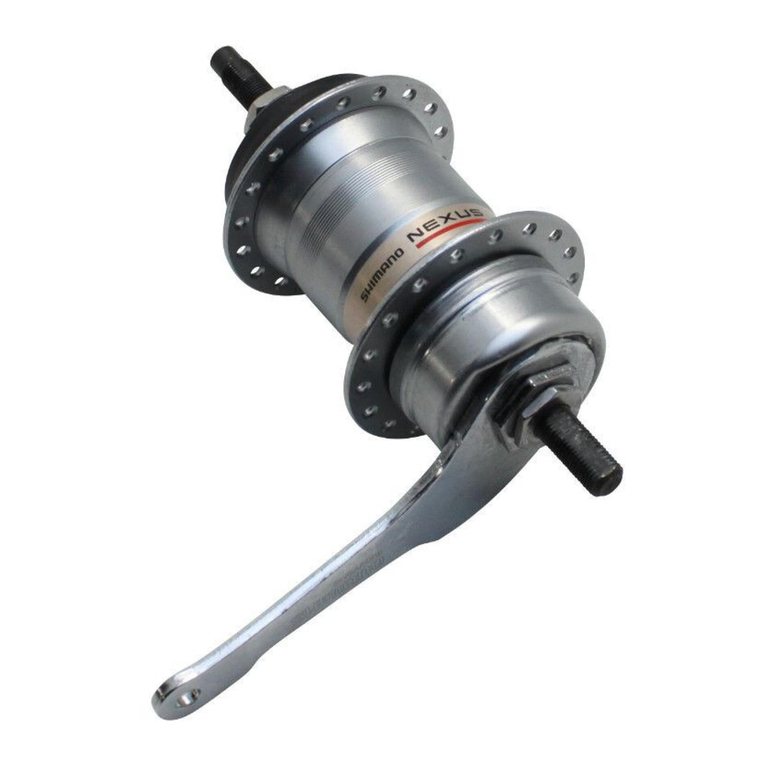
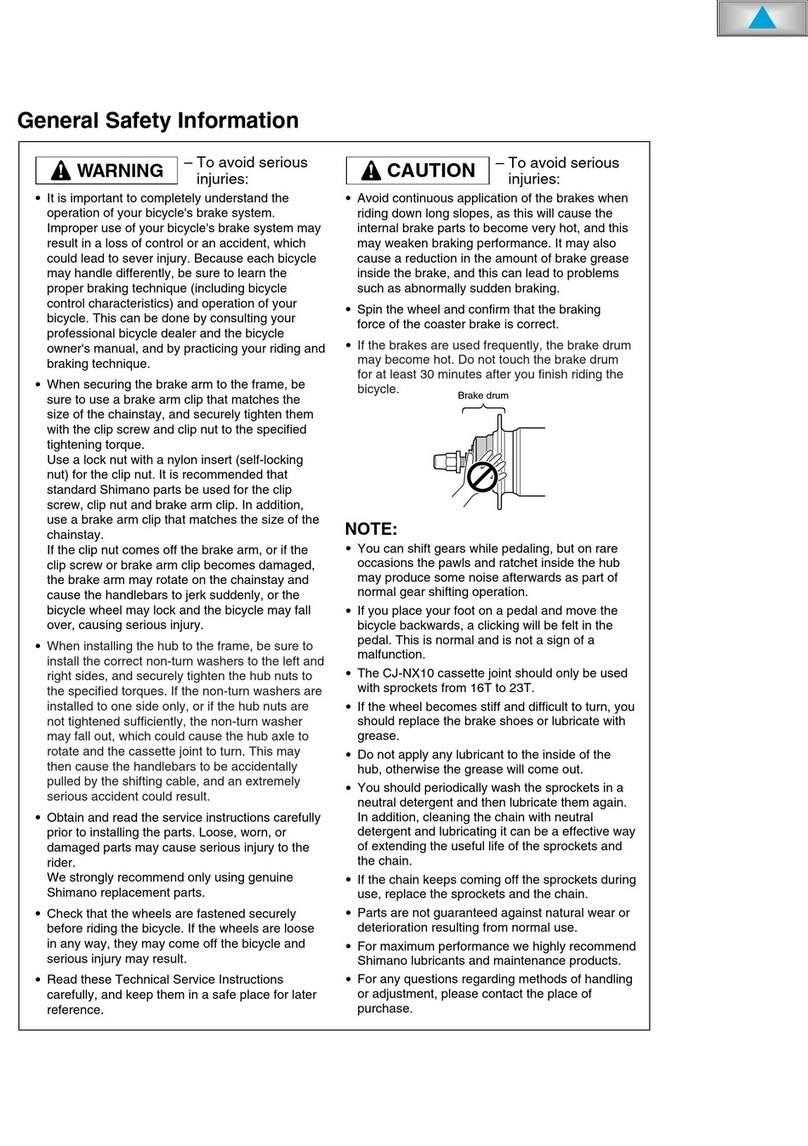
Shimano NEXUS SG-7C26 Operating instructions
Shimano
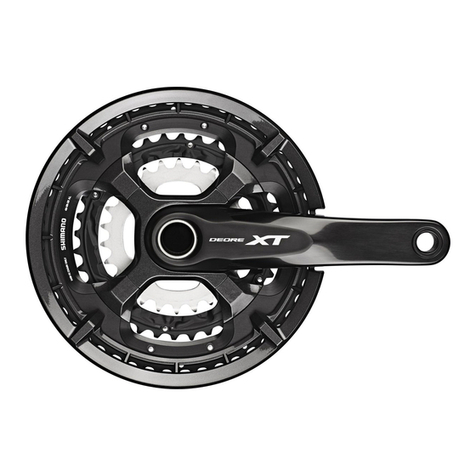
Shimano FC-T8000 User manual
Shimano
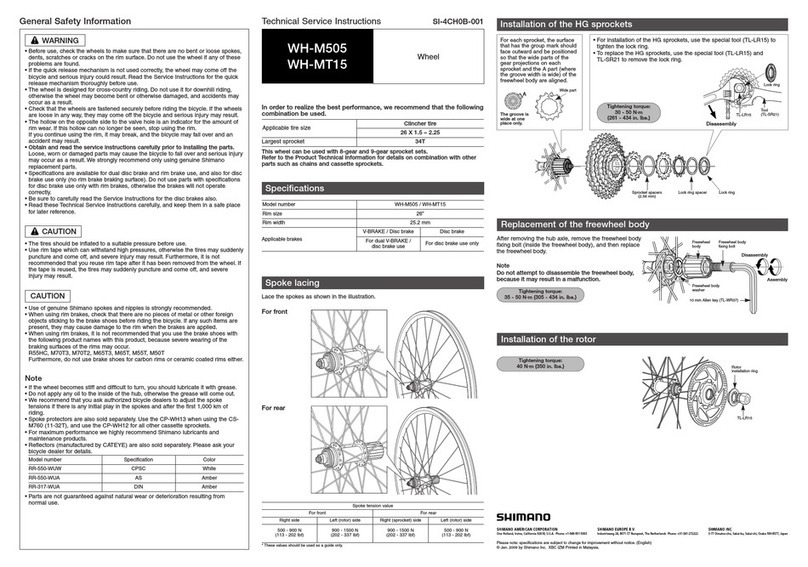
Shimano WH-M505 Operating instructions
Shimano
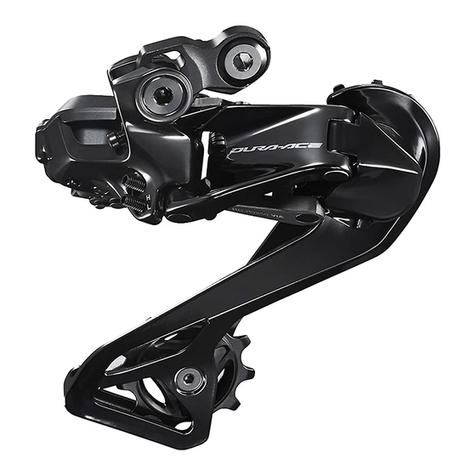
Shimano DURA-ACE Di2 User manual
Shimano
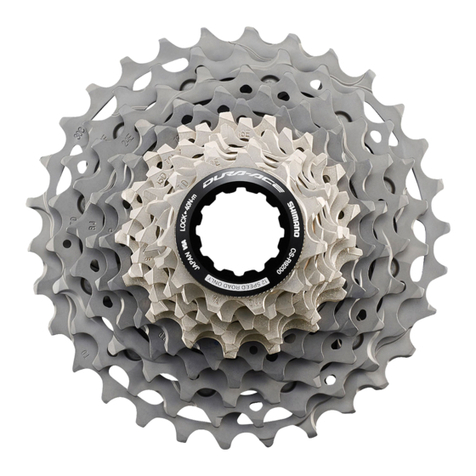
Shimano DURA-ACE CS-R9200 User manual

Shimano
Shimano DURA-ACE FC-R9100 User manual

Shimano
Shimano SL-M980 User manual
Shimano
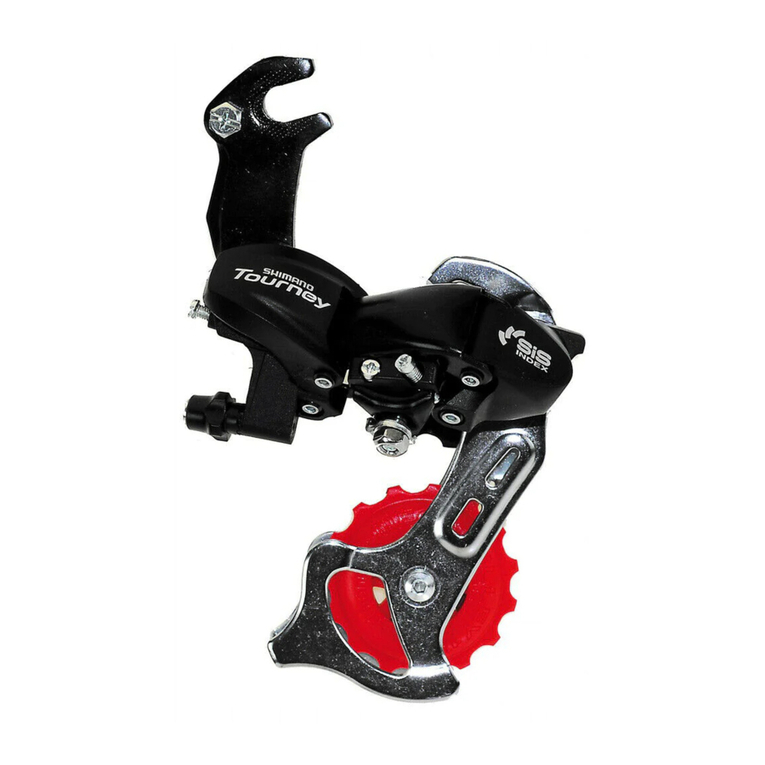
Shimano RD-TX70 User manual

Shimano
Shimano SW-R600 User manual
Shimano
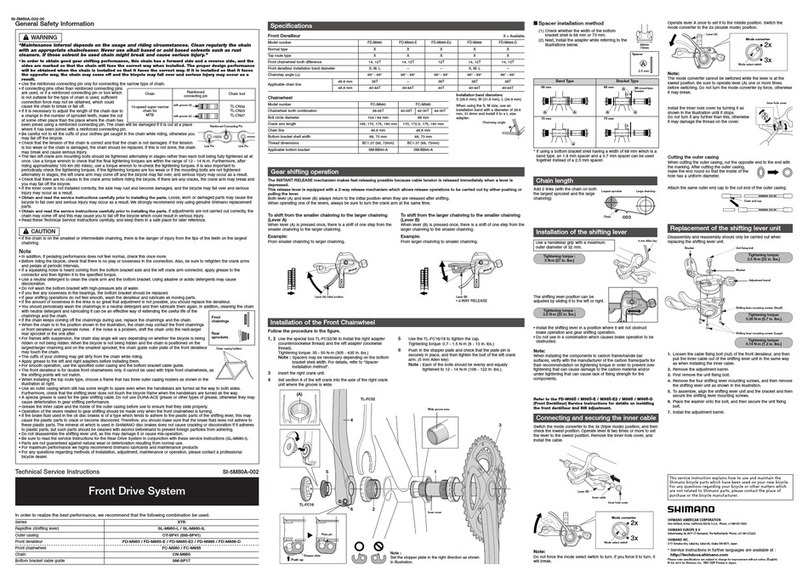
Shimano FD-M985-E User manual
Shimano
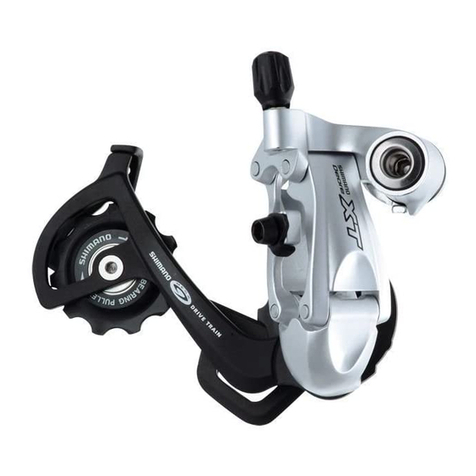
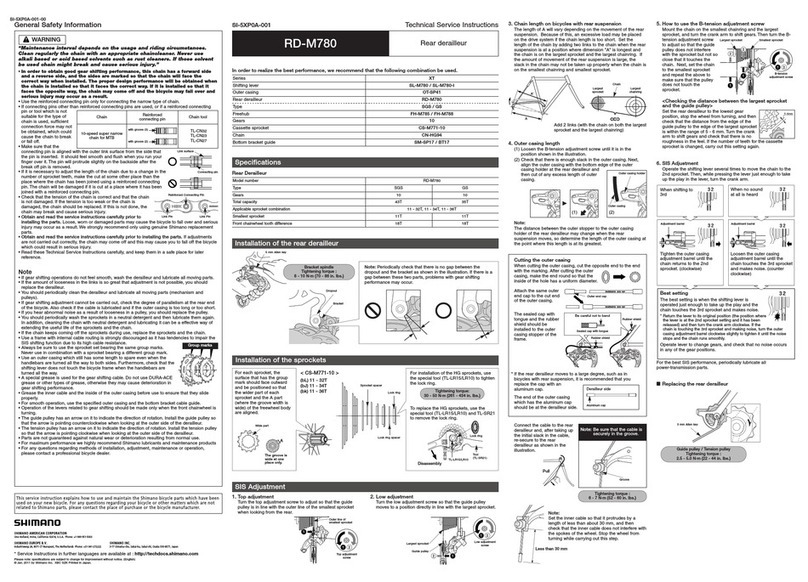
Shimano RD-M760 Operating instructions
Shimano
Shimano RD-M780-S GS Operating instructions
Shimano
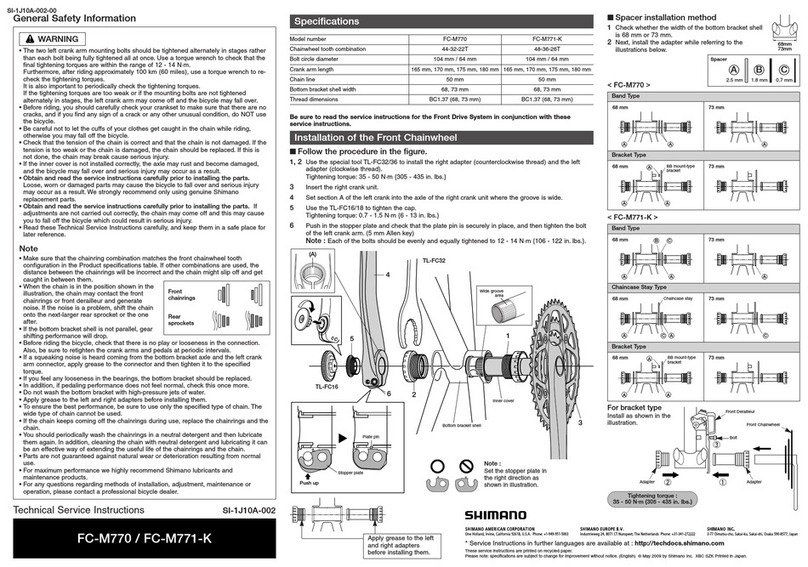
Shimano FC-M771-K Operating instructions
Shimano
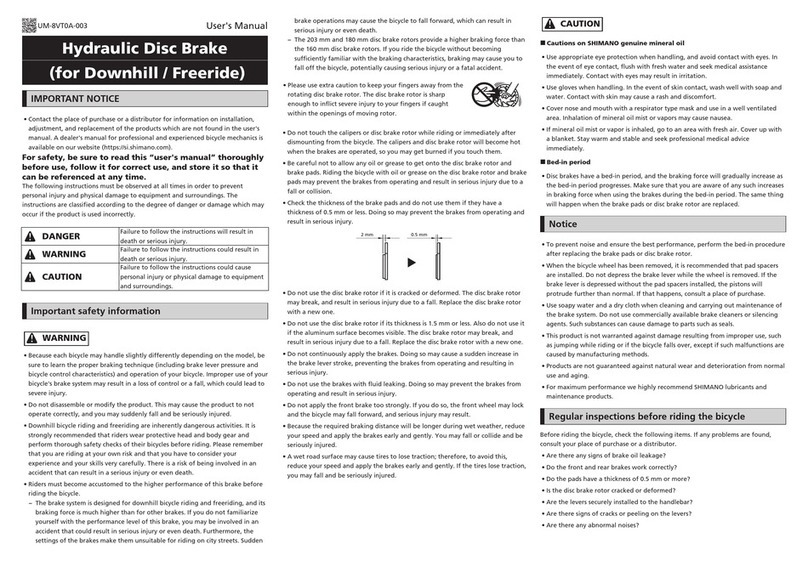
Shimano UM-8VT0A-003 User manual
Shimano
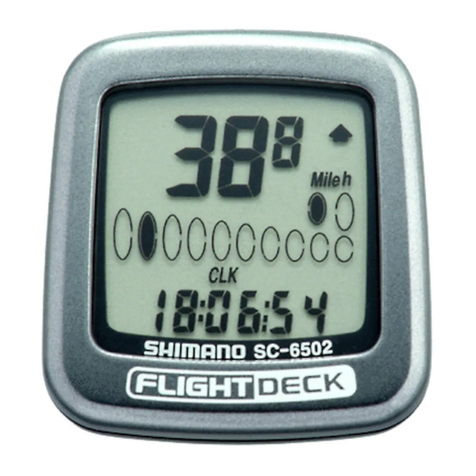
Shimano SC-M500 User manual
Shimano
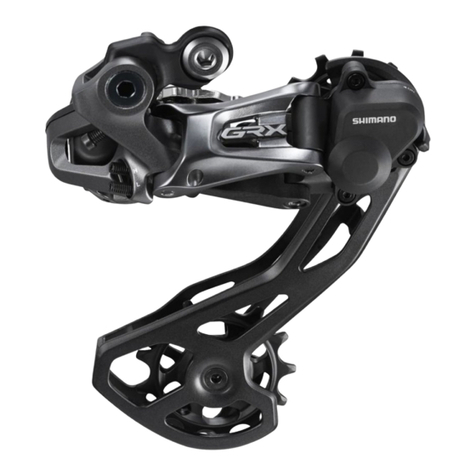
Shimano GRX RX 815 Series User manual
Shimano
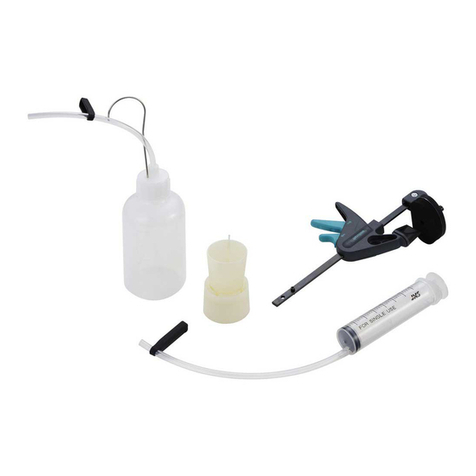
Shimano TL-BT03 Operating instructions
Shimano
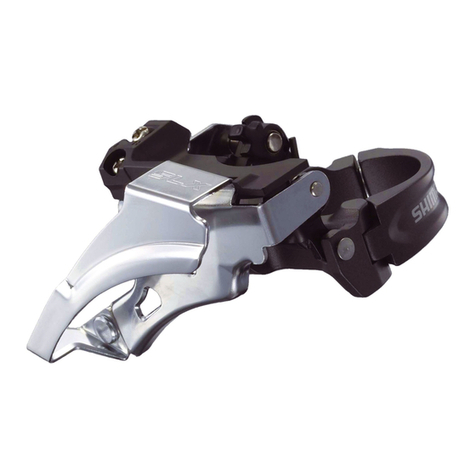
Shimano FD-M665 Operating instructions
Shimano
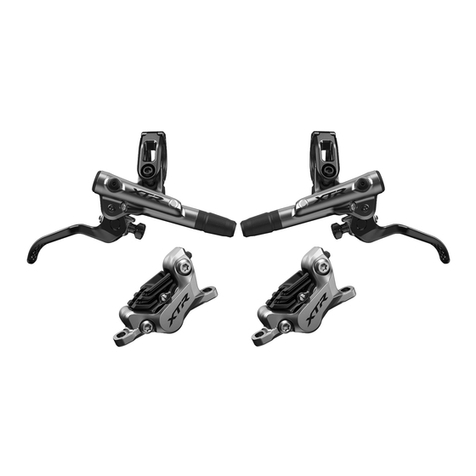
Shimano XTR Operating instructions
